
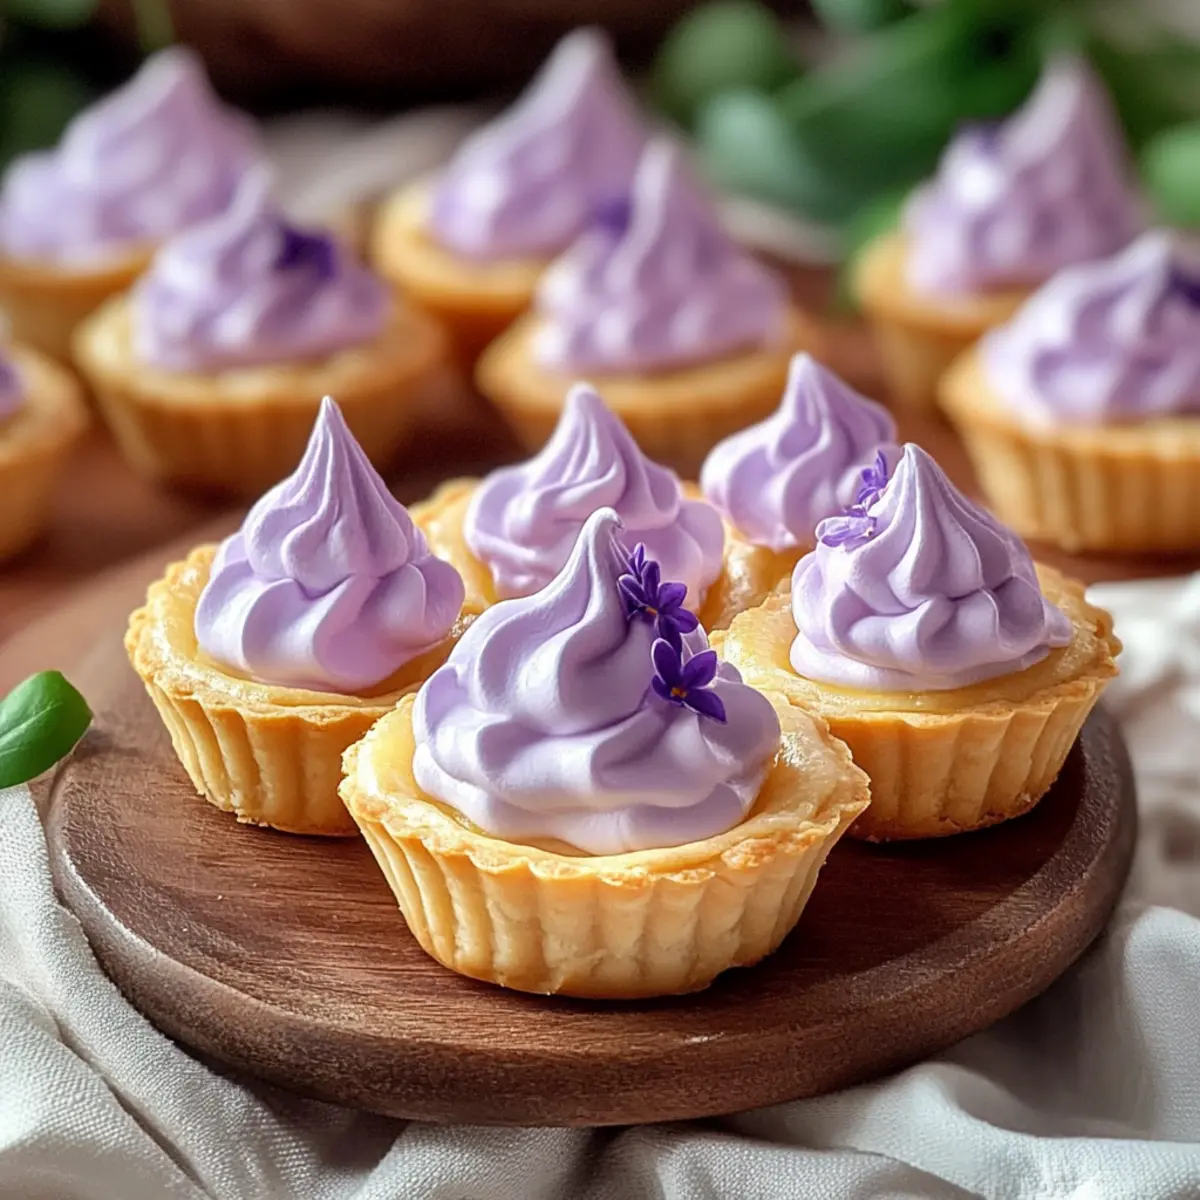
As I pulled the first batch of mini lemon tarts from the oven, the sweet aroma of zesty lemons filled my kitchen, instantly bringing a smile to my face. The delightful combination of tangy lemon curd and airy lilac meringue creates a gourmet dessert that’s not only visually stunning but also brimming with a flavorful balance that will leave your taste buds dancing. These mini lemon tarts are perfect for any occasion—whether you’re sharing them at a gathering or treating yourself to a well-deserved bite of happiness. The buttery, flaky crust adds a touch of indulgence, while the whimsical meringue topping offers a fun twist that’s sure to impress. Are you ready to learn how to whip up these charming little treats in your own kitchen?
Why Will You Adore Mini Lemon Tarts?
Irresistible Flavor Fusion: The zesty lemon curd pairs perfectly with the fluffy lilac meringue, delivering a delightful explosion of flavors in every bite.
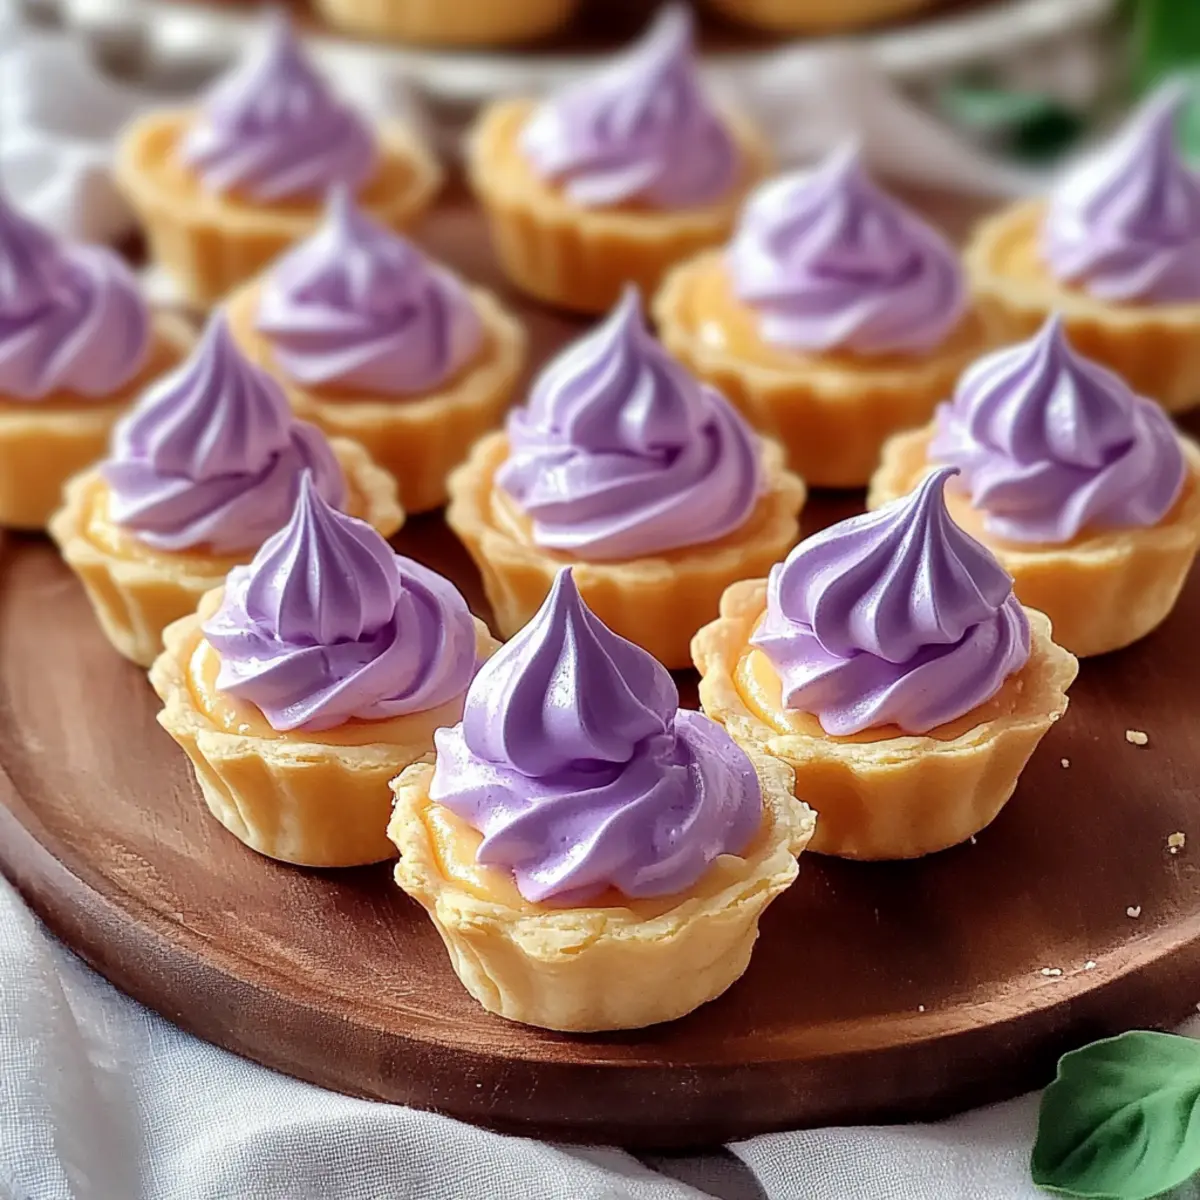
Visually Stunning: These adorable tarts are not just delicious; they’re a feast for the eyes too, making them a show-stopping addition to any dessert platter.
Easy to Make: With just a few simple steps, you’ll master the art of tart-making, turning your kitchen into a gourmet dessert haven.
Versatile and Customizable: Feel free to play around with flavors—try adding herbs or swap the lilac coloring for other pastel shades to match any occasion or preference.
Perfect for Gatherings: Whether at a brunch, a party, or a cozy dinner, these mini lemon tarts are sure to be a crowd favorite, much like our delightful Lemon Zucchini Bars.
Satisfying and Refreshing: They strike a perfect balance between sweetness and tartness, making them a refreshing treat that feels indulgent without being overly heavy.
Mini Lemon Tart Ingredients
For the Tart Shell
- All-purpose flour – Provides structure for the tart shell; you can substitute it with gluten-free flour for a gluten-free option.
- Powdered sugar – Adds sweetness and helps create a tender crust with no direct substitutions recommended.
- Salt – Enhances flavor; use sea salt or kosher salt for the best taste.
- Chilled butter – Creates a flaky texture in the crust; make sure it’s cold and you can use vegan butter for a dairy-free option.
For the Lemon Curd
- Fresh lemon juice – This is key for the tart flavor in the filling; freshly squeezed is preferred over bottled.
- Granulated sugar – Sweetens the lemon curd; brown sugar can be used for a deeper flavor profile.
- Eggs – Provide richness and structure for the lemon curd; using egg substitutes may alter consistency.
- Lemon zest – Adds intense lemon flavor; opt for organic lemons to avoid pesticides.
- Vanilla extract – Enhances overall flavor; consider substituting with almond extract if desired.
For the Lilac Meringue
- Egg whites – Fundamental for the meringue’s structure and fluffiness; ensure they are free of yolk for the best results.
- Lilac food coloring – Optional for aesthetic appeal; natural colors can also be used for a dye-free version.
For Garnishing
- Fresh mint leaves – Optional garnish that adds color and aroma, making your mini lemon tarts even more delightful.
Step‑by‑Step Instructions for Mini Lemon Tart
Step 1: Prepare the Tart Shell
Begin by mixing 1 ¼ cups of all-purpose flour, ½ cup of powdered sugar, and a pinch of salt in a large bowl. Cut in ½ cup of chilled butter until the mixture resembles coarse crumbs. Firmly form the dough into a ball, wrap it in plastic wrap, and chill in the refrigerator for 30 minutes. Once chilled, roll out the dough and cut into circles to fit mini tart pans.
Step 2: Pre-bake the Tart Shell
Preheat your oven to 350°F (175°C). Carefully place the rolled-out dough into the mini tart pans, pressing them into the edges. Prick the bottoms with a fork to prevent bubbling during baking. Bake for 15-20 minutes or until the tarts are lightly golden. Remove from the oven and let them cool completely while you prepare the lemon curd.
Step 3: Make Lemon Curd
In a medium saucepan, whisk together ½ cup of fresh lemon juice, ¾ cup of granulated sugar, 3 eggs, 1 tablespoon of lemon zest, and 1 teaspoon of vanilla extract. Cook the mixture over medium heat, stirring constantly until it thickens and coats the back of a spoon—this usually takes about 8-10 minutes. Once thickened, remove from heat and allow it to cool slightly before filling the tart shells.
Step 4: Prepare Lilac Meringue
In a clean bowl, beat 3 egg whites on medium speed until soft peaks form. Gradually add ¾ cup of granulated sugar, beating on high speed until stiff peaks develop and the mixture is glossy, approximately 5-7 minutes. If desired, fold in a few drops of lilac food coloring to achieve a whimsical hue, ensuring it’s well blended before moving on.
Step 5: Assemble the Tarts
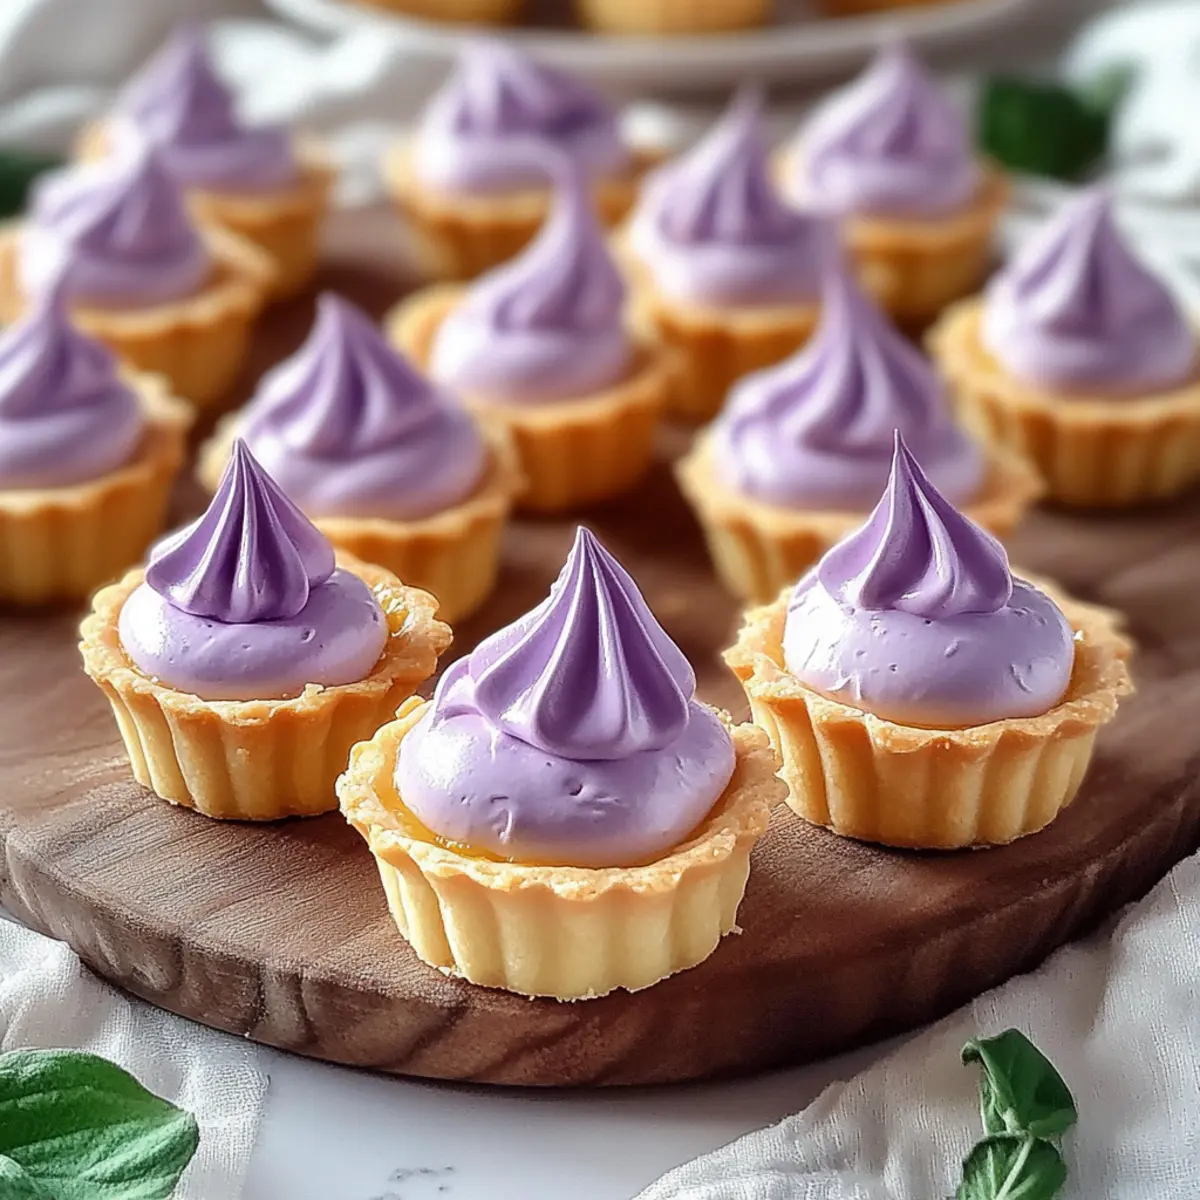
Once the tart shells are cool, evenly distribute the lemon curd among them, filling them about three-quarters full. Next, pipe or spoon the lilac meringue on top of the lemon curd, creating swirls or peaks for an elegant look. Be generous with the meringue to create height and visual appeal.
Step 6: Toast the Meringue
For a touch of toasty flavor, use a kitchen torch or place the assembled tarts under a broiler set to high for about 1-2 minutes. Keep a close eye on them, as the meringue can burn quickly. You want a lovely golden-brown color to achieve that perfectly toasted look.
Step 7: Garnish and Serve
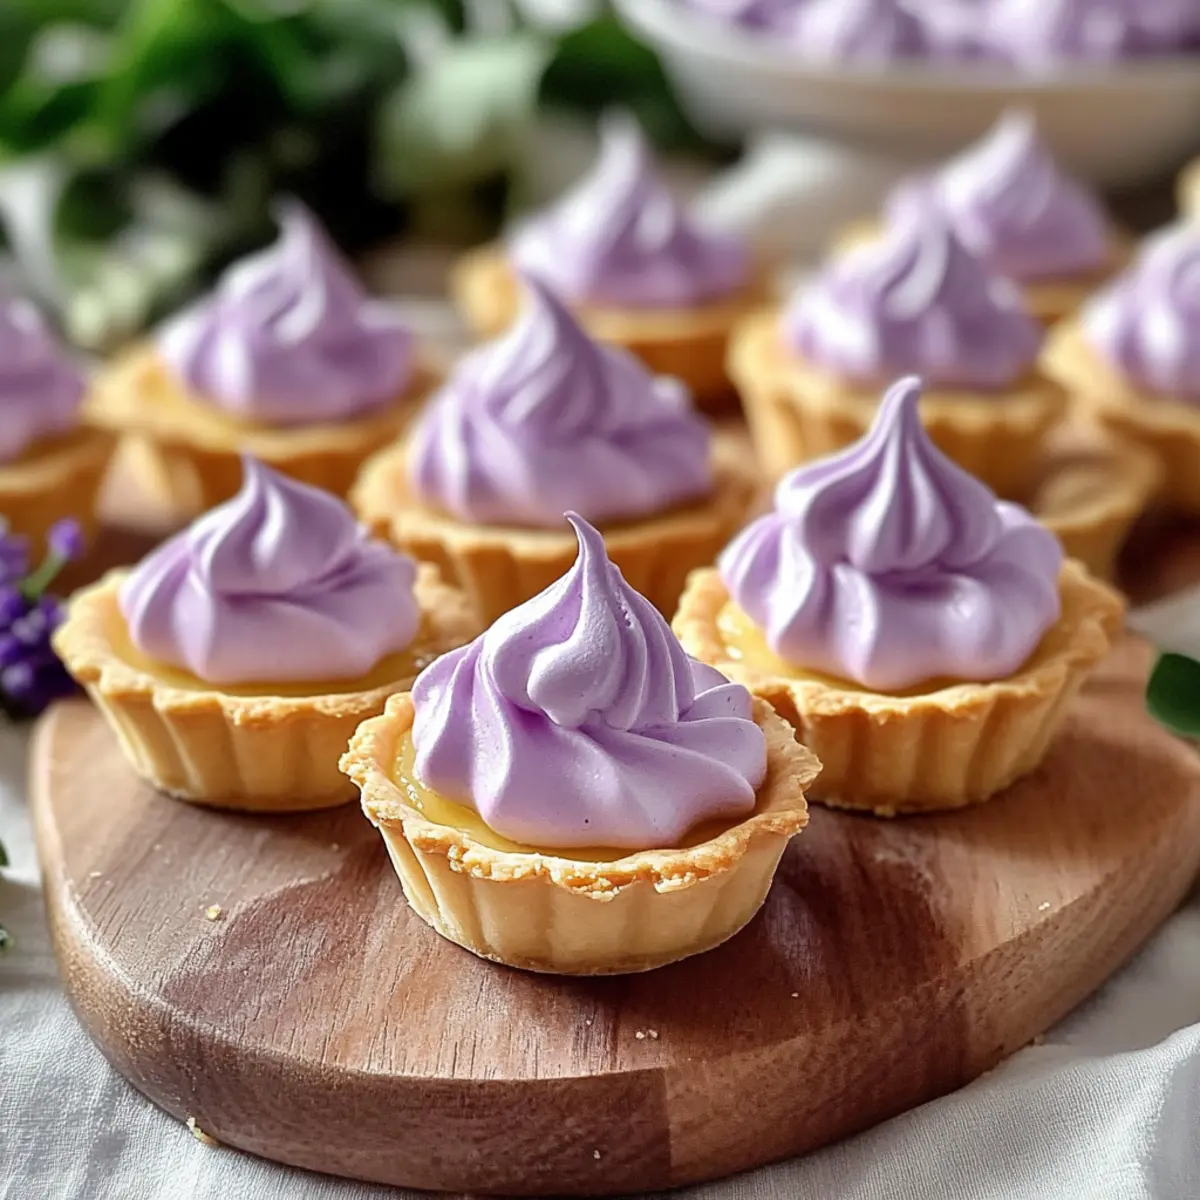
To elevate your mini lemon tarts, garnish them with fresh mint leaves or edible flowers for a pop of color and aroma. Arrange the tarts on a decorative platter and serve chilled. These delightful mini lemon tarts with lilac meringue are sure to impress your guests with their stunning visuals and tantalizing flavors!
What to Serve with Mini Lemon Tarts with Whimsical Lilac Meringue
Elevate your dessert experience with delightful pairings that enhance the vibrant flavors of these charming mini treats.
-
Fresh Berries: Juicy strawberries or blueberries add a burst of color and a sweet-tart contrast that harmonizes beautifully with the lemony goodness.
-
Lemon Sorbet: This light, refreshing sorbet echoes the tart’s lemony flavor, creating a balanced dessert duo perfect for warm days.
-
Herb-Infused Iced Tea: A gentle mint or rosemary iced tea pairs well, bringing a refreshing note that complements the brightness of the tarts.
-
Vanilla Ice Cream: The creamy texture of vanilla ice cream offers a rich contrast to the flaky tart and fluffy meringue, making each bite indulgent.
-
Chocolate Truffles: Rich, dark chocolate truffles enveloping silky ganache add a decadent touch, beautifully contrasting with the tarts’ citrus notes.
-
Sparkling Wine: A glass of bubbly, fruity sparkling wine amplifies celebrations and enhances the flavors of the mini lemon tarts, adding a festive touch.
-
Pistachio Crumble: A sprinkle of nutty pistachio crumble introduces a crunchy texture that complements the creamy meringue and buttery crust, enhancing overall mouthfeel.
-
Mini Fruit Tarts: Serve alongside other mini desserts for a delightful dessert platter, allowing guests to sample various flavors while enjoying the lemon tarts’ brightness.
Expert Tips for Mini Lemon Tarts
-
Ingredient Temperature: Ensure butter and eggs are at the right temperature. Cold butter creates a flaky crust, while room temperature eggs help the meringue achieve maximum volume.
-
Avoid Soggy Bottoms: Prick the tart shells with a fork before baking to prevent bubbling. This ensures a crisp foundation for your delicious mini lemon tart.
-
Perfect Meringue: Use a clean, dry bowl for whipping egg whites to avoid any moisture that could hinder achieving stiff peaks. This step is crucial for a fluffy lilac meringue.
-
Don’t Overcook Curd: Stir the lemon curd continuously and remove it from heat as soon as it thickens. Overcooking can lead to a curdled texture, diminishing that smooth mouthfeel you desire.
-
Watch the Browning: When toasting the meringue, keep a close eye on it to prevent burning. Just a few seconds too long can turn a lovely golden brown into an unwanted char.
-
Make-Ahead Tips: For best results, assemble your mini lemon tarts shortly before serving to keep the meringue from weeping. However, both the tart shells and lemon curd can be made in advance.
Mini Lemon Tart Variations & Substitutions
Feel free to give your mini lemon tarts a personal twist and make them uniquely yours with these fun variations!
-
Gluten-Free: Substitute all-purpose flour with a gluten-free blend to enjoy a delightful tart without the gluten.
-
Dairy-Free: Use vegan butter in the crust instead of regular butter for a dairy-free treat that doesn’t skimp on flavor.
-
Flavor Additions: Experiment with different flavors in the lemon curd, such as lavender or ginger, to add exciting, aromatic notes. Each variation offers a new flavor journey!
-
Colorful Meringue: Change up the lilac food coloring with any pastel shade like pink or blue, tailoring the tarts to fit any celebration theme.
-
Fruit Toppers: Top the meringue with fresh berries or edible flowers for a stunning visual finish and added freshness.
-
Caramel Drizzle: Add a drizzle of salted caramel over the meringue for a sweet and salty flavor explosion, elevating the tart experience to gourmet levels.
-
Coconut Twist: Incorporate coconut cream into the meringue for a tropical vibe, creating a silky, luscious topping that perfectly complements the tartness of the lemon.
-
Chilled Delight: For a refreshing summer treat, freeze the assembled tarts for a few hours before serving—your guests will love the icy, zesty flavor!
Craving something different? Check out our delicious Raspberry Peach Lemonade for a refreshing drink pairing!
How to Store and Freeze Mini Lemon Tart
Fridge: Keep assembled mini lemon tarts in the refrigerator for up to 2 days. Store them in an airtight container to prevent the meringue from becoming soggy.
Make-Ahead: You can prepare the tart shells and lemon curd in advance. Store the baked shells at room temperature and the lemon curd in the fridge for up to 3 days, assembling the tarts just before serving.
Freezer: For extended storage, freeze the tart shells unfilled for up to 2 months. Wrap them tightly in plastic wrap and then in aluminum foil to prevent freezer burn.
Reheating: If you decide to freeze leftover tarts, let them thaw in the fridge overnight, then serve cold or at room temperature for the best experience.
Make Ahead Options
These delightful Mini Lemon Tarts with Lilac Meringue are perfect for meal prep! You can prepare the tart shells and the lemon curd up to 24 hours in advance. Simply bake the tart shells, let them cool completely, and store them in an airtight container at room temperature. The lemon curd can be refrigerated in an airtight container. However, it’s best to assemble your mini tarts closer to serving time to maintain the meringue’s delightful texture; pie the lilac meringue on the lemon curd just before presenting them. This way, you’ll ensure your mini lemon tarts remain just as fresh and delicious with minimal effort on your busy day!
Mini Lemon Tart Recipe FAQs
How do I choose the right lemons for the Mini Lemon Tart?
Absolutely! When selecting lemons, look for ones that are bright yellow and feel heavy for their size. Avoid lemons that are dull with dark spots all over; they are likely overripe. Fresh, juicy lemons will provide the best flavor for your lemon tart!
How should I store my Mini Lemon Tarts?
I recommend keeping assembled mini lemon tarts in the refrigerator for no more than 2 days. Be sure to store them in an airtight container to protect the meringue from becoming soggy. If you see any weeping, that means it’s time to enjoy them ASAP!
Can I freeze the Mini Lemon Tart?
Yes, you can! Freeze the tart shells unfilled for up to 2 months. To do this, wrap each shell tightly in plastic wrap and then in aluminum foil to prevent freezer burn. When you’re ready to enjoy, just allow them to thaw in the refrigerator overnight before filling with lemon curd and meringue.
What if my meringue doesn’t whip up properly?
Very! If your meringue isn’t reaching stiff peaks, ensure that your bowl is clean and dry—any moisture can hinder the process. Use fresh egg whites at room temperature for best results, and beat them on medium speed until soft peaks form before gradually adding sugar. Keep beating until you see glossy, stiff peaks, which usually takes 5-7 minutes!
Are there any dietary considerations for the Mini Lemon Tart?
Absolutely! If you’re concerned about allergies, keep in mind that this recipe contains eggs and dairy. For a dairy-free and vegan option, use flax eggs or aquafaba (the liquid from canned chickpeas) in place of eggs and swap butter for vegan butter. If you have any guests with citrus allergies, it’s best to offer an alternative dessert to accommodate them.
Mini Lemon Tart Bliss with Fluffy Lilac Meringue
Ingredients
Equipment
Method
- Mix 1 ¼ cups of all-purpose flour, ½ cup of powdered sugar, and a pinch of salt. Cut in ½ cup chilled butter until crumbly. Form dough into a ball, wrap in plastic, and chill for 30 minutes.
- Preheat oven to 350°F (175°C). Press chilled dough into mini tart pans and prick bottoms. Bake for 15-20 minutes until golden. Let cool completely.
- Whisk together ½ cup fresh lemon juice, ¾ cup sugar, 3 eggs, 1 tablespoon lemon zest, and 1 teaspoon vanilla in a saucepan. Cook over medium heat until thickened, about 8-10 minutes. Cool slightly.
- Beat 3 egg whites on medium until soft peaks form. Gradually add ¾ cup sugar, beating until stiff and glossy, about 5-7 minutes. Fold in lilac food coloring if desired.
- Fill tart shells with lemon curd, about three-quarters full. Pipe or spoon lilac meringue on top, creating swirls or peaks.
- Toast the meringue with a kitchen torch or under the broiler for 1-2 minutes until golden brown. Watch closely to prevent burning.
- Garnish with fresh mint leaves or edible flowers. Serve chilled on a decorative platter.
Leave a Reply