
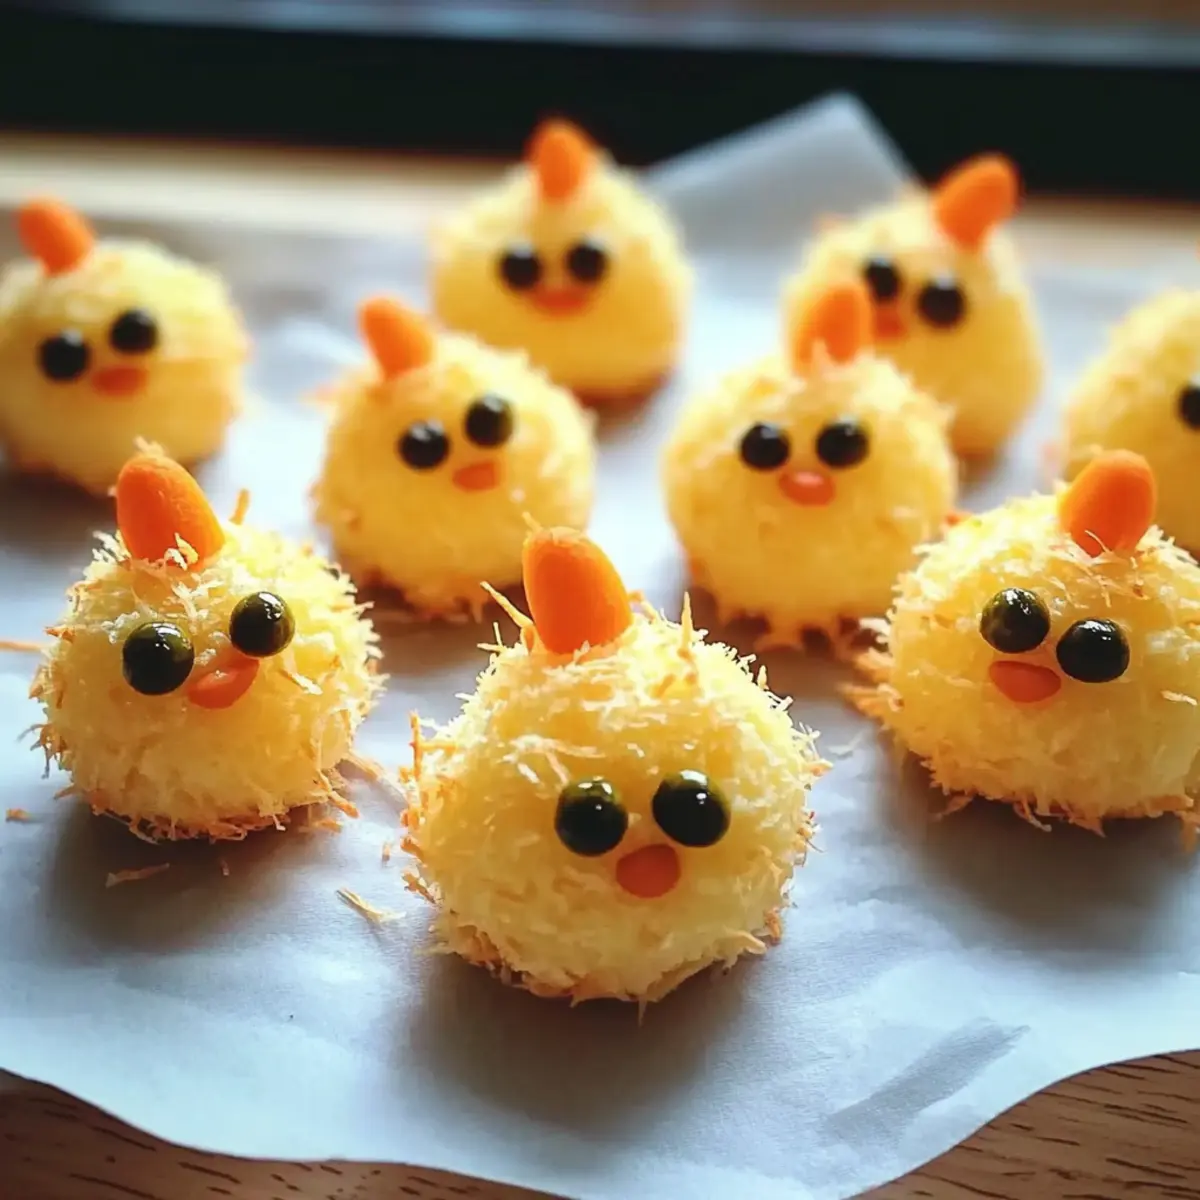
Easter is just around the corner, and if you’re like me, you’re already dreaming up delightful dishes for your festive feast. Enter my Mini Chicks Cheese Balls—an adorable twist on cheese appetizers that are sure to steal the spotlight at any gathering. These mini wonders are not only family-friendly but also offer a vegetarian-friendly option for those who prefer a meatless delight. Imagine creamy cream cheese and sharp cheddar mingling with crispy bacon and zesty ranch seasoning, all shaped into charming little chicks that bring smiles to the table. Plus, their quick prep time means more moments to enjoy with friends and family. Don’t you want to discover how to create these cheerful bites? Let’s dive in!
Why Are These Mini Chicks Cheese Balls Fun?
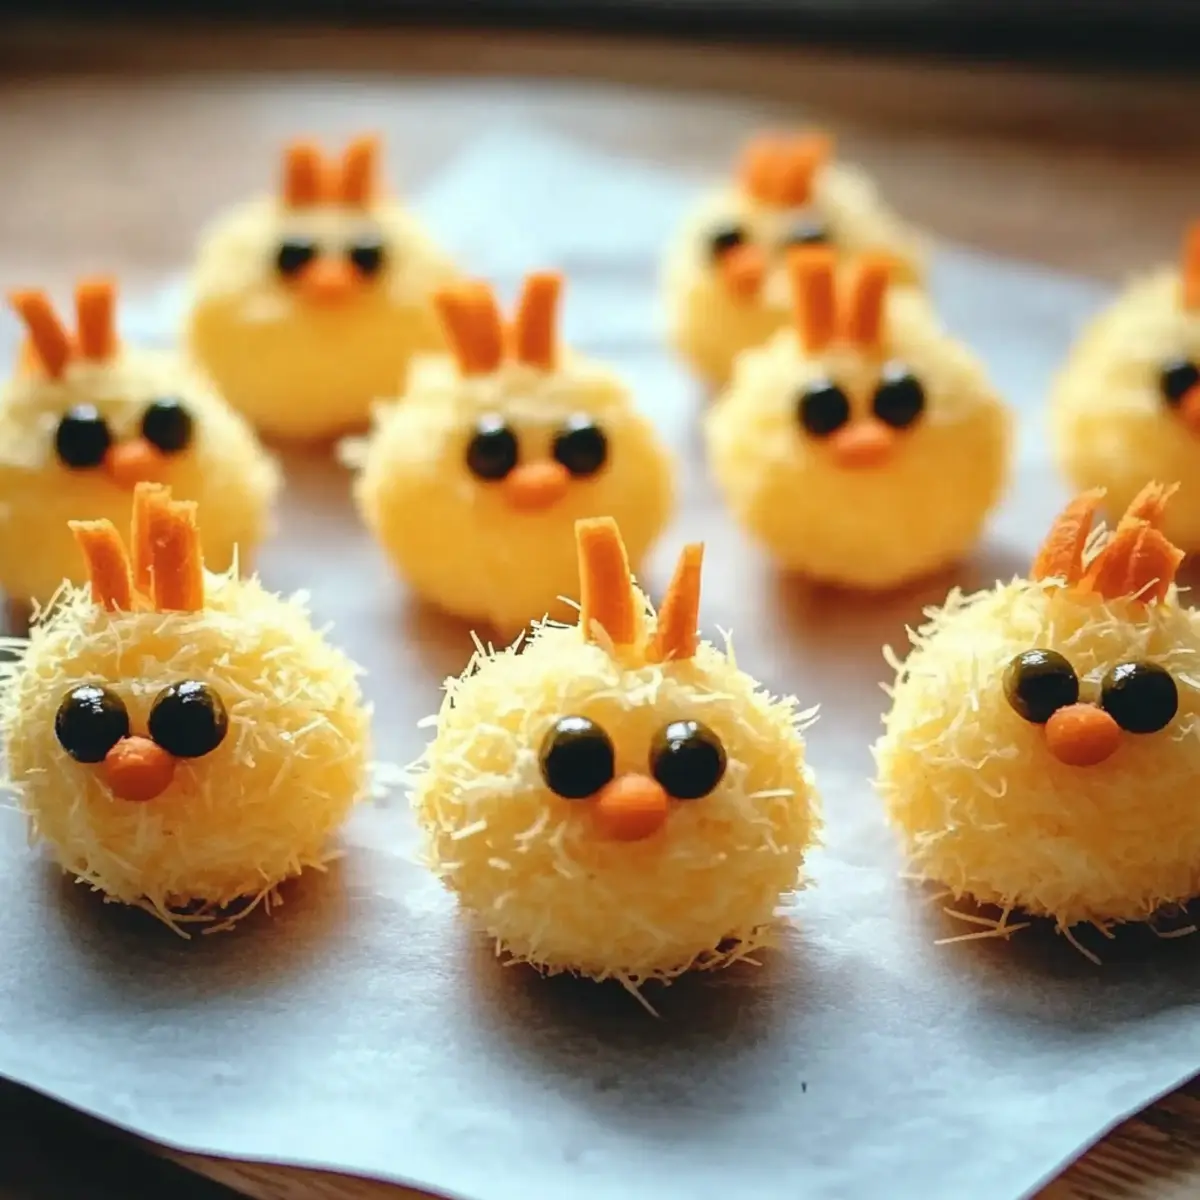
Adorable, these playful bites will instantly brighten your Easter table! Savory goodness awaits with the creamy mix of cheese, crunchy bacon, and zesty ranch—perfect for flavor lovers of all ages. Easy to make, you can whip these up in no time, allowing you to focus on cherished moments with family. Customizable, try a vegetarian twist by replacing bacon with sun-dried tomatoes! Crowd-pleasing, kids and adults alike will flock to these delightful treats. Serve them alongside colorful crackers or fresh veggies, and watch the smiles unfold!
Mini Chicks Cheese Balls Ingredients
• Get ready for a festive feast!
For the Cheese Mixture
- Cream Cheese – Provides a rich and creamy texture for the cheese balls; substitute with Greek yogurt for a lighter option.
- Sharp Cheddar Cheese – Adds a tangy flavor and firmness; try Monterey Jack or smoked gouda for a fun variation.
- Bacon – Offers a savory crunch; omit for a vegetarian version and add smoked paprika for extra flavor.
- Ranch Seasoning Mix – Infuses the mixture with tangy herb flavors; a homemade blend of garlic powder, dried dill, parsley, and buttermilk powder works in a pinch.
For the Decoration
- Olives – Used for eyes in the chick face; any type of small olive works well to create that adorable look.
- Carrots – Provides vibrant color and texture for the beaks of the chicks; consider other veggies like bell peppers for a unique twist.
With these Mini Chicks Cheese Balls, you’re bound to impress your family and friends while enjoying a delightful snack that fits perfectly into your festive Easter celebrations!
Step‑by‑Step Instructions for Mini Chicks Cheese Balls
Step 1: Prepare the Cheese Mixture
In a large mixing bowl, combine 8 ounces of softened cream cheese, 1 cup of shredded sharp cheddar cheese, ½ cup of crumbled cooked bacon, and 1 packet of ranch seasoning mix. Use a spatula or sturdy spoon to blend all the ingredients thoroughly until they form a smooth, cohesive mixture. This should take about 3-5 minutes, and the mixture should be well incorporated with no lumps.
Step 2: Form the Cheese Balls
With clean hands, scoop about 1 tablespoon of the cheese mixture and roll it into a ball, approximately 1 inch in diameter. Make sure to keep your hands slightly damp to prevent sticking. Continue shaping until all the mixture is formed into cheese balls. You should end up with about 20-24 Mini Chicks Cheese Balls, each looking plump and inviting.
Step 3: Coat the Cheese Balls
Prepare a shallow dish with extra shredded sharp cheddar cheese. Roll each formed cheese ball gently in the cheddar until it’s fully coated, creating a deliciously cheesy exterior. This should take about 10 minutes, as you’ll want each ball to be generously covered for extra flavor and a delightful texture.
Step 4: Assemble Chick Faces
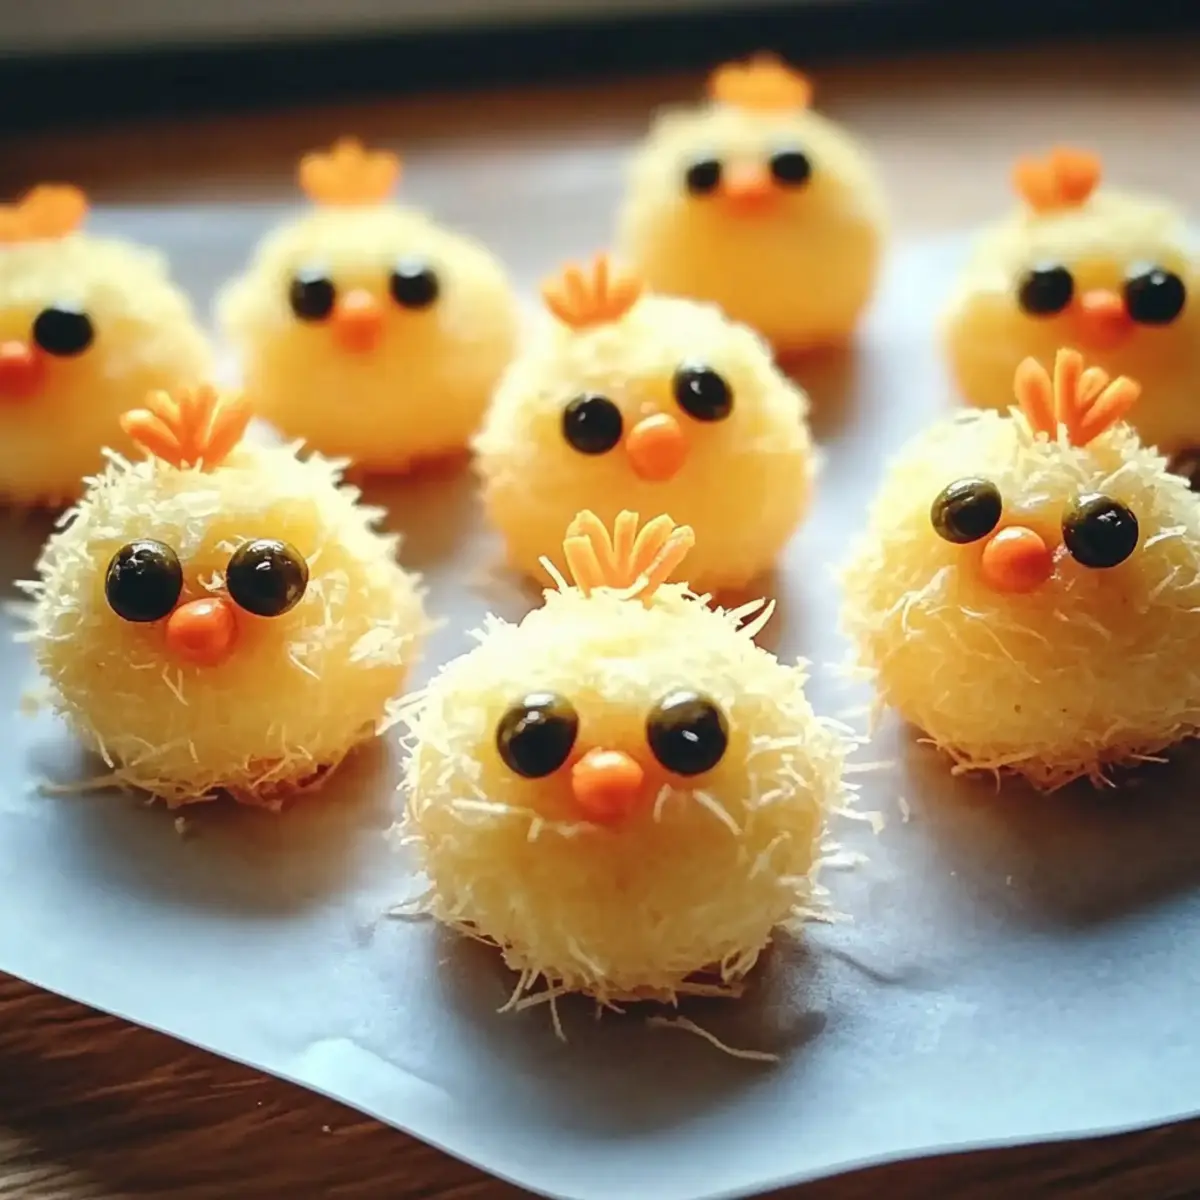
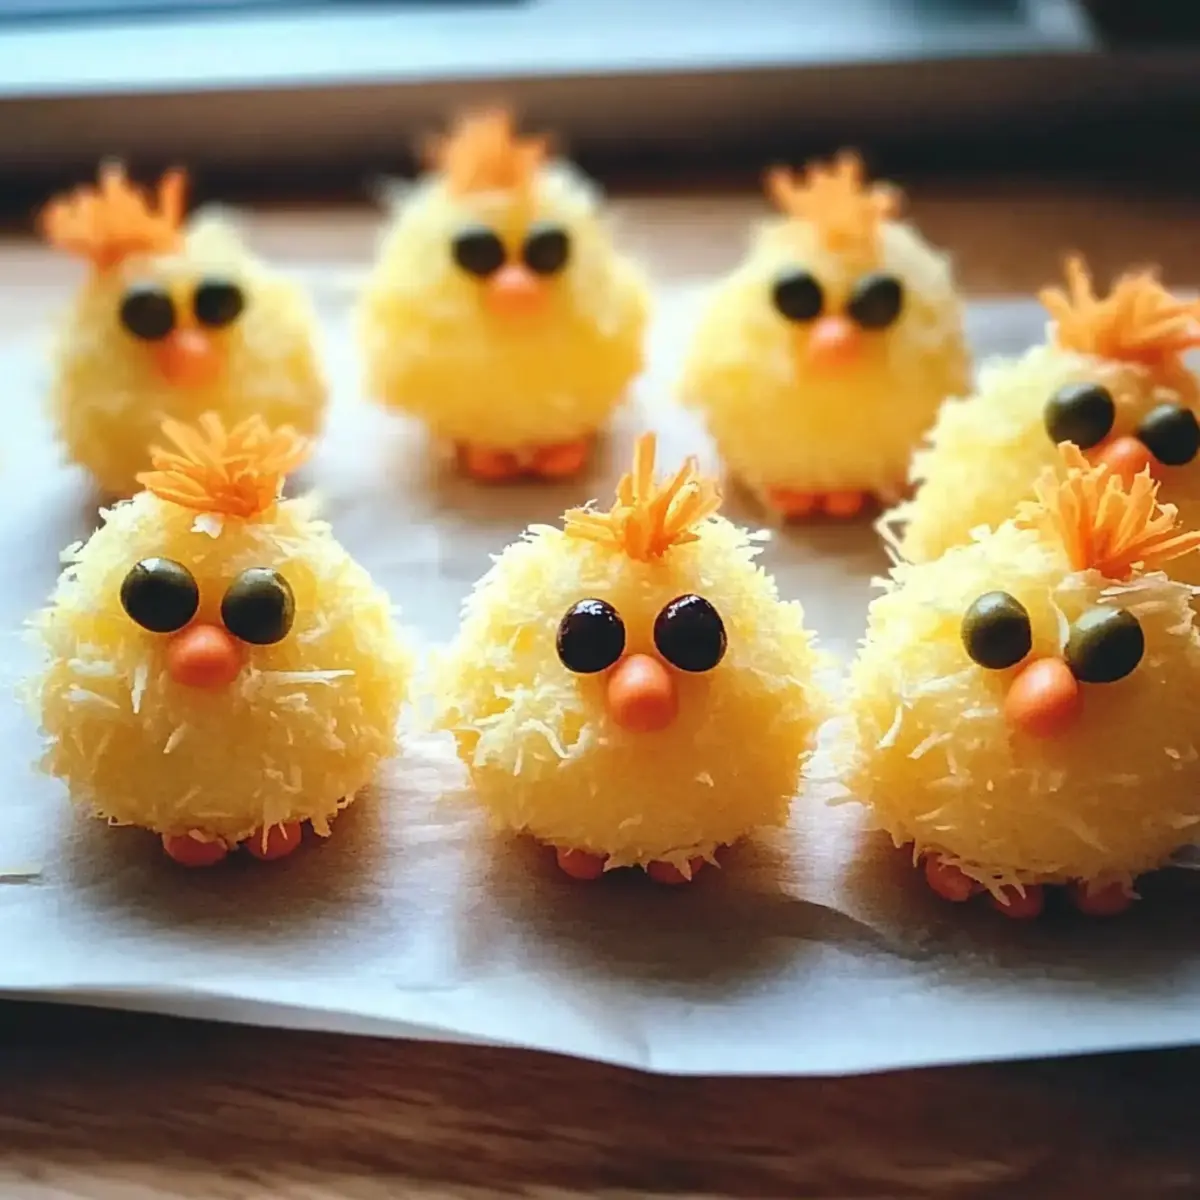
Once all are coated, take each cheese ball and carefully place two small olives for eyes and a small piece of carrot for the beak. Use a toothpick if necessary for precision, ensuring the eyes and beak are prominently positioned to create that charming chick look. This fun decorating step will take around 15 minutes, allowing you to be creative with each Mini Chicks Cheese Balls!
Step 5: Chill Before Serving
Transfer the decorated Mini Chicks Cheese Balls to a plate and cover them with plastic wrap. Refrigerate for at least 30 minutes to allow them to firm up, which helps maintain their shape while serving. During this time, the flavors will meld beautifully, providing the perfect bite for your festive gathering.
How to Store and Freeze Mini Chicks Cheese Balls
Fridge: Keep leftovers in an airtight container for up to 2-3 days. For best flavor and texture, consume within the first day.
Freezer: If you want to make ahead, freeze uncoated cheese balls in a single layer on a baking sheet. Once firm, transfer to a freezer-safe bag and store for up to 2 months.
Reheating: To enjoy frozen cheese balls, thaw in the fridge overnight and then let sit at room temperature for about 30 minutes before serving, so they return to their creamy state.
Preparation: For the freshest experience, assemble the Mini Chicks Cheese Balls shortly before serving, but you can prepare the cheese mixture in advance, keeping it refrigerated until ready to shape and decorate.
What to Serve with Mini Chicks Cheese Balls
These delightful cheese balls are the perfect centerpiece for your festive table, inviting a variety of complementary flavors and textures.
- Colorful Veggie Platter: Fresh-cut veggies like bell peppers, cucumbers, and cherry tomatoes bring crunch and vibrant colors, enhancing the visual appeal and freshness.
- Savory Crackers: Pair with a selection of crackers—think buttery, whole grain, or herbed varieties—to add a delightful crunch that contrasts beautifully with the creamy cheese balls.
- Creamy Dip: A light ranch or herb-infused dip adds an extra layer of flavor and brings a creamy element that echoes the ranch seasoning in the cheese balls.
- Mini Grilled Cheese Bites: These bites are warm and gooey, providing a comforting, nostalgic flavor that perfectly balances the creaminess of the cheese balls.
- Fragrant Fruit Salad: A refreshing fruit mix of strawberries, oranges, and grapes gives a sweet contrast that brightens every bite and adds a refreshing note to your spread.
- Sparkling Lemonade: This refreshing drink is perfect for cleansing the palate between bites, lifting the meal with a zesty sparkle that adds vibrancy to your gathering.
- Easter-themed Cupcakes: For a sweet finish, whimsical cupcakes decorated like little chicks or other spring motifs carry the festive theme from your appetizers through to dessert.
- Herbed Rice Salad: This light, tangy salad with fresh herbs brings a cool and refreshing flavor profile that beautifully complements the savory cheese balls.
- Cheese Board: A well-arranged selection of cheeses, nuts, and dried fruits brings elegance to your table and pairs harmoniously with the Mini Chicks Cheese Balls.
Expert Tips for Mini Chicks Cheese Balls
- Prep Ahead: Prepare the cheese ball mixture 2-3 days in advance and keep it in the refrigerator. Just wait to assemble for freshness.
- Cheese Texture: Make sure your cheese is finely shredded to achieve a smoother, creamier mixture. Large shreds can lead to a lumpy texture.
- Avoid Overmixing: Mix the ingredients until just combined. Overmixing can create a dense, heavy texture, rather than the lightness you want for the Mini Chicks Cheese Balls.
- Keep Hands Damp: Lightly dampen your hands while rolling the cheese balls to prevent sticking. This little trick makes shaping much easier!
- Chill for Firmness: Don’t skip the chilling step; refrigerating for at least 30 minutes helps the cheese balls retain their shape and enhances the flavors.
- Fun Customizations: Feel free to experiment with different cheeses or add-ins, like jalapeños for a spicy kick or herbs for a fresh touch in your Mini Chicks Cheese Balls.
Mini Chicks Cheese Balls Variations
Feel free to get creative and make these Mini Chicks Cheese Balls uniquely yours!
- Dairy-Free: Substitute cream cheese with vegan cream cheese and use your favorite dairy-free cheese blend for a tasty twist.
- Smoky Flavor: Swap out bacon for finely chopped smoked almonds or a sprinkle of smoked paprika for a delightful smoky kick.
- Herb-Infused: Mix in fresh herbs like chives or dill into the cheese mixture for a refreshing burst of flavor.
- Nutty Addition: Add crushed walnuts or pecans for a delightful crunch that complements the creamy cheese base beautifully.
- Veggie Delight: Replace bacon with diced bell peppers or sun-dried tomatoes for a colorful vegetarian option full of flavor.
- Spicy Kick: Stir in some finely chopped jalapeños or a dash of hot sauce for a zesty heat that will impress spice lovers!
- Fruit Fusion: Incorporate finely chopped dried cranberries or apricots for a sweet contrast to the savory cheese mix—this adds a fun twist!
- Fun Shapes: Instead of balls, mold your mixture into little egg shapes or other festive figures to match your Easter theme.
For more fun ideas, try pairing these adorable bites with Cottage Cheese Blueberry Cloud Bread or add some zest with Salmon Balls with Creamy Avocado Sauce for a delightful platter that everyone will enjoy!
Make Ahead Options
These Mini Chicks Cheese Balls are ideal for busy home cooks looking to save time during Easter preparations! You can prepare the cheese mixture up to 3 days in advance by mixing the cream cheese, sharp cheddar, bacon, and ranch seasoning. Simply store the mixture in an airtight container in the refrigerator to keep it fresh. On the day of your gathering, scoop and roll the mixture into balls, coat them with extra cheddar, and decorate with olives and carrots just before serving. This way, you’ll enjoy the delicious flavors with minimal effort and have more time to create joyful memories with loved ones!
Mini Chicks Cheese Balls Recipe FAQs
What should I look for when selecting cream cheese for Mini Chicks Cheese Balls?
When selecting cream cheese, opt for full-fat varieties for the best creamy texture. Look for packages that are not near the expiration date, and ensure it’s nicely spreadable. If you’re looking for a lighter option, Greek yogurt can also be a great substitute and will give a nice tang.
How should I store Mini Chicks Cheese Balls, and how long do they last?
Store any leftovers in an airtight container in the refrigerator for up to 2-3 days. However, for optimal flavor and freshness, try to enjoy them within the first day. If you happen to have a big batch, consider freezing them for longer storage!
Can I freeze Mini Chicks Cheese Balls, and how do I do it?
Absolutely! To freeze Mini Chicks Cheese Balls, form the balls but skip the coating step for the best results. Lay them in a single layer on a baking sheet, making sure they are not touching. Once they are frozen solid (about 1-2 hours), transfer them to a freezer-safe bag. They can be stored for up to 2 months. When ready to enjoy them, thaw overnight in the refrigerator and let them sit at room temperature for about 30 minutes before serving.
What if my cheese ball mixture is too thick or too runny?
If your mixture is too thick, you can add a tablespoon of milk or sour cream at a time until you reach the desired consistency. If it’s too runny, try adding more cream cheese or shredded cheese to thicken it up. Just be careful not to overmix, as this can create a dense texture.
Are Mini Chicks Cheese Balls suitable for people with dairy allergies?
These cheese balls are not dairy-free, but if you want a dairy-free version, you can experiment with vegan cream cheese alternatives and nutritional yeast to capture that cheesy flavor. For those with nut allergies, be cautious when considering alternative ingredients like nut-based creams.
Can I make the cheese balls vegetarian, and what are some substitutes?
Definitely! To make Mini Chicks Cheese Balls vegetarian, simply omit the bacon. You can replace it with sun-dried tomatoes or finely chopped walnuts for a nice crunch. You can also add some smoked paprika or liquid smoke to imitate that savory flavor!
Mini Chicks Cheese Balls for a Fun Easter Treat
Ingredients
Equipment
Method
- In a large mixing bowl, combine cream cheese, sharp cheddar cheese, crumbled bacon, and ranch seasoning mix. Blend until smooth, approximately 3-5 minutes.
- Scoop about 1 tablespoon of the cheese mixture and roll into a ball, repeat until all cheese mixture is shaped into about 20-24 cheese balls.
- Roll each cheese ball in a shallow dish with extra shredded cheddar cheese until fully coated, taking about 10 minutes.
- Decorate each cheese ball with two small olives for eyes and a small piece of carrot for a beak; use a toothpick for precision if needed.
- Transfer decorated cheese balls to a plate, cover with plastic wrap, and refrigerate for at least 30 minutes.
Leave a Reply