
As I leaned over the pot, the rich aroma of melting chocolate enveloped my kitchen, igniting a sense of warmth and nostalgia. I couldn’t help but smile at the simplicity of it all—this 3-Ingredient No Bake Chocolate Truffles Recipe proves that pure indulgence doesn’t need to be complicated. With just three easy ingredients and a sprinkle of creativity, you can craft these melt-in-your-mouth delights—perfect for sharing (or keeping all to yourself!). They’re not only a crowd-pleaser but also customizable with a plethora of toppings to suit any occasion. Whether you’re looking to impress guests during the holidays or surprise a loved one with a thoughtful gift, this recipe tickles your taste buds and makes the art of homemade gifting joyous. So, are you ready to turn your kitchen into a chocolate haven? Let’s dive into this sweet adventure!
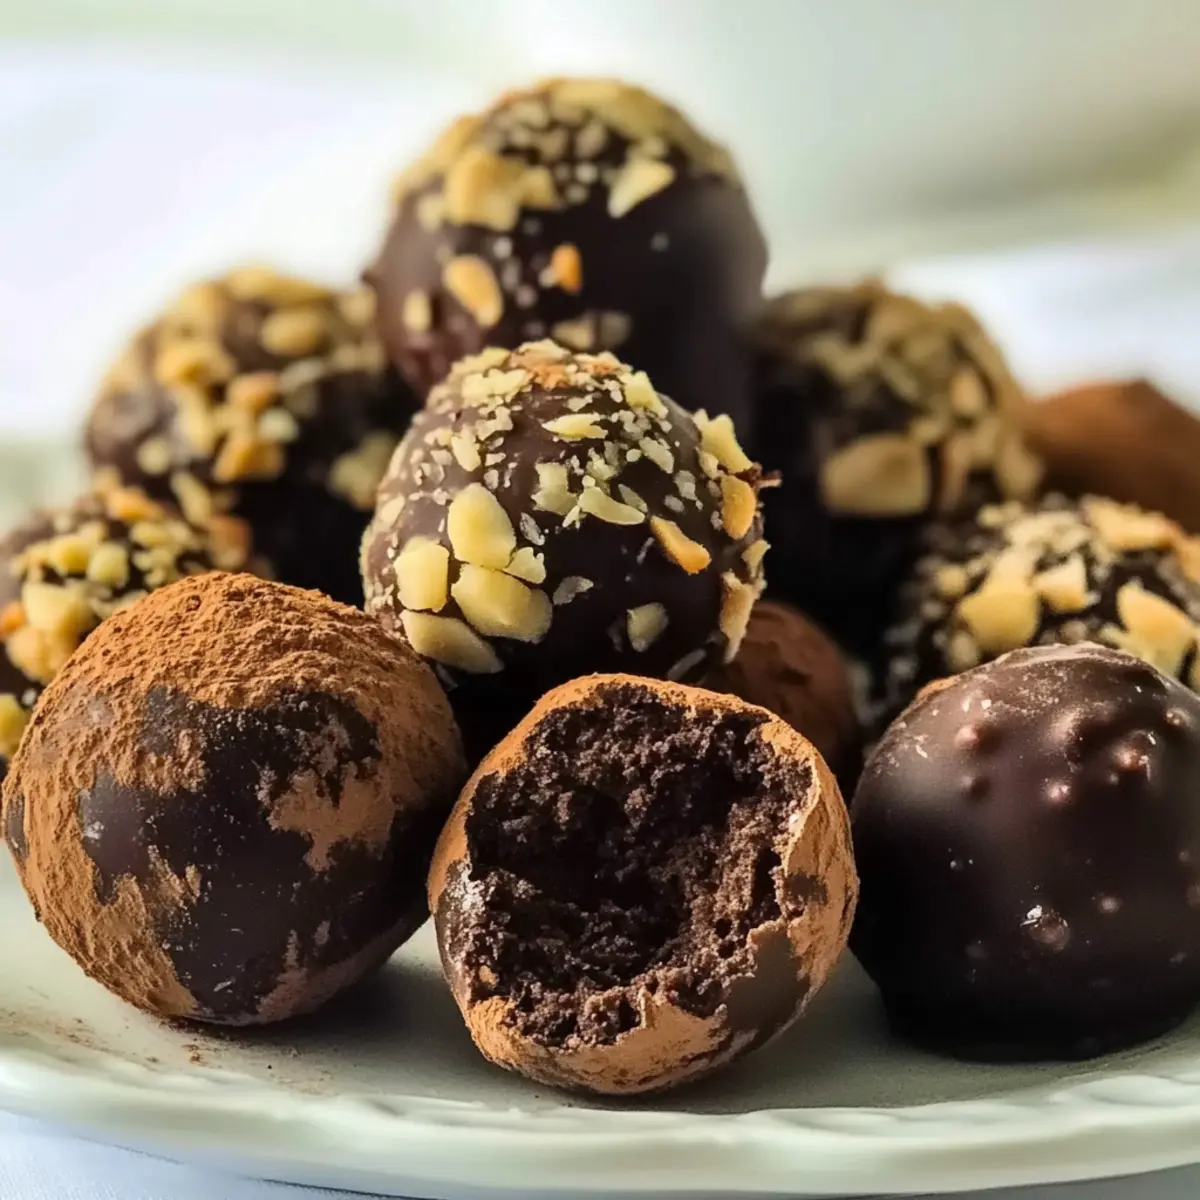
Why Are Chocolate Truffles So Irresistible?
Simplicity: With just three ingredients, this recipe makes indulgence effortlessly achievable in your own kitchen.
Customizable: Feel free to experiment with different flavorings, from peppermint to almond, ensuring there’s a truffle for everyone.
Gift-Worthy: Package these delightful treats in decorative boxes, perfect for holidays or special occasions, resembling gourmet offerings seen in shops.
No Bake: Skip the oven and enjoy a quick, easy dessert that can be whipped up in no time.
Crowd-Pleaser: Whether for family gatherings or parties, these truffles are sure to impress! For more sweet inspirations, check out the delicious Peach Pie Cruffins or the easy Chocolate Mug Cake.
Chocolate Truffles Recipe Ingredients
For the Truffle Base
• Bittersweet or Semi-Sweet Chocolate – This key ingredient delivers the rich flavor and perfect texture; opt for bars for ultimate quality.
• Unsalted Butter – Adds a layer of creaminess and smoothness; feel free to leave it out for a dairy-free treat.
• Heavy Cream – Necessary for creating that luxuriously smooth ganache; remember, it should be steaming, not boiling.
For Topping Options
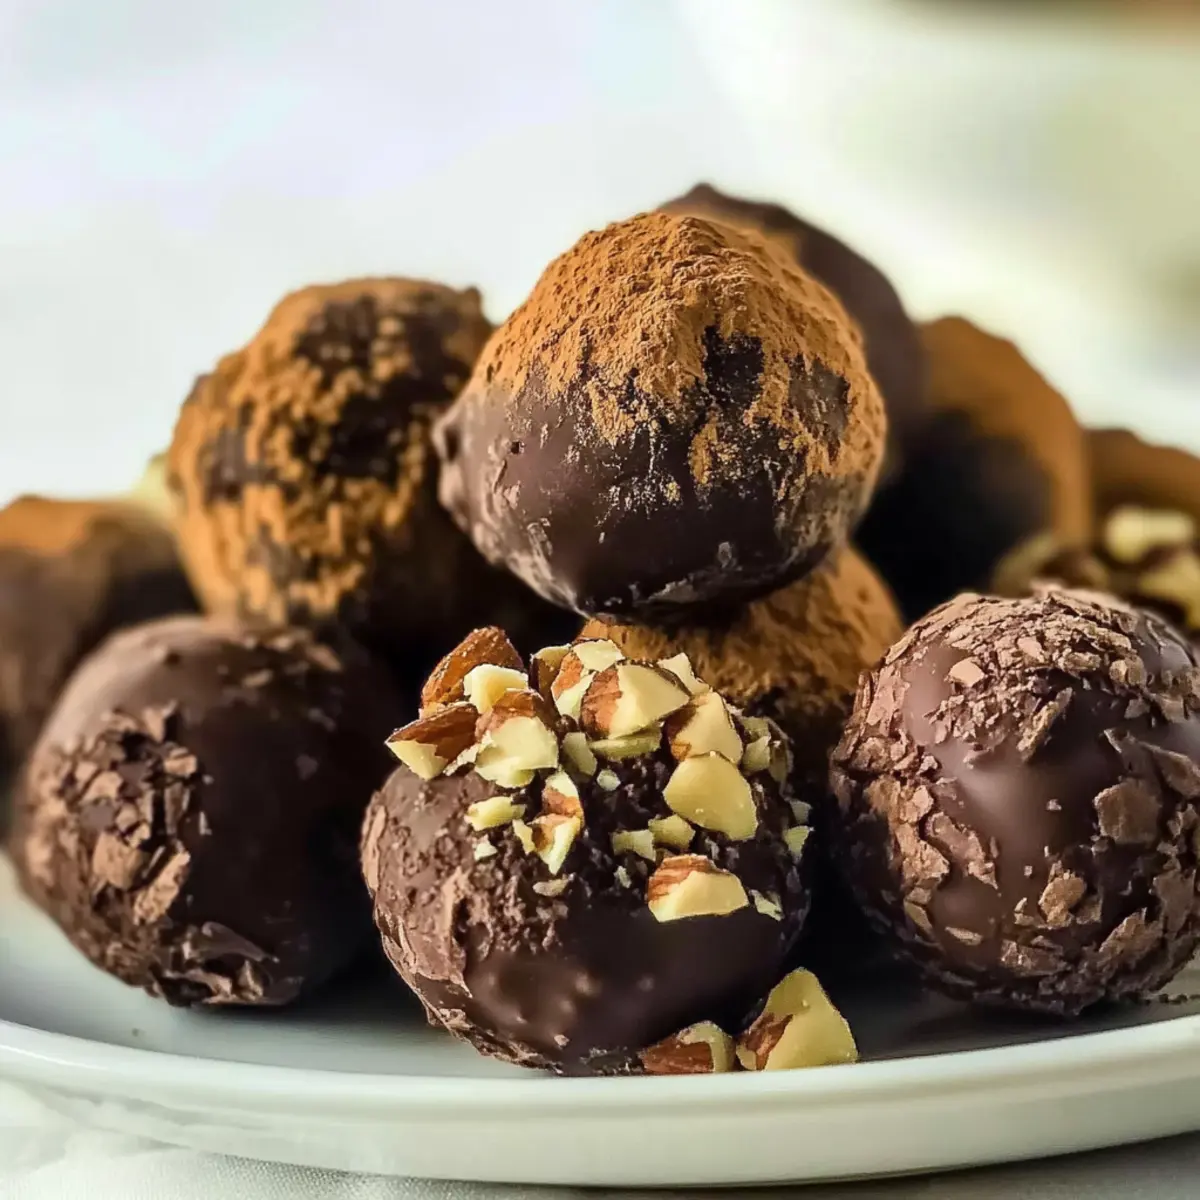
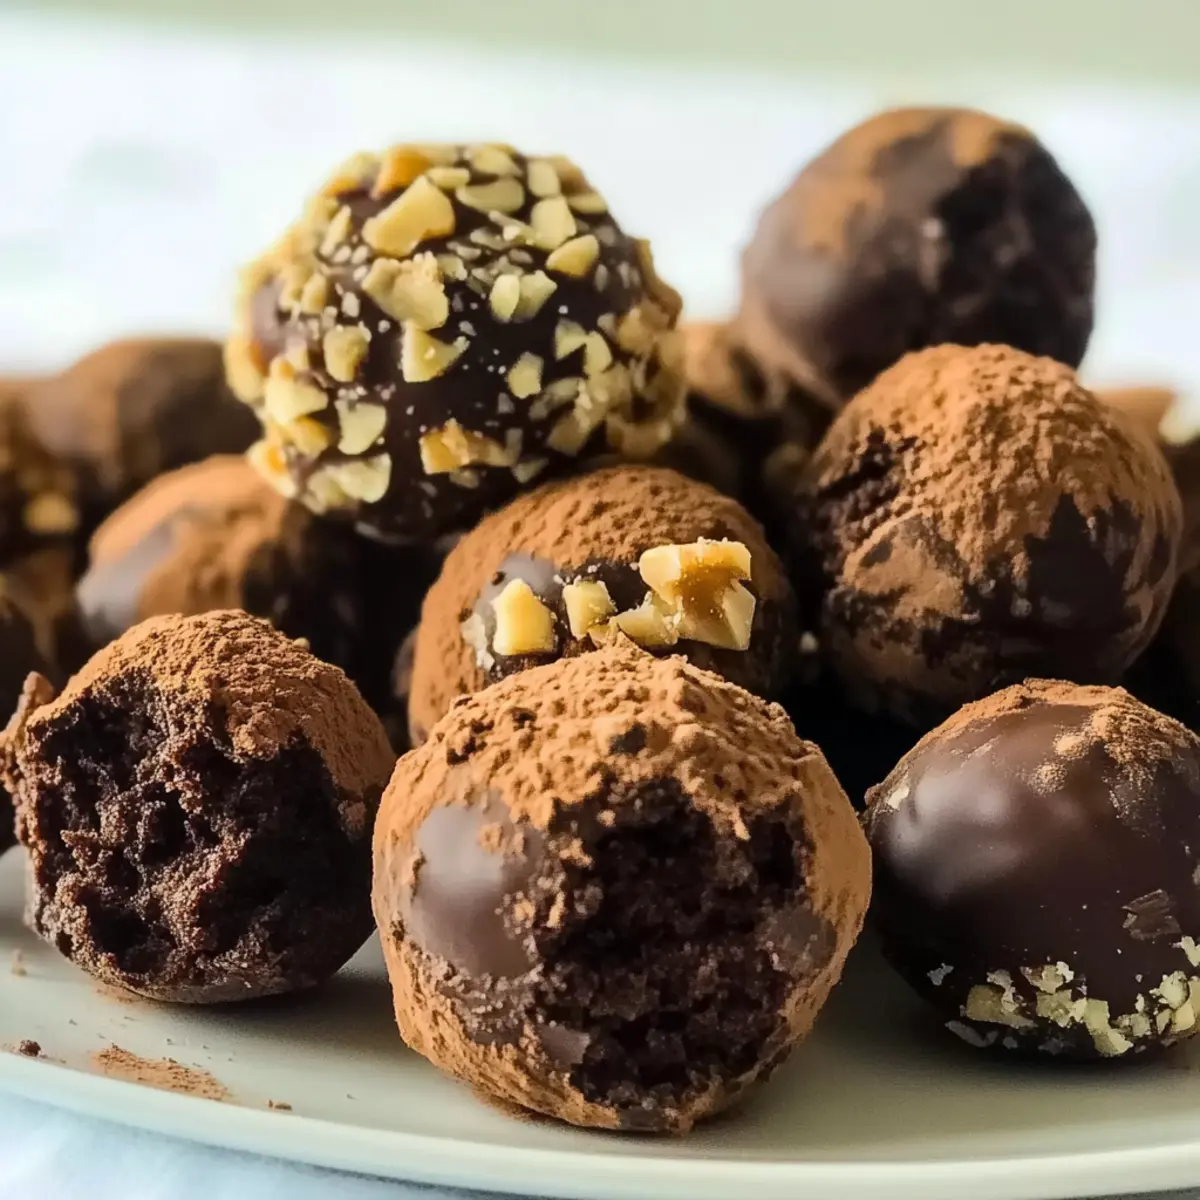
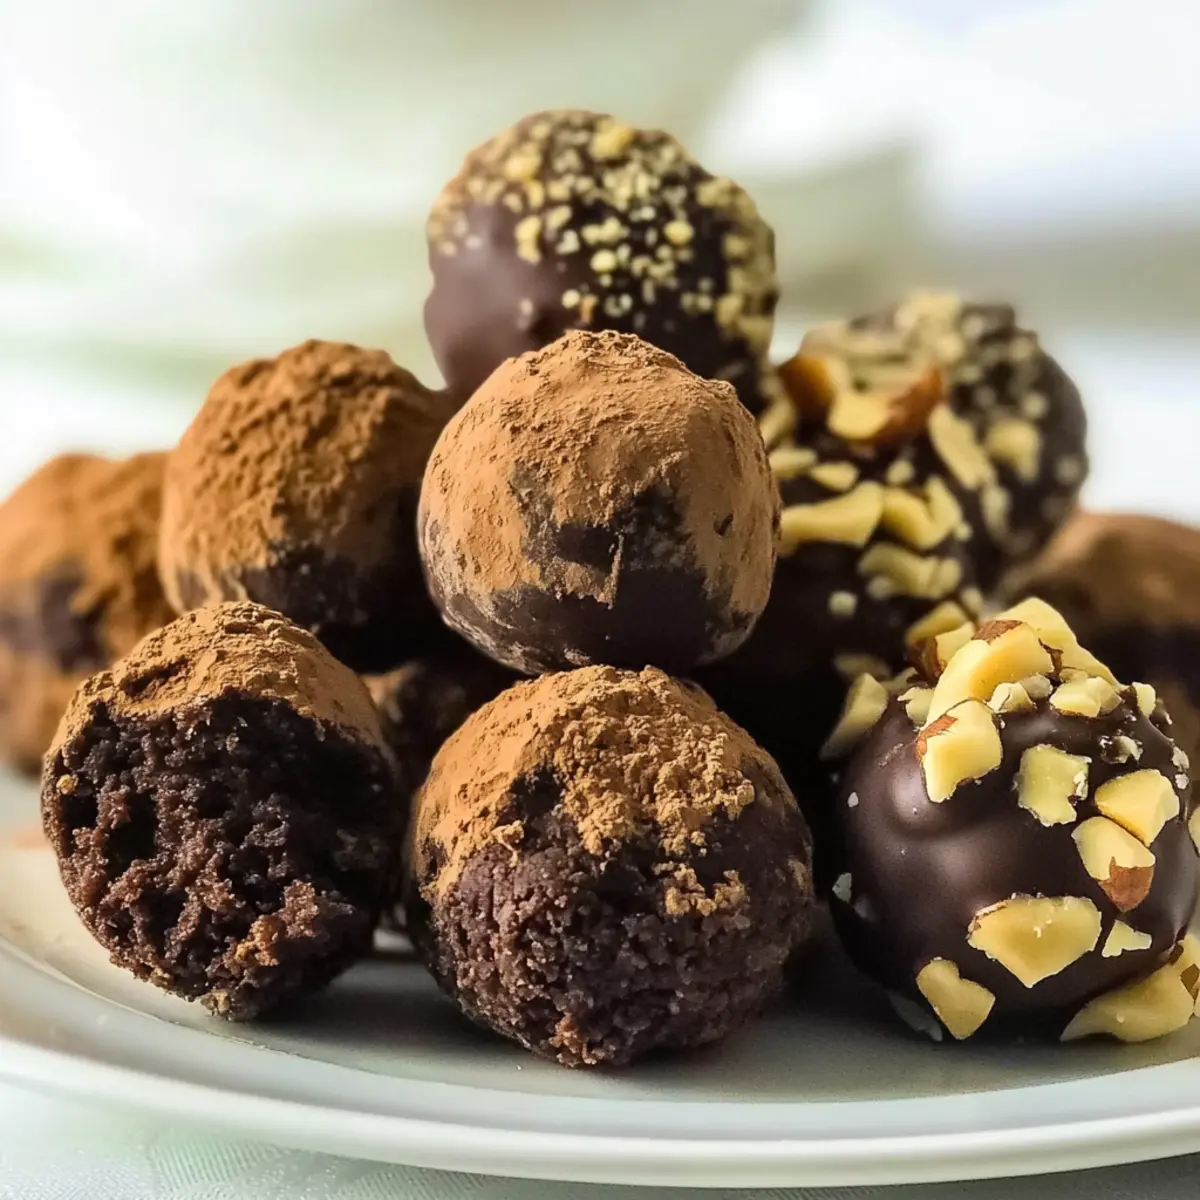
• Cocoa Powder – Classic and rich; roll your truffles in this for a traditional finish.
• Chopped Nuts – Adds a delightful crunch and makes for a beautiful presentation.
• Powdered Sugar – Perfect for a sweet dusting that adds elegance and visual appeal; use about ¼ to ½ cup depending on your chosen toppings.
Unleash your creativity as you dive into this Chocolate Truffles Recipe, where customization is just a sprinkle away!
Step‑by‑Step Instructions for Chocolate Truffles Recipe
Step 1: Chop Chocolate
Begin by finely chopping your bittersweet or semi-sweet chocolate and placing it into a medium-sized mixing bowl. Add the softened unsalted butter on top of the chopped chocolate to enhance the richness. Ensure the chocolate is finely chopped for even melting, allowing it to melt smoothly when combined with the hot cream later.
Step 2: Heat Cream
In a small saucepan, gently warm the heavy cream over medium heat until it starts to steam, but avoid boiling it—this should take about 3–5 minutes. Once the cream is steaming, carefully pour it over the chopped chocolate and butter in the bowl. The hot cream will help melt the chocolate mixture beautifully.
Step 3: Combine
Allow the chocolate and cream mixture to sit undisturbed for about 5 minutes. This resting period allows the warmth from the cream to fully melt the chocolate. After five minutes, stir the mixture gently until it’s completely smooth and glossy, forming a rich ganache for your chocolate truffles recipe.
Step 4: Cool
Cover the bowl with plastic wrap or leave it uncovered, and place it in the refrigerator. Chill the ganache for approximately 1 hour, or until the mixture is firm enough to hold its shape when scooped. This cooling step is crucial for achieving the perfect consistency for shaping the truffles.
Step 5: Shape
Once the ganache is set, use a small scoop or a tablespoon to scoop out portions of the chilled mixture. Roll each scoop between your palms to form balls about the size of a walnut. Work quickly; the warmth from your hands may soften the ganache, making it harder to shape.
Step 6: Coat
Immediately roll each chocolate ball in your chosen toppings, such as cocoa powder, chopped nuts, or powdered sugar, to adhere well. Ensure every surface of the truffle is well coated for maximum flavor and visual appeal. Place the coated truffles on a parchment-lined tray to set before serving or gifting.
Make Ahead Options
These delectable Chocolate Truffles are perfect for those busy weeknights where you crave a sweet indulgence without the last-minute fuss! You can prepare the ganache base up to 24 hours in advance; simply follow the first three steps of the recipe, then refrigerate the mixture until ready to shape and coat. Keeping the ganache well-covered will ensure it remains silky and smooth. When you’re ready to enjoy your truffles, scoop and roll them in your favorite toppings—voilà! You’ll have effortless, gourmet treats that taste just as delicious as if you made them from scratch, while saving you precious time during your hectic schedule.
Chocolate Truffles Recipe Variations
Feel free to get creative and make these chocolate truffles your own with these delicious options!
- Dairy-Free: Substitute unsalted butter with coconut oil for a dairy-free version that still packs a delightful richness.
- Flavored Extracts: Enhance the ganache by adding a splash of your favorite extract, such as peppermint or vanilla, for a unique twist.
- Spicy Kick: Mix in a pinch of cayenne pepper or chili powder to add a surprising, spicy element to your truffles!
- Nutty Crunch: Roll the truffles in crushed nuts like hazelnuts or almonds for added texture and a nutty flavor explosion.
- Coffee Boost: Stir in instant coffee granules to the warm cream before mixing for a mocha-inspired truffle that coffee lovers will adore. This little kick can transform your truffles into a delightful after-dinner treat.
- Coconut Bliss: Coat your truffles in shredded coconut instead of cocoa powder to create a tropical flair that’ll transport you to a sunny paradise.
- Seasonal Delights: Add crushed candy canes during the winter holidays for a minty, festive touch—perfect for holiday gifting! For more delightful treats, check out this Seafood Gratin for a fun culinary adventure.
- Chocolate Variance: Use white chocolate or dark chocolate instead of semi-sweet for varied sweetness levels, giving a whole new flavor profile to your truffles!
Let these variations spark your culinary creativity and make each batch of chocolate truffles a personalized delight!
Expert Tips for the Best Chocolate Truffles
• Use Quality Chocolate: The flavor of your chocolate truffles recipe heavily depends on the chocolate you choose; opt for high-quality bittersweet or semi-sweet chocolate bars for the best results.
• Mind the Temperature: Avoid overheating the cream; it should be hot but not boiling to prevent the ganache from separating.
• Chill Thoroughly: Ensure the ganache cools completely before shaping; this helps create perfectly round, firm truffles that hold their shape when rolled.
• Wear Gloves: To keep your hands clean and prevent chocolate from melting, consider wearing food-safe gloves or rolling your hands in cocoa powder while shaping.
• Experiment with Flavors: Don’t hesitate to add extracts or spices to your ganache; a dash of peppermint or orange zest can elevate your chocolate truffles recipe to new heights!
Storage Tips for Chocolate Truffles
Fridge: Store your chocolate truffles in an airtight container in the refrigerator for up to 2 weeks. This ensures they stay fresh and maintain their luxurious texture.
Freezer: If you want to enjoy your chocolate truffles longer, freeze them for up to 3 months. Place them in a single layer on a baking sheet to freeze individually before transferring them to an airtight container.
Thawing: For the best texture, thaw frozen truffles overnight in the fridge before serving. This helps them regain their creamy consistency while still being delightfully cool.
Gifting: If you’re planning to gift your chocolate truffles, make sure they are fully cooled and set before packaging. This keeps them in perfect shape for impressing friends and family!
What to Serve with 3-Ingredient No Bake Chocolate Truffles
Treat your guests to an enchanting spread that beautifully complements the richness of these chocolate delights.
-
Fresh Berries: The bright acidity of strawberries or raspberries balances the sweet, creamy truffles.
-
Vanilla Ice Cream: Creamy and cool, this classic combination creates a delightful contrast in temperature and texture.
-
Espresso or Coffee: The bold flavor of coffee enhances the chocolate, making every bite even more indulgent and satisfying.
-
Chocolate Fondue: Set a fun, interactive dessert station where guests can dip fruits or pretzels into warm chocolate to enjoy alongside the truffles.
-
Nutty Biscotti: Crunchy, flavorful biscotti adds a delightful crunch, providing a wonderful textural contrast to your melt-in-your-mouth truffles.
-
Sparkling Wine: A glass of bubbly adds a festive touch, making for a sophisticated pairing that enhances the truffle experience.
Chocolate Truffles Recipe FAQs
What kind of chocolate should I use for my chocolate truffles?
Absolutely! For the best flavor and texture in your chocolate truffles, I recommend using high-quality bittersweet or semi-sweet chocolate bars rather than chips. Bars tend to melt more uniformly, giving your truffles a smoother consistency.
How should I store leftover chocolate truffles?
You can store your chocolate truffles in an airtight container and keep them in the refrigerator for up to 2 weeks. This method helps maintain their rich, creamy texture. Just remember to let them sit at room temperature for a few minutes before enjoying for the best flavor experience!
Can I freeze chocolate truffles for later use?
Yes, you can freeze your chocolate truffles for up to 3 months! To freeze, lay them in a single layer on a baking sheet, ensuring they don’t touch each other. Once frozen, transfer them to an airtight container. For the best texture, thaw in the fridge overnight before serving.
Why are my truffles not holding their shape?
This can happen if the ganache mixture wasn’t chilled long enough before shaping. Make sure to refrigerate the ganache for at least an hour until it’s firm. If the mixture becomes too soft while rolling, pop it back in the fridge for a bit before continuing to shape the truffles.
Can I customize flavors or toppings for the chocolate truffles?
Very much so! Feel free to experiment! You can add different flavorings like peppermint or orange extract to the ganache. For toppings, try chopped nuts, cocoa powder, or even crushed candy canes during the holiday season for a festive twist.
Are chocolate truffles safe for pets?
No, chocolate is toxic to dogs and cats, so it’s essential to keep these delectable treats far from your furry friends. Always store your chocolate truffles in a secure location to prevent any accidental snacking by your pets!
Decadent Chocolate Truffles Recipe You Can Customize at Home
Ingredients
Equipment
Method
- Chop the bittersweet or semi-sweet chocolate and place it into a mixing bowl with the unsalted butter.
- Warm the heavy cream in a saucepan over medium heat until it starts to steam.
- Pour the hot cream over the chocolate and butter, allowing it to melt.
- Let the mixture sit for 5 minutes, then stir until smooth and glossy.
- Cover the bowl and chill the ganache in the refrigerator for 1 hour.
- Scoop out portions of the chilled ganache and roll into balls.
- Roll each ball in your choice of coatings and place them on a parchment-lined tray.
Leave a Reply