
Did you ever find yourself in the middle of a coffee shop, savoring an exquisite chocolate tiramisu and daydreaming about recreating that magical moment at home? Today, I’m thrilled to share my recipe for Chocolate Tiramisu, an indulgent twist on the classic Italian dessert that’s both approachable and incredibly satisfying. With layers of coffee-soaked ladyfingers nestled between velvety chocolate mascarpone cream, this dish offers a sumptuous balance of rich flavors and textures that will have everyone begging for seconds. Not only is it a crowd-pleasing delight, but it’s also perfect for any skill level, making it a stress-free option for gatherings. Ready to impress your friends and family with this decadent treat? Let’s dive into the delicious world of chocolate tiramisu!
Why is Chocolate Tiramisu So Irresistible?
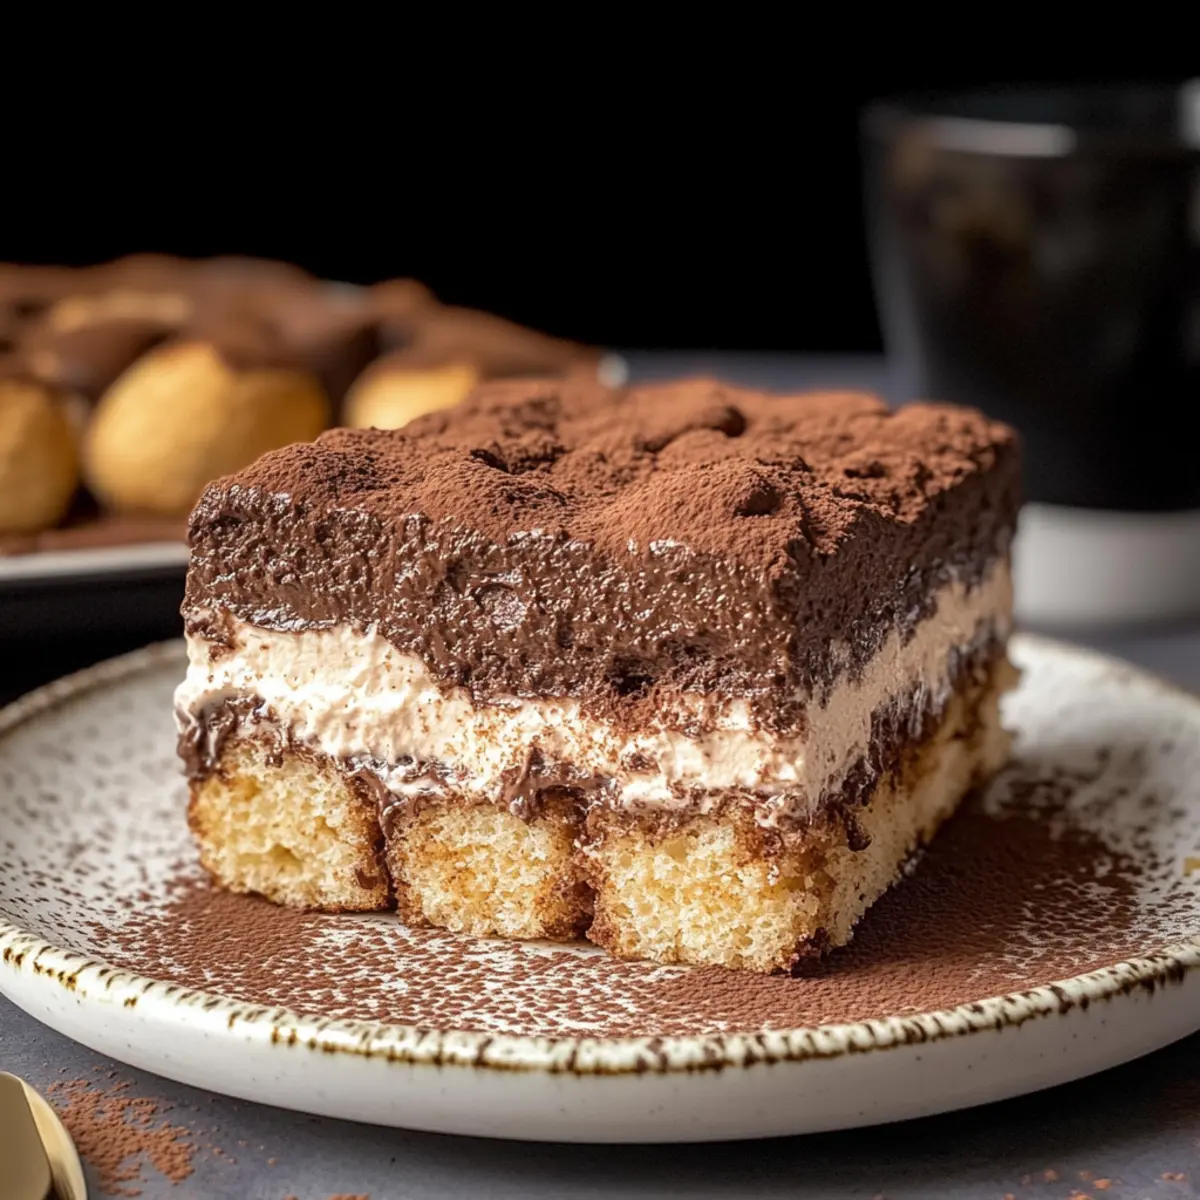
Decadence, this chocolate tiramisu elevates the classic dessert with a rich twist that chocolate lovers adore. Simplicity makes it an accessible treat, requiring only basic baking skills to impress your guests. Variations like Chocolate Strawberry or Boozy Chocolate Tiramisu offer fun options for personalized flair. Crowd-pleaser status ensures it’s a hit at any gathering, while make-ahead convenience means you can prepare it in advance and relax with your guests. For more delicious chocolate ideas, check out this Chocolate Mug Cake you can whip up in minutes!
Chocolate Tiramisu Ingredients
For the Chocolate Mixture
- Mascarpone – Creamy texture and rich flavor; use high-fat mascarpone, kept cold for best results.
- Egg Yolks – Provides richness and stability to the cream mixture; pasteurized eggs are recommended for safety.
- Granulated Sugar – Sweetens and helps emulsify the egg yolk mixture; choose a fine sugar for easier mixing.
- Semi-Sweet Chocolate – Adds depth of flavor and luxurious texture; melt gently to prevent scorching.
For the Whipped Cream
- Heavy Cream – Contributes to the creaminess of the mascarpone blend; whip while very cold for optimal volume.
- Cocoa Powder – Introduces a rich chocolate taste; opt for unsweetened and Dutch-processed for the best flavor.
For the Layers
- Ladyfinger Cookies – Essential base of the tiramisu; dip them in strong, mildly sweetened coffee for a delightful soak.
- Powdered Sugar – Sweetens the final whipped topping; sift for smoother integration into your mixture.
Optional Garnish
- Chocolate Shavings – Enhance visual appeal and flavor; sprinkle liberally for a touch of elegance before serving.
- Cocoa Powder – Dust lightly on top before serving for that classic tiramisu finish; consider using a stencil for fun designs.
Get ready to create a show-stopping dessert! This delightful Chocolate Tiramisu will captivate your guests, proving that homemade treats can rival even the finest café delicacies.
Step‑by‑Step Instructions for Chocolate Tiramisu
Step 1: Prepare the Egg Mixture
Set up a double boiler over medium heat and whisk together the egg yolks and granulated sugar. Continue whisking for about 5 minutes until the mixture is pale and thickened, reaching a temperature of 85°C (185°F). Once heated, remove it from the heat and let it cool slightly for about 10 minutes while stirring occasionally.
Step 2: Whip the Egg Mixture
Transfer the cooled egg mixture to a stand mixer fitted with a whisk attachment. Beat on medium-high speed for approximately 5 to 7 minutes until it becomes light, airy, and triples in volume. You’ll know it’s ready when the mixture is fluffy and has cooled down to about 24°C (75°F).
Step 3: Melt the Chocolate
In a microwave-safe bowl or using a double boiler, gently melt the semi-sweet chocolate until smooth, ensuring it doesn’t get too hot. Stir the melted chocolate into the whipped egg mixture gradually, while continuously whipping, creating a cohesive, silky chocolate mixture that blends beautifully with the eggs.
Step 4: Prepare the Cream Mixture
In a separate bowl, whip very cold heavy cream and mascarpone until soft peaks form—this should take around 3 to 4 minutes. Once you see the peaks start to hold their shape, sift in the cocoa powder and quickly fold it in to maintain that airy texture without over-whipping your mixture.
Step 5: Combine Cream and Chocolate Mixtures
Gently fold the whipped cream and mascarpone mixture into the chocolate-egg mixture. Use a spatula and fold until just combined, taking care not to deflate the mixture. This will ensure your Chocolate Tiramisu retains a light and fluffy texture.
Step 6: Assemble the Layers
Prepare a shallow dish and pour strong, mildly sweetened coffee into a wide bowl for dipping. Quickly dip ladyfinger cookies, one at a time, in the coffee and arrange them in a single layer at the bottom of the dish. Spread half of the chocolate mascarpone cream over the cookies, smoothing it out evenly.
Step 7: Add the Second Layer
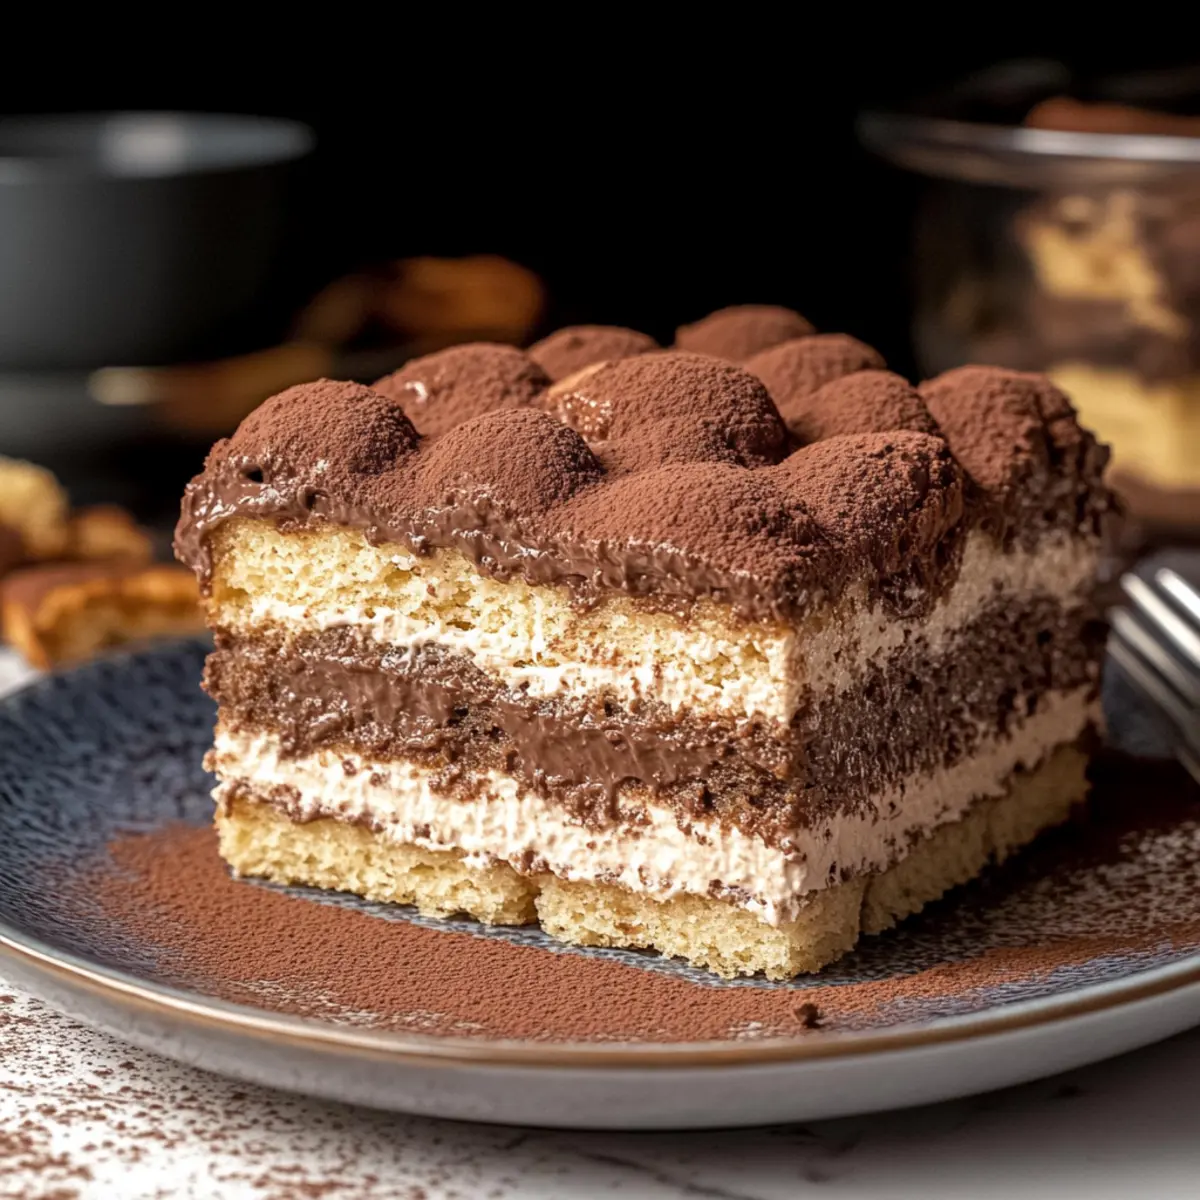
Repeat the dipping process with a second batch of ladyfingers and layer them on top of the mascarpone cream. Top this layer with the remaining chocolate mascarpone cream, ensuring it’s spread evenly across the surface, for a beautifully finished Chocolate Tiramisu.
Step 8: Chill and Set
Cover the assembled tiramisu with plastic wrap and refrigerate for at least 4 hours, or overnight if possible. Chilling helps meld the flavors beautifully and firm up the layers for a delightful dessert that holds its shape upon serving.
Step 9: Decorate Before Serving
Just before serving, whip together additional mascarpone, heavy cream, and powdered sugar until stiff peaks form. Gently fold in a bit of cocoa powder for flavor and piped decoration. Dust the top of your Chocolate Tiramisu with a light sprinkle of cocoa powder for that classic, restaurant-quality finish.
Make Ahead Options
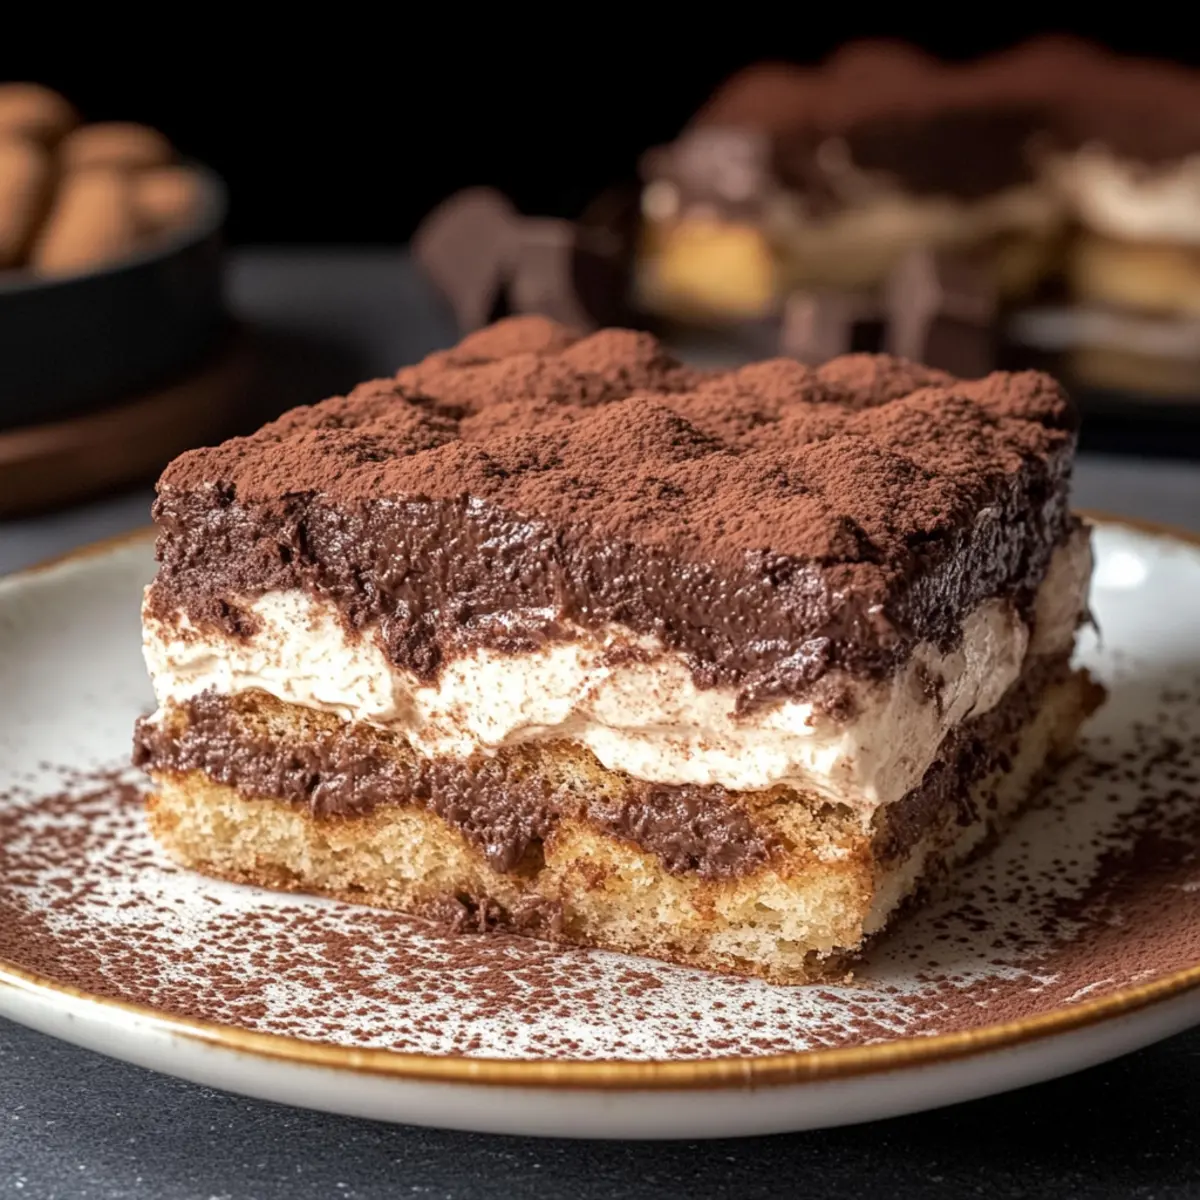
These Chocolate Tiramisu are perfect for busy home cooks looking to save time! You can prepare the cream mixture and assemble the layers up to 24 hours in advance, allowing the flavors to meld beautifully while it chills in the refrigerator. Simply whip the mascarpone and chocolate mixture as directed, layer it with coffee-soaked ladyfingers in a dish, and cover it tightly with plastic wrap. To ensure the tiramisu remains just as delicious, avoid adding the cocoa dusting and any garnishes until right before serving. This way, you’ll have a spectacular dessert ready to impress with minimal last-minute effort!
What to Serve with Chocolate Tiramisu?
Elevate your dessert experience by pairing this luscious tiramisu with delightful accompaniments that balance and enhance its rich flavors.
- Rich Coffee: The classic companion; a well-brewed espresso enhances the coffee notes in the tiramisu, creating a harmonious flavor pairing.
- Sponge Cake: A light, airy sponge adds a delicate texture contrast, perfect for those who crave extra sweetness on the side.
- Fresh Berries: Bright strawberries or raspberries provide a refreshing burst of acidity, cutting through the creaminess and adding a pop of color.
Pairing sponge cake with tiramisu creates a wonderful layering experience. The lightness of the cake complements the density of the creamy dessert, ensuring a delightful texture in every bite.
- Chocolate Shavings: A sprinkle of chocolate shavings adds gourmet flair and intensifies the chocolate flavor, making every serving feel extra special.
- Italian Almond Biscotti: This crunchy treat offers a delightful texture contrast and a nutty flavor that beautifully complements the dessert.
- Vanilla Ice Cream: A scoop of creamy vanilla ice cream can temper the rich tiramisu, allowing your taste buds to savor the flavors without feeling overwhelmed.
For a truly indulgent option, consider serving with fresh berries and a scoop of vanilla ice cream. This combination brings together sweetness, acidity, and creaminess for a completely satisfying dessert experience.
Expert Tips for Chocolate Tiramisu
-
Use Cold Ingredients: Ensure that your mascarpone and heavy cream are very cold. This helps achieve maximum fluffiness in the whipped mixture, making your tiramisu light and airy.
-
Don’t Overwhip: When whipping the mascarpone and heavy cream, avoid overwhipping to keep the mixture from becoming grainy; stop once soft peaks form for the perfect texture in your chocolate tiramisu.
-
Monitor Temperature: Use a digital thermometer when heating the egg mixture. This ensures it reaches the proper temperature without scrambling, providing stability to your creamy filling.
-
Proper Ladyfinger Dipping: Dip ladyfingers quickly in coffee—too long can make them soggy. A quick soak is all you need to maintain their structure while allowing flavor absorption.
-
Chill Well: Allow the assembled tiramisu to chill for a minimum of 4 hours, or overnight if time permits. This step is crucial for letting flavors meld together and for the dessert to firm up properly.
How to Store and Freeze Chocolate Tiramisu
Fridge: Store leftover chocolate tiramisu in an airtight container for up to 2–3 days to maintain its creamy texture and flavor.
Make-Ahead: Prepare chocolate tiramisu a day in advance if possible. It benefits from chilling overnight, allowing flavors to meld beautifully.
Freezer: It’s best to avoid freezing chocolate tiramisu, as the mascarpone may change texture, becoming grainy when thawed.
Reheating: Serve chilled straight from the fridge; there’s no need to reheat this delightful dessert!
Chocolate Tiramisu Variations & Substitutions
Feel free to play with this delightful recipe—your chocolate tiramisu can be as unique and delicious as you want!
-
Chocolate Strawberry Tiramisu: Swap coffee with strawberry sauce and layer in fresh strawberry compote for a fruity twist that brightens the classic flavor.
-
Chocolate Matcha Tiramisu: Replace coffee with matcha tea for a vibrant green tea flavor, and dust the top with matcha powder for a delightful finish.
-
Boozy Chocolate Tiramisu: Enhance the flavors by soaking ladyfingers in coffee liqueur or your favorite spirit for an adult version packed with depth and warmth. This twist is sure to impress!
-
Flavored Mascarpone: Infuse your mascarpone with spices like cinnamon or unique flavors like peanut butter or coconut, tailoring the dessert to your taste preferences. Experimenting can lead to new favorites!
-
Ladyfinger Alternatives: For a unique take, swap out traditional ladyfingers with Oreos or other favorite cookies to add different flavors and textures. Imagine a cookies-and-cream version!
-
Eggless Chocolate Version: Create an eggless tiramisu by incorporating silken tofu blended smooth with melted chocolate to replace the egg yolks, making it a creamy delight for those avoiding eggs.
-
Vegan Chocolate Tiramisu: Substitute the mascarpone with a coconut cream mixture and replace heavy cream with chilled coconut milk. This option is both dairy-free and scrumptiously rich!
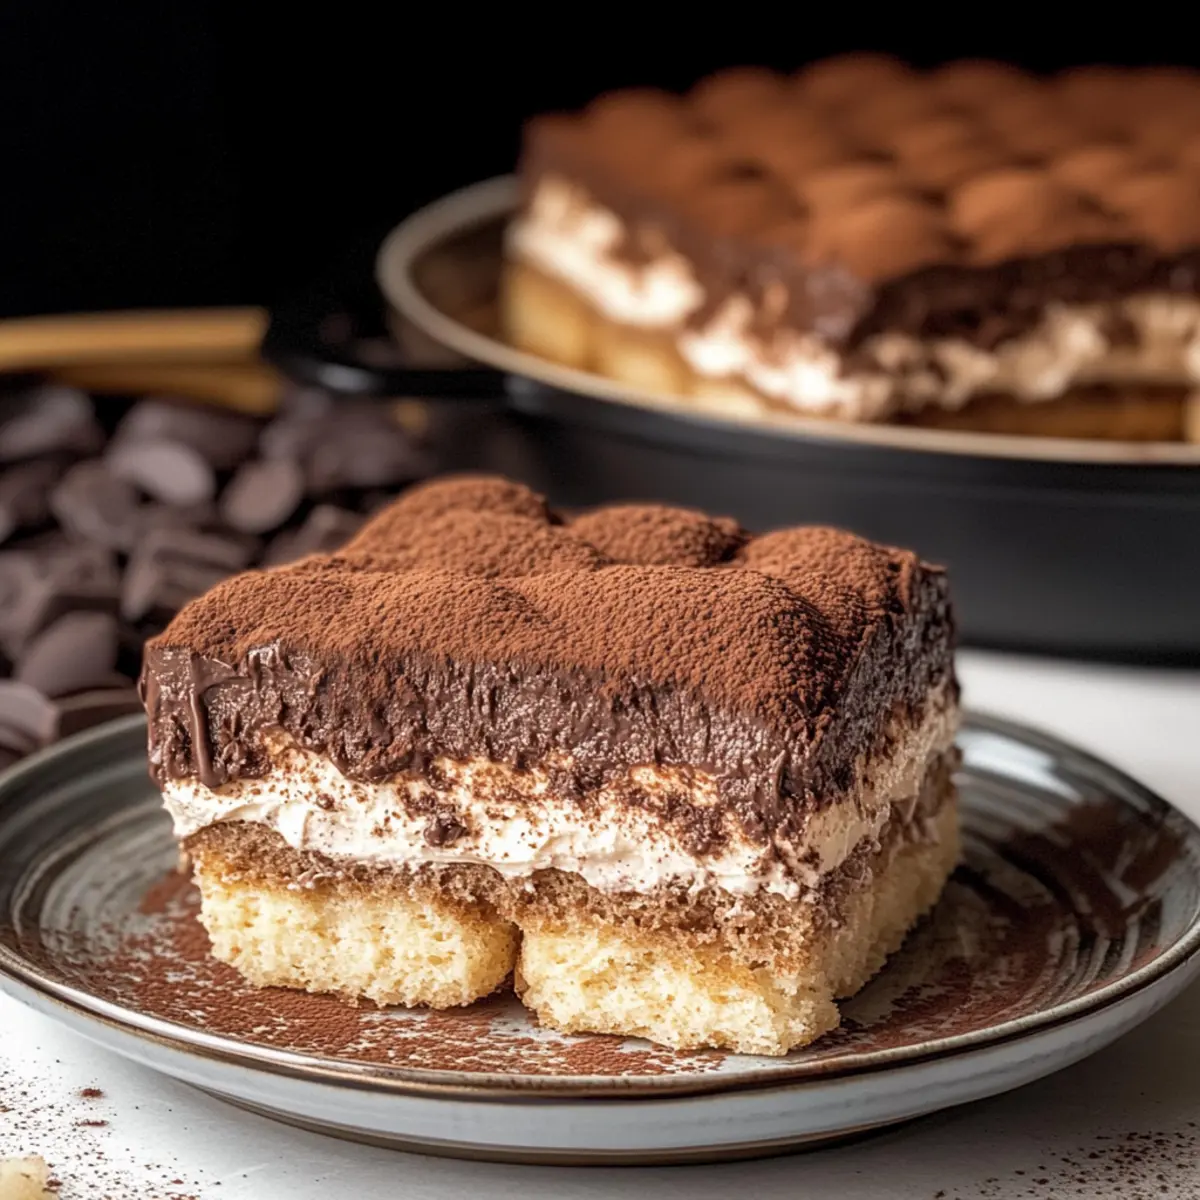
Discovering new twists while creating can turn your chocolate tiramisu into a family favorite. For more chocolate inspiration, try out this White German Chocolate dessert that’s just as tempting!
Chocolate Tiramisu Recipe FAQs
What type of mascarpone should I use for chocolate tiramisu?
Absolutely, for the best results, use high-fat mascarpone. The creamier and richer, the better! Keep it cold before mixing to achieve a lovely texture that will elevate your tiramisu.
How should I store leftover chocolate tiramisu?
To maintain the luxurious creaminess, store leftover chocolate tiramisu in an airtight container in the refrigerator for up to 2–3 days. This way, you can enjoy the rich flavors for a few more days without sacrificing quality!
Can I freeze chocolate tiramisu?
It’s not recommended to freeze chocolate tiramisu, as the mascarpone can develop an unappealing grainy texture upon thawing. Instead, enjoy it fresh! If you’re making it ahead, do so by refrigerating overnight rather than freezing.
What if I run into issues with the whipped cream?
If your whipped cream seems too runny, try chilling the bowl and whisk in the freezer for about 10 minutes before whipping again. Additionally, ensure the heavy cream is very cold—this should help achieve those perfect soft peaks!
Are there any dietary considerations for chocolate tiramisu?
Certainly! For a gluten-free option, look for gluten-free ladyfingers or substitute with alternatives like gluten-free cookies. If you’re concerned about raw eggs, opt for pasteurized eggs to ensure safety while still enjoying the amazing taste of this decadent dessert.
Can I customize the flavor profile of my chocolate tiramisu?
Very! You can easily switch up the flavors by substituting coffee with fruit purees, like strawberry or matcha green tea, for a delightful twist. Another fun option is adding liqueur to soak the ladyfingers—think Kahlúa or Amaretto for a boozy kick. The more the merrier when it comes to flavor!
Irresistible Chocolate Tiramisu: Your New Favorite Dessert Delight
Ingredients
Equipment
Method
- Prepare the Egg Mixture: Set up a double boiler over medium heat and whisk together the egg yolks and granulated sugar for about 5 minutes until pale and thickened.
- Whip the Egg Mixture: Transfer the cooled egg mixture to a stand mixer and beat on medium-high speed for 5 to 7 minutes until light and airy.
- Melt the Chocolate: Gently melt the semi-sweet chocolate until smooth and stir it into the whipped egg mixture gradually.
- Prepare the Cream Mixture: In a separate bowl, whip heavy cream and mascarpone until soft peaks form, then sift in cocoa powder and fold.
- Combine Cream and Chocolate Mixtures: Gently fold the whipped cream into the chocolate-egg mixture until just combined.
- Assemble the Layers: Dip ladyfinger cookies in coffee and arrange in a dish, spreading half of the chocolate cream over them.
- Add the Second Layer: Repeat dipping and layering, then top with remaining chocolate mascarpone cream.
- Chill and Set: Cover with plastic wrap and refrigerate for at least 4 hours or overnight.
- Decorate Before Serving: Whip additional mascarpone, heavy cream, and powdered sugar, then dust with cocoa powder before serving.
Leave a Reply