
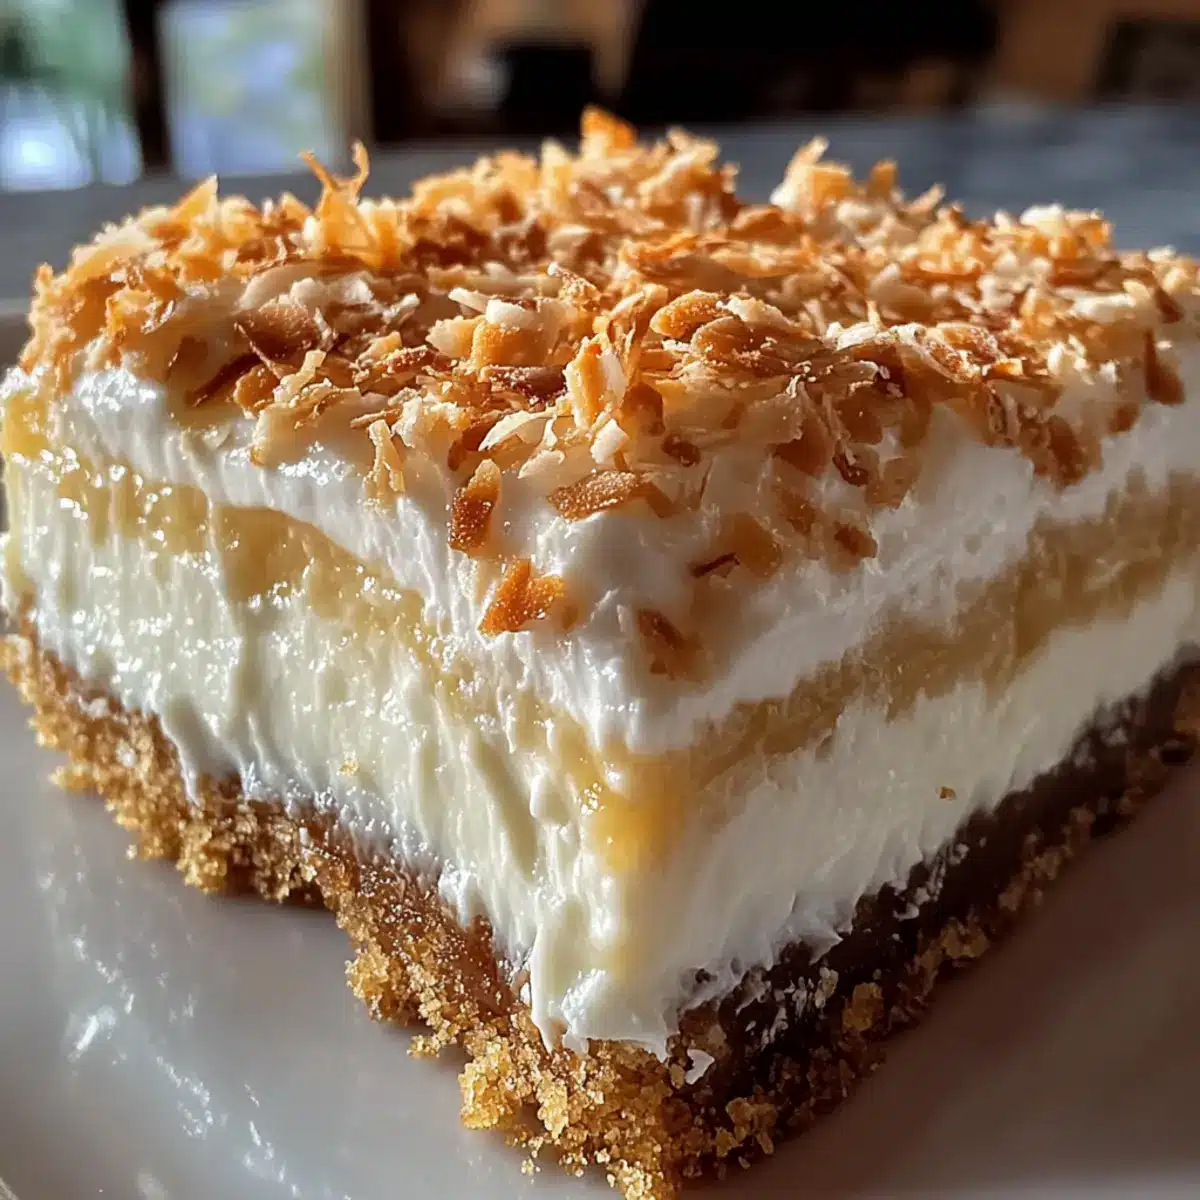
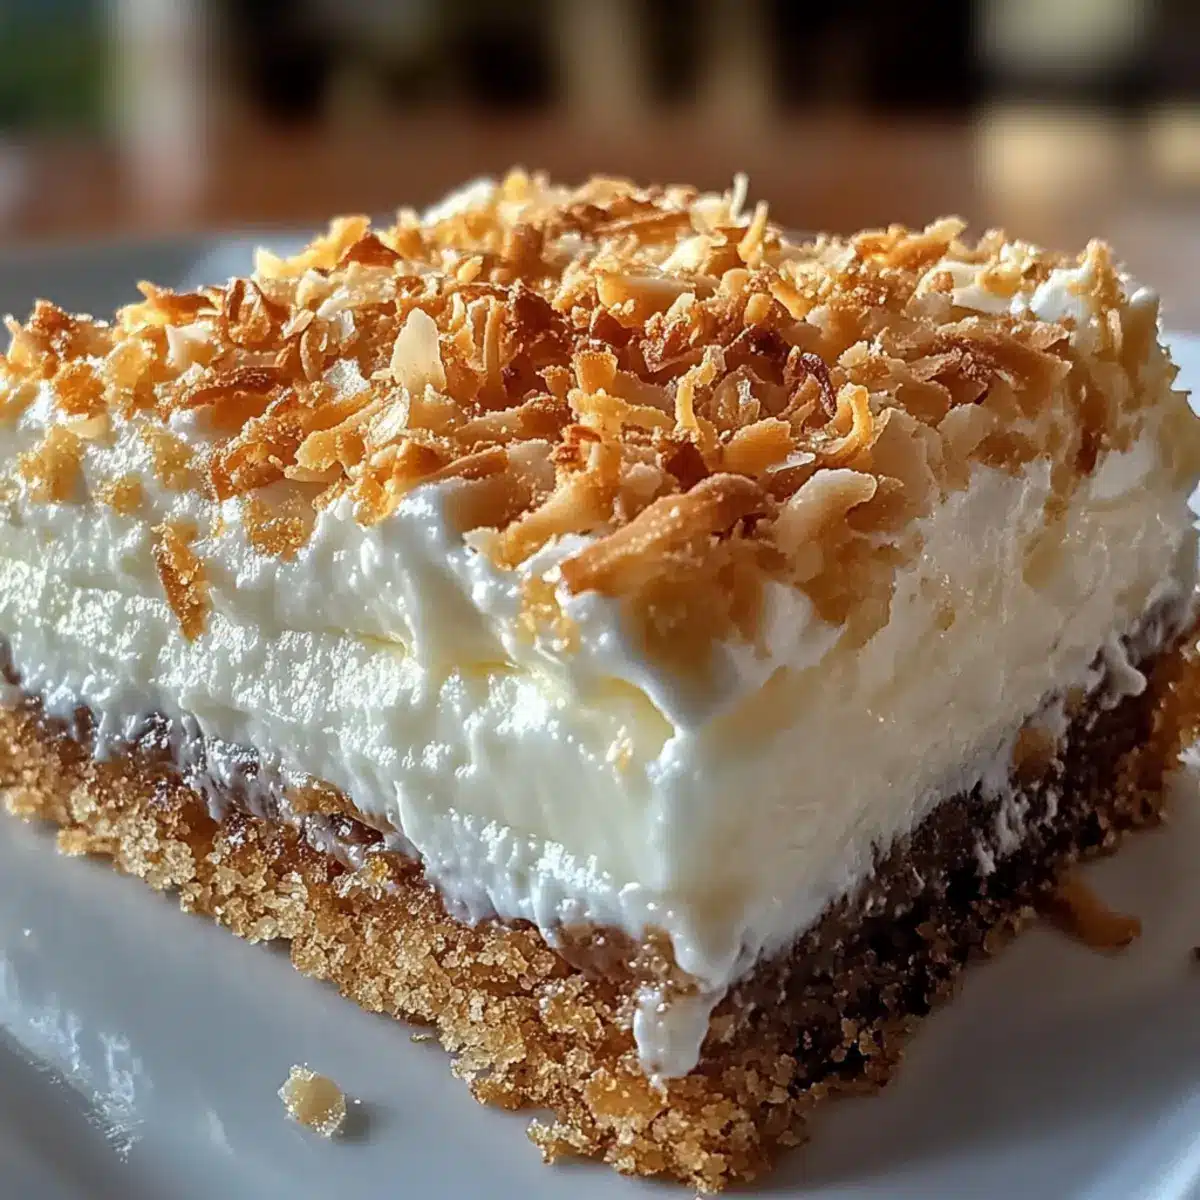
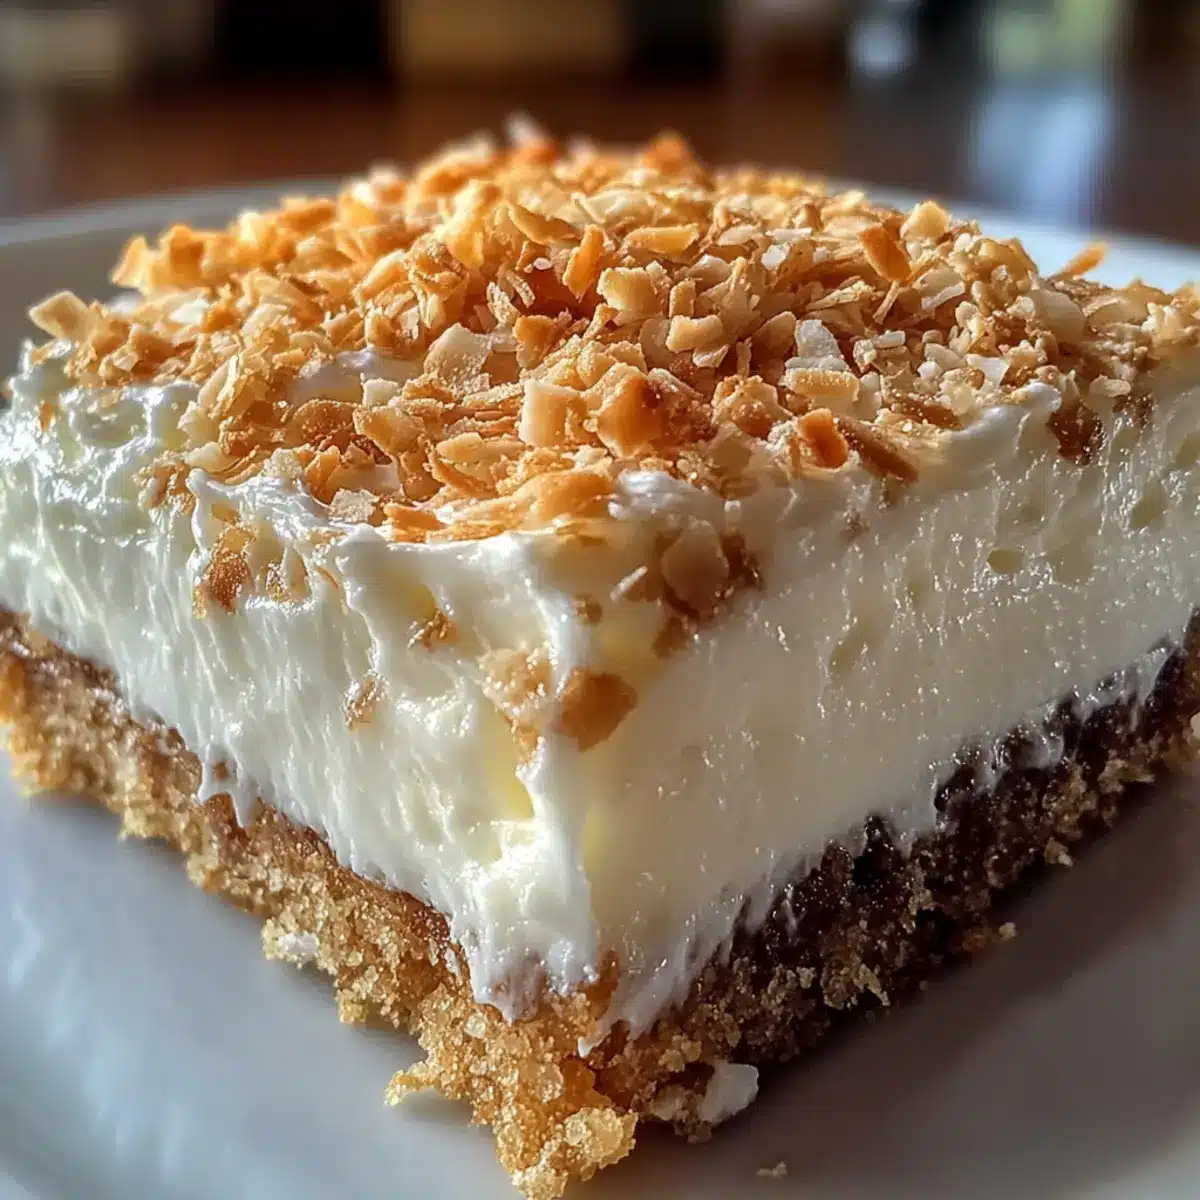
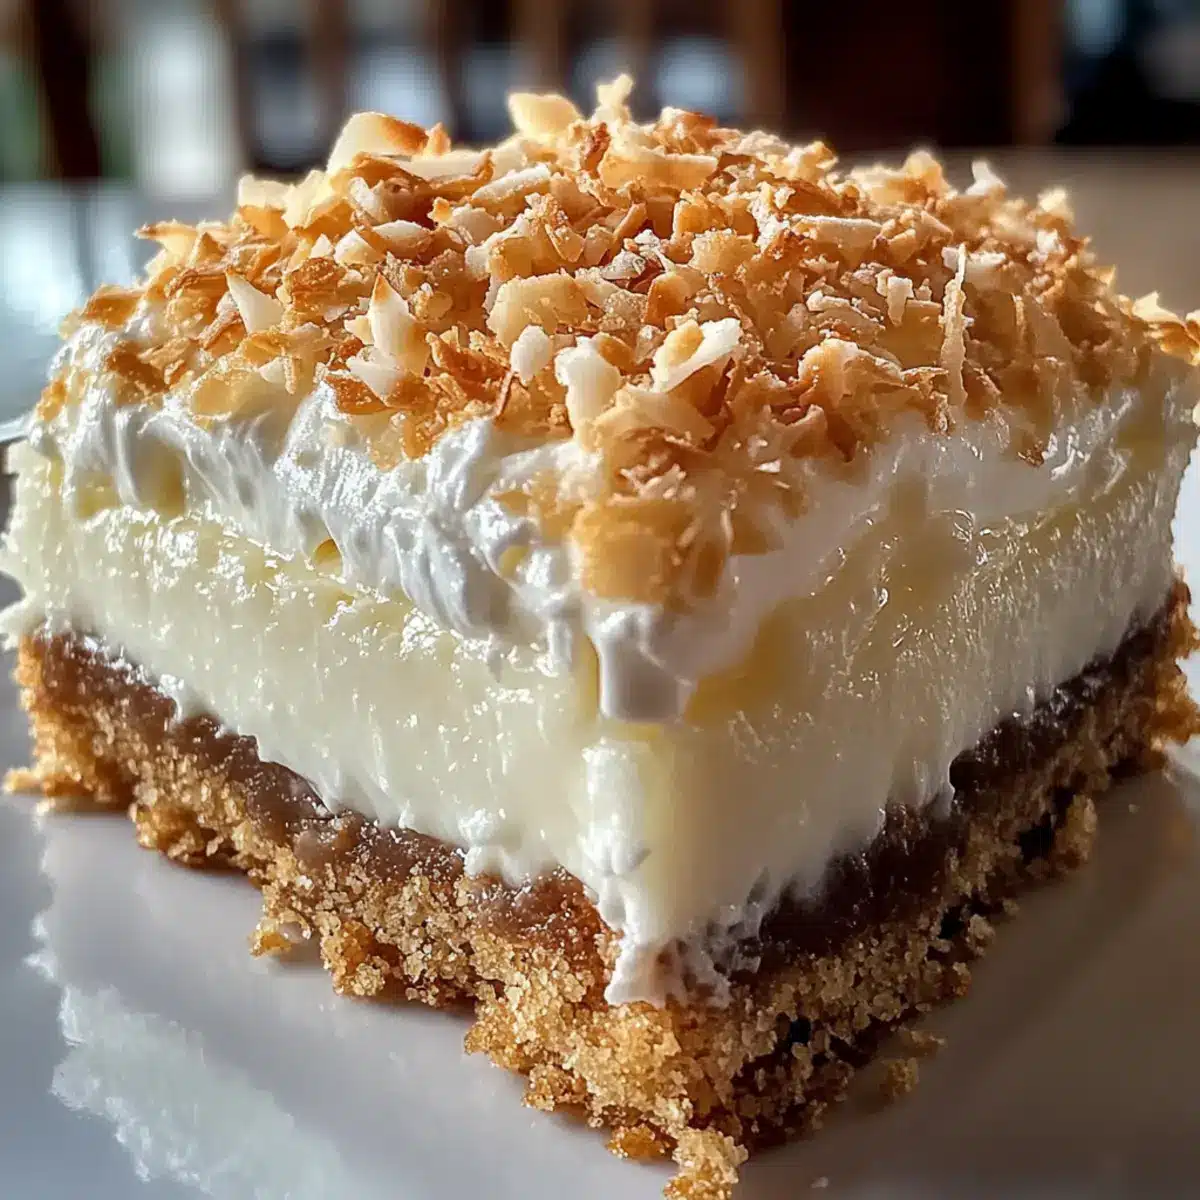
As I bit into a Coconut Cream Dream Bar for the first time, it was like a tropical vacation captured in dessert form; the waves of coconut flavor washed over me, instantly whisking me away to sun-soaked beaches. These delightful bars aren’t just a treat for your taste buds; they are also incredibly simple to whip up, making them a perfect summer dessert for gatherings or a spontaneous sweet craving at home. The velvety filling and crumbly crust come together to create a deliciously satisfying dessert that everyone will love—yes, even those who usually shy away from coconut! So, are you ready to take your taste buds on a dreamy escape with these Coconut Cream Dream Bars? Let’s dive into the recipe!
Why are Coconut Cream Dream Bars a must-try?
Irresistible Creaminess: The velvety texture of these bars is pure bliss, making each bite a delightful experience.
Quick & Easy: With minimal prep time, you can whip these up for unexpected guests or a summer BBQ without breaking a sweat.
Tropical Flavor: Infused with rich coconut flavor, they transport you to a tropical paradise, perfect for hot summer days.
Crowd-Pleasing Treat: Whether at a family gathering or a picnic, these bars are sure to impress and satisfy everyone, even those who typically avoid coconut!
Versatile Options: Want to mix things up? Add fresh fruit like mango or pineapple for a refreshing twist, or try pairing them with a glass of iced tea for a complete summer indulgence! Dive into the joy of homemade desserts with these Coconut Cream Dream Bars!
Coconut Cream Dream Bars Ingredients
• Get ready to indulge in a coconut paradise!
For the Crust
- Graham Cracker Crumbs – Provides crust texture; swap for gluten-free crumbs to accommodate dietary needs.
- Unsalted Butter – Acts as a binding agent; use margarine for a dairy-free alternative.
For the Filling
- Sweetened Condensed Milk – Adds rich sweetness to the filling; substitute coconut milk for a lighter version of the Coconut Cream Dream Bars.
- Shredded Coconut – This gives the signature coconut flavor; fresh coconut can be a delightful alternative for a bolder taste.
- Powdered Sugar – Sweetens the mixture; best not to substitute for balancing flavor.
For the Topping
- Heavy Cream – Whipped to crown the bars with a creamy top; consider whipped coconut cream for a vegan option.
- Vanilla Extract – Enhances the sweetness; add almond extract for an extra layer of flavor if desired.
- Toasted Coconut Flakes – Sprinkle on top for added texture; toasting boosts the coconut flavor!
Step‑by‑Step Instructions for Coconut Cream Dream Bars
Step 1: Preheat the Oven
Begin your Coconut Cream Dream Bars by preheating your oven to 350°F (175°C). This ensures that when you place the crust in the oven, it bakes evenly and to a beautiful golden color. While the oven heats up, gather your ingredients and prepare for the next steps.
Step 2: Prepare the Crust
In a medium bowl, combine the graham cracker crumbs and melted unsalted butter, mixing until well blended. Press this mixture firmly into the bottom of a greased 9×9-inch pan. Bake the crust for 8-10 minutes, or until it’s golden brown and fragrant. After baking, set it aside to cool completely before adding the filling.
Step 3: Make the Filling
In a large mixing bowl, combine sweetened condensed milk, shredded coconut, and powdered sugar. Stir until you achieve a smooth mixture without lumps. Pour this luscious filling over the cooled crust, spreading it evenly to cover the entire surface. By ensuring an even layer, every bite of your Coconut Cream Dream Bars will be delicious!
Step 4: Bake the Filling
Place the pan back into the preheated oven and bake for an additional 15-20 minutes. You’ll know your filling is done when it is set and lightly golden around the edges. After baking, remove from the oven and allow the bars to cool completely at room temperature before moving on to the next step.
Step 5: Whip the Cream
In a chilled mixing bowl, whip the heavy cream with vanilla extract using an electric mixer until soft peaks form. It’s important to keep an eye on it—avoid over-whipping for the best texture. Once whipped, gently spread the cream over the completely cooled filling, creating a smooth, velvety layer on top of your Coconut Cream Dream Bars.
Step 6: Add the Toasted Coconut
Sprinkle the toasted coconut flakes generously over the whipped cream. This step adds delightful texture and enhances the coconut flavor, making your Coconut Cream Dream Bars even more irresistible. Ensure each corner is covered for a beautiful presentation!
Step 7: Chill to Set
Finally, cover the pan with plastic wrap or a lid and refrigerate the bars for at least 2 hours. This chilling time allows the layers to firm up and meld together perfectly, resulting in a refreshing treat that cuts beautifully. Once set, your Coconut Cream Dream Bars are ready to be sliced and served chilled!
Coconut Cream Dream Bars Variations
Feel free to explore these delightful twists to make your Coconut Cream Dream Bars truly your own!
- Dairy-Free: Replace heavy cream with whipped coconut cream for a vegan-friendly topping that still feels indulgent.
- Gluten-Free: Use gluten-free graham cracker crumbs for the crust, allowing everyone to enjoy this treat without worry.
- Tropical Twist: Add crushed pineapple or diced mango into the filling for a refreshing tropical touch that enhances the coconut flavor.
- Nutty Crunch: Incorporate chopped pecans or almonds into the crust for a delightful crunch and flavor boost that complements the creaminess beautifully.
- Extra Sweetness: Drizzle a bit of honey or maple syrup over the top before serving for a touch of sweetness that enhances the overall experience.
- Chocolate Layer: For a chocolate lovers’ option, layer a chocolate ganache beneath the whipped cream for a fabulous contrast to the coconut.
- Citrus Zing: Add a hint of lime juice or zest to the filling to brighten the flavors and create a perfect balance with the sweetness.
- Spiced Delight: Sprinkle in a pinch of cinnamon or nutmeg into the crust for a warm, aromatic flavor that pairs lovely with the coconut.
Whether it’s your first try or a new twist, these variations promise to turn your Coconut Cream Dream Bars into an unforgettable dessert experience that everyone will adore. And if you’re up for more summer treats, try pairing these bars with a refreshing glass of iced tea, or indulge in Lemon Zucchini Bars alongside your Coconut Cream Dream Bars!
Make Ahead Options
These Coconut Cream Dream Bars are perfect for busy home cooks looking to save time while enjoying a delectable dessert! You can prepare the crust and filling up to 24 hours in advance; simply bake and cool the crust, and then store the filling (covered) in the refrigerator. For optimal results, layer the filling onto the crust just before you whip the heavy cream, maintaining that airy texture. If you refrigerate the assembled bars, they should be served within 3 days to keep everything fresh and delicious. When ready to serve, top with whipped cream and toasted coconut flakes for that delightful finishing touch, ensuring each bite is just as heavenly as the first!
Storage Tips for Coconut Cream Dream Bars
- Fridge: Store your Coconut Cream Dream Bars in an airtight container in the refrigerator for up to 1 week. This keeps them fresh and preserves their delicious creamy texture.
- Freezer: For longer storage, freeze the bars wrapped individually in plastic wrap and then placed in a freezer-safe container for up to 3 months. Thaw in the fridge overnight before serving.
- Reheating: These bars are best served chilled; there’s no need to heat them. If thawed from the freezer, simply let them sit in the refrigerator for a few hours before indulging.
- Serving Reminder: Always slice the bars while they are chilled to ensure clean, neat cuts for a beautiful presentation when serving.
What to Serve with Coconut Cream Dream Bars?
Indulging in these refreshing bars opens the door to a delightful summer meal experience.
- Iced Coconut Water: This hydrates and complements the coconut flavor, making it a tropical match for your dessert.
- Fresh Pineapple Slices: Juicy and sweet, pineapple adds a bright, refreshing contrast to the creamy bars.
- Minty Fruit Salad: A mix of watermelon, berries, and mint elevates the dessert’s tropical vibe with vibrant freshness.
- Vanilla Ice Cream: The creaminess pairs beautifully with the bars’ texture for that ultimate creamy indulgence.
- Sparkling Lemonade: The zesty bubbles provide a refreshing contrast to the rich flavors of the dessert.
- Chocolate Drizzle: A light drizzle of chocolate gives a decadent twist that enhances the bars’ complexity.
Serve these delightful Coconut Cream Dream Bars alongside any of these pairs, and you’ll create a harmonious and satisfying summer feast!
Expert Tips for Coconut Cream Dream Bars
- Cooling is Key: Ensure your filling is completely cooled before adding the whipped cream to prevent it from melting and losing that dreamy texture.
- Don’t Over-Whip: Whip your heavy cream only until soft peaks form; over-whipping can lead to a grainy texture, compromising the lightness of your Coconut Cream Dream Bars.
- Check for Set Filling: Make sure the filling is lightly golden and well-set before removing it from the oven. Undercooking can leave it runny.
- Consider Coconut Substitutes: If you’re looking for a lighter treat, substitute sweetened condensed milk with coconut milk without sacrificing flavor.
- Toast for Extra Flavor: Toasting your coconut flakes elevates the flavor and adds a wonderful crunch, making your dessert even more delightful.
Coconut Cream Dream Bars Recipe FAQs
What type of coconut should I use for the best flavor?
For the most delightful coconut flavor in your Coconut Cream Dream Bars, I recommend using fresh shredded coconut if available. It offers a bolder, more intense taste compared to dried varieties. However, sweetened shredded coconut is a great alternative if fresh isn’t an option.
How should I store leftover Coconut Cream Dream Bars?
Store your Coconut Cream Dream Bars in an airtight container in the refrigerator for up to 1 week. This ensures they stay fresh and maintain their creamy texture. Just make sure they are properly covered to avoid any absorption of fridge odors!
Can I freeze Coconut Cream Dream Bars?
Absolutely! To freeze your Coconut Cream Dream Bars, wrap them individually in plastic wrap and then place them in a freezer-safe container. They can be frozen for up to 3 months. When you’re ready to enjoy them, simply thaw them in the refrigerator overnight. This way, they keep their delicious charm!
What should I do if my filling is too runny?
If you find your filling is too runny, it may need a little more time in the oven. Make sure it’s set and lightly golden around the edges. If it’s still creamy after cooling, allow it to chill in the refrigerator for a few more hours to firm up before topping with the whipped cream.
Can I make Coconut Cream Dream Bars dairy-free?
Yes! To make these bars dairy-free, substitute unsalted butter with margarine and use whipped coconut cream instead of heavy cream. You can also swap sweetened condensed milk with coconut milk for a lighter filling, still preserving that delightful coconut flavor.
Is there a way to make these bars healthier?
Certainly! For a healthier twist, you can reduce the amount of powdered sugar in the filling, or use a sugar substitute that measures similarly. Additionally, consider using whole-grain graham cracker crumbs for a boost in fiber and nutrients, which can make your Coconut Cream Dream Bars a little more wholesome.
Coconut Cream Dream Bars: The Ultimate Summer Delight
Ingredients
Equipment
Method
- Preheat your oven to 350°F (175°C).
- In a medium bowl, combine graham cracker crumbs and melted unsalted butter, mixing until well blended. Press this mixture into the bottom of a greased 9×9-inch pan. Bake for 8-10 minutes until golden brown.
- In a large mixing bowl, combine sweetened condensed milk, shredded coconut, and powdered sugar. Stir until smooth. Pour filling over the cooled crust.
- Bake for an additional 15-20 minutes until filling is set and lightly golden. Let cool at room temperature.
- In a chilled mixing bowl, whip heavy cream with vanilla extract until soft peaks form. Spread over the cooled filling.
- Sprinkle toasted coconut flakes generously over the whipped cream.
- Cover the pan and refrigerate for at least 2 hours to set.
Leave a Reply