
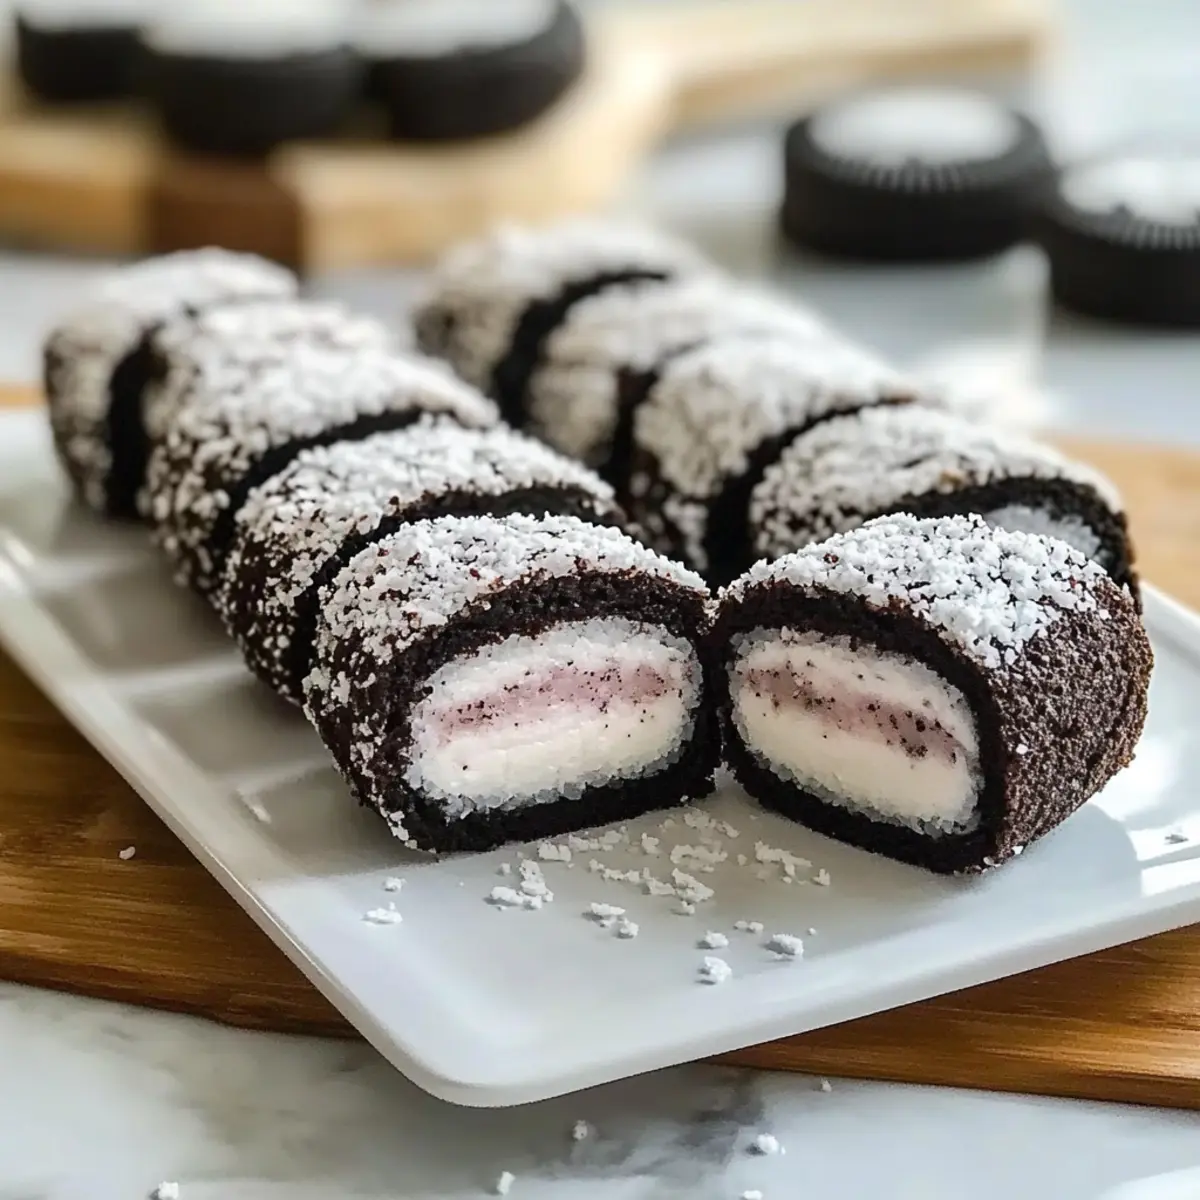
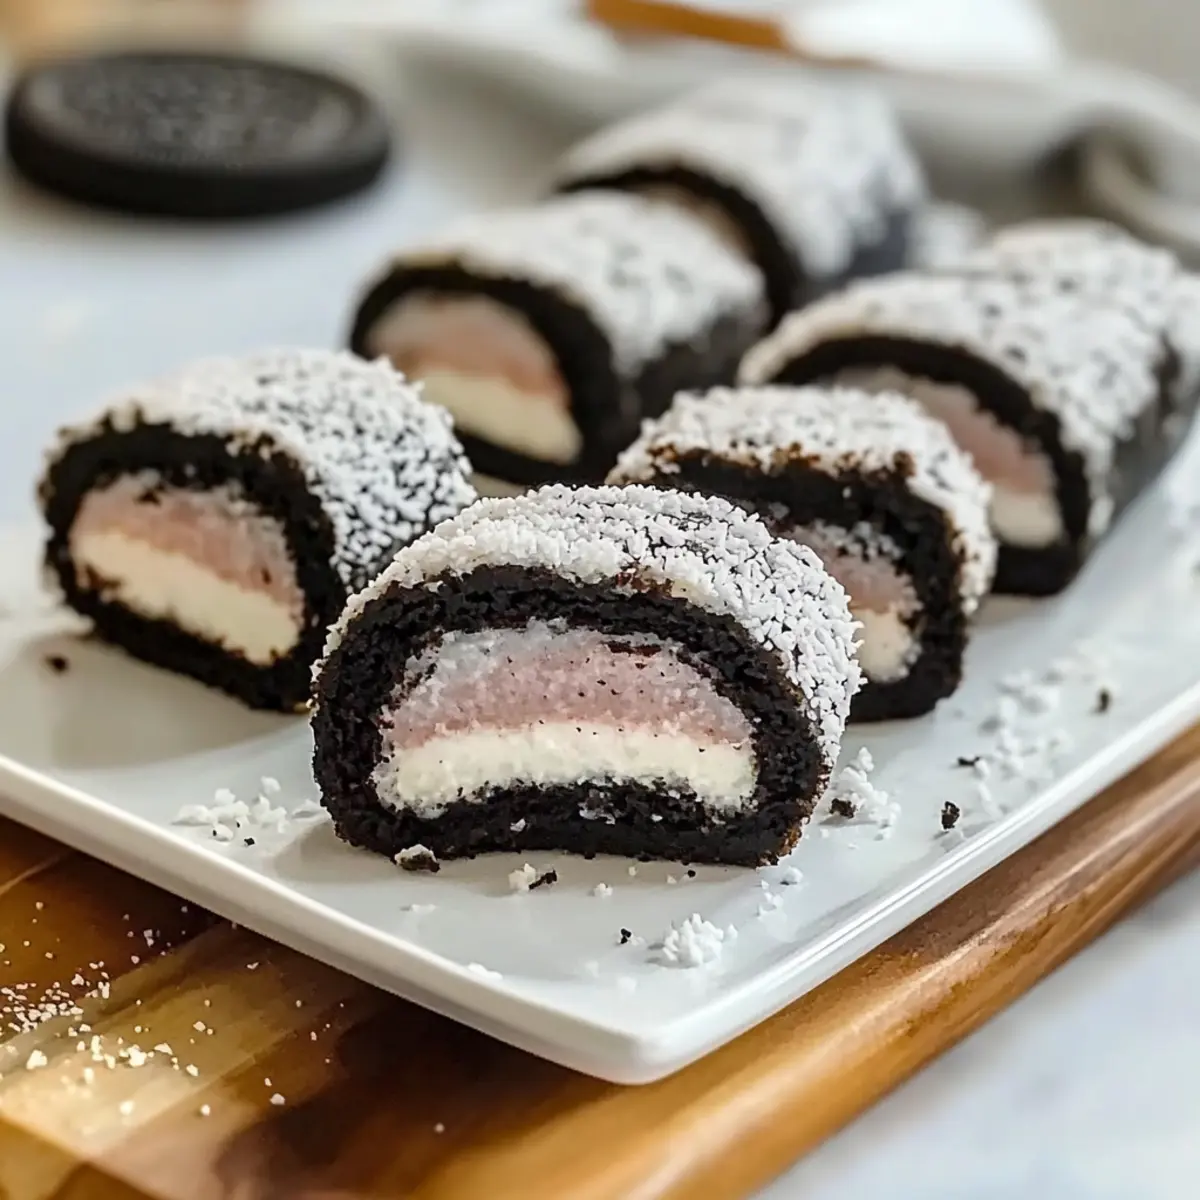
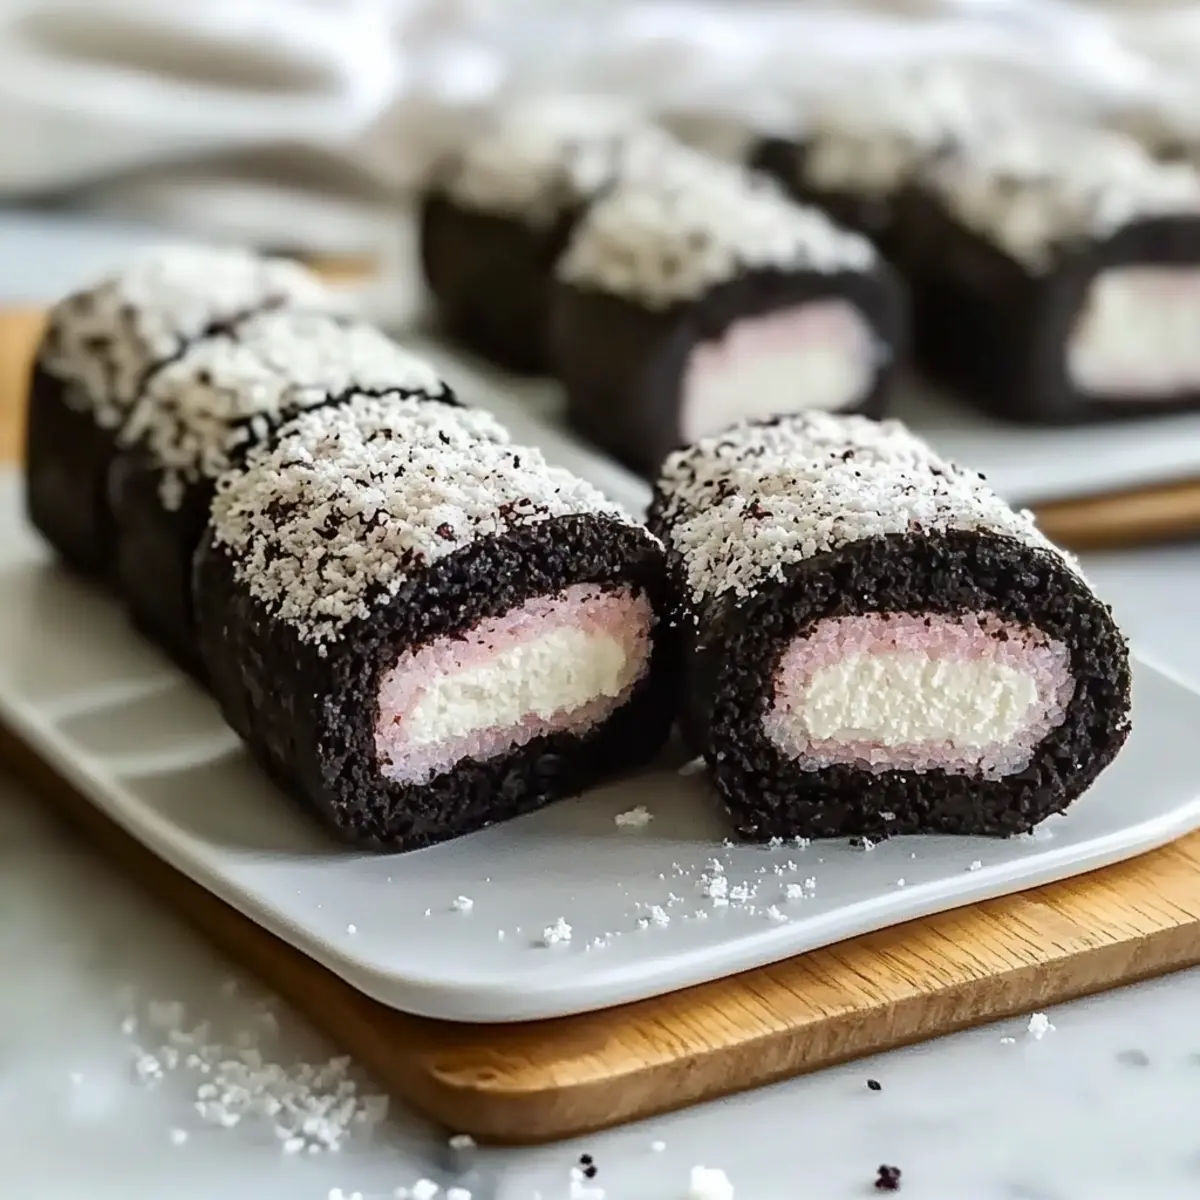
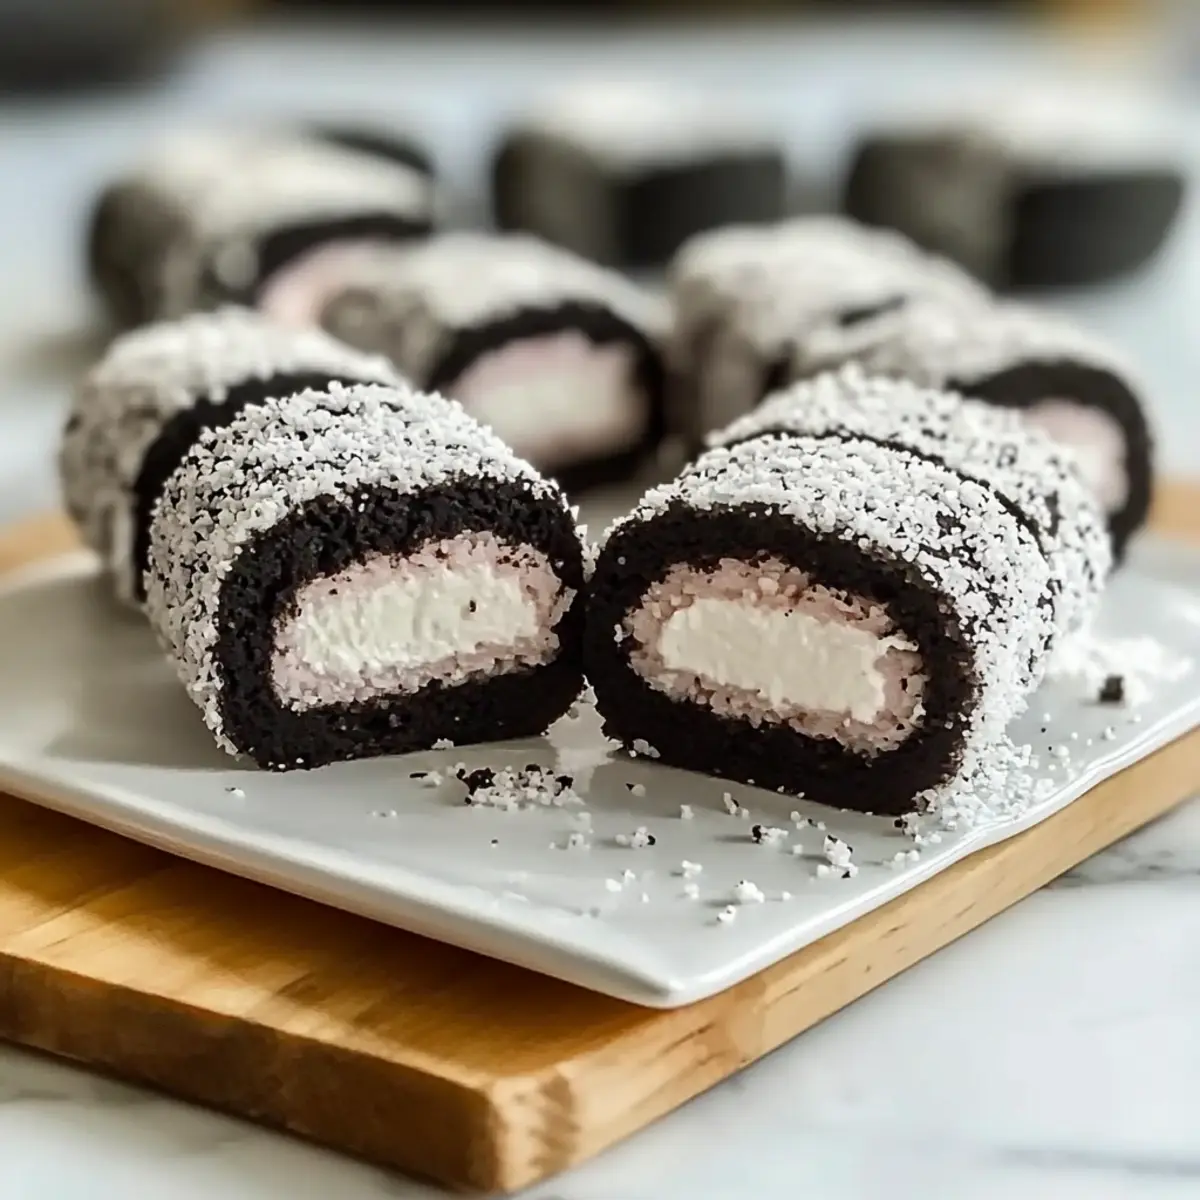
The moment I took my first bite of Oreo Sushi, I couldn’t help but giggle at how fun and clever this dessert truly is! This whimsical creation transforms ordinary Oreos into playful sushi-like rolls, leaving behind the humdrum of traditional desserts. With just two simple ingredients, this easy-to-make treat combines the classic Oreo’s creamy filling and crunchy texture, making it a perfect canvas for creativity, whether you’re a seasoned home chef or just looking to have fun in the kitchen. Not only is Oreo Sushi a crowd-pleaser, ready to impress at parties and family gatherings, but it’s also a fantastic way to get the kids involved in cooking. I can’t wait to share my tips and tricks on how to whip up this delightful dessert and explore some exciting variations. Are you ready to roll into a world of sweet adventure?
Why is Oreo Sushi so special?
Uniqueness: This recipe takes the beloved Oreo and turns it into a fun, sushi-inspired dessert that’s unlike anything you’ve tried before.
Two Ingredients: With just Oreos and milk, you’ll find it incredibly easy and quick to make, allowing anyone to whip up a sweet treat in no time.
Kid-Friendly Fun: Get the little ones involved! They’ll love helping with the rolling and slicing, making kitchen time a joyful experience.
Versatile Creations: Feel free to explore flavors! Use everything from mint Oreos to add fruit for a refreshing twist, creating your signature version of this dessert.
Crowd-Pleaser: Perfect for parties, this whimsical dish is sure to impress guests of all ages and spark conversations. Don’t forget to serve it at your next gathering!
Oreo Sushi Ingredients
• Get ready for an easy treat!
For the Base
- Oreos – The star of the show, providing sweetness and structure; feel free to switch to your favorite Oreo flavor, like mint or peanut butter.
- Milk – This binds the ingredients together, creating a dough-like consistency; you can use any milk variety, such as whole or almond.
For Serving (Optional)
- Chocolate Sauce – Add a delightful drizzle for an extra sweet touch.
- Sprinkles or Nuts – Enhance visual appeal and add a bit of crunch to your Oreo Sushi bites!
- Fresh Fruits – Feel free to include sliced strawberries or bananas for a refreshing twist in your rolls.
Step‑by‑Step Instructions for Oreo Sushi
Step 1: Separate the Oreos
Start by twisting apart each Oreo, carefully removing the cream filling from the cookie halves. Place the cream filling in a bowl for later use, and place the cookie halves inside a zip-top bag. Once all Oreos are separated, seal the bag and prepare for crushing, ensuring all your equipment, like a rolling pin, is ready to go.
Step 2: Prepare the Cookie Base
Using a rolling pin, crush the Oreo cookie halves in the bag until they turn into fine crumbs, which should take about 2-3 minutes of firm rolling. Pour the cookie crumbs into a mixing bowl, and gradually add milk while mixing until you achieve a thick, dough-like consistency. This mixture will be the foundation of your Oreo Sushi, so ensure it holds together well.
Step 3: Assemble the Roll
Lay a sheet of plastic wrap on a flat surface, ensuring it is large enough to accommodate your cookie mixture. Spread the dough-like Oreo mixture evenly over the wrap, forming a rectangle shape. Next, layer the cream filling from earlier on top of the cookie base, pushing it gently into the mixture to ensure it sticks and adds a creamy center to your delicious rolls.
Step 4: Roll and Slice
Carefully lift the edge of the plastic wrap and start rolling the mixture tightly to form a log shape, keeping it as compact as possible. Once rolled up, twist the ends of the plastic wrap to secure the log and refrigerate it for about 30 minutes. This will firm it up, making it easier to slice into bite-sized pieces that resemble sushi.
Step 5: Serve the Oreo Sushi
After chilling, remove the log from the refrigerator and unwrap it. Using a sharp knife, slice the roll into approximately 1-inch thick pieces, revealing the delightful layers inside. Arrange the pieces on a serving plate, and feel free to garnish with sprinkles, nuts, or a drizzle of chocolate sauce to elevate your Oreo Sushi’s presentation before serving.
Expert Tips for Oreo Sushi
-
Chill for Precision: Refrigerate the rolled log for at least 30 minutes. This firms up the mixture, making it easier to slice without crumbling.
-
Fine Crumbs Matter: Ensure the Oreo cookies are crushed into fine crumbs for a smooth consistency in your Oreo Sushi. Larger chunks can make rolling difficult.
-
Creative Versions: Experiment with different Oreo flavors and add-ins, like fruit slices or even flavored creams, to create unique variations of this delightful dessert.
-
Use Quality Milk: Opt for whole or full-fat milk for creamier results. Non-dairy alternatives work, but may slightly alter the flavor and texture of the Oreo Sushi.
-
Presentation is Key: For a beautiful serving platter, garnish with colorful sprinkles or nuts. Adding a drizzle of chocolate sauce enhances visual appeal and taste!
Oreo Sushi Variations & Substitutions
Feel free to get creative with your Oreo Sushi and explore some delicious twists that will make this fun dessert even more delightful!
- Add Fruit: Toss in fresh fruit slices like strawberries or bananas for a refreshing twist inside the roll. The contrast of sweet fruit with rich creaminess is simply divine!
- Different Oreo Flavors: Switch things up with seasonal or flavored Oreos such as pumpkin spice or birthday cake for a unique taste experience. Each flavor brings its own delightful surprise!
- Toppings: Elevate your sushi with melted chocolate dip, caramel drizzle, or crushed nuts for added layers of flavor and texture. A sprinkle of sea salt can also bring a surprising depth!
- Frozen Version: Freeze your rolls for a cool, refreshing treat on a hot day. It’s like an Oreo ice cream roll—perfect for summer fun!
- Nut Butter Add-ins: Mix in a couple of tablespoons of your favorite nut butter for an extra nutty flavor and creamy texture. This also enhances the health aspect, making it slightly more nutritious.
- Matcha Dusting: For a trendy twist, dust your sliced rolls with matcha powder for a delightful flavor contrast and a pop of color. It’ll add a unique, earthy note that pairs well with the sweetness.
- Spicy Kick: Drizzle some sriracha or spicy chocolate sauce for those who like a bit of heat with their sweet. It’s a surprising combination that tantalizes the taste buds.
- Crushed Cookies for Garnish: Keep it simple by rolling the sliced pieces in crushed Oreos to enhance that cookie taste and add a fun crunch to each bite.
For some delightful ideas, explore how to use fresh ingredients like fruit in your cooking adventures. Embrace the creativity that cooking brings by diving into these variations!
What to Serve with Oreo Sushi
Nothing complements this playful dessert like a variety of colorful and flavorful sides that encourage exploration and delight.
- Fresh Fruit Salad: A vibrant mix of seasonal fruits adds a refreshing contrast to the sweetness of Oreo Sushi, brightening each bite.
- Vanilla Ice Cream: This creamy classic brings a luscious creaminess, balancing the crunchy texture of the sushi while enhancing the overall dessert experience.
- Chocolate Sauce: Drizzling rich chocolate sauce over the rolls intensifies their indulgence, turning your Oreo Sushi into a chocolate lover’s dream!
- Coconut Whipped Cream: Light and airy, this topping not only elevates the dessert’s presentation but also adds a delightful tropical twist.
You’ll also want to consider pairing with:
- Coffee or Tea: A warm cup of coffee or aromatic tea brings a comforting element, making each morsel shine even brighter.
- Sprinkles or Crushed Nuts: Adding these on top creates a beautiful visual, while the added crunch enhances the depth of flavor and texture to your dessert!
By incorporating a range of sides and toppings, you can create a dessert spread that’s not just delicious, but also an unforgettable experience for everyone at the table.
Make Ahead Options
Oreo Sushi is a fantastic choice for meal prep, saving you time on busy days! You can prepare the cookie base up to 24 hours in advance by crushing the Oreos and mixing them with milk; simply store the mixture in an airtight container in the refrigerator to keep it fresh. Additionally, you can separate the cream filling and store it in a separate bowl. When ready to serve, spread the prepared cookie paste and cream filling, roll it up, and refrigerate for 30 minutes to firm it up. This method ensures your Oreo Sushi remains just as delicious and ready to impress!
How to Store and Freeze Oreo Sushi
Fridge: Store any leftover Oreo Sushi in an airtight container for up to 2 days. This will keep them fresh and maintain their delightful flavor.
Freezer: For longer storage, wrap the sliced rolls tightly in plastic wrap and place them in an airtight container in the freezer for up to 2 months. This lets you enjoy this fun dessert anytime!
Thawing: When ready to enjoy, thaw the wrapped rolls in the refrigerator for a few hours or at room temperature for about 30 minutes.
Reheating: Since Oreo Sushi is best served cold or at room temperature, simply slice and serve after thawing, without any need for reheating.
Oreo Sushi Recipe FAQs
How should I select Oreos for this recipe?
Absolutely! Look for Oreos that are fresh and free from any dark spots or signs of moisture. I recommend using classic Oreos for traditional flavor, but feel free to explore various fun flavors like mint or peanut butter for a twist!
What’s the best way to store leftover Oreo Sushi?
Very good question! Store any leftover Oreo Sushi in an airtight container in the refrigerator for up to 2 days. This keeps them fresh and maintains their delightful flavor. If you find the rolls getting too soft, wrapping them tightly will help keep their shape.
Can I freeze Oreo Sushi?
Yes, indeed! To freeze your Oreo Sushi, wrap the sliced rolls tightly in plastic wrap and place them in an airtight container or a freezer bag. They can be stored in the freezer for up to 2 months. When you’re ready to enjoy, simply thaw them in the refrigerator for a few hours or at room temperature for about 30 minutes.
What if the Oreo mixture is crumbling?
If your mixture is crumbling, don’t worry! Make sure you’ve crushed the Oreo cookies finely enough. If needed, add a little more milk gradually until the dough comes together, ensuring it’s thick but moldable. Remember, chilling it briefly in the fridge can also help firm it up for easier handling.
Are there any dietary considerations I should keep in mind?
Definitely! Since this recipe uses Oreos, which contain allergens like wheat and dairy, be cautious if anyone has allergies. For a gluten-free option, you could experiment with gluten-free cookies. Additionally, if making it for pets, remember Oreos are not suitable for dogs or cats due to their sugar content and chocolate.
Can I add other ingredients to the Oreo Sushi?
The more the merrier! Feel free to incorporate fresh fruit slices, like strawberries or bananas, inside the rolls for a refreshing twist. You can also try adding different toppings such as sprinkles, nuts, or a drizzle of chocolate sauce to enhance both flavor and presentation.
Oreo Sushi: Easy, Fun, and Irresistibly Delicious Treat
Ingredients
Equipment
Method
- Start by twisting apart each Oreo, carefully removing the cream filling from the cookie halves. Place the cream filling in a bowl for later use, and place the cookie halves inside a zip-top bag. Seal the bag and prepare for crushing.
- Crush the Oreo cookie halves in the bag until they turn into fine crumbs, which should take about 2-3 minutes of firm rolling. Pour the cookie crumbs into a mixing bowl, and gradually add milk while mixing until you achieve a thick, dough-like consistency.
- Lay a sheet of plastic wrap on a flat surface and spread the dough-like Oreo mixture evenly over the wrap, forming a rectangle shape. Layer the cream filling on top, pushing it gently into the mixture.
- Carefully lift the edge of the plastic wrap and start rolling the mixture tightly to form a log shape. Twist the ends of the plastic wrap to secure and refrigerate for about 30 minutes to firm up.
- After chilling, remove the log from the refrigerator and unwrap. Slice the roll into approximately 1-inch thick pieces and arrange on a serving plate. Garnish with sprinkles, nuts, or a drizzle of chocolate sauce before serving.
Leave a Reply