
You won’t believe how something so simple can evoke such delightful nostalgia. Thumbprint Cookies hold a special place in my heart, not just for their buttery, crumbly texture but for the way they spark joyful memories of baking days with family. With our Classic Thumbprint Cookies Recipe, you’ll create perfectly crisp edges surrounding a sweet jam center that’s sure to impress both the novice and seasoned baker alike. The beauty of this recipe lies not only in its straightforward preparation, making it accessible for everyone, but also in its versatility; you can fill these cookies with any jam you desire! Whether you’re looking to impress guests at your next gathering or simply craving a sweet, homemade snack, these cookies are a crowd-pleaser that’ll quickly become a beloved favorite. Ready to embark on a baking adventure? Let’s dive into crafting these charming treats together!
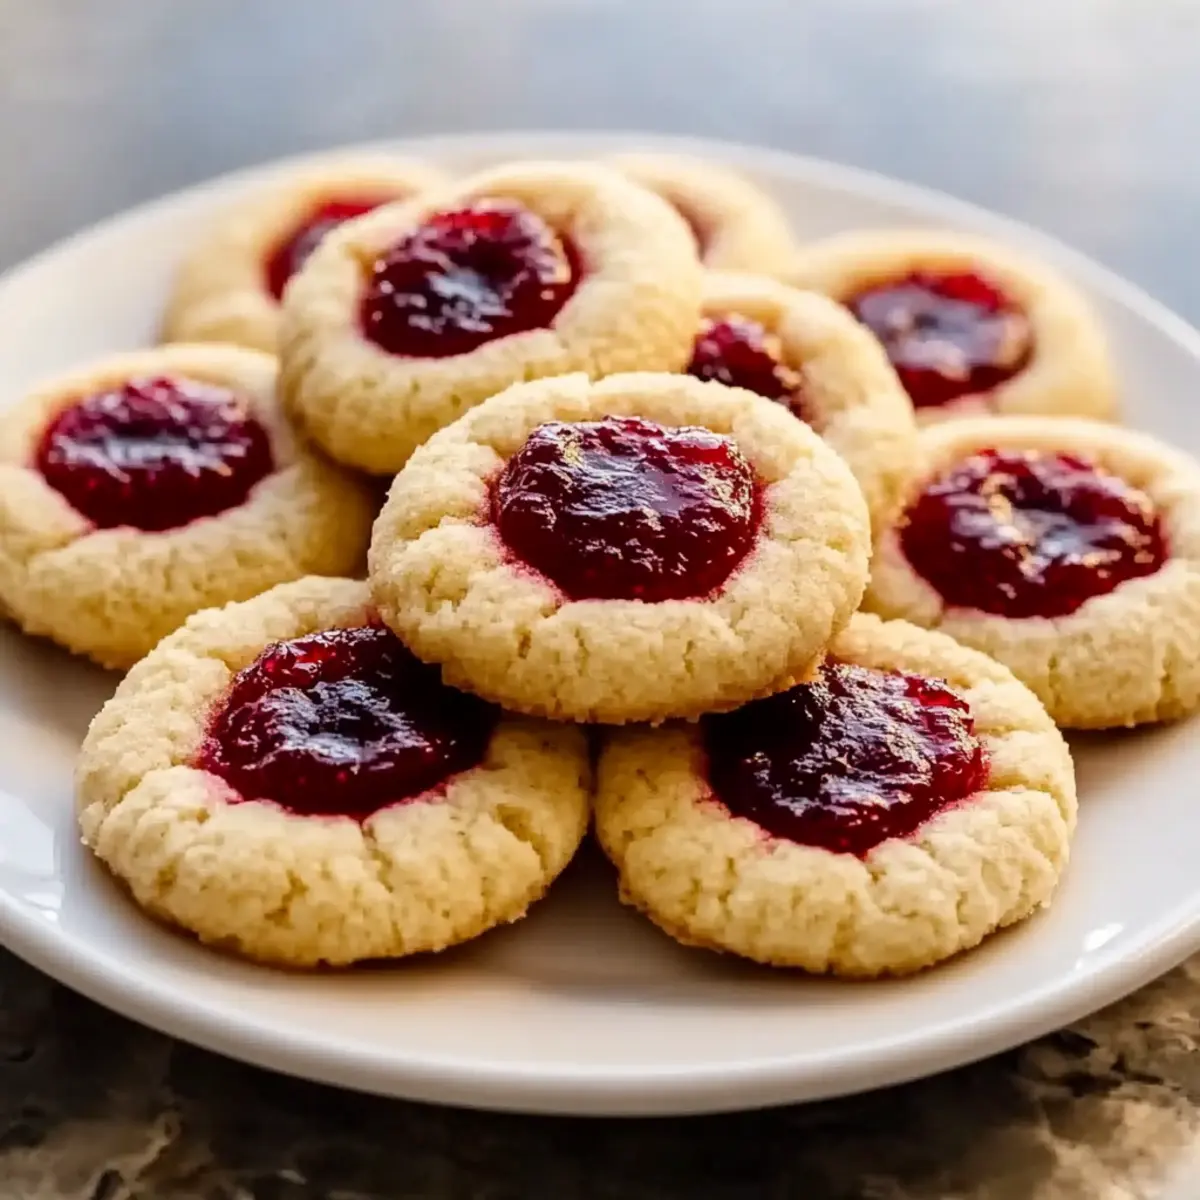
Why are Thumbprint Cookies a Must-Try?
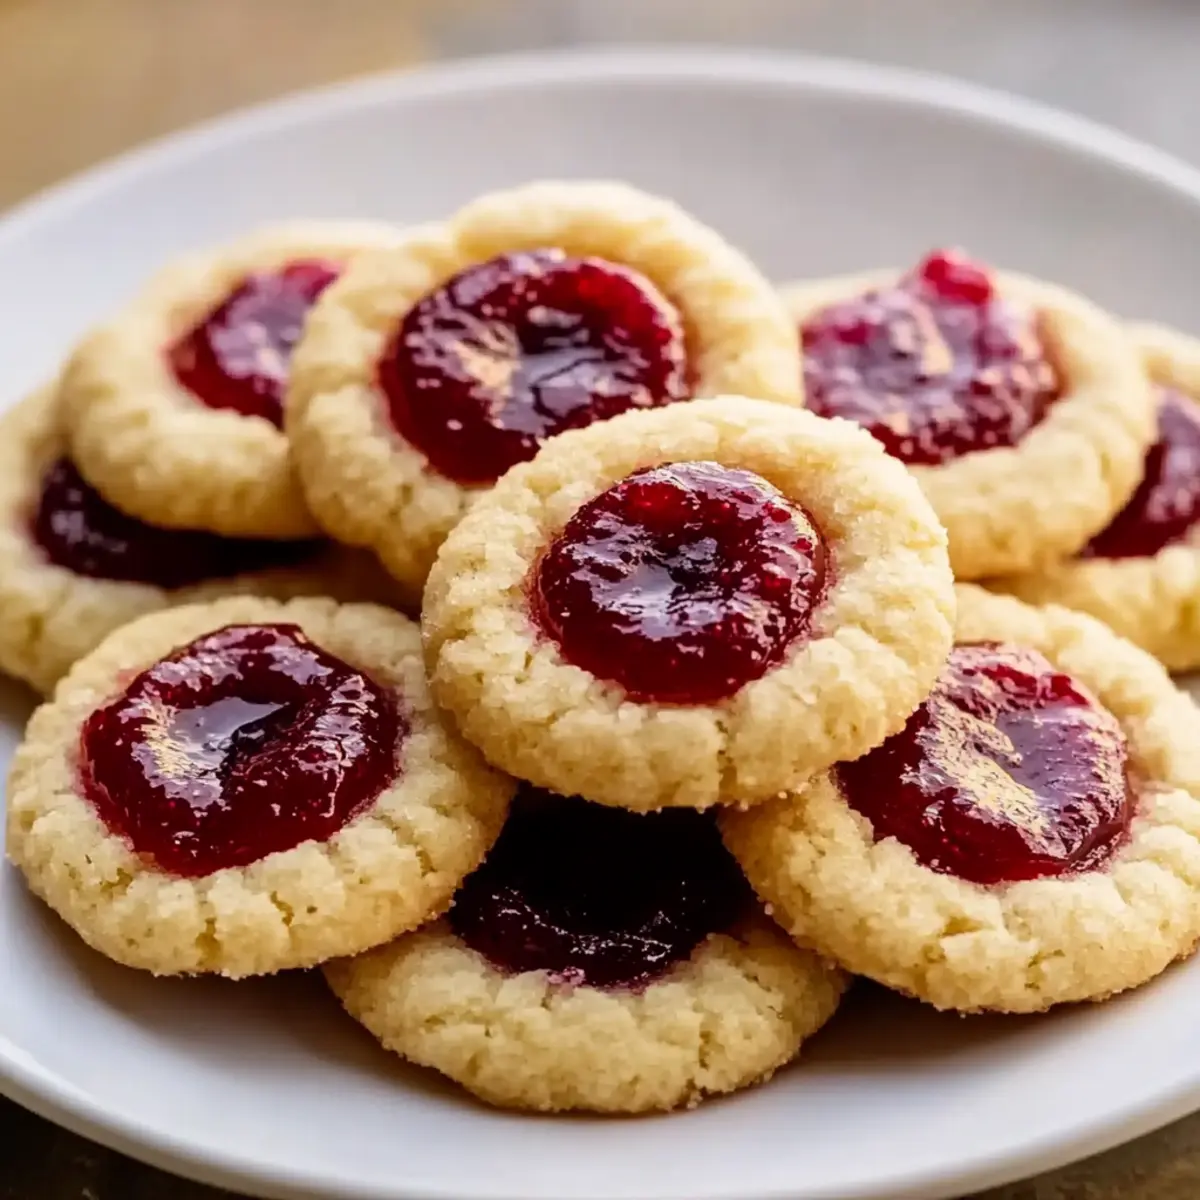
Irresistibly Classic: These Thumbprint Cookies bring a nostalgic charm that transports you back to cozy family baking sessions.
Endless Filling Options: Choose your favorite jam or try something adventurous like lemon curd or Nutella for a delightful twist!
Simple and Quick: With straightforward steps, even novice bakers can whip these up in no time—perfect for unexpected guests or an afternoon treat.
Perfect Texture: The buttery dough creates a lovely contrast to the gooey jam filling, making each bite a melt-in-your-mouth experience.
Great for Any Occasion: Whether it’s holiday gatherings or a casual snack, these cookies are sure to impress. And if you enjoy this baking experience, you might also like these Cinnamon Roll Cookies for their equally delightful flavor and simplicity.
Thumbprint Cookies Ingredients
For the Cookie Dough
- Unsalted Butter – Adds a rich, tender quality; substitute with vegan butter for a dairy-free version.
- Granulated Sugar – Provides essential sweetness and structure; no substitutes are needed.
- Light Brown Sugar – Contributes a subtle caramel depth; can use more granulated sugar if necessary.
- All-Purpose Flour – Forms the base of the cookie; gluten-free flour blends are a great alternative for gluten-sensitive bakers.
- Cornstarch – Ensures a tender, melt-in-your-mouth texture; arrowroot powder works as a substitute.
- Egg Yolk – Enriches the dough; can be replaced with a flax egg for a vegan option.
- Vanilla Extract – Enhances the overall flavor profile; opt for pure vanilla for the best taste.
For the Filling
- Jam (your choice) – Provides the signature fruity filling; use high-quality preserves or get creative with Nutella for a twist!
Step‑by‑Step Instructions for Classic Thumbprint Cookies with Fruity Jam Filling
Step 1: Cream the Butter and Sugars
Begin by beating 1 cup of softened unsalted butter in a large mixing bowl until it’s creamy and smooth. Gradually add in ½ cup granulated sugar and ½ cup light brown sugar, mixing until the mixture is well-aerated and fluffy, which should take about 2-3 minutes with an electric mixer. This step is crucial for creating the tender texture of your thumbprint cookies.
Step 2: Incorporate Egg Yolk and Vanilla
Next, add 1 egg yolk and 1 teaspoon of vanilla extract to the creamy butter mixture. Beat these ingredients together until fully combined, ensuring a rich flavor is developed throughout the dough. The mixture should look smooth and uniform. This addition enhances the deliciousness of your Classic Thumbprint Cookies and contributes to their delightful texture.
Step 3: Combine Dry Ingredients
In a separate bowl, whisk together 2 cups of all-purpose flour, 2 tablespoons of cornstarch, and a pinch of salt until evenly mixed. Gradually add this dry mixture to your creamy wet ingredients, mixing gently with a spatula until you achieve a crumbly dough. Be careful not to overmix; the dough should just come together and be soft but cohesive.
Step 4: Form Dough Balls
Using your hands, roll tablespoon-sized portions of dough into smooth balls, ensuring they are tightly packed to help prevent cracking during baking. Place these dough balls on a parchment-lined baking sheet, leaving space between each to allow for slight spreading. You should aim for a uniform shape to create those beautiful thumbprint impressions later.
Step 5: Create the Thumbprint Indents
Once the dough balls are arranged, use your thumb or the back of a spoon to gently press an indentation into the center of each ball. Remember to create a deep enough indent to hold your chosen jam filling! This step is key for achieving the iconic look of Classic Thumbprint Cookies with fruity jam filling.
Step 6: Chill the Dough
To maintain the shape of your cookies during baking, place the baking sheet in the freezer for 30 minutes. This chilling step is essential as it helps prevent the cookies from spreading too much in the oven and ensures your thumbprints hold their form.
Step 7: Preheat the Oven
While the dough chills, preheat your oven to 375°F (190°C). This temperature is ideal for achieving crispy edges and a soft center in your Thumbprint Cookies. Preheating ensures that the cookies bake evenly and develop that lovely golden color we all desire.
Step 8: Fill with Jam
After chilling, take the baking sheet out of the freezer and use a small spoon to fill each thumbprint indentation with your choice of jam, approximately a teaspoon per cookie. Be careful not to overfill; a little goes a long way, and you want to avoid any jam bubbling over during baking.
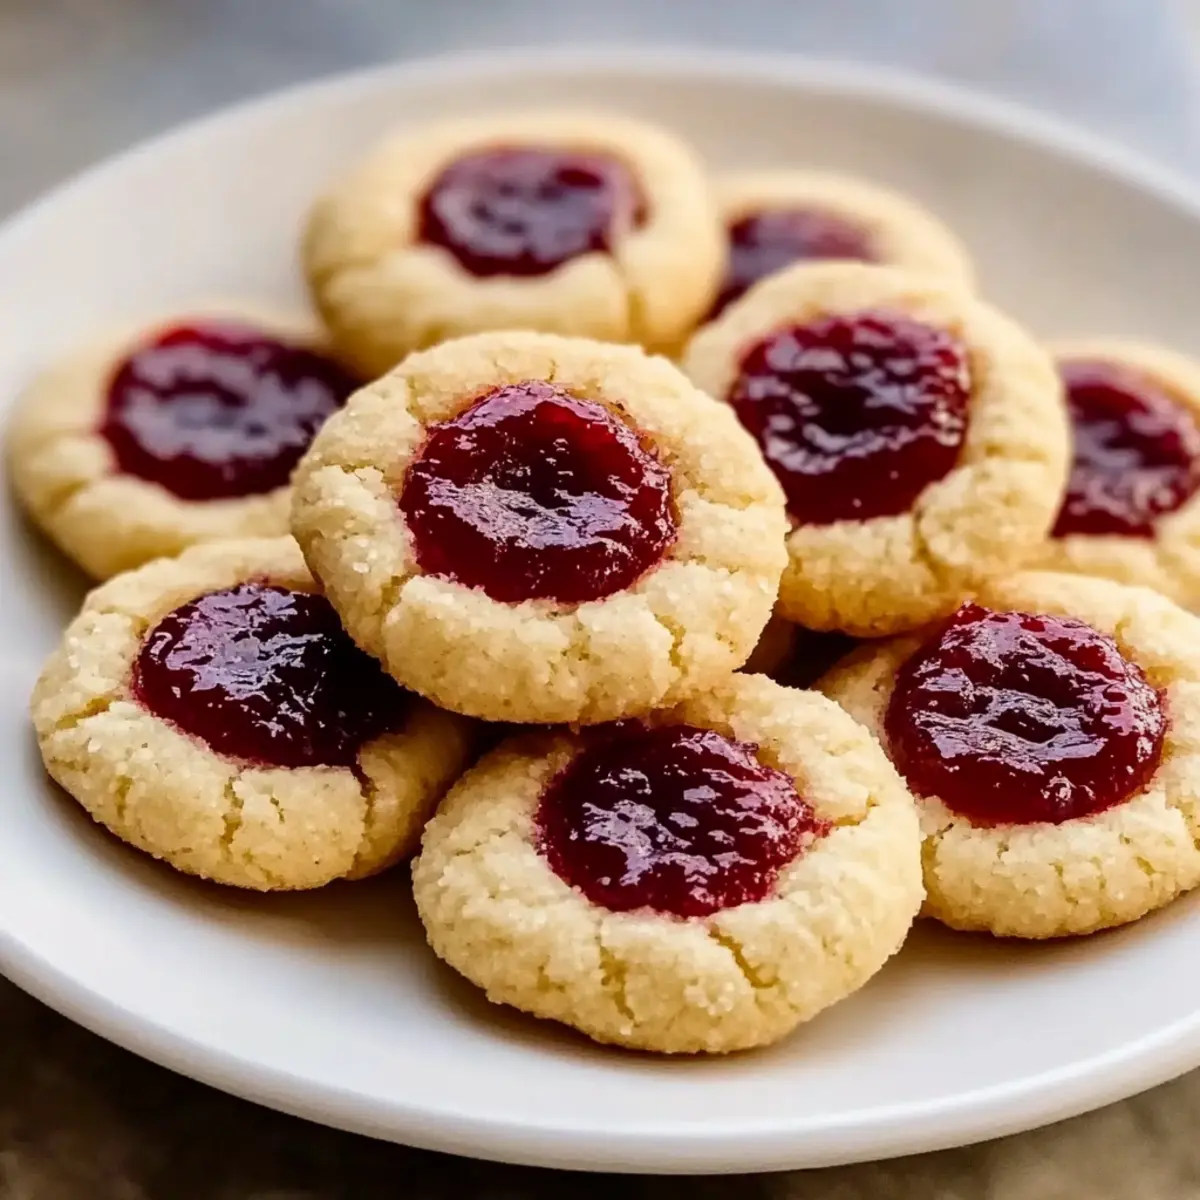
Step 9: Bake the Cookies
Place the filled baking sheet in your preheated oven and bake for about 11 minutes. Keep an eye on them; you’ll know they’re ready when the edges are lightly golden while the centers remain soft. This is the perfect moment to take them out and let that delicious aroma fill your kitchen.
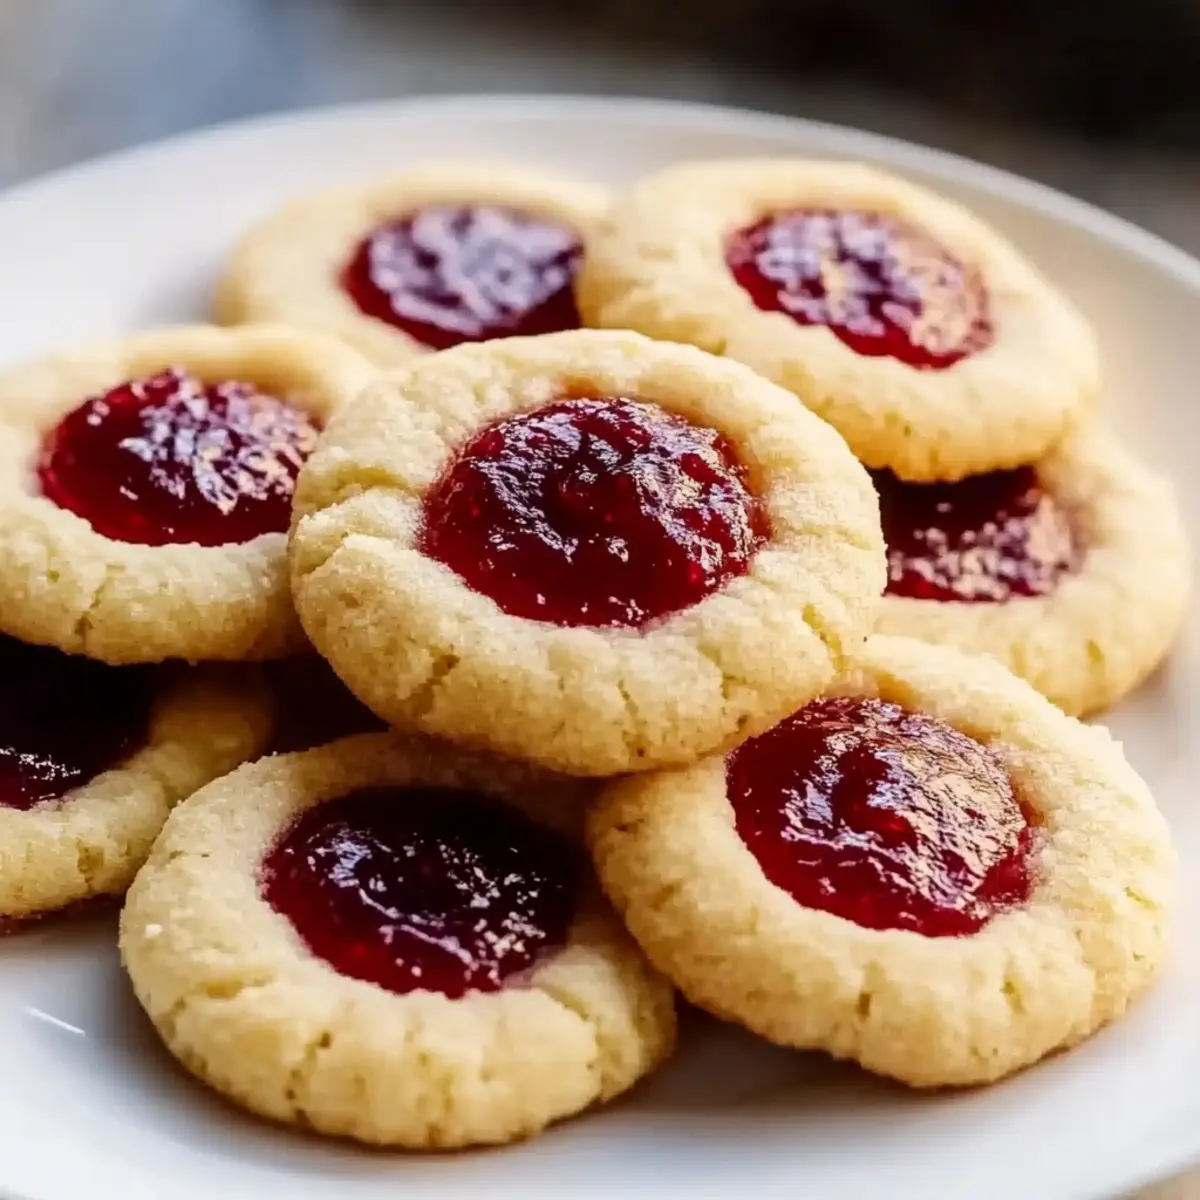
Step 10: Cool Before Serving
Once baked, remove the thumbprint cookies from the oven and allow them to cool on the baking sheet for a few minutes. Then, carefully transfer them to a wire rack to cool completely. This cooling time enhances their texture, so they are perfectly delightful and ready to be enjoyed!
What to Serve with Classic Thumbprint Cookies?
Pairing these delightful baked treats with complementary flavors and textures will elevate your snacking experience to new heights.
-
Freshly Brewed Coffee: The rich, bold flavors of coffee contrast beautifully with the sweetness of the cookies, enhancing every bite with warmth.
-
Assorted Tea Selection: A light herbal or fruity tea makes for a refreshing accompaniment, balancing the sweetness while providing a comforting moment.
-
Spoonful of Fresh Berries: Juicy raspberries or strawberries add a burst of freshness and acidity, perfectly uplifting the buttery cookies.
-
Whipped Cream: A dollop of airy whipped cream adds a luscious creaminess, providing a delightful contrast to the soft cookie texture.
-
Creamy Cheesecake: The richness of a slice of traditional cheesecake pairs wonderfully, making a more indulgent dessert experience for gatherings.
-
Chocolate Drizzle: A light drizzle of melted chocolate will add a touch of decadence, harmonizing beautifully with fruity jam fillings.
Think about adding these pairings to your next treats display, creating an inviting atmosphere that encourages laughter, conversation, and shared joy!
Make Ahead Options
These Classic Thumbprint Cookies are perfect for meal prep enthusiasts! You can prepare the cookie dough up to 24 hours in advance by following the first five steps. Simply roll the dough into balls, create the thumbprint indentations, and then place the ready cookies on a baking sheet. Cover and refrigerate them. When you’re ready to bake, simply fill the indents with jam and bake as directed. For even more convenience, you can freeze the formed dough balls for up to 3 months; just add a couple of minutes to the baking time when baking straight from frozen. These make-ahead tips ensure your cookies are just as delicious and save you time for busy weeknights!
Expert Tips for Thumbprint Cookies
-
Dough Consistency: Ensure the dough is slightly chilled before rolling into balls, which helps prevent cracks during baking and keeps your Thumbprint Cookies looking perfect.
-
Indentation Depth: Press fingers into the dough balls firmly enough to create a deep thumbprint, ensuring enough space for the jam filling without overflowing.
-
Quality Jam: Use high-quality preserves or homemade jam for the best flavor in your Thumbprint Cookies; it makes a noticeable difference in taste.
-
Don’t Overmix: When combining the dry ingredients into the wet mixture, mix just until blended. Overmixing can lead to tough cookies instead of the desired melt-in-your-mouth texture.
-
Room Temperature: Allow the baked cookies to cool on a wire rack completely. This prevents them from becoming soggy and keeps their crisp edges intact.
Thumbprint Cookies Recipe Variations
Feel free to get creative with this delightful recipe and customize it to suit your taste!
-
Nutty Twist: Roll dough balls in crushed nuts before baking to add a delightful crunch and nutty flavor.
The added texture from the nuts perfectly complements the sweetness of the jam filling. It’s a simple way to make these cookies feel extra special at your next gathering. -
Citrusy Zest: Incorporate lemon or orange zest into the dough for a refreshing citrus kick.
This bright addition not only enhances the flavor but also infuses a lovely aroma while baking, making the cookies irresistibly aromatic. -
Chocolate Delight: Swap the jam filling for Nutella or chocolate ganache for a rich twist.
The creamy chocolate center transforms these cookies into a decadent treat that chocolate lovers will adore! -
Spiced Up: Add a pinch of cinnamon or nutmeg to the dough for a warm, spiced flavor.
These spices pair beautifully with a fruity jam, especially during the cozy holiday season, creating a fragrant and comforting cookie experience. -
Vegan-Friendly: Substitute vegan butter for regular butter and use a flax egg to make dairy-free thumbprint cookies.
This way, everyone can enjoy these delightful cookies without missing out on flavor or texture. -
Refreshing Fillings: Experiment with unusual fillings like lemon curd or a homemade fruit compote.
The tartness of these options provides a wonderful contrast to the sweet cookie dough, giving a unique spin to the traditional recipe. -
Fruity Fusion: Mix and match different jam flavors—like apricot and raspberry—for a vibrant, colorful variety.
A mix of jams ensures that every bite is an adventure and invites your taste buds to explore delightful new horizons.
If you’re inspired by these variations, consider trying them alongside other tempting treats like Cinnamon Roll Cookies for a delightful dessert platter!
Storage Tips for Thumbprint Cookies
Room Temperature: Store your thumbprint cookies in an airtight container at room temperature for up to 4 days to maintain their freshness and buttery texture.
Fridge: If you live in a warm climate, you can refrigerate the cookies, but be sure to let them come to room temperature before serving for the best flavor.
Freezer: For longer storage, freeze your baked cookies for up to 3 months. Place them in a single layer in an airtight container or freezer bag to avoid sticking.
Dough Freezing: Alternatively, freeze formed dough balls for a quick bake whenever you crave these thumbprint cookies. Just add a couple of minutes to the baking time when baking from frozen!
Classic Thumbprint Cookies with Fruity Jam Filling Recipe FAQs
How do I select the right jam for my thumbprint cookies?
Absolutely! For the best flavor, choose high-quality preserves that complement the cookie’s buttery sweetness. Look for jam with natural ingredients, avoiding those with artificial flavors or excessive sweeteners. Popular choices include raspberry, apricot, or strawberry, but feel free to get adventurous with lemon curd or even Nutella for a rich twist!
What’s the best way to store thumbprint cookies?
To keep your thumbprint cookies fresh, store them in an airtight container at room temperature for up to 4 days. If your kitchen is particularly warm, you might consider refrigerating them, but allow them to come to room temperature before serving for optimal taste.
Can I freeze my thumbprint cookies?
Yes, you can! For best results, freeze your baked thumbprint cookies in a single layer in an airtight container or freezer bag for up to 3 months. To make the process even easier, you can freeze the formed dough balls. Just place them on a baking sheet to freeze individually, then transfer them into a container. When you’re ready to bake, just add a couple of extra minutes to the baking time!
Why do my thumbprint cookies crack during baking?
The more the merrier! If your thumbprint cookies crack, it could be because the dough balls are too tightly packed or the dough wasn’t chilled enough before baking. Ensure that the dough balls are rolled tightly but not overly compressed. When you freeze them for 30 minutes before baking, it helps maintain their shape and prevents cracking too.
Are thumbprint cookies suitable for people with allergies?
Great question! If you’re cooking for someone with allergies, consider substituting the egg yolk with a flax egg (1 tablespoon of ground flaxseed mixed with 2.5 tablespoons of water) for a vegan alternative. Also, choose a gluten-free flour blend instead of all-purpose flour to cater to gluten sensitivities. Always double-check the jam you use to ensure it aligns with dietary needs.
How long will these cookies stay fresh?
When stored properly in an airtight container at room temperature, your thumbprint cookies will maintain their delightful taste and texture for about 4 days. If you find yourself making a large batch, freezing is a fantastic option! Just remember, they can be frozen for up to 3 months.
Delicious Thumbprint Cookies Recipe with Jam Filling Magic
Ingredients
Equipment
Method
- Cream the butter and sugars by beating 1 cup of softened unsalted butter with ½ cup granulated sugar and ½ cup light brown sugar until well-aerated and fluffy.
- Incorporate the egg yolk and vanilla extract by adding 1 egg yolk and 1 teaspoon of vanilla extract to the butter mixture and beating until smooth.
- Combine the dry ingredients by whisking together 2 cups all-purpose flour, 2 tablespoons cornstarch, and a pinch of salt, then add to the wet ingredients.
- Form dough balls by rolling tablespoon-sized portions of dough into smooth balls and place on a parchment-lined baking sheet.
- Create the thumbprint indents by pressing your thumb or back of a spoon into the center of each dough ball.
- Chill the dough by placing the baking sheet in the freezer for 30 minutes.
- Preheat the oven to 375°F (190°C) while the dough chills.
- Fill with jam by using a small spoon to add approximately 1 teaspoon of jam to each indentation.
- Bake the cookies for about 11 minutes until the edges are lightly golden.
- Cool before serving by transferring baked cookies to a wire rack after a few minutes.
Leave a Reply