
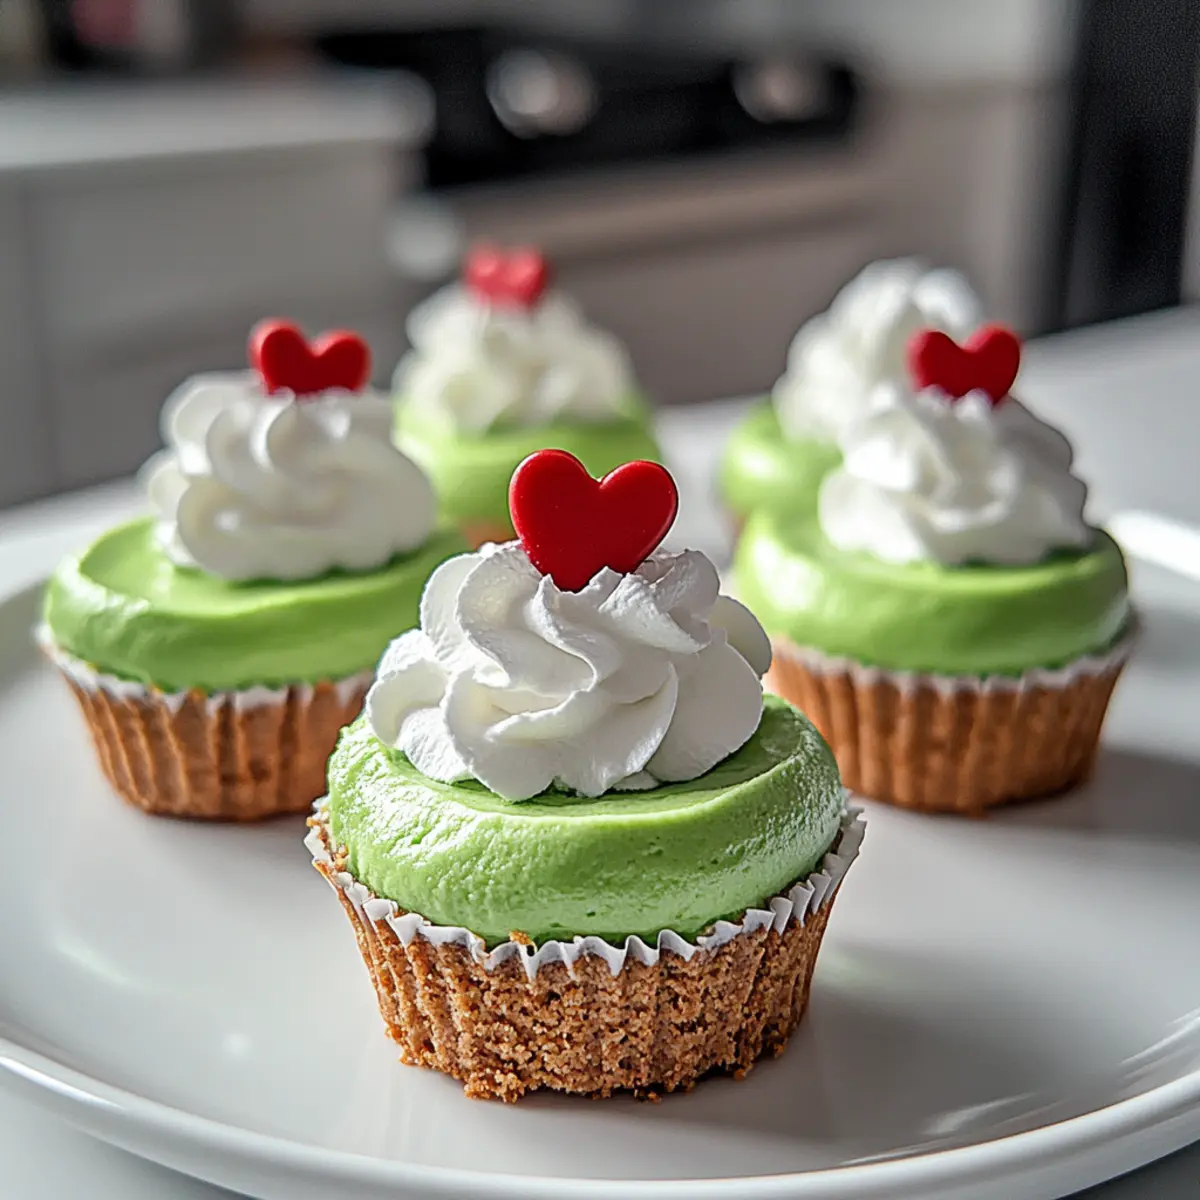
As the holiday season approaches, I often find myself reminiscing about the joy that comes with baking treats that make everyone smile. This year, I’m excited to introduce you to my Grinch Mini Cheesecakes—an easy no-bake dessert that’s sure to bring cheer to your festive gatherings! With a silky, creamy filling nestled in a buttery graham cracker crust, these charming little bites are not only a feast for the eyes but also a delightful surprise for your taste buds. Their playful green hue and whimsical toppings make them a fantastic conversation starter, perfect for both kids and adults alike. Plus, they’re a breeze to whip up and can be made ahead of time, leaving you more moments to savor with loved ones. Curious how to create these holiday delights? Let’s get started!
Why Make Grinch Mini Cheesecakes?
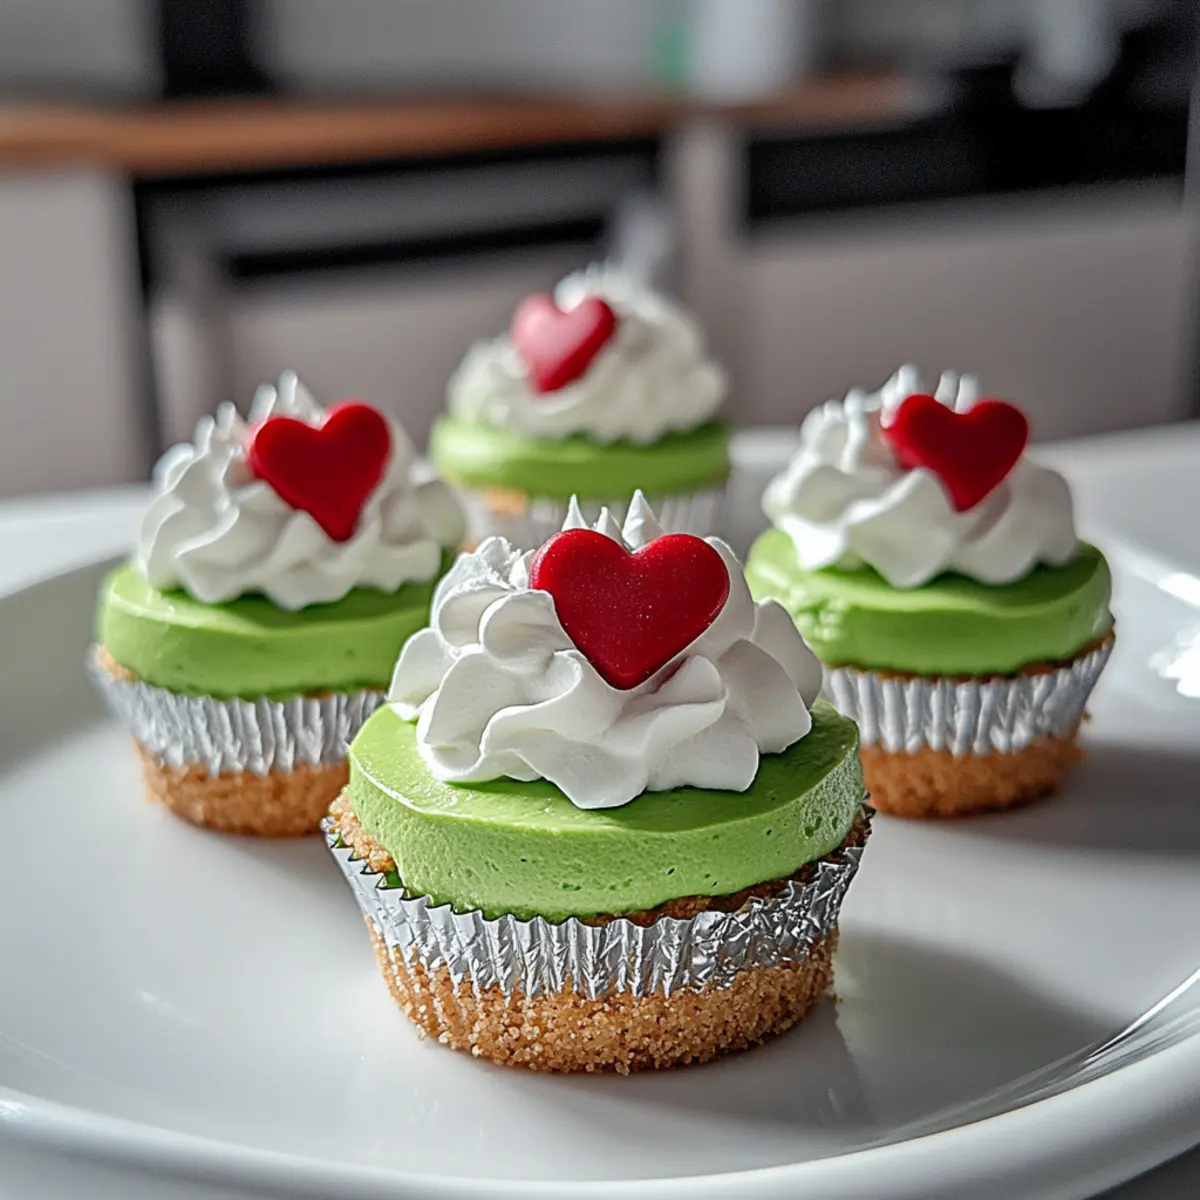
Irresistible Appeal: With their vibrant green color and whimsical red heart toppings, these mini cheesecakes are perfect for holiday celebrations! No-Bake Simplicity: Forget complicated recipes; these treats are a breeze to whip up, making them ideal for impromptu gatherings. Kid-Friendly Fun: Kids will love both helping to create and devouring these charming bites! Texture Delight: The combination of a buttery graham cracker crust and smooth, creamy filling offers a wonderful contrast. Make Ahead Magic: Prepare these cheesecakes in advance for stress-free entertaining—just chill, top, and serve! You can also check out my delicious Strawberry Crunch Cheesecake for another festive dessert option!
Grinch Mini Cheesecake Ingredients
• Ready to create these festive treats? Here’s what you’ll need!
For the Crust
- Graham Cracker Crumbs – Provides structure and texture for the crust. Substitution Note: Can use chocolate cookie crumbs for a richer base.
- Melted Butter – Binds the crust ingredients together seamlessly.
For the Filling
- Cream Cheese – Base for the cheesecake filling, creating a rich and creamy texture. Ensure it’s softened to easily blend.
- Sugar – Adds sweetness to balance the tanginess of the cream cheese.
- Sour Cream – Contributes to creaminess and a slight tang.
- Vanilla Extract – Enhances the flavor profile of the filling beautifully.
- Green Food Coloring – Provides the signature Grinch color; can use natural options like matcha or spinach extract for a different hue (though less vibrant).
For Decoration
- Whipped Cream – Topping that adds lightness and visually enhances the cheesecake.
- Red Heart Candies – Decorative element to align with the Grinch theme and add a festive touch.
Step‑by‑Step Instructions for Grinch Mini Cheesecake
Step 1: Prepare Crust
In a mixing bowl, combine the graham cracker crumbs with melted butter until the mixture resembles wet sand. Using about a tablespoon of the crust mixture, press it firmly into the bottom of each muffin liner in a standard muffin tin, ensuring it’s flat and even. This will create a solid base for your Grinch mini cheesecakes.
Step 2: Make Filling
In a large mixing bowl, beat the softened cream cheese with an electric mixer on medium speed until it’s smooth and free of lumps. Gradually add the sugar, sour cream, vanilla extract, and green food coloring, mixing until fully combined and creamy in texture. The vibrant green color should be consistent, capturing the holiday spirit of your Grinch mini cheesecakes.
Step 3: Assemble Mini Cheesecakes
Spoon the creamy filling over the prepared crusts in each muffin liner, using a spatula to smooth the tops for an even finish. Aim for the filling to rise slightly above the crust, creating a delightful height for your mini cheesecakes. This step adds to the charm and appeal of your festive creations.
Step 4: Chill
Once assembled, carefully cover the muffin tin with plastic wrap or a lid and place it in the refrigerator. Allow the Grinch mini cheesecakes to chill for at least 4 hours or preferably overnight. Chilling will help them firm up perfectly, ensuring a smooth and creamy texture when served at your holiday gathering.
Step 5: Serve
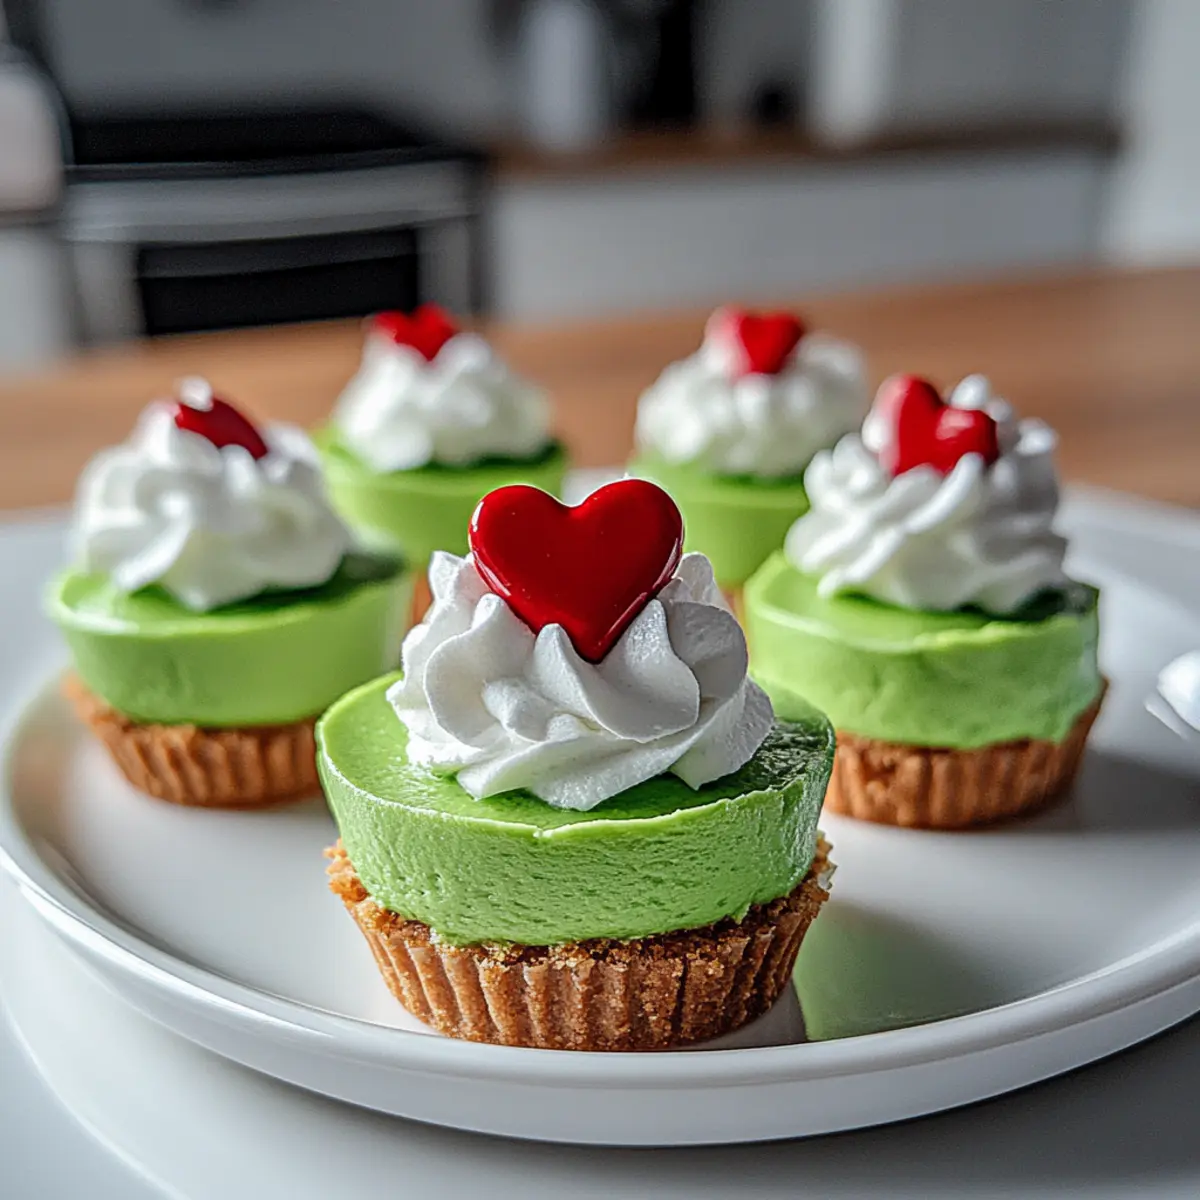
Just before serving, remove the mini cheesecakes from the muffin tin and gently peel away the liners. Top each cheesecake with a dollop of whipped cream and garnish with a red heart candy for a festive finish. For an extra touch, consider sprinkling some crushed candy canes around them, enhancing the holiday magic of these delightful Grinch mini cheesecakes.
What to Serve with Grinch Mini Cheesecakes?
When celebrating the holiday spirit, it’s all about creating a delightful feast that captures the joy of the season!
-
Festive Fruit Salad: A refreshing blend of seasonal fruits adds a vibrant color and a palate-cleansing contrast to the rich cheesecakes.
-
Hot Chocolate Bar: Offer guests a cozy experience with a hot chocolate station, complete with marshmallows and peppermint sticks for a holiday twist.
-
Savory Cheese Platter: Complement the sweetness with a variety of cheeses, crackers, and meats, which balance the creamy texture of the mini cheesecakes perfectly.
-
Gingerbread Cookies: These classic cookies introduce warm spices that harmonize wonderfully with the festive flavors of the Grinch mini cheesecakes!
-
Pecan Pie Bites: A bite-sized version of this holiday favorite provides a crunchy texture and rich sweetness that pairs beautifully with the mini cheesecakes.
-
Peppermint Bark: A delightful dessert offering that brings a refreshing minty crunch, enhancing the overall flavor experience of your holiday spread.
Elevate your holiday gathering by mixing these treats, ensuring each guest finds something to enjoy alongside these adorable Grinch mini cheesecakes!
Make Ahead Options
These delightful Grinch Mini Cheesecakes are perfect for meal prep, saving you time on busy holiday days! You can prepare the crusts and fill them with the cheesecake mixture up to 24 hours in advance; simply store them in the refrigerator covered tightly with plastic wrap. To maintain their creamy texture, make sure to chill them overnight for the best results. When you’re ready to serve, just take them out, top each mini cheesecake with whipped cream and a festive red heart candy, and you’ll have a show-stopping dessert that’s just as delicious, with minimal effort!
How to Store and Freeze Grinch Mini Cheesecakes
- Fridge: Store mini cheesecakes in an airtight container for up to 4 days. This keeps them fresh and delicious right up to your holiday celebrations.
- Freezer: For longer storage, freeze the plain cheesecakes (without toppings) in an airtight container for up to 3 months. Thaw in the fridge before serving.
- Reheating: These no-bake treats are best served cold. Simply remove from the fridge or freezer, top with whipped cream and candies, and enjoy!
- Tip: To keep the vibrant green color, avoid adding decorations before freezing; add them just before serving for maximum appeal with your Grinch mini cheesecakes.
Grinch Mini Cheesecake Variations
Feel free to let your creativity shine while making these festive treats—there are many delightful ways to customize your mini cheesecakes!
- Chocolate Crust: Swap graham cracker crumbs for chocolate cookie crumbs for a richer, more decadent base. This twist adds a deliciously sweet and deep flavor that’s perfect for chocolate lovers.
- Natural Color: Use natural alternatives like matcha or spirulina instead of food coloring for the green hue, creating a flavor twist while keeping things all-natural. Experiment with different natural options for unique shades!
- Minty Fresh: Add a pinch of peppermint extract to the filling for a refreshing and festive kick. This seasonal touch will elevate the flavor profile and leave everyone feeling merry!
- Berry Delight: Incorporate a dollop of raspberry or strawberry puree into the filling for a fruity layer. This fragrant addition not only enhances flavor but also adds a beautiful swirled effect to your mini cheesecakes.
- Lemon Zest: Stir in a teaspoon of lemon zest for a bright and uplifting taste that balances the richness of the cream cheese. The citrusy zing will delight your taste buds and add a fresh twist.
- Different Toppings: Swap out the red heart candies for colorful holiday sprinkles or mini chocolate chips for a playful approach. Irresistible and fun variations ensure your party spreads are as fun as they are festive!
- Nutty Crunch: Add finely chopped nuts to the crust or sprinkle them on top for an added crunch. Walnuts or pecans will complement the creaminess beautifully and give your desserts a delightful texture.
- Alternative Sweeteners: Try using honey or maple syrup instead of sugar for a different sweetness level. These alternatives may deepen the flavors, making your cheesecakes intriguingly unique.
Enhancing these Grinch mini cheesecakes is simpler than ever! For another festive dessert idea, check out my delicious Millionaires Cheesecake Indulge. Happy baking!
Expert Tips for Grinch Mini Cheesecakes
-
Chill Well: Ensure your Grinch mini cheesecakes chill overnight for the best texture and firmness. This allows the flavors to meld beautifully.
-
Cream Cheese Temperature: Always use softened cream cheese for a smooth filling. If it’s too cold, you risk having lumps in your creamy mixture.
-
Neat Toppings: For a polished look, use a piping bag or a snipped corner of a sandwich bag to apply whipped cream. It creates perfect dollops!
-
Flavor Adjustments: Consider adding a splash of lemon juice to the filling. This small addition enhances the tanginess of your Grinch mini cheesecakes without overpowering the recipe.
-
Crust Variations: Don’t hesitate to swap graham cracker crumbs with chocolate cookie crumbs for a delightful flavor twist that pairs well with the green filling.
Grinch Mini Cheesecake Recipe FAQs
How do I select the best cream cheese for this cheesecake?
Absolutely! For the best results, always choose full-fat cream cheese that is less than a month from its expiration date. This ensures you have a rich, creamy texture. Make sure it’s also at room temperature; cold cream cheese can lead to lumps in your filling, so let it sit out for about 30 minutes before use.
How should I store leftover Grinch mini cheesecakes?
Very simple! Store your mini cheesecakes in an airtight container in the refrigerator for up to 4 days. This keeps them fresh and ready for your next sweet craving! If you need to make them even earlier, you can freeze them (without toppings) for up to 3 months. Just be sure to thaw them in the fridge overnight before serving.
Can I freeze the Grinch mini cheesecakes?
Yes, indeed! For freezing, place the mini cheesecakes in an airtight container, ensuring they are completely cooled and not topped. They will keep well for up to 3 months. Thaw them in the refrigerator overnight, and just before serving, top them with whipped cream and red heart candies for a vibrant presentation.
What should I do if my filling is lumpy?
Oh no, I totally get that! Ensure your cream cheese is fully softened before mixing. If it still ends up lumpy, simply mix the filling longer while on medium speed until it becomes smooth. If lumps persist, consider sifting the filling through a fine mesh strainer to achieve that creamy consistency.
Are Grinch mini cheesecakes safe for kids with dairy allergies?
While these cheesecakes are a delicious treat for many, they do contain dairy products like cream cheese and sour cream, so they are not suitable for those with dairy allergies. If you’re looking for alternatives, consider using plant-based cream cheese and yogurt to create a dairy-free version—just keep in mind the texture might vary slightly.
Can I use a different sweetener for the filling?
Absolutely! If you prefer, you can experiment with alternatives like honey, agave syrup, or a sugar substitute like stevia. Just be sure to adjust the quantities to achieve the sweetness you love. For example, you might need about ¾ cup of honey instead of sugar, but taste-testing is key to finding your perfect balance!

Festive Grinch Mini Cheesecakes to Brighten Your Holidays
Ingredients
Equipment
Method
- In a mixing bowl, combine the graham cracker crumbs with melted butter until the mixture resembles wet sand. Press into muffin liners.
- In a large mixing bowl, beat the softened cream cheese until smooth. Gradually add sugar, sour cream, vanilla extract, and green food coloring until fully combined.
- Spoon the creamy filling over the prepared crusts, smoothing the tops for an even finish.
- Cover with plastic wrap and refrigerate for at least 4 hours or overnight.
- Before serving, remove from liners and top with whipped cream and red heart candies.
Leave a Reply