
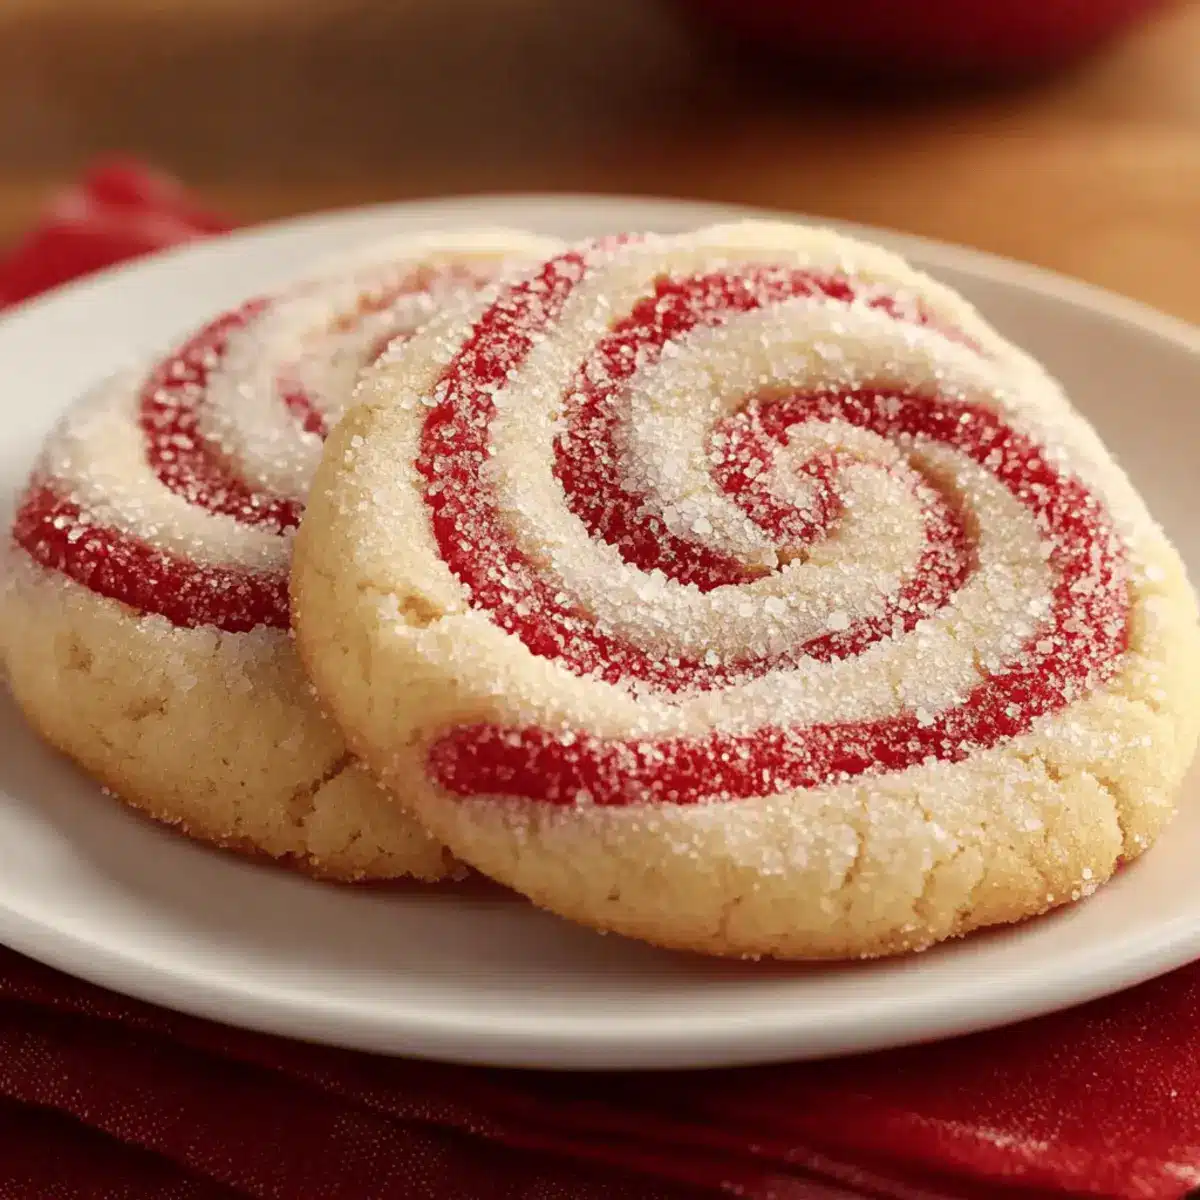
The moment I unwrapped my holiday baking supplies, a nostalgic wave washed over me. One cookie that always brings back those memories is the Bakery-Perfect Peppermint Swirl Cookies. Their crisp edges and dazzling red-and-white swirls make them an irresistible treat for any festive gathering. What I adore about this recipe is not just its stunning appearance, but also the approachable techniques that allow anyone—novice or seasoned baker—to craft these holiday delights with ease. Plus, they’re the perfect combination of a fresh mint flavor and a tender, melt-in-your-mouth texture that’s sure to please everyone at your table. Who doesn’t want to impress loved ones with cookies that look as good as they taste? Ready to dive into the world of festive baking? Let’s get started!
Why Are Peppermint Swirl Cookies a Must-Make?
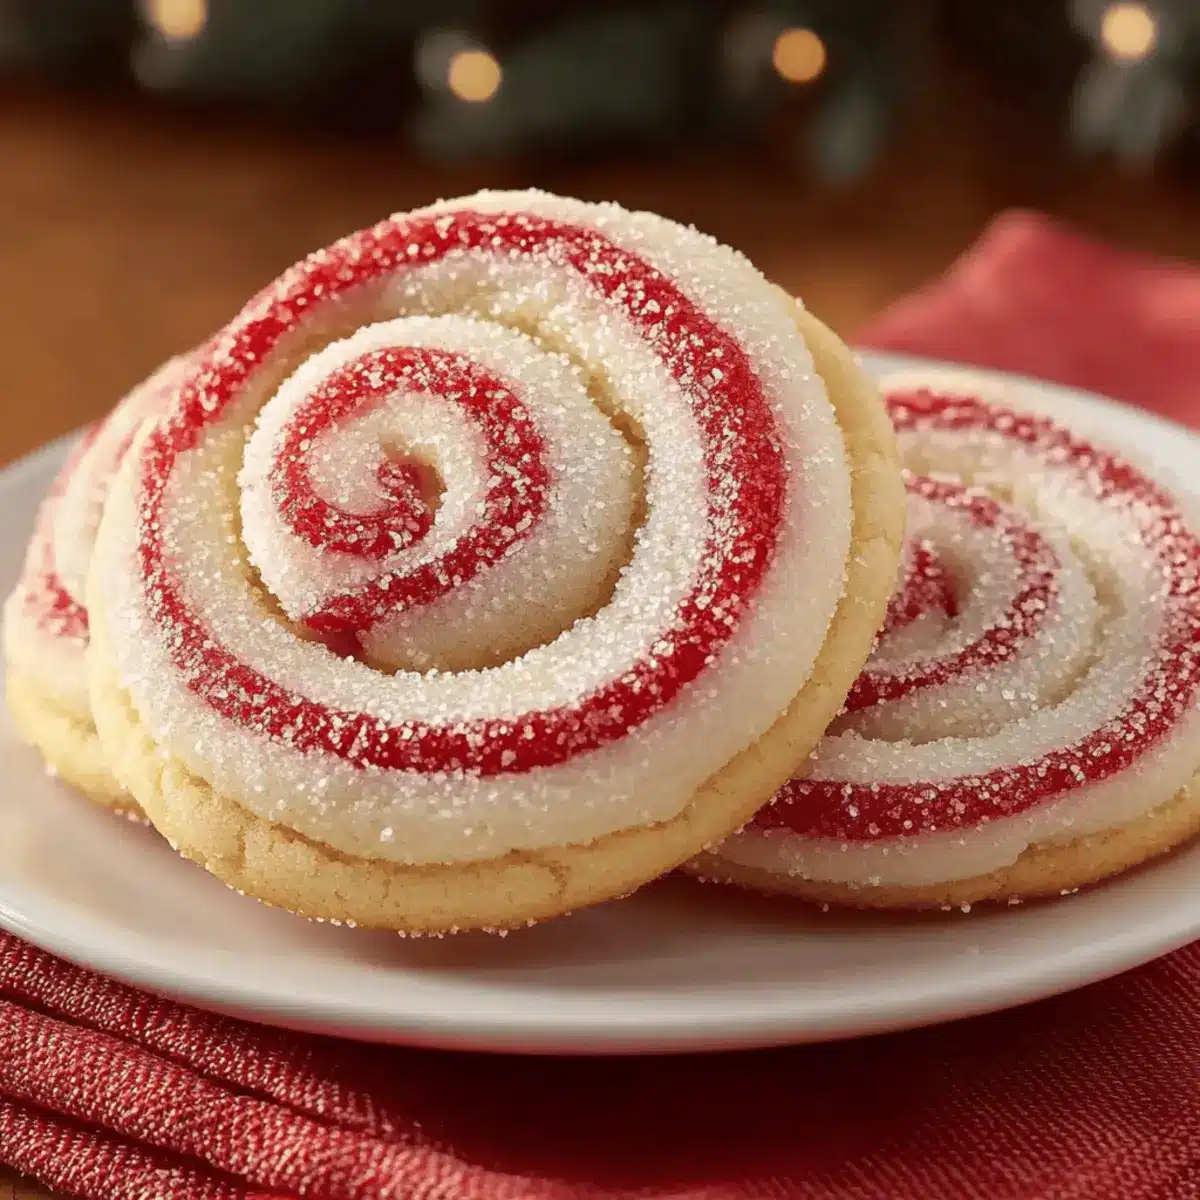
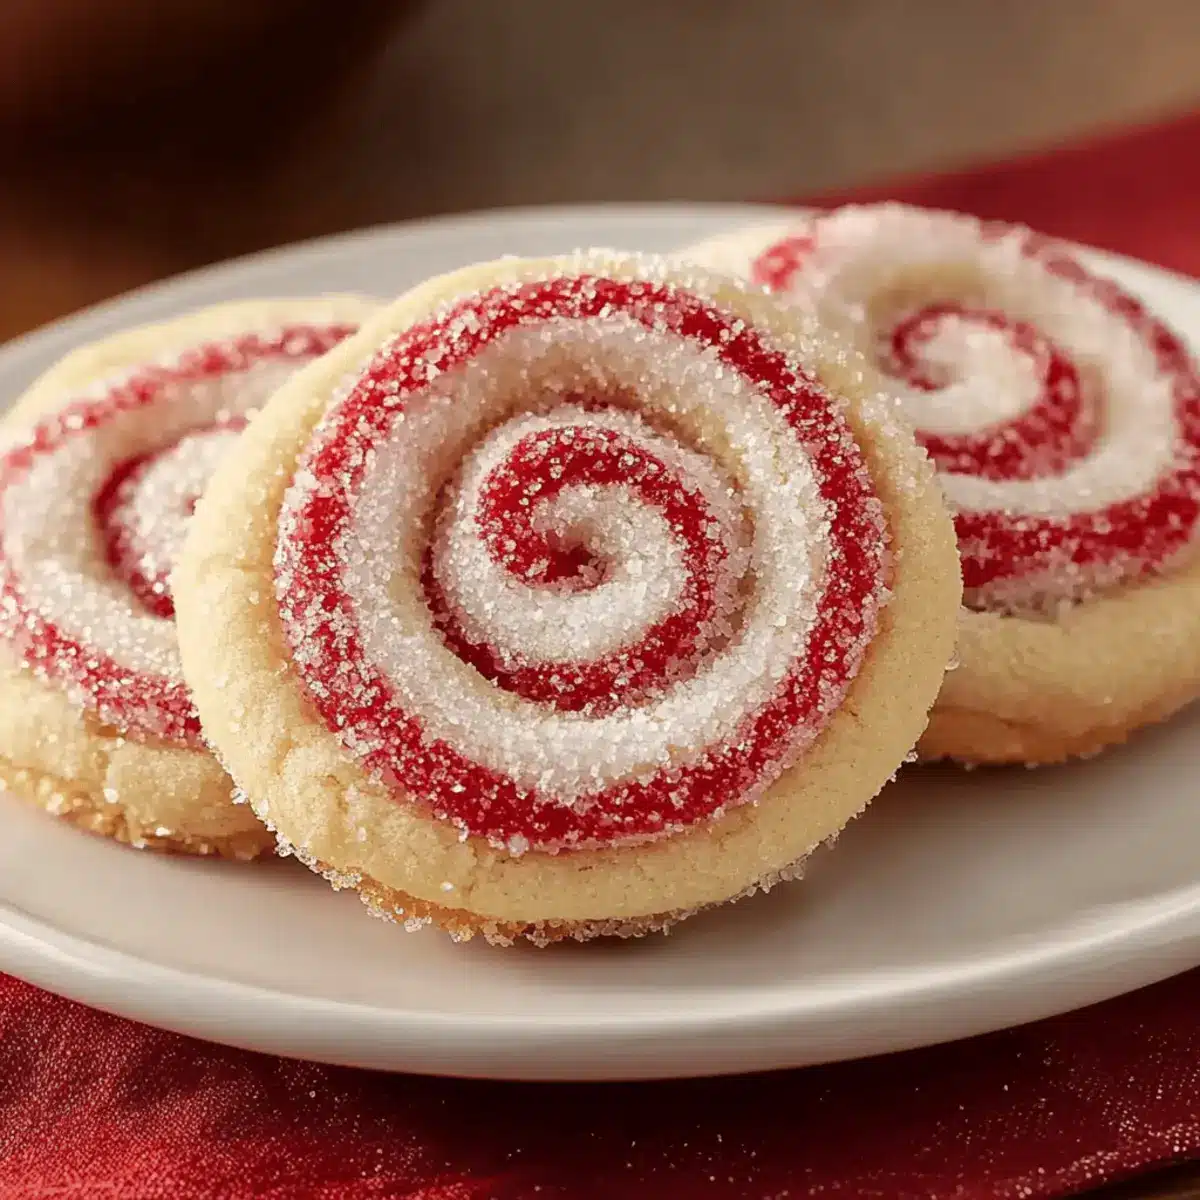
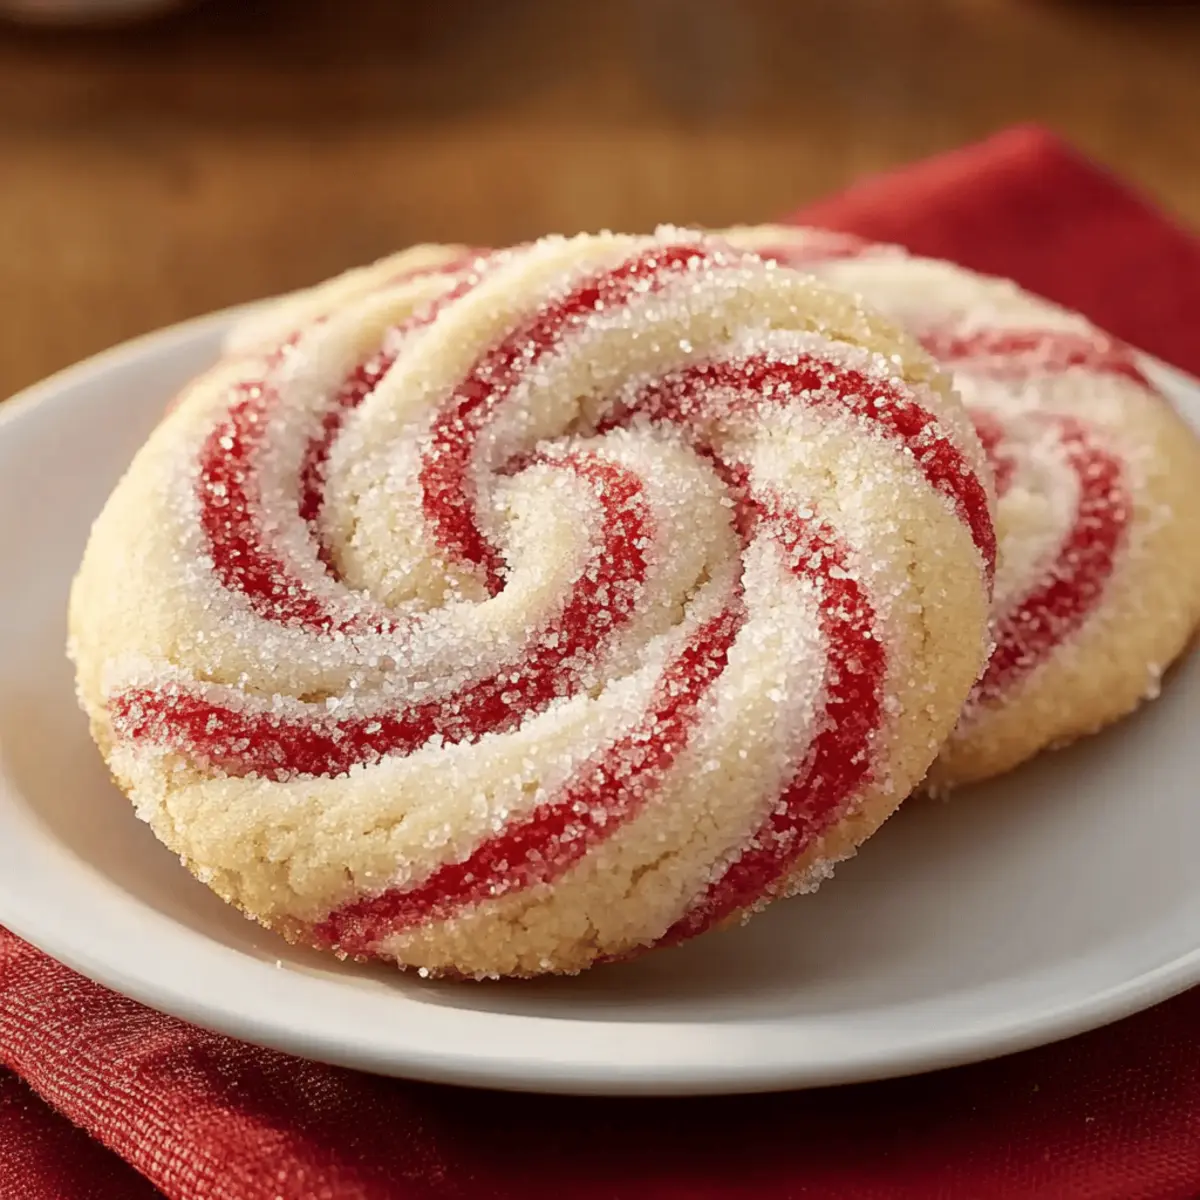
Irresistible Visual Appeal: The holiday spirit comes alive with these vibrant cookies, featuring stunning red-and-white swirls that look as magical as they taste.
Melt-in-Your-Mouth Texture: Each bite delivers a tender, delicious experience that will keep you reaching for more.
Quick and Easy: With straightforward steps, even novice bakers can feel like pros in the kitchen.
Perfect for Sharing: These cookies are a great festive gift idea; present them in a lovely box to dazzle your friends.
Versatile Enjoyment: Enjoy them with a warm cup of hot cocoa or coffee for that cozy holiday vibe. For more delightful cookie ideas, check out my Cinnamon Roll Cookies or even try some Pumpkin Smores Cookies for a seasonal twist!
Peppermint Swirl Cookies Ingredients
• Note: Gather these ingredients to create gorgeous Peppermint Swirl Cookies that will wow your holiday guests!
For the Dough
- All-purpose flour – Provides structure to the cookies, ensuring they maintain their shape.
Note: Gluten-free blends can be used with adjustments. - Baking powder – Acts as a leavening agent for a light texture without making cookies cakey.
- Salt – Enhances flavor and balances sweetness.
- Unsalted butter (softened) – Contributes to a tender crumb and rich flavor; crucial for proper creaming.
Substitution note: Vegan butter can be used for a dairy-free alternative. - Granulated sugar – Sweetens the cookies and assists in achieving a light and fluffy texture through creaming.
- Large egg – Binds ingredients and contributes to moisture; important for texture.
Substitution note: For a vegan version, consider flax egg or applesauce. - Vanilla extract – Balances the mint flavor, adding warmth and depth.
- Peppermint extract – Delivers the signature cool and refreshing mint flavor. A higher-quality extract is recommended.
- Red gel food coloring – Provides vibrant color without adding moisture, essential for defined swirls.
For the Coating
- Coarse sugar or crushed peppermint candies – Adds sparkle and crunch to the exterior of the cookies.
Step‑by‑Step Instructions for Peppermint Swirl Cookies
Step 1: Prepare Dry Ingredients
In a medium bowl, whisk together 2 cups of all-purpose flour, 1 teaspoon of baking powder, and 1/2 teaspoon of salt until well blended. This step ensures a uniform mix and eliminates any potential lumps in your dry ingredients, setting the foundation for your bakery-perfect Peppermint Swirl Cookies.
Step 2: Cream Butter and Sugar
In a large bowl, use an electric mixer to cream together 1 cup of softened unsalted butter and 1 cup of granulated sugar until the mixture is light and fluffy, about 3-5 minutes. The mixture should be pale in color and nearly double in volume, a crucial step for achieving that tender, melt-in-your-mouth texture with each cookie.
Step 3: Mix in Wet Ingredients
Beat in 1 large egg, 2 teaspoons of vanilla extract, and 1 teaspoon of peppermint extract into the creamed mixture until fully combined. This should take about 1-2 minutes. The mixture will become smooth and glossy, infusing the Peppermint Swirl Cookies with a delightful minty flavor that is sure to impress everyone.
Step 4: Combine Mixtures
Gradually add the dry ingredients to the wet mixture, mixing on low speed until just combined, about 1-2 minutes. Be careful not to overmix, as this can lead to tougher cookies. The dough should be soft and slightly sticky but hold together well for the next steps in creating your peppermint swirl masterpiece.
Step 5: Divide Dough
Now, split the dough in half. Wrap one half in plastic wrap to keep it plain and transfer the other half to a separate bowl. Add a few drops of red gel food coloring to the second half of the dough and mix by hand until evenly incorporated, creating a vibrant red dough for those beautiful swirls.
Step 6: Chill Dough
Wrap each portion of dough separately in plastic wrap and chill in the refrigerator for at least 30 minutes. This chilling period is essential for firming up the dough, making it easier to roll out later and helping the flavors meld beautifully in your Peppermint Swirl Cookies.
Step 7: Roll Dough
Once chilled, lightly flour a clean surface and roll out both portions of dough into rectangles measuring about 10×12 inches and 1/4 inch thick. Aim for even thickness to ensure uniform baking. You’ll see the colors develop beautifully, ensuring those defining swirls in every cookie.
Step 8: Layer and Roll
Stack the red rectangle on top of the plain rectangle and gently press them together. Starting at one end, carefully roll the layered dough tightly into a log, ensuring the edges stay sealed. This is where the magic of the peppermint swirls begins to take shape and comes together beautifully.
Step 9: Second Chill
Wrap the rolled log in plastic wrap once more and chill in the refrigerator for at least 2 hours until firm. This second chilling is crucial; it will help the dough maintain its shape while baking, resulting in perfectly defined swirls in your Peppermint Swirl Cookies.
Step 10: Preheat and Bake
Preheat your oven to 375°F (190°C). Slice the chilled dough log into 1/4-inch rounds using a sharp knife, and place them on a lined baking sheet. Bake for 8-10 minutes, watching as the edges turn lightly golden. This is the moment when the delightful aroma of peppermint fills your kitchen, signaling delicious cookies are on the way.
Step 11: Cool Cookies
Allow the cookies to cool on the baking sheet for a few minutes before transferring them to a wire rack to cool completely. As they cool, they will firm up nicely while retaining that tender, melt-in-your-mouth texture. Enjoy the festive charm of your freshly baked Peppermint Swirl Cookies!
How to Store and Freeze Peppermint Swirl Cookies
Room Temperature: Store your cookies in an airtight container at room temperature for up to 7 days. To maintain freshness, consider adding a slice of bread; it helps prevent them from drying out.
Freezer: For longer storage, freeze the baked cookies in a single layer, then transfer to a freezer-safe bag for up to 1 month. Thaw them at room temperature before enjoying.
Dough Storage: If you want to prepare ahead, wrap the unbaked dough log tightly in plastic wrap and freeze for 2-3 months. Just remember to let it thaw in the fridge before slicing!
Reheating: When ready to enjoy your stored peppermint swirl cookies, you can reheat them in a preheated oven at 350°F (175°C) for 5-7 minutes to restore their delightful texture.
Make Ahead Options
These Bakery-Perfect Peppermint Swirl Cookies are a fantastic option for meal prep enthusiasts! You can prepare the cookie dough up to 3 days in advance by following these steps: After mixing the dough, wrap each half tightly in plastic wrap and refrigerate. When you’re ready to bake, simply roll out the chilled dough, create your swirls, and chill the log again for at least 2 hours. This second chilling ensures the cookies maintain their beautiful shape and texture. If you’re looking to save even more time, you can also freeze the rolled log for up to 2-3 months; just slice and bake directly from the freezer for a delightful treat anytime!
What to Serve with Peppermint Swirl Cookies?
The joy of baking these festive cookies is only matched by the delightful pairings you can create for the perfect holiday experience.
-
Hot Cocoa: This rich, creamy drink enhances the minty flavor, creating a warm, comforting duo that captures the essence of the season.
-
Vanilla Ice Cream: A scoop of vanilla ice cream adds a delightful contrast to the cookies’ texture, making every bite a creamy, dreamy experience.
-
Peppermint Tea: The herbal notes of peppermint tea pair beautifully, echoing the cookies’ flavor while cooling your palate for a cozy holiday vibe.
-
Fruit Salad: A fresh fruit salad with citrus fruits complements the sweetness, providing a burst of flavor that balances the rich cookies.
-
Nutty Biscotti: Try serving nutty biscotti alongside the cookies for a crunchy texture that invites dipping into cocoa or coffee.
-
Eggnog: A classic holiday favorite, eggnog’s rich and creamy texture enhances the festive spirit and is an indulgent treat alongside your cookies.
-
Cheese Platter: A small cheese platter featuring soft cheeses like Brie or cream cheese pairs surprisingly well with the minty sweetness, creating an elegant touch.
-
Ginger Ale: For a refreshing drink option, ginger ale’s sparkling zest pairs well with the peppermint, providing a lively accompaniment to your snack spread.
-
Holiday Spritz Cookies: For those wanting extra sweetness, add a plate of colorful holiday spritz cookies to the table for an inviting visual display of treats.
-
Chocolate Bark: Rich chocolate bark offers a satisfying crunch and pairs excellently with the peppermint flavors, creating a delightful contrast in enjoyment.
Expert Tips for Peppermint Swirl Cookies
• Perfect Butter Consistency: Make sure your butter is softened, not melted. This allows for proper creaming, which leads to fluffy cookies.
• Chill Dough Properly: Don’t skip the chilling steps! Chilling the dough helps it stay firm, enabling cleaner slices and beautiful swirls in your Peppermint Swirl Cookies.
• Even Thickness Matters: Roll dough to an even 1/4-inch thickness. Uneven dough can lead to cookies that bake inconsistently, some potentially becoming crispy or overly chewy.
• Sharp Knife Usage: Use a sharp knife to slice the dough log. A dull knife will squish the dough and ruin those lovely swirls you’ve worked hard to create!
• Watch Baking Time: Keep a close eye on your oven; cookies need about 8-10 minutes. They will continue to firm up as they cool, so don’t overbake!
• Quality Extracts Count: Invest in high-quality peppermint extract for a more robust flavor. Cheap extracts can lead to a less vibrant taste in your Peppermint Swirl Cookies.
Peppermint Swirl Cookies Variations
Customize your Peppermint Swirl Cookies and explore delightful twists that will dazzle your taste buds and add a unique touch!
-
Flavor Swap: Change peppermint extract to almond or orange zest for a refreshing twist on flavor. This opens up a world of possibilities for the classic cookie!
-
Chocolate Lover’s Delight: Add 1/2 cup of mini chocolate chips to the dough for a sweet contrast—after all, chocolate and peppermint are a match made in heaven!
-
Nutty Crunch: Incorporate 1/2 cup of finely chopped nuts like pecans or walnuts. The added texture will create a delightful crunch in every bite!
-
Fruity Surprise: Mix in dried cranberries or cherries for a pop of color and a burst of natural sweetness. They pair beautifully with the peppermint!
-
Heat Things Up: For an adventurous treat, add a pinch of cayenne pepper to your dough for a surprising heat that complements the cool peppermint.
-
Vegan Option: Substitute the egg with a flax egg or 1/4 cup of unsweetened applesauce for a delicious vegan version. These cookies will still be scrumptious and festive!
-
Color Variations: Use green or blue gel food coloring for a different holiday theme; your cookies will make a statement with eye-catching colors!
-
Layered Delight: Roll out small portions of dough infused with different flavors using the same techniques. Think about combining chocolate peppermint or vanilla peppermint for fun, layered cookies.
Remember, personalization can take your baking to new heights—who wouldn’t love cookies that stand out? Enjoy making these delicious variations, and for another twist on classic cookies, try my Chocolate Oat Cookies or indulge in some Cinnamon Roll Cookies. Happy baking!
Peppermint Swirl Cookies Recipe FAQs
What is the best way to select peppermint extract?
When choosing peppermint extract, opt for a high-quality brand to ensure you get that vibrant, fresh mint flavor in your cookies. Look for extracts that have natural ingredients, as these typically yield a more pronounced taste. Organic options may also be available, and they often bring a richer flavor profile to your baking.
How should I store my Peppermint Swirl Cookies?
Store your cookies in an airtight container at room temperature for up to 7 days. To keep them fresh, place a slice of bread in the container; this small trick helps maintain moisture and prevents those delightful cookies from drying out!
Can I freeze Peppermint Swirl Cookies, and how?
Absolutely! To freeze the baked cookies, lay them out in a single layer on a baking sheet until solid, then transfer them to a freezer-safe bag or container for up to 1 month. When you want to enjoy them again, simply thaw them at room temperature. Reheat them in a preheated oven at 350°F (175°C) for 5-7 minutes to bring back their lovely texture.
What should I do if my dough is too sticky?
If your cookie dough is too sticky, it’s likely that it hasn’t chilled adequately. Try chilling it for an additional 15-30 minutes to firm it up. If you’re still having issues, you can gradually add a little more flour, one tablespoon at a time, until the dough is manageable. Remember, the key is to keep it cool and avoid overworking it!
Are there any dietary considerations I should keep in mind?
For those with dietary restrictions, you can easily adapt this recipe. Use vegan butter and a flax egg or applesauce to create a dairy-free and egg-free version of these Peppermint Swirl Cookies. Always double-check the ingredient labels for common allergens, especially if sharing with friends or family who may have allergies.
Melt-in-Your-Mouth Peppermint Swirl Cookies Bliss
Ingredients
Equipment
Method
- In a medium bowl, whisk together 2 cups of all-purpose flour, 1 teaspoon of baking powder, and 1/2 teaspoon of salt until well blended.
- In a large bowl, use an electric mixer to cream together 1 cup of softened unsalted butter and 1 cup of granulated sugar until light and fluffy, about 3-5 minutes.
- Beat in 1 large egg, 2 teaspoons of vanilla extract, and 1 teaspoon of peppermint extract into the creamed mixture until fully combined.
- Gradually add the dry ingredients to the wet mixture, mixing on low speed until just combined, about 1-2 minutes.
- Split the dough in half, wrap one half in plastic wrap and add red gel food coloring to the other half and mix by hand until evenly incorporated.
- Wrap each portion of dough separately in plastic wrap and chill in the refrigerator for at least 30 minutes.
- Roll both portions of dough into rectangles measuring 10x12 inches and 1/4 inch thick.
- Stack the red rectangle on top of the plain rectangle and carefully roll into a log.
- Wrap the rolled log in plastic wrap and chill in the refrigerator for at least 2 hours.
- Preheat your oven to 375°F (190°C), slice the chilled dough log into 1/4-inch rounds and place on a lined baking sheet.
- Bake for 8-10 minutes, then allow to cool before transferring to a wire rack.
Leave a Reply