
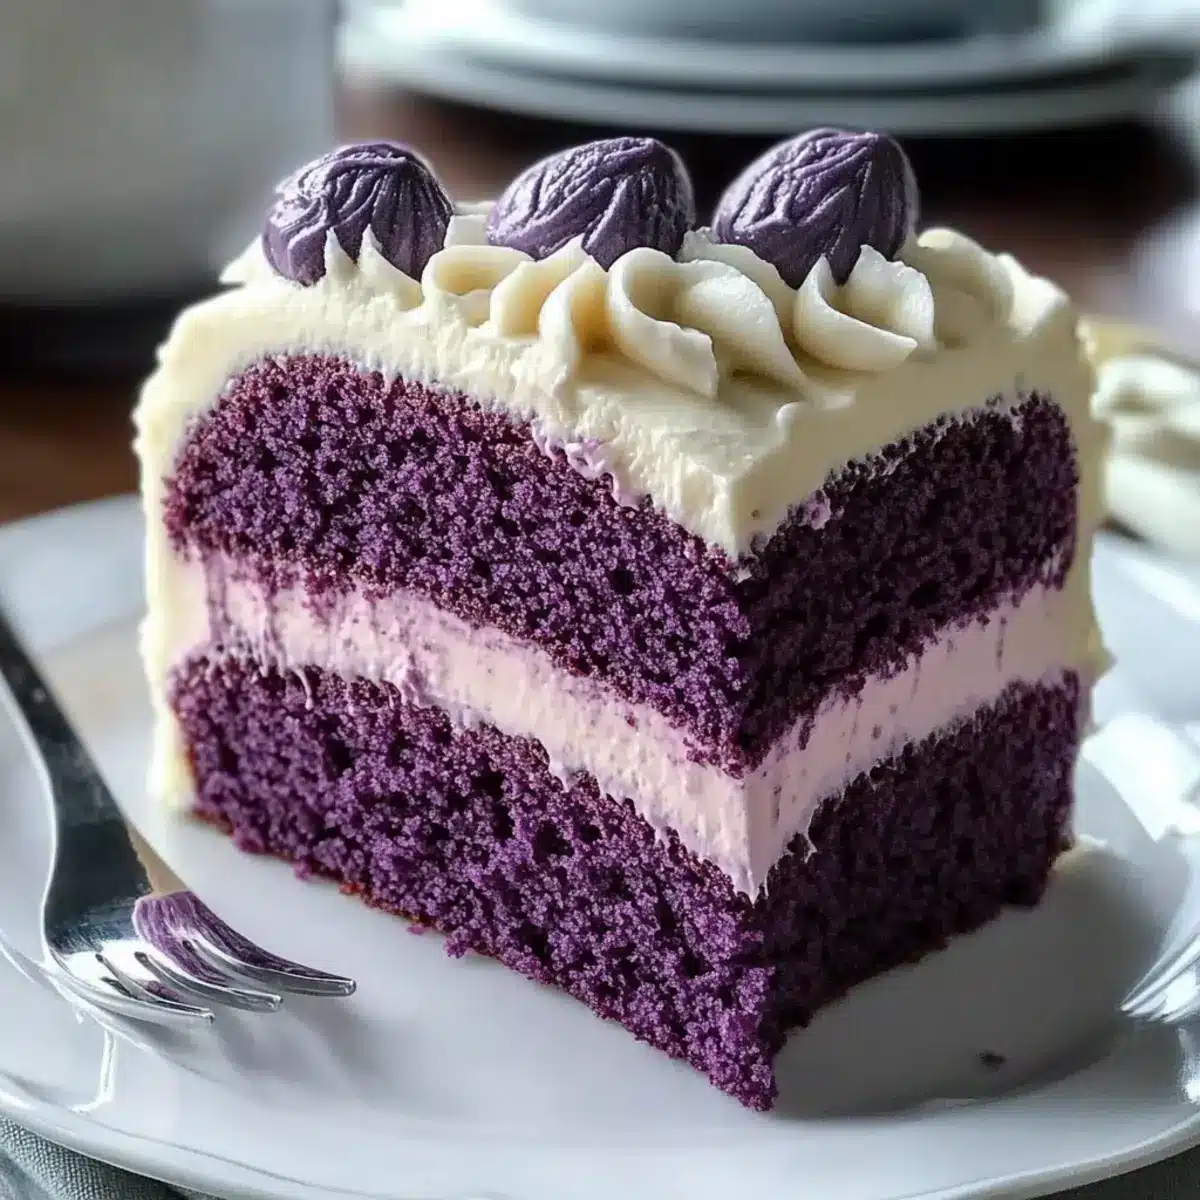
As I stood by the oven, the aroma of baked sweetness wafted through the kitchen, pulling me closer to that delicious moment I had been waiting for. The star of the day? A stunning Purple Velvet Cake with White Chocolate Cream Cheese Frosting that not only captures the eye but also warms the heart. This delightful twist on classic red velvet boasts a vibrant hue and a moist, tender crumb, making it a perfect centerpiece for both jubilant celebrations and cozy family dinners. Its balance of flavors—sweet, creamy, and just a hint of tang—makes it a surefire crowd-pleaser. Best of all, I’ve included a gluten-free option for those looking to indulge without compromise. Curious about how you can bring a burst of color and joy to your next gathering? Let’s dive into this recipe that’s sure to become a staple in your dessert rotations!
Why Is Purple Velvet Cake So Special?
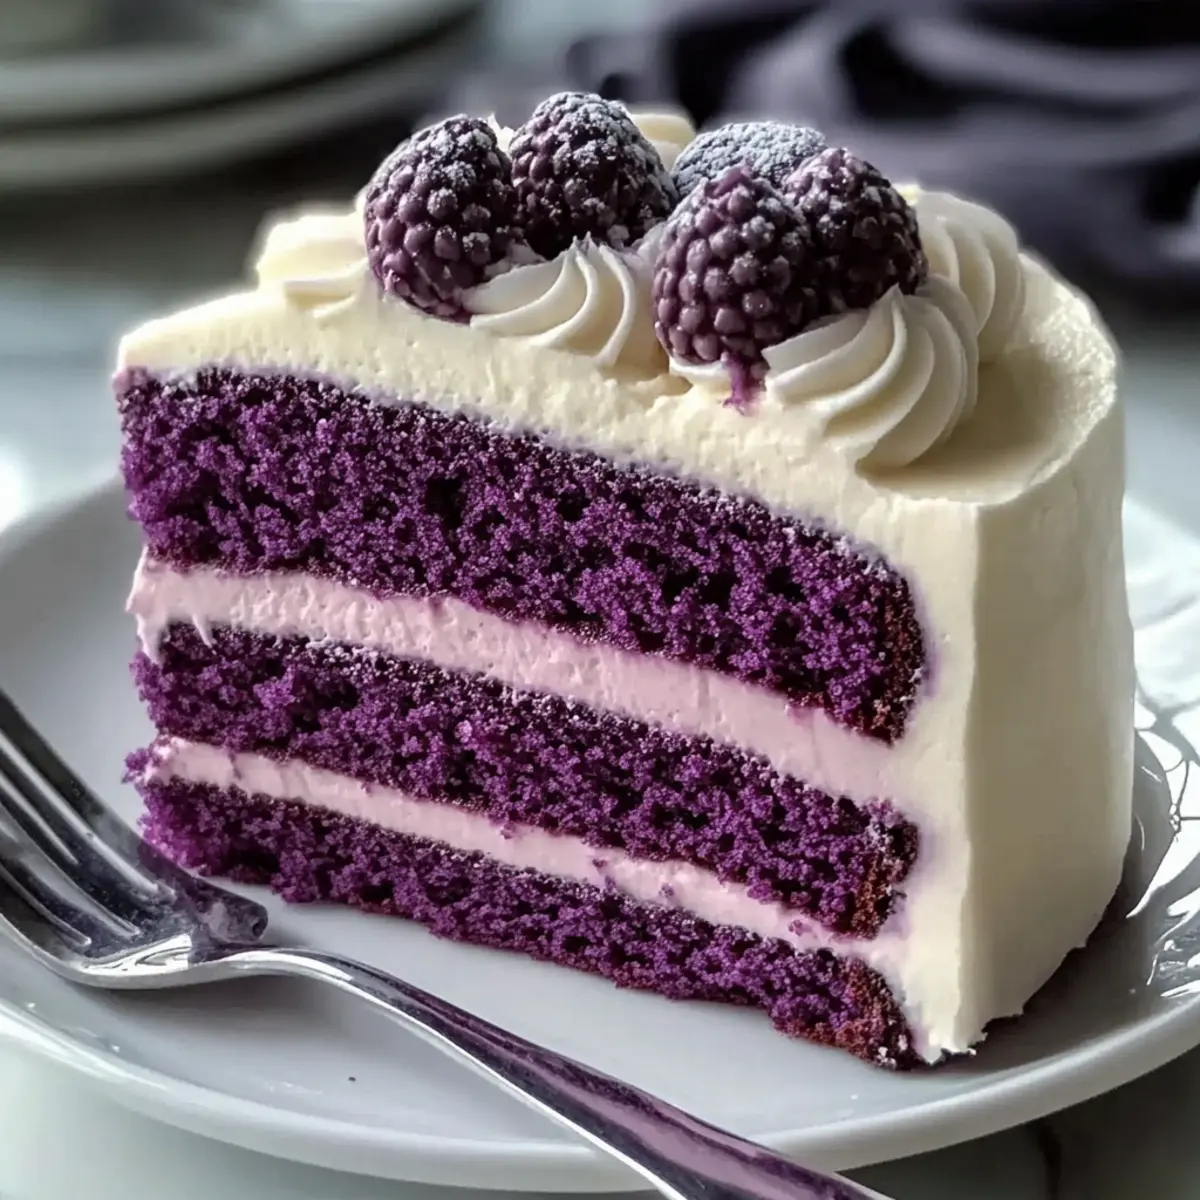
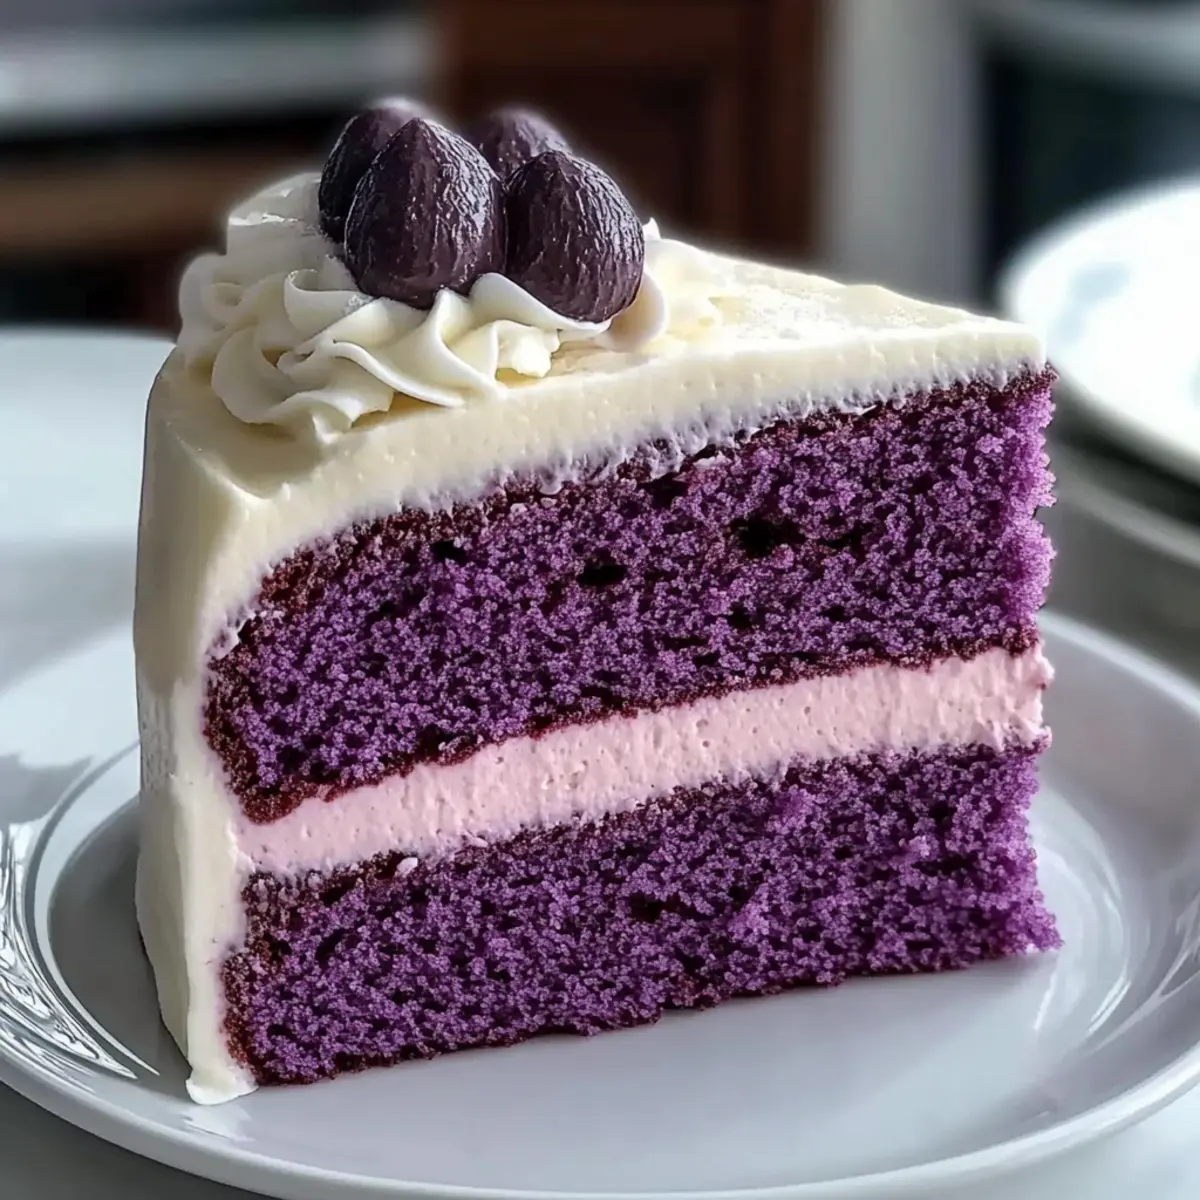
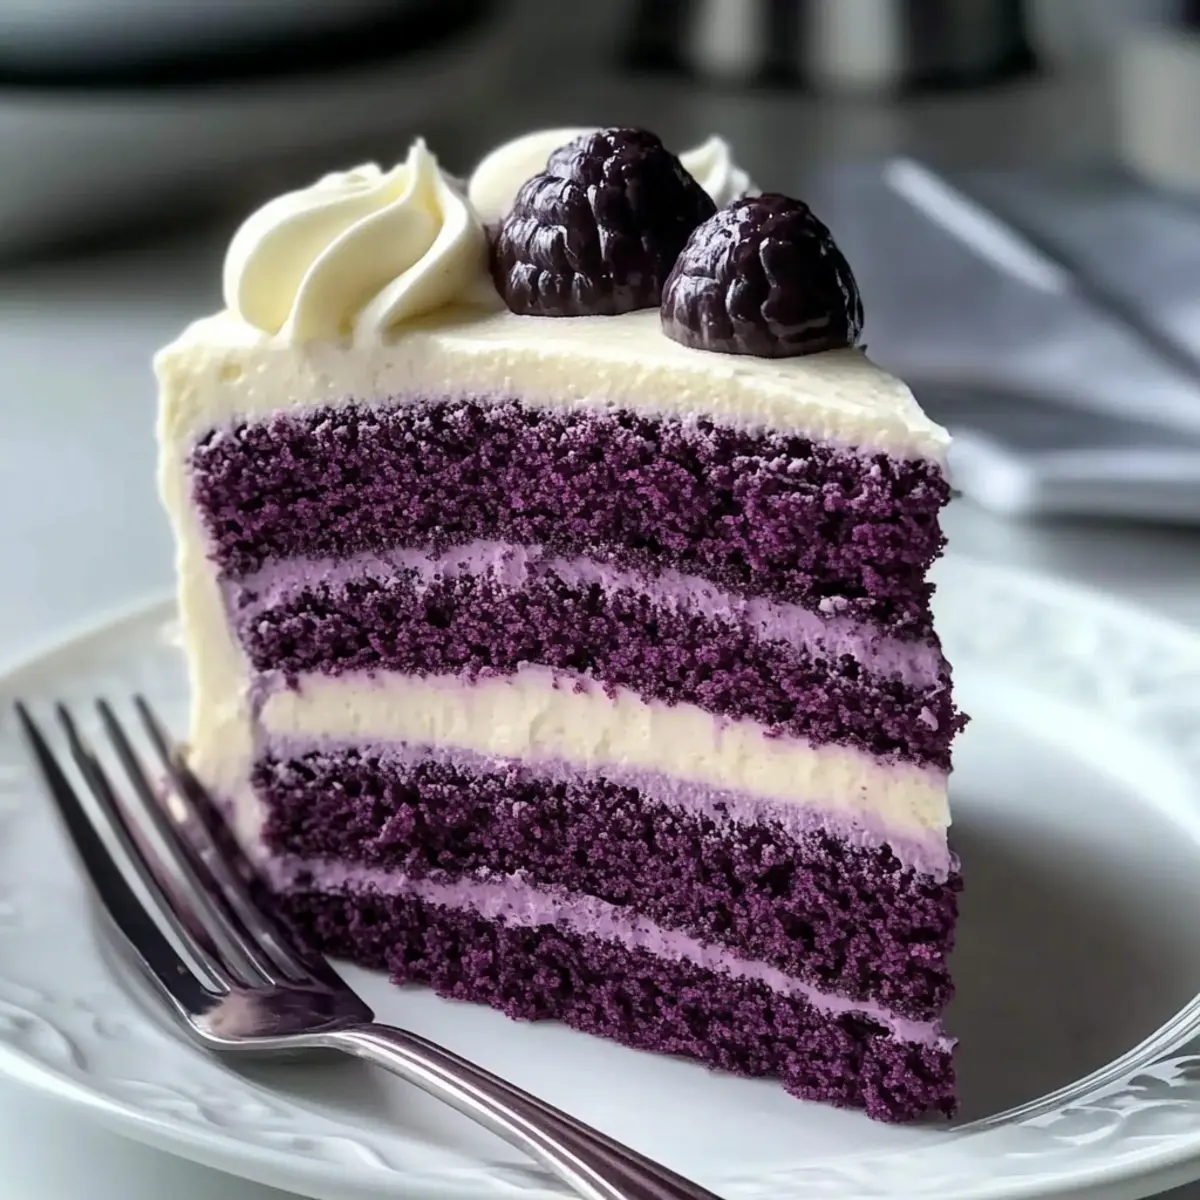
Vibrant, Eye-Catching Appearance: The stunning purple hue makes it an instant showstopper at any gathering, perfect for birthdays or celebrations.
Delicious Twist on Classic: This cake is a delightful twist on traditional red velvet, offering a unique flavor profile that surprises and delights.
Versatile Recipe: With easy substitutes, you can bake this cake gluten-free or opt for vegan cream cheese frosting without sacrificing flavor.
Moist and Tender Texture: Each slice is a testament to the cake’s moist crumb, paired beautifully with creamy white chocolate frosting that melts in your mouth.
Quick to Make: Despite its impressive look, this cake comes together in a flash, letting you create an elegant dessert without a lot of fuss.
Perfect for Sharing: Whether it’s a family dinner or a gathering with friends, this cake always garners rave reviews and smiles—everyone will want a second slice!
Why not elevate your dessert game? Check out my Coffee Cake Cinnamon for another indulgent treat that’s equally easy to make!
Purple Velvet Cake Ingredients
• Note: Gather these ingredients for a delicious Purple Velvet Cake that is sure to impress!
For the Cake
- All-Purpose Flour – Provides structure; substitute with a gluten-free flour blend for a gluten-free variant.
- Granulated Sugar – Sweetens the cake; light brown sugar can add depth to the flavor.
- Baking Soda – Acts as a leavening agent; make sure it’s fresh for the best rise.
- Salt – Enhances overall flavor; sea salt adds a subtle twist.
- Cocoa Powder – Brings richness to the flavor; Dutch-processed cocoa yields a milder taste.
- Vegetable Oil – Keeps the cake moist; melted coconut oil can add a unique flavor.
- Buttermilk – Adds tenderness; substitute with milk mixed with vinegar (1 cup + 1 tbsp vinegar, let sit).
- Eggs – Provide moisture and structure; use flaxseed meal as an egg substitute (1 tbsp flaxseed meal + 3 tbsp water per egg).
- White Vinegar – Activates baking soda for a good rise; lemon juice can be a suitable alternative.
- Vanilla Extract – Adds depth of flavor; using pure vanilla extract yields the best results.
- Red & Purple Food Coloring – Gives the cake its distinctive color; natural coloring from purple sweet potato powder is a healthier option.
For the Frosting
- Cream Cheese – Base for frosting; vegan cream cheese can be used for a dairy-free version.
- Unsalted Butter – Adds richness and smoothness; coconut oil works as a substitute for a dairy-free frosting.
- Confectioners’ Sugar – Sweetens the frosting for a smooth texture.
- White Chocolate – Adds a luxurious finish; opt for high-quality chocolate for the best flavor.
Step‑by‑Step Instructions for Purple Velvet Cake
Step 1: Preheat the Oven and Prepare Pans
Begin by preheating your oven to 350°F (175°C). While it heats up, grease and line two 9-inch round cake pans with parchment paper. This preparation ensures your Purple Velvet Cake layers will release easily after baking and helps to create a beautifully even crust.
Step 2: Whisk the Dry Ingredients
In a large mixing bowl, whisk together the all-purpose flour, granulated sugar, baking soda, salt, and cocoa powder until they are well combined and fluffy. This step sets the foundation for your cake, making sure the dry ingredients are aerated, which contributes to a light and tender texture in your final Purple Velvet Cake.
Step 3: Mix the Wet Ingredients
In a separate bowl, combine the vegetable oil, buttermilk, eggs, white vinegar, vanilla extract, and the red and purple food coloring. Whisk these ingredients together until the mixture is smooth and well-blended. The vibrant colors will add the distinctive hue to your Purple Velvet Cake, setting the stage for its lovely appearance.
Step 4: Combine Wet and Dry Ingredients
Gradually pour the wet mixture into the bowl of dry ingredients, and use a whisk to combine them gently. Mix just until incorporated, being careful not to overmix, as this can lead to a denser cake. You want to maintain that light tender crumb that characterizes the best cakes.
Step 5: Bake the Cake
Divide the batter evenly between the two prepared cake pans and smooth the tops with a spatula. Bake in the preheated oven for 25 to 30 minutes, or until a toothpick inserted in the center comes out clean. Once baked, allow the cakes to cool in the pans for about 10 minutes before transferring them to a wire rack to cool completely.
Step 6: Prepare the White Chocolate Cream Cheese Frosting
While the cakes cool, melt the white chocolate carefully using a microwave or double boiler, then set it aside to cool slightly. In a mixing bowl, beat the cream cheese and unsalted butter together until fluffy, then gradually add the confectioners’ sugar, mixing until smooth, and finally fold in the cooled melted chocolate to achieve a luscious frosting for your Purple Velvet Cake.
Step 7: Assemble the Cake Layers
Once the cakes are completely cool, place one layer on a serving plate and spread a generous amount of the white chocolate cream cheese frosting on top. Carefully place the second layer on top and cover the top and sides of the entire cake with the remaining frosting, smoothing it out for an elegant finish.
Step 8: Chill the Finished Cake
To achieve the best texture for your frosting, refrigerate the assembled Purple Velvet Cake for at least 30 minutes before serving. This allows the frosting to firm up slightly, making it easier to cut and enhancing the overall presentation of your delightful creation.
Expert Tips for Purple Velvet Cake
-
Room Temperature Ingredients: Ensure all ingredients are at room temperature for a better emulsion and optimal rise of your Purple Velvet Cake.
-
Color Caution: Start with a few drops of food coloring; it’s easy to add more if needed, but too much can alter the cake’s texture.
-
Cooling Time: Allow the cake layers to cool completely before frosting. Frosting a warm cake can lead to melting and messy layers.
-
Frosting Technique: To achieve a smooth finish, use an offset spatula to spread the frosting evenly. Don’t rush—take your time for a beautiful presentation!
-
Fresh Baking Soda: Always check the freshness of your baking soda; expired baking soda won’t provide the necessary lift, resulting in a denser cake.
Purple Velvet Cake Variations & Substitutions
Invite your culinary creativity to blossom with these delightful twists and substitutions for your Purple Velvet Cake.
-
Gluten-Free: Use a gluten-free flour blend instead of all-purpose flour for a tender cake that everyone can enjoy.
-
Natural Color: Replace food coloring with purple sweet potato puree to maintain the vibrant hue while adding nutritional value. It’s a fantastic way to keep your cake colorful and healthy.
-
Lower Sugar: Swap half of the granulated sugar with mashed bananas for a naturally sweetened cake that brings an extra touch of moisture.
-
Flavor Twist: Add finely grated lemon zest into your frosting for a refreshing, zesty surprise that balances sweetness beautifully.
-
Dairy-Free: Use vegan cream cheese and coconut oil in the frosting to create a deliciously creamy treat without dairy.
-
Zesty Chocolate: Incorporate orange zest into the cake batter for a delightful citrus burst that complements the rich chocolate flavors.
-
Add Spice: Sprinkle in a teaspoon of cinnamon or a pinch of nutmeg into the batter to introduce warm, aromatic notes that elevate every bite.
-
Fruit-Filled Center: Add a layer of raspberry or blueberry jam between the cake layers for a burst of fruity flavor that contrasts beautifully with the creamy frosting.
Feeling inspired? For more sweet creations, check out my delectable Coffee Cake Muffins or indulge in a rich Chocolate Mug Cake for an equally delightful dessert experience!
What to Serve with Purple Velvet Cake?
Indulge in a colorful feast that elevates your dessert experience beyond the cake itself, making for a truly memorable occasion.
-
Vanilla Bean Ice Cream: This classic pairing provides a creamy contrast to the rich, sweet cake—a delightful balance of flavors.
-
Fresh Berries: Tangy raspberries or sweet blueberries add freshness and a pop of color, enhancing both taste and presentation. Toss them on the plate for an elegant touch.
-
Chocolate Ganache Drizzle: A rich chocolate sauce will intensify the cake’s decadence while beautifully complementing the white chocolate frosting’s sweetness.
-
Lemon Zest Whipped Cream: A dollop of this tangy treat brightens each bite, creating a refreshing palate cleanser between the sweet layers of cake.
-
Berry Compote: Drizzle a warm berry compote on the side to lend the cake a fruity note, adding both moisture and a lovely tart contrast.
-
Almond Milk Latte: The nutty flavor of almond milk enhances the cake’s taste and is a delightful drink option for a cozy dessert experience.
-
Coconut Macaroons: These chewy delights echo the coconut notes in the white chocolate, complementing the overall flavor profile of your dessert.
-
Coffee: Whether it’s a rich espresso or a smooth cold brew, coffee pairs beautifully with the sweetness of purple velvet, making for a comforting end to any meal.
With these delightful additions, your gathering will not only showcase a spectacular Purple Velvet Cake but create an enjoyable experience for all!
Make Ahead Options
These Purple Velvet Cakes are a fantastic option for meal prep enthusiasts! You can prepare the cake layers up to 24 hours in advance and store them tightly wrapped in plastic wrap in the refrigerator to keep them moist and fresh. Additionally, the white chocolate cream cheese frosting can be made up to 3 days ahead—simply store it in an airtight container in the fridge. When you’re ready to serve, just assemble the chilled layers with the frosting and allow the completed cake to set in the refrigerator for at least 30 minutes to firm up the frosting. This way, you’ll enjoy a beautifully moist and delicious Purple Velvet Cake with minimal last-minute effort, making it perfect for any occasion!
How to Store and Freeze Purple Velvet Cake
Fridge: Store your Purple Velvet Cake tightly covered in the refrigerator for up to 5 days. This helps maintain its moisture and freshness while enhancing the flavors.
Freezer: For longer storage, slice the cake and wrap each piece securely in plastic wrap, then place in an airtight container. It will keep well in the freezer for up to 3 months.
Reheating: To enjoy your cake later, thaw slices in the refrigerator overnight. For a warm treat, gently reheat in the microwave for 10-15 seconds, ensuring the frosting doesn’t melt.
Wrapping: If you plan to freeze, use parchment paper between layers of cake slices to prevent sticking and retain the beautiful appearance of your vibrant Purple Velvet Cake.
Purple Velvet Cake with White Chocolate Cream Cheese Frosting Recipe FAQs
How do I choose the best ingredients for my Purple Velvet Cake?
Absolutely! For the richest flavor, use high-quality cocoa powder and pure vanilla extract. Choose vibrant, fresh red & purple food coloring to ensure your cake shines. If you’re substituting for gluten-free, select a good quality gluten-free flour blend that performs well in baking.
How should I store my Purple Velvet Cake, and how long will it last?
You can store your Purple Velvet Cake tightly covered in the refrigerator for up to 5 days. If you’re saving it for later, I recommend wrapping slices individually in plastic wrap for short-term storage or transferring to an airtight container to keep it fresh.
Can I freeze the Purple Velvet Cake? What’s the best way to do it?
Very! To freeze your Purple Velvet Cake, slice it first into pieces. Wrap each slice tightly in plastic wrap to avoid freezer burn, then place them in an airtight container or freezer bag. It will keep well for up to 3 months. When you’re ready to enjoy, just thaw it in the fridge overnight or gently microwave each slice for about 10-15 seconds for a warm treat.
What should I do if my cake turns out too dense?
If your Purple Velvet Cake ends up being dense, it might be due to overmixing your batter or not using fresh baking soda. Remember, once you combine your wet and dry ingredients, mix just until incorporated to maintain that light texture. Always double-check the expiration date on your baking soda for best results!
Can I make this cake gluten-free or dairy-free?
Absolutely! If you need a gluten-free version, simply substitute the all-purpose flour with a reliable gluten-free flour blend. For a dairy-free option, use vegan cream cheese and coconut oil for the frosting. These adjustments provide a delicious cake without sacrificing flavor!
Can pets eat Purple Velvet Cake?
No, it’s best to keep this cake away from pets. Ingredients like chocolate and certain sugars can be harmful to animals. Stick to treats specifically made for them to ensure their safety while you enjoy this delightful dessert!
Purple Velvet Cake That's a Showstopper for Any Occasion
Ingredients
Equipment
Method
- Preheat your oven to 350°F (175°C). Grease and line two 9-inch round cake pans with parchment paper.
- In a large mixing bowl, whisk together the all-purpose flour, granulated sugar, baking soda, salt, and cocoa powder until well combined.
- In a separate bowl, combine the vegetable oil, buttermilk, eggs, white vinegar, vanilla extract, and food coloring. Whisk until smooth.
- Gradually pour the wet mixture into the bowl of dry ingredients, mixing gently until just combined.
- Divide the batter evenly between the prepared cake pans and bake for 25-30 minutes or until a toothpick comes out clean.
- Allow the cakes to cool in the pans for about 10 minutes before transferring them to a wire rack to cool completely.
- Melt the white chocolate and set aside. Beat the cream cheese and unsalted butter together, then gradually add confectioners' sugar and melted chocolate.
- Once cooled, spread frosting on the top of one cake layer, place the second layer on top and frost the top and sides of the cake.
- Refrigerate the assembled cake for at least 30 minutes before serving to allow the frosting to firm up.
Leave a Reply