
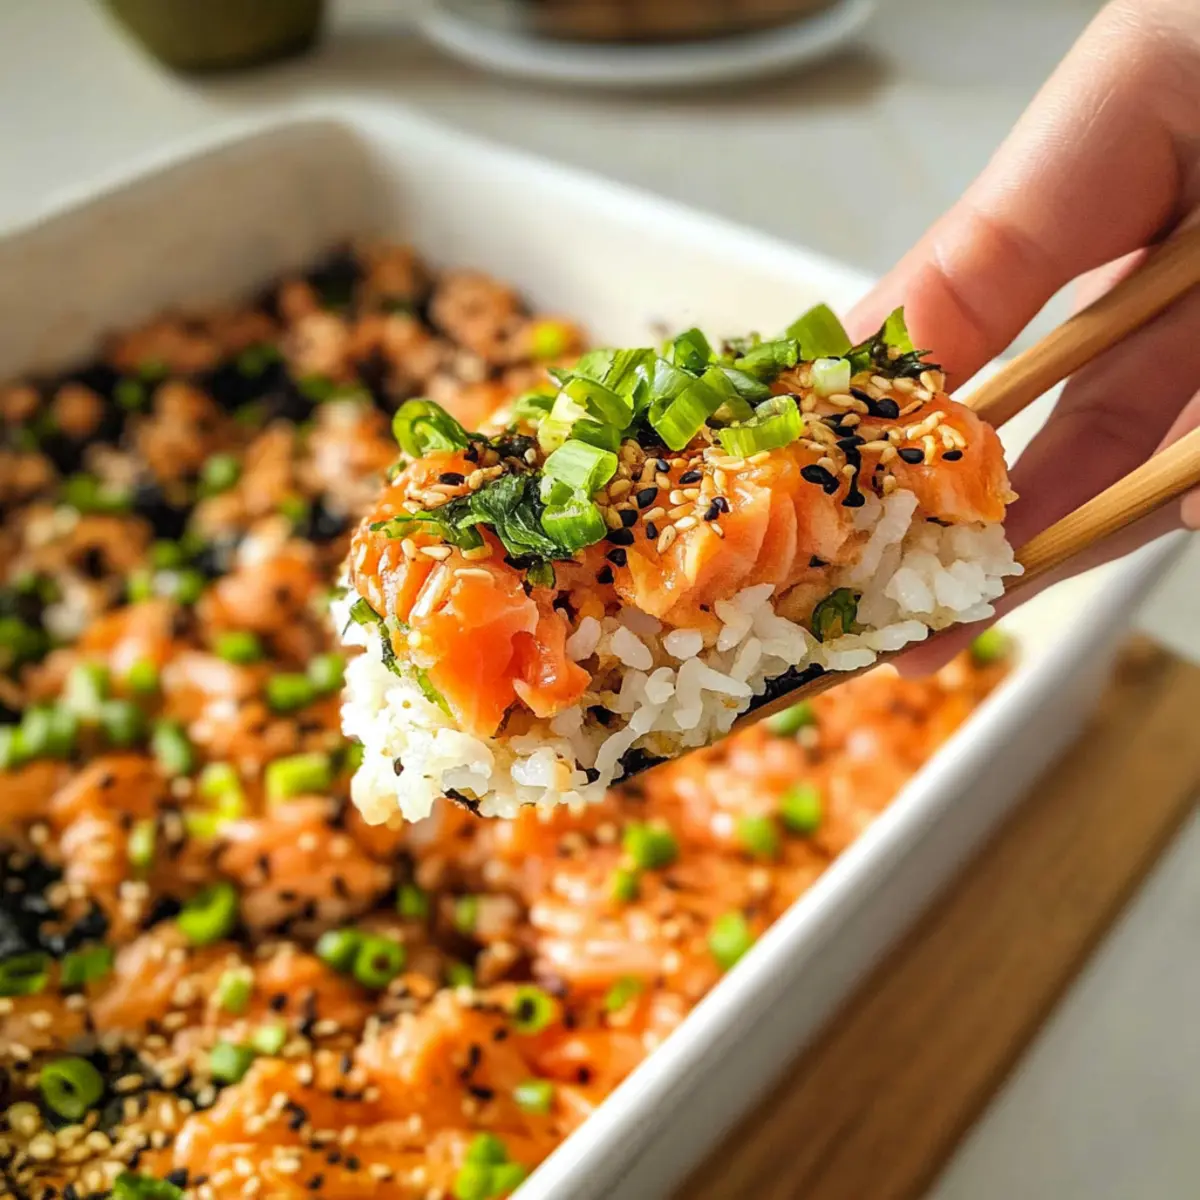
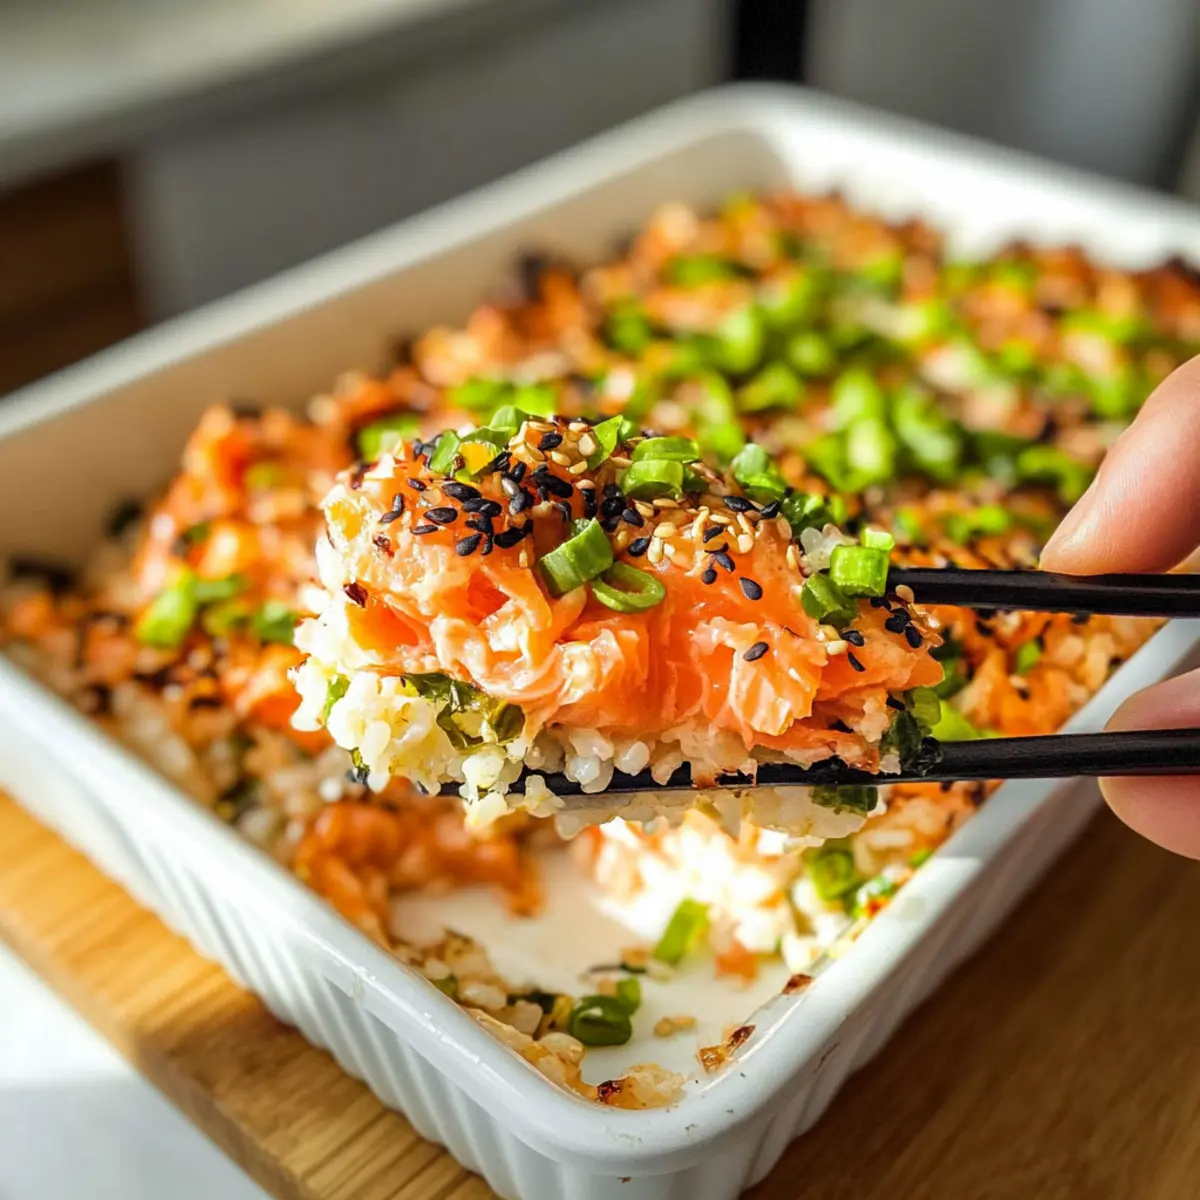
The aroma wafting through my kitchen as I prepare this Salmon Sushi Bake is truly something special. This recipe marries the convenience of a casserole with the delightful essence of sushi, transforming traditional rolls into a dish that’s warm, creamy, and entirely shareable. With a layer of perfectly seasoned sushi rice, a rich salmon and crab mixture, and topped with vibrant garnishes, the Salmon Sushi Bake is not just a crowd-pleaser—it’s also a customizable delight! Whether you’re hosting a casual gathering or simply wanting to elevate a family dinner, this dish is quick to whip up and offers a comforting twist on your typical sushi experience. Curious about how to create this hearty, savory masterpiece? Let’s dive in!
Why is Salmon Sushi Bake a Must-Try?
Comforting and Delicious: This Salmon Sushi Bake combines the warm, creamy textures we love in casseroles while delivering the beloved flavors of sushi.
Customization Galore: Whether you want to mix in your favorite vegetables or swap salmon for tuna, this recipe offers a canvas for your culinary creativity.
Perfect for Gatherings: Serve it warm and watch your friends and family gather around! It’s an ideal dish for sharing that brings everyone together.
Time-Saving Delight: With straightforward steps and minimal prep, you can have this delicious dish ready in no time, leaving more moments to enjoy with loved ones.
Crowd-Pleasing Flavor: Each bite is a harmonious blend of umami from the furikake and zest from the Sriracha mayo, ensuring every guest walks away satisfied.
Elevate your next meal with this delightful recipe and explore other tasty options like Salmon Alfredo Cozy or Mediterranean Baked Fish for flavor-packed inspiration!
Salmon Sushi Bake Ingredients
-
For the Rice
Sushi Rice – This serves as the delicious foundation for your Sushi Bake.
Rice Vinegar – Adds the tangy flavor essential to typical sushi rice.
Sugar – Helps to balance the acidity and enhances the rice’s flavor.
Salt – A key seasoning that brings out the best in your rice. -
For the Seafood Mixture
Salmon – The star of this dish, providing creaminess and rich flavor; consider tuna or shrimp as substitutes for variety.
Imitation Crab – This ingredient enhances the seafood flavor but can be omitted or replaced with more salmon if preferred.
Sriracha Mayo – Infuses the mixture with a creamy spiciness; substitute with Kewpie Mayo and Sriracha if needed. -
For the Topping
Furikake – An essential seasoning that introduces umami flavor; a unique ingredient with no direct substitutes.
Green Onions – Fresh and vibrant, they add color and a mild onion flavor.
Sesame Seeds – These enhance both texture and presentation, making your bake visually appealing.
Gather your ingredients and get ready to create a Salmon Sushi Bake that’s not just delicious but also perfect for sharing with loved ones!
Step‑by‑Step Instructions for Salmon Sushi Bake
Step 1: Prepare Sushi Rice
Start by rinsing 1 cup of sushi rice under cold water until the water runs clear. Cook the rice according to package instructions, typically about 20 minutes. Once cooked, transfer it to a large bowl and gently mix in 2 tablespoons of warmed rice vinegar, 1 tablespoon of sugar, and ½ teaspoon of salt. Allow the sushi rice to cool and set aside for assembly.
Step 2: Cook Salmon
Season 8 ounces of salmon fillet with salt and your choice of spices, then preheat your air fryer to 400°F. Cook the salmon for about 10-12 minutes until it easily flakes with a fork. Alternatively, you can bake the seasoned salmon at 375°F for 15-17 minutes. Once done, remove it from the heat and let it cool slightly before flaking it into pieces.
Step 3: Combine Seafood
In a mixing bowl, combine the flaked salmon with 6 ounces of imitation crab and ¼ cup of Sriracha mayo. Mix these ingredients until they are well incorporated and creamy. This seafood mixture is a vital component of the Salmon Sushi Bake, providing both flavor and texture. Set this aside while you prepare for the next step.
Step 4: Assemble Sushi Bake
Preheat your oven to 400°F. In a prepared 9×9 or 9×13 inch baking dish, spread the cooled sushi rice evenly across the bottom, ensuring it covers the entire surface. Sprinkle a generous layer of furikake seasoning over the sushi rice, drizzle a bit of extra rice vinegar for added flavor, and then spread the creamy seafood mixture on top. gently press down to create an even layer.
Step 5: Bake
Place the assembled salmon sushi bake into the preheated oven, baking for 10-15 minutes, or until the top is golden and slightly crispy. During this time, the flavors will deepen and meld together beautifully. Keep an eye on it, as you want it to be beautifully golden without burning, adding to the dish’s visual appeal.
Step 6: Serve
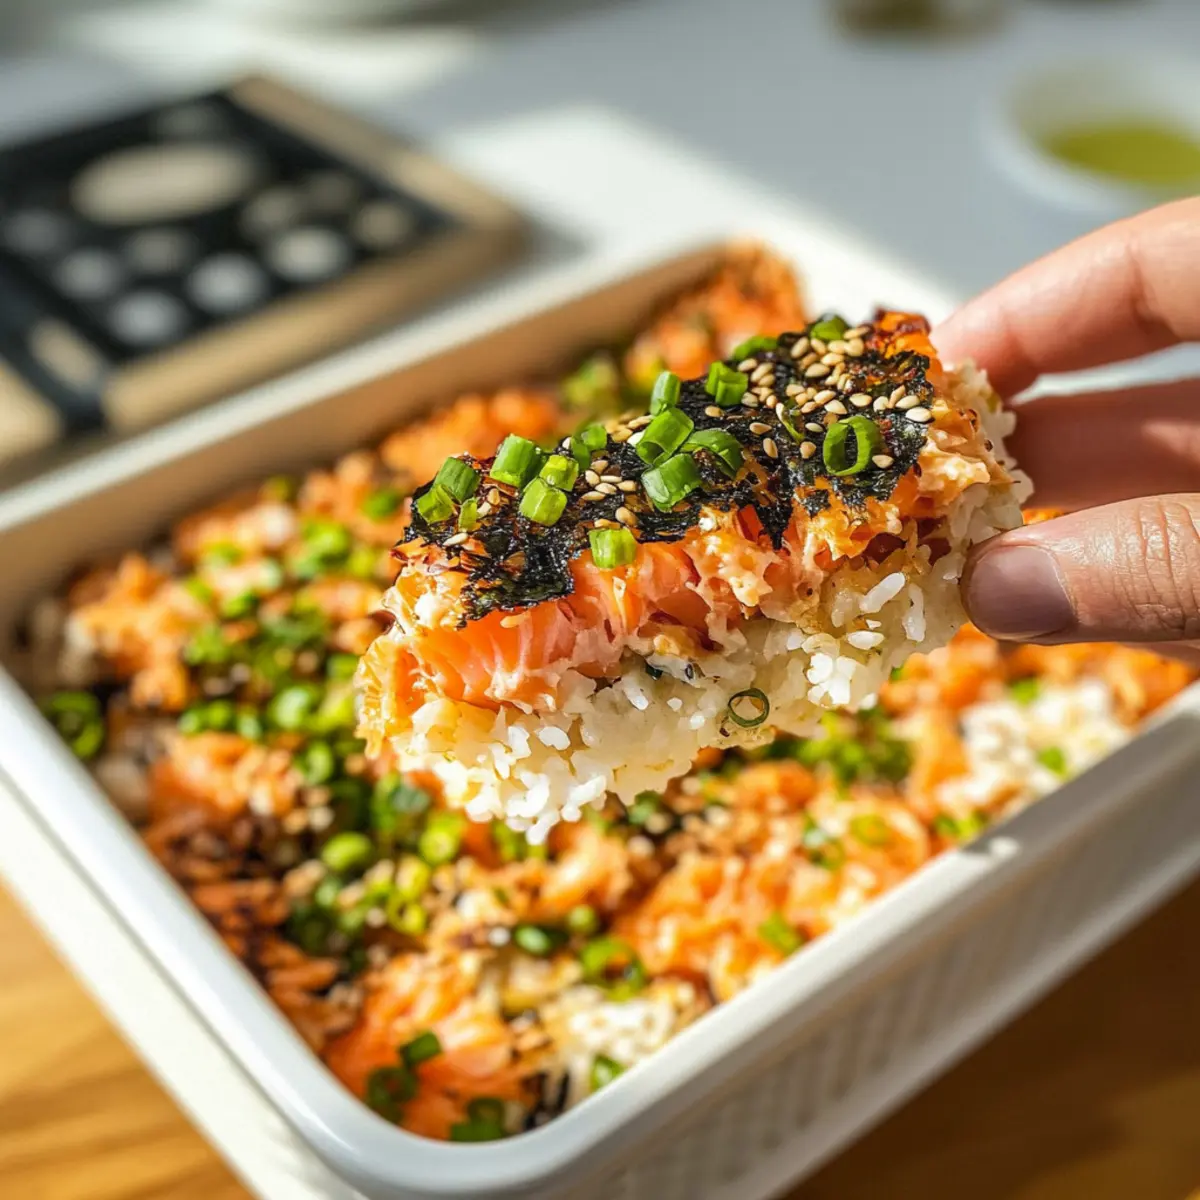
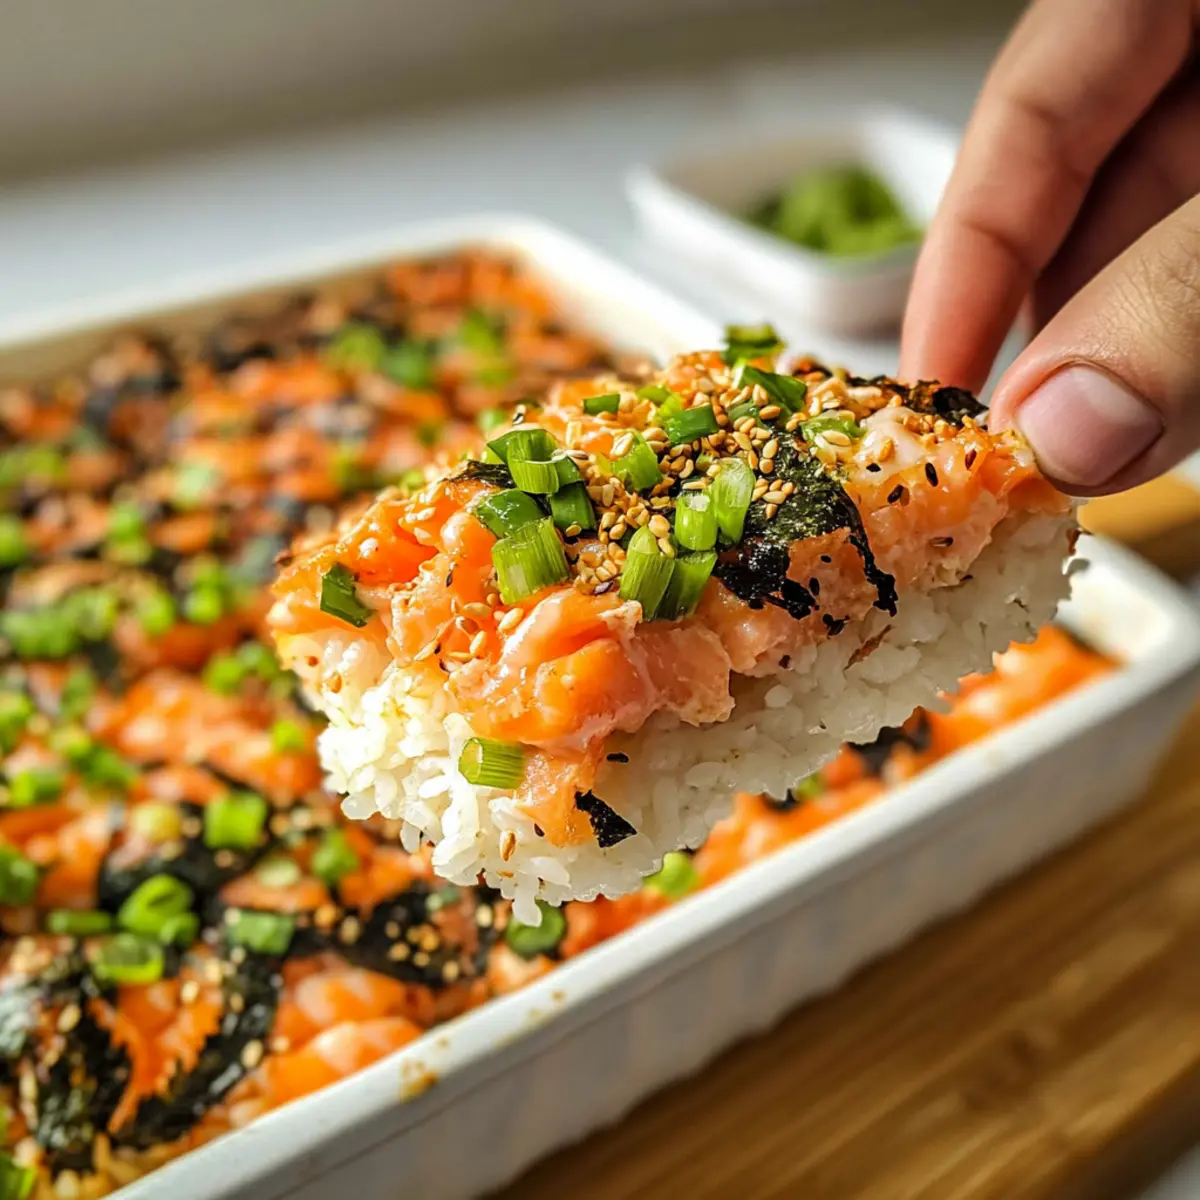
Once baked, remove the Salmon Sushi Bake from the oven and allow it to cool for a few minutes before serving. Top it with additional Sriracha mayo, a sprinkle of furikake, sliced green onions, and sesame seeds for extra flavor and crunch. For a delightful twist, serve with roasted seaweed snacks for a sushi experience that’s both warm and shareable.
Expert Tips for Salmon Sushi Bake
-
Perfect Rice Texture: Ensure your sushi rice is cooked just right; overcooked rice can lead to a mushy dish, while undercooked can be crunchy.
-
Balance Your Seasoning: Avoid over-seasoning the salmon before baking. The Sriracha mayo will add flavor, so keep the seasoning light to maintain balance.
-
Layering Wisely: When assembling, evenly spread the ingredients and gently press down to avoid a dry top while ensuring everything merges nicely during baking.
-
Check Oven Settings: Every oven is different; watch the bake closely after 10 minutes to achieve that perfectly golden top.
-
Customize Your Bake: Experiment with other seafood or add veggies like chopped cucumber for extra freshness and flavor in your Salmon Sushi Bake!
Storage Tips for Salmon Sushi Bake
-
Fridge: Store any leftover Salmon Sushi Bake in an airtight container for up to 3 days to maintain freshness and prevent drying out.
-
Freezer: You can freeze the Salmon Sushi Bake for up to 2 months. Wrap it tightly in plastic wrap and then in aluminum foil to avoid freezer burn.
-
Reheating: When ready to enjoy leftovers, reheat in the oven at 350°F for about 15-20 minutes until warmed through, or microwave individual portions for 2-3 minutes.
-
Serving Suggestion: For the best texture and flavor, enjoy the reheated Sushi Bake topped with fresh green onions and a drizzle of Sriracha mayo.
What to Serve with Salmon Sushi Bake?
Elevate your meal with delightful complements that enhance the warm, creamy goodness of your dish.
- Crispy Seaweed Snacks: These make a perfect crunchy accompaniment, offering a delightful contrast to the soft, creamy bake.
- Soy Sauce Dipping: A drizzle of soy sauce adds depth and umami, enhancing every bite with flavorful richness.
- Refreshing Cucumber Salad: Crunchy cucumbers tossed in rice vinegar brighten the plate, balancing the richness of the sushi bake.
- Edamame Pods: Lightly salted and steamed, these add a fresh touch and protein boost to your meal.
- Chilled Green Tea: A soothing drink that complements the flavors of the dish while providing a refreshing palate cleanser.
- Ginger Carrot Slaw: The tangy crunch of ginger slaw introduces a zesty note that balances the creamy richness of the bake.
- Miso Soup: Warm miso soup pairs beautifully, offering a comforting hug of flavor that rounds out your meal.
- Mochi Ice Cream: For a sweet finish, this delightful treat offers a fun and chewy contrast to the savory main dish.
No matter how you choose to accompany your Salmon Sushi Bake, each pairing will enhance your dining experience, turning it into a memorable feast!
Make Ahead Options
Preparing your Salmon Sushi Bake in advance is a game changer for busy weeknights! You can make the sushi rice and the creamy seafood mixture up to 24 hours ahead. To do this, cook your sushi rice, mix in the rice vinegar, sugar, and salt, then refrigerate it covered. For the seafood mix, combine flaked salmon, imitation crab, and Sriracha mayo in an airtight container and store it separately in the fridge. When you’re ready to serve, simply assemble the sushi bake by layering the ingredients in your baking dish and bake for about 10-15 minutes until golden. This way, you’ll enjoy that fresh, delicious flavor just as if you whipped it up on the spot!
Salmon Sushi Bake Variations & Substitutions
Feel free to explore these delicious variations and substitutions to make the Salmon Sushi Bake a uniquely yours experience!
-
Seafood Swap: Substitute salmon with tuna or shrimp for a different seafood flair. Each option brings its own delightful character to the dish.
-
Veggie Delight: Add diced cucumbers or avocado to the seafood mixture for a fresh crunch. These veggies add both flavor and color to your bake—perfect for summertime or a refreshing twist!
-
Creamy Alternative: For a lighter option, replace Sriracha mayo with Greek yogurt mixed with a splash of lime juice. This creates a tangy punch without compromising creaminess.
-
Spice It Up: Amp up the heat by mixing in a few chopped jalapeños or a dash of hot sauce into the seafood mixture. Your guests will love the added kick!
-
Rice Substitution: Transform sushi rice with quinoa for a gluten-free variant. Quinoa’s nutty flavor enhances the overall dish while keeping it nutritious.
-
Baking Dish Size: Adjust the ingredient quantities proportionally to fit a larger or smaller baking dish. Simply double the mix for gatherings or halve it for a cozy night in!
-
Herb Infusion: Mix in finely chopped herbs like cilantro or basil into the seafood mixture for an aromatic and flavorful pop. These fresh herbs will transport your sushi bake to a whole new level!
-
Topping Tweaks: Instead of furikake, try using crushed seaweed snacks or a sprinkle of panko breadcrumbs mixed with sesame seeds for a delightful crunch on top.
The versatility of the Salmon Sushi Bake is truly remarkable. If you’re looking for even more seafood inspiration, you might enjoy checking out Salmon Balls Avocado or Baked Apple Fritters for complementary flavors!
Salmon Sushi Bake Recipe FAQs
How do I select the right salmon for my Salmon Sushi Bake?
Absolutely! When choosing salmon, look for a vibrant pink color and firm texture, avoiding any that have dark spots or strong odors. Fresh, high-quality salmon will provide the best flavor in your bake. If you’re using frozen salmon, make sure it’s fully thawed before cooking.
How long can I store leftovers of Salmon Sushi Bake?
Very! You can keep any leftover Salmon Sushi Bake in an airtight container in the refrigerator for up to 3 days. Just make sure it’s fully cooled before sealing it up to prevent condensation. To reheat, pop it in the oven at 350°F for about 15-20 minutes or microwave individual portions for 2-3 minutes until warmed through.
Can I freeze my Salmon Sushi Bake?
Of course! The Salmon Sushi Bake can be frozen for up to 2 months. For best results, let it cool completely, then wrap it tightly in plastic wrap and aluminum foil to prevent freezer burn. When you’re ready to enjoy it, thaw it overnight in the fridge and reheat in the oven for a crispy finish.
What should I do if my sushi rice turns out too sticky?
Don’t worry! If your sushi rice is excessively sticky, it may be overcooked or not rinsed enough. To remedy this, spread the rice on a baking sheet to cool it down quickly, which can help separate the grains. In the future, rinse the rice well before cooking to remove excess starch and ensure a fluffy texture.
What dietary considerations should I keep in mind for my guests?
Definitely! If you’re serving guests with dietary restrictions, remember to check allergies for seafood or gluten. You can substitute the imitation crab with extra salmon for a seafood-free option or adjust the Sriracha mayo for those sensitive to spice. Also, note that furikake may contain gluten, so look for gluten-free options if needed.
How can I make Salmon Sushi Bake more kid-friendly?
Absolutely! To make the Salmon Sushi Bake more appealing to kids, you might want to reduce the amount of Sriracha mayo or even substitute it with a regular mayonnaise. Adding in diced cucumbers or avocado into the seafood mixture can add creaminess without overwhelming flavors. Serving it alongside seaweed snacks can also make it fun and interactive!
Salmon Sushi Bake: Irresistibly Creamy and Perfect for Sharing
Ingredients
Equipment
Method
- Rinse the sushi rice under cold water until the water runs clear. Cook the rice according to package instructions, then mix in rice vinegar, sugar, and salt. Allow to cool.
- Season the salmon fillet with salt and spices. Cook in an air fryer at 400°F for 10-12 minutes or bake at 375°F for 15-17 minutes until flaky. Cool slightly, then flake.
- In a bowl, combine flaked salmon, imitation crab, and Sriracha mayo until creamy. Set aside.
- Preheat the oven to 400°F. In a baking dish, spread the sushi rice, sprinkle furikake, drizzle additional rice vinegar, then layer the seafood mixture on top.
- Bake for 10-15 minutes until golden and crispy. Monitor closely to avoid burning.
- Cool for a few minutes before serving. Top with Sriracha mayo, furikake, green onions, and sesame seeds. Serve with roasted seaweed snacks.
Leave a Reply