
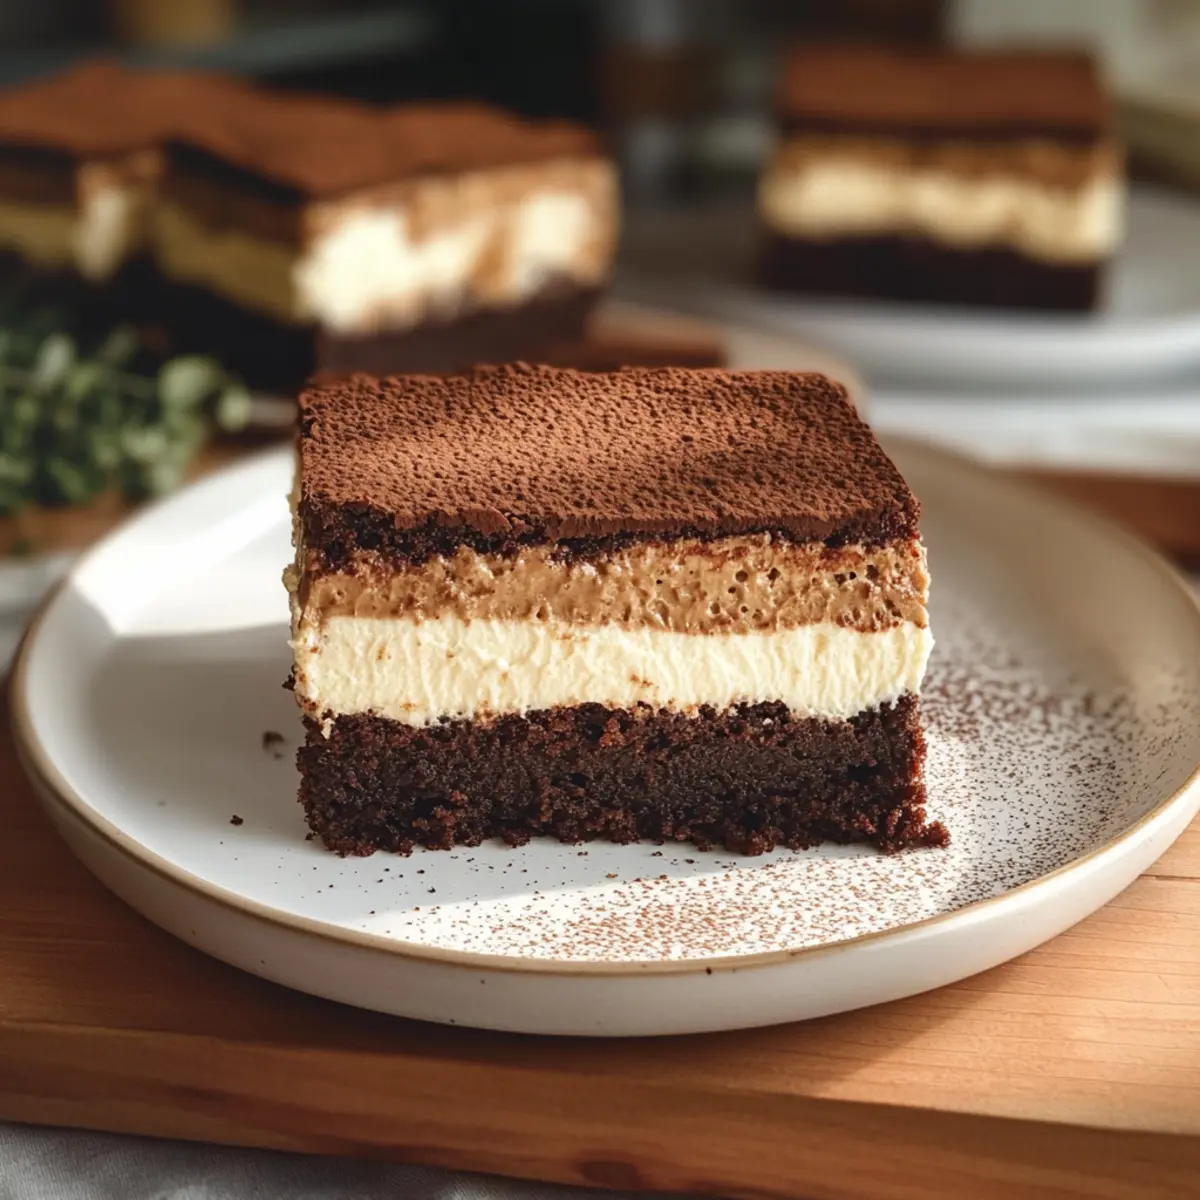
Is there anything quite as delightful as the first bite of a rich brownie? Now imagine that brownie layered with soft espresso-soaked ladyfingers and topped with creamy mascarpone—welcome to the world of Tiramisu Brownies! This unique recipe combines the best elements of two beloved desserts, creating a heavenly treat that is as indulgent as it is satisfying. The Tiramisu Brownies not only offer a quick prep time, making them perfect for unexpected gatherings, but they also provide a delightful twist on classic flavors that will wow your friends and family. Ready to step up your dessert game? Let’s dive into this delicious adventure together!
Why Are Tiramisu Brownies So Special?
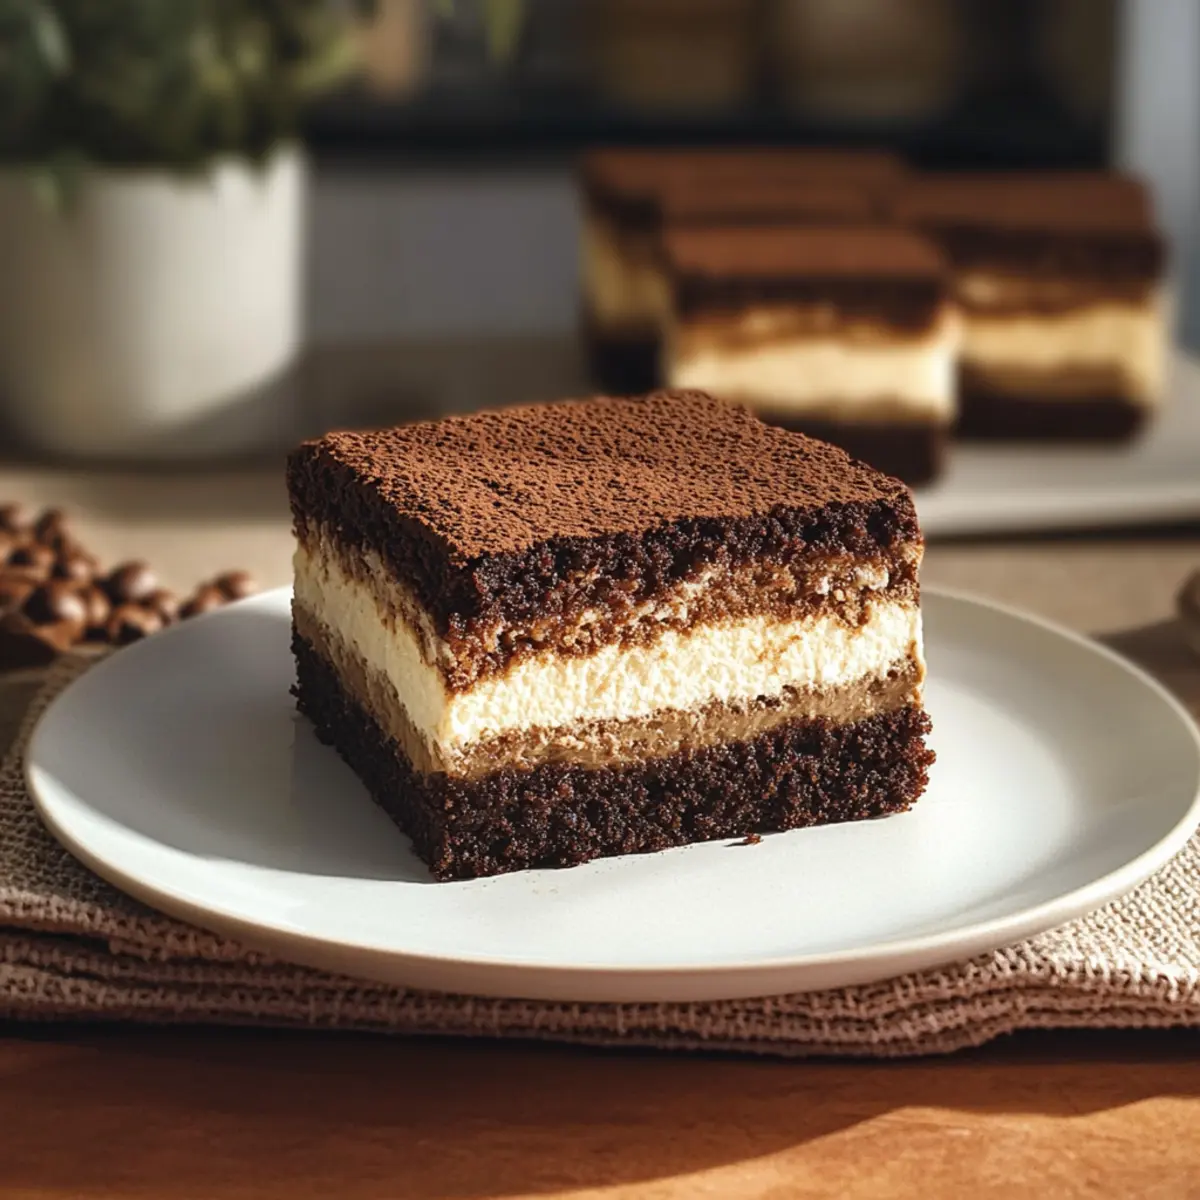
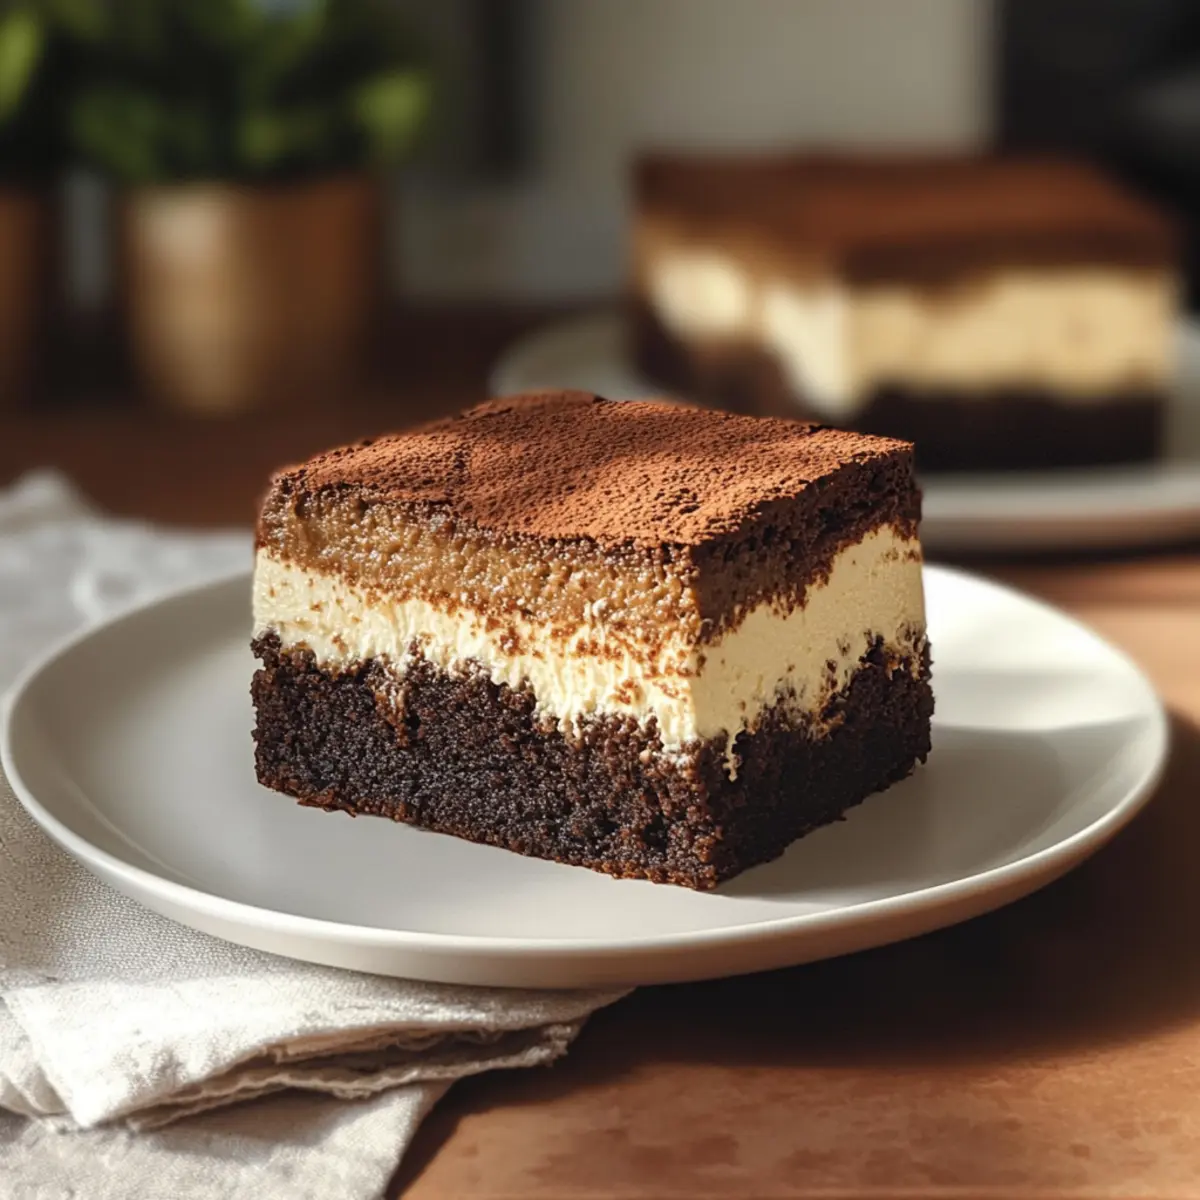
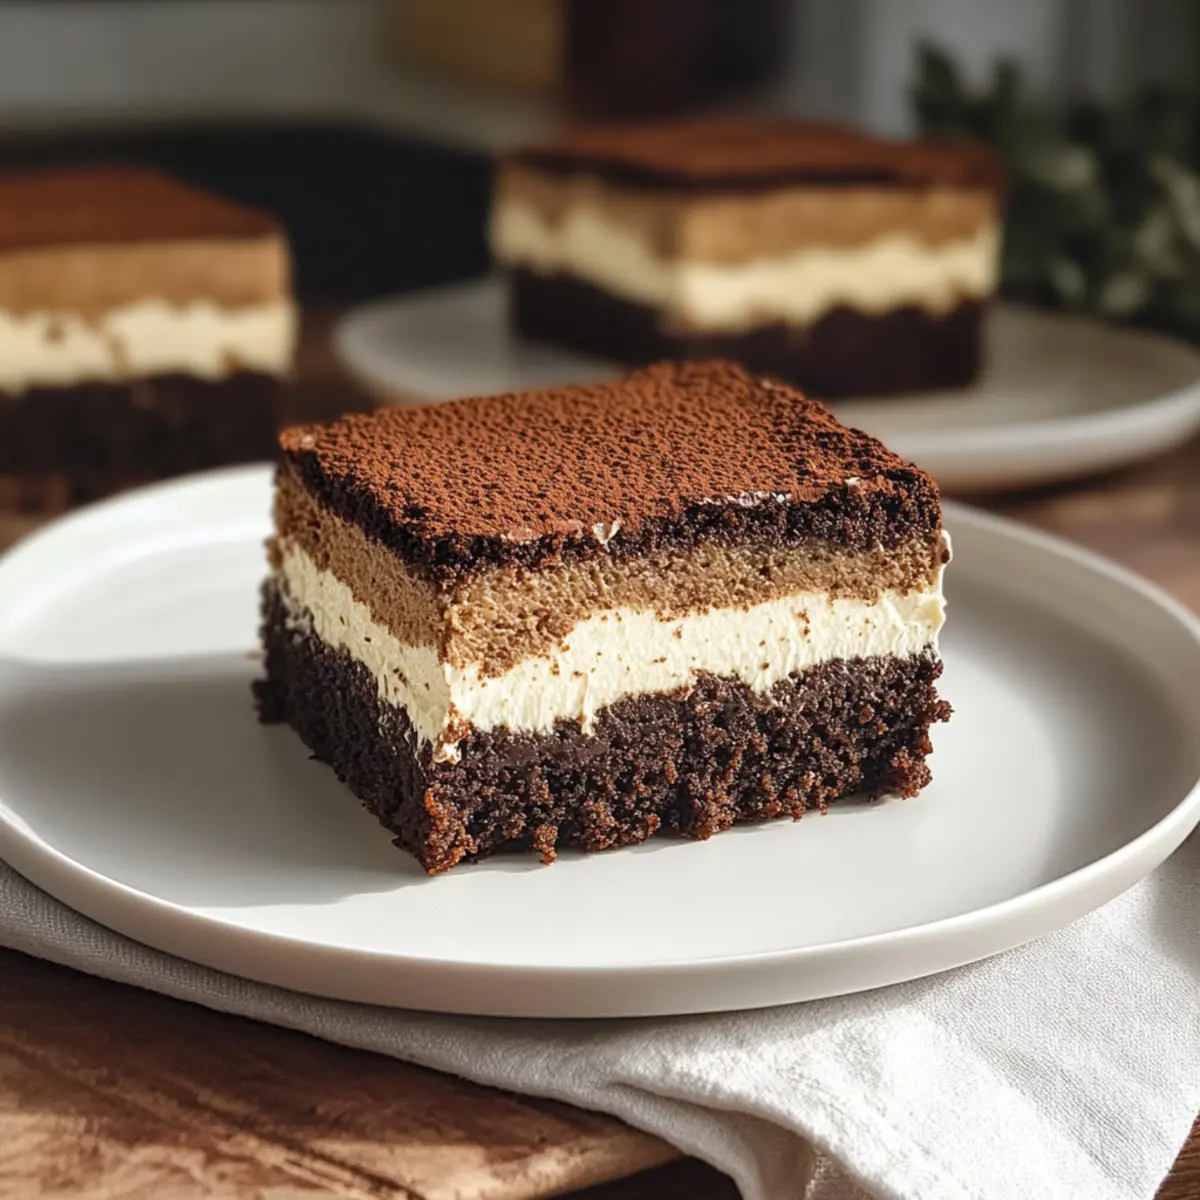
Indulgent Layers: The luscious combination of fudgy brownies with layers of espresso-soaked ladyfingers gives every bite a unique twist.
Decadent Creaminess: Topped with rich mascarpone, this dessert not only satisfies your sweet tooth but also brings a touch of elegance to any gathering.
Easy Prep: With a quick prep time, you can whip these up last minute for surprise guests, making them a fantastic go-to recipe.
Crowd-Pleaser: Whether for a family dinner or a special celebration, everyone will love this delightful fusion of two classics.
Versatile Options: Feel free to swap ingredients to match your dietary needs or flavor preferences—like using gluten-free flour or omitting coffee liqueur for a child-friendly version.
These Tiramisu Brownies are sure to become a new favorite in your dessert repertoire!
Tiramisu Brownies Ingredients
• The perfect fusion of flavors awaits!
For the Brownie Base
- Dark or Semi-Sweet Chocolate – Provides rich chocolate flavor and moisture. Can be substituted with unsweetened baking chocolate with added sugar.
- Natural Cocoa Powder – Enhances chocolate richness. Use unsweetened cocoa powder if unavailable.
- Unsalted Butter – Adds fat and richness to the brownies. Can be replaced with margarine or coconut oil for a dairy-free option.
- Eggs – Creates structure and binds the ingredients. Flax eggs can be used as a vegan alternative.
- Granulated Sugar – Adds sweetness. Brown sugar can be used for deeper flavor.
- Brown Sugar – Improves moisture and adds a hint of caramel flavor. Can be replaced with additional granulated sugar.
- All-Purpose Flour – Provides structure to brownies. Use a gluten-free flour blend for a gluten-free option.
For the Tiramisu Layer
- Mascarpone Cheese – Forms the creamy tiramisu layer. Cream cheese can be used as a substitute for a different flavor and texture.
- Whipping Cream – Lightens the mascarpone cream for a fluffier topping. Coconut cream can serve as a dairy-free alternative.
- Powdered Sugar – Sweetens the mascarpone cream. Regular sugar can be blended to make powdered sugar if necessary.
For the Ladyfinger Soak
- Espresso Powder – Adds depth and a coffee flavor to the ladyfinger soak. Instant coffee can be used in its place.
- Hot Water – Dissolves espresso powder for soaking ladyfingers.
- Coffee Liqueur or Dark Rum – Optional for added flavor in the soak. Omit for a non-alcoholic version.
- Ladyfingers – The base layer soaked in coffee. Sponge cake can be used instead if ladyfingers are unavailable.
For the Finishing Touch
- Cocoa Powder (for dusting) – A finishing touch to the presentation.
These incredible Tiramisu Brownies come together with this selection of rich ingredients, ensuring each bite is nothing short of divine!
Step‑by‑Step Instructions for Tiramisu Brownies
Step 1: Prep the Oven and Pan
Preheat your oven to 350°F (175°C) and prepare a 9×9-inch baking pan by lining it with parchment paper, allowing some overhang for easy removal later. This will ensure your Tiramisu Brownies are easily lifted out and cut into perfect squares after baking.
Step 2: Melt the Chocolate
In a medium bowl, combine chopped dark or semi-sweet chocolate with natural cocoa powder. Heat unsalted butter in a small saucepan until browned, then pour it over the chocolate mixture. Let it sit for about 5 minutes to soften, then stir until the chocolate is fully melted and smooth.
Step 3: Prepare the Brownie Mixture
In a separate bowl, whisk together eggs, granulated sugar, and brown sugar until the mixture is light and pale, about 2 minutes. Gradually add the melted chocolate mixture, and fold in all-purpose flour gently until just combined—be careful not to overmix for that perfect fudgy texture in your Tiramisu Brownies.
Step 4: Bake the Brownies
Spread the brownie batter evenly into the prepared baking pan. Bake in the preheated oven for 28-30 minutes, or until a toothpick inserted in the center comes out with a few moist crumbs attached. Be cautious not to overbake, as you want these brownies to remain rich and fudgy.
Step 5: Cool the Brownies
Remove the brownies from the oven and let them cool in the pan on a wire rack for about 30 minutes. This step is crucial to ensure you can cut the brownies easily without them crumbling, setting up the perfect base for your tiramisu layer.
Step 6: Whip the Mascarpone Cream
In a bowl, whip together mascarpone cheese, heavy whipping cream, powdered sugar, and vanilla extract until thick and creamy, about 3-5 minutes. This luscious mascarpone cream will be key in balancing the rich flavors of the Tiramisu Brownies, creating a delightful topping.
Step 7: Soak the Ladyfingers
In a shallow bowl, dissolve espresso powder in hot water, adding coffee liqueur if desired. Quickly dip each ladyfinger for 1-2 seconds to soak but ensure they don’t become overly soggy. Arrange the dipped ladyfingers in a single layer over the cooled brownie base.
Step 8: Assemble the Tiramisu Layer
Spread the whipped mascarpone cream evenly over the soaked ladyfingers, smoothing it out with a spatula for a neat appearance. This creamy layer will set the stage for the final delicious touch of your Tiramisu Brownies, enriching the dessert’s overall flavor profile.
Step 9: Chill Before Serving
Cover the assembled Tiramisu Brownies gently and refrigerate for at least 1 hour to allow the layers to meld and the cream to set. Chilling also enhances the flavors, making every bite even more delightful and indulgent when it’s time to serve.
Step 10: Finish with Cocoa Dusting
Just before slicing the brownies, dust a light layer of cocoa powder on top for an elegant finish. This will enhance the presentation and provide a lovely chocolate aroma, perfectly complementing the flavors of your decadent Tiramisu Brownies.
What to Serve with Tiramisu Brownies
Elevate your dessert experience with delightful pairings that perfectly complement the rich flavors of this decadent treat.
- Fresh Berries: Juicy strawberries or raspberries add a refreshing contrast to the rich chocolate and creamy mascarpone, brightening each bite.
- Vanilla Ice Cream: A scoop of creamy vanilla ice cream melts beautifully atop the brownies, creating a warm and cold sensation that enhances the chocolate flavor.
- Espresso: A strong cup of espresso reinforces the coffee notes in the brownies, creating a delightful harmony that coffee lovers will adore.
- Whipped Cream: Lightly sweetened whipped cream provides a luscious creaminess that balances the dense brownie base, making each forkful utterly satisfying.
- Chocolate Sauce: Drizzling warm chocolate sauce over these brownies amplifies the indulgence, intensifying the chocolate experience with every bite.
- Milk: A chilled glass of milk is the classic pairing; it cuts through the richness and adds a nostalgic touch to this dessert adventure.
- Mint Leaves: Garnishing with fresh mint leaves adds a pop of color and a refreshing hint that brightens the overall flavor profile.
- Decadent Mocha: For a rich beverage pairing, serve a mocha coffee—blending chocolate and coffee flavors that echo the taste of the brownies beautifully.
- Dark Chocolate Shavings: Sprinkling bittersweet chocolate shavings on top creates a visually stunning and flavorful finish, enhancing the cocoa notes of your brownies.
- Chocolate Hazelnut Spread: A dollop of chocolate hazelnut spread alongside the brownies introduces a new layer of flavor that captivates the taste buds.
Tiramisu Brownies Variations & Substitutions
Feel free to get creative and customize your Tiramisu Brownies to make them uniquely yours!
- Sweetness Level: Substitute dark chocolate with milk chocolate for a sweeter twist, perfect for those with a sweet tooth.
- Homemade Touch: Replace store-bought ladyfingers with homemade sponge cake for a personal touch that adds a delightful texture.
- Dairy-Free Delight: Use coconut oil instead of butter and coconut cream in place of whipping cream for a dairy-free version. It retains a rich, creamy texture!
- Vegan Friendly: Replace eggs with flax eggs to make these brownies vegan-friendly while still maintaining that fudgy deliciousness.
- Extra Flavor: Enhance the espresso flavor by adding extra espresso powder to your ladyfinger soak, or choose to infuse the mascarpone with a splash of vanilla extract for a lovely aroma.
- Kid-Friendly: Omit the coffee liqueur entirely for a kid-friendly version; feel free to bump up the richness with additional dark chocolate.
- Gluten-Free: Swap out the all-purpose flour for a gluten-free flour blend, ensuring everyone at your gathering can enjoy this treat.
- Nutty Twist: Consider adding chopped walnuts or pecans to the brownie base for an added crunch and depth of flavor in every bite.
These Tiramisu Brownies are a canvas for your culinary creativity—get ready to impress with your flavorful adaptations! And while you’re experimenting, don’t forget to try pairing them with a scoop of vanilla ice cream or a side of fresh berries for an unforgettable dessert experience. If you’re interested in other delightful treats, check out our Decadent Chocolate Cake or explore ways to make a scrumptious Fruity Tiramisu. Enjoy!
Expert Tips for Tiramisu Brownies
• Perfect Baking Time: Aim for 28-30 minutes to achieve that fudgy texture. Overbaking can lead to dry brownies—keep an eye on them!
• Chill Wisely: Let the brownies cool completely before adding layers to prevent melting the mascarpone. Chill only until set for best results.
• Dipping Technique: Dip ladyfingers quickly to avoid sogginess. Remember, a quick dip makes them soft without turning them mushy—a delicate balance!
• Layering Love: Spread the mascarpone cream smoothly; it enhances appearance and ensures every bite of your Tiramisu Brownies gets that luscious topping.
• Cut with Care: Use a sharp knife to slice after chilling, cleaning the knife between cuts to maintain the integrity of the layers.
Storage Tips for Tiramisu Brownies
Room Temperature: Allow Tiramisu Brownies to sit at room temperature for up to 30 minutes before serving to enhance their fudgy texture.
Fridge: Store brownies in an airtight container in the fridge for up to 3 days. This helps maintain freshness while the flavors deepen.
Freezer: For longer storage, freeze the brownies in an airtight container or wrap them tightly in plastic wrap for up to 3 months. Thaw in the fridge overnight when ready to enjoy.
Reheating: If desired, warm individual squares in the microwave for 10-15 seconds. This will bring back their rich, gooey consistency prior to serving.
Make Ahead Options
These Tiramisu Brownies are perfect for meal prep, allowing you to enjoy this delightful treat even on your busiest days! You can prepare the brownie base up to 24 hours in advance. Simply bake, cool, and store them in an airtight container at room temperature. Additionally, you can whip the mascarpone cream and refrigerate it for up to 3 days before assembling. For serving, just soak the ladyfingers and layer them over the brownies, followed by spreading the whipped cream. Finally, dust with cocoa powder right before serving to maintain that fresh, elegant appearance. This way, your Tiramisu Brownies will be just as delicious and impressive with minimal effort!
Tiramisu Brownies Recipe FAQs
What type of chocolate should I use for Tiramisu Brownies?
Absolutely! For rich Tiramisu Brownies, I recommend using dark or semi-sweet chocolate for the best balance of sweetness and depth. If you’re out of those, unsweetened baking chocolate can work—just remember to add some sugar!
How long can I store Tiramisu Brownies, and what’s the best method?
You can store Tiramisu Brownies in an airtight container in the fridge for up to 3 days. Let them sit at room temperature for about 30 minutes before serving to revitalize their fudgy texture.
Can I freeze Tiramisu Brownies? If so, how?
Yes, you can freeze Tiramisu Brownies! Wrap them tightly in plastic wrap and place them in an airtight container for up to 3 months. When you’re ready to enjoy, thaw them in the fridge overnight. For a warm treat, pop them in the microwave for about 10-15 seconds after thawing.
What if my ladyfingers become too soggy during soaking?
Very! If your ladyfingers are overly soggy, they may have stayed in the soak too long. For best results, dip each ladyfinger quickly (1-2 seconds) in the coffee mixture. They should be just soft enough but not falling apart; this technique ensures a delightful texture without mushiness.
Are Tiramisu Brownies suitable for dietary restrictions?
Indeed! You can make Tiramisu Brownies suitable for various dietary needs. For a dairy-free version, substitute butter with coconut oil, and use coconut cream in place of whipping cream. Additionally, flax eggs can replace real eggs for a vegan option, making this dessert inclusive for everyone.
Can I make Tiramisu Brownies without coffee liqueur?
Absolutely! If you’re looking for a kid-friendly option or simply prefer to skip the alcohol, you can leave out the coffee liqueur. You can also boost the coffee flavor with an extra teaspoon of espresso powder instead, keeping the delicious coffee essence intact in your Tiramisu Brownies.
Indulge in Rich Tiramisu Brownies for a Sweet Surprise
Ingredients
Equipment
Method
- Preheat your oven to 350°F (175°C) and prepare a 9x9-inch baking pan by lining it with parchment paper.
- In a medium bowl, combine chopped dark or semi-sweet chocolate with natural cocoa powder. Heat unsalted butter in a small saucepan until browned, then pour it over the chocolate mixture.
- In a separate bowl, whisk together eggs, granulated sugar, and brown sugar until the mixture is light and pale. Gradually add the melted chocolate mixture, and fold in all-purpose flour gently until just combined.
- Spread the brownie batter evenly into the prepared baking pan. Bake in the preheated oven for 28-30 minutes, or until a toothpick inserted in the center comes out with a few moist crumbs attached.
- Remove the brownies from the oven and let them cool in the pan on a wire rack for about 30 minutes.
- In a bowl, whip together mascarpone cheese, heavy whipping cream, powdered sugar, and vanilla extract until thick and creamy, about 3-5 minutes.
- In a shallow bowl, dissolve espresso powder in hot water, adding coffee liqueur if desired. Quickly dip each ladyfinger for 1-2 seconds to soak.
- Spread the whipped mascarpone cream evenly over the soaked ladyfingers, smoothing it out with a spatula.
- Cover the assembled Tiramisu Brownies gently and refrigerate for at least 1 hour to allow the layers to meld and the cream to set.
- Dust a light layer of cocoa powder on top before slicing.
Leave a Reply