
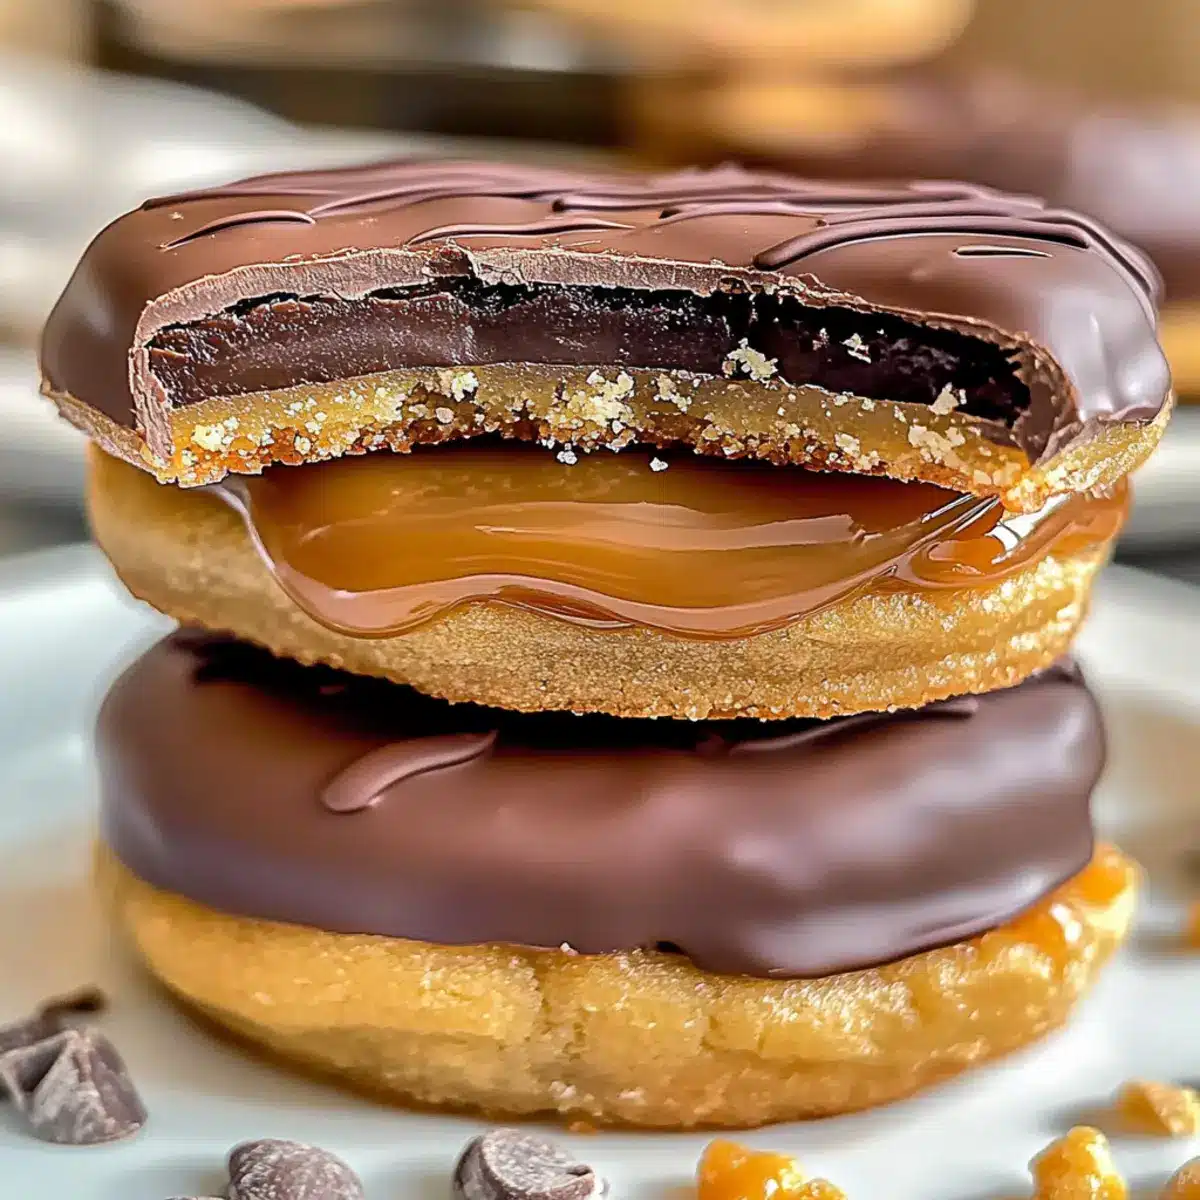
As I stood in my kitchen, ingredients scattered around me, the sweet scent of melted sugar and butter filled the air, instantly whisking me back to my childhood. Today, I invite you to create these Ultimate Twix-Style Cookies, a delightful blend of nostalgia and indulgence. With a buttery shortbread base layered with gooey caramel and topped with rich chocolate, these cookies are more than a treat—they’re an experience. Not only are they easy to customize, but they also make the perfect centerpiece for gatherings or a cozy night in. Whether you enjoy them fresh out of the oven or save a few for later (if you can resist!), you’re in for a genuine chocolate delight. Ready to turn your kitchen into a delightful bake shop? Let’s dive into this delicious recipe!
Why Are These Cookies So Irresistible?
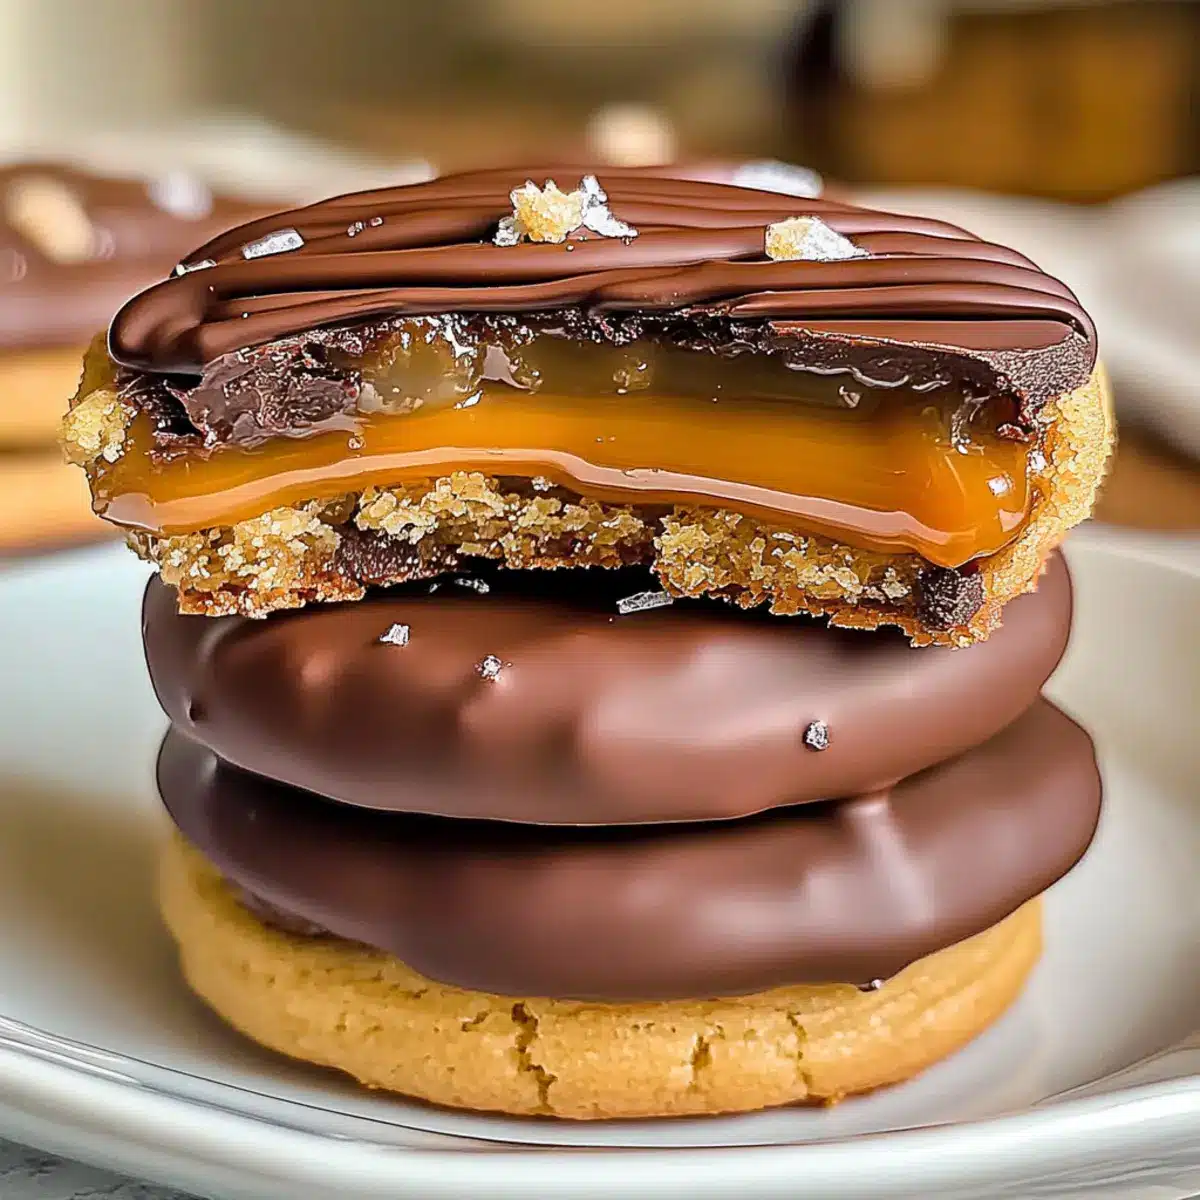
Decadent Layers: Sink your teeth into the indulgent layers of buttery shortbread, gooey caramel, and rich chocolate that make these Ultimate Twix-Style Cookies a true delight.
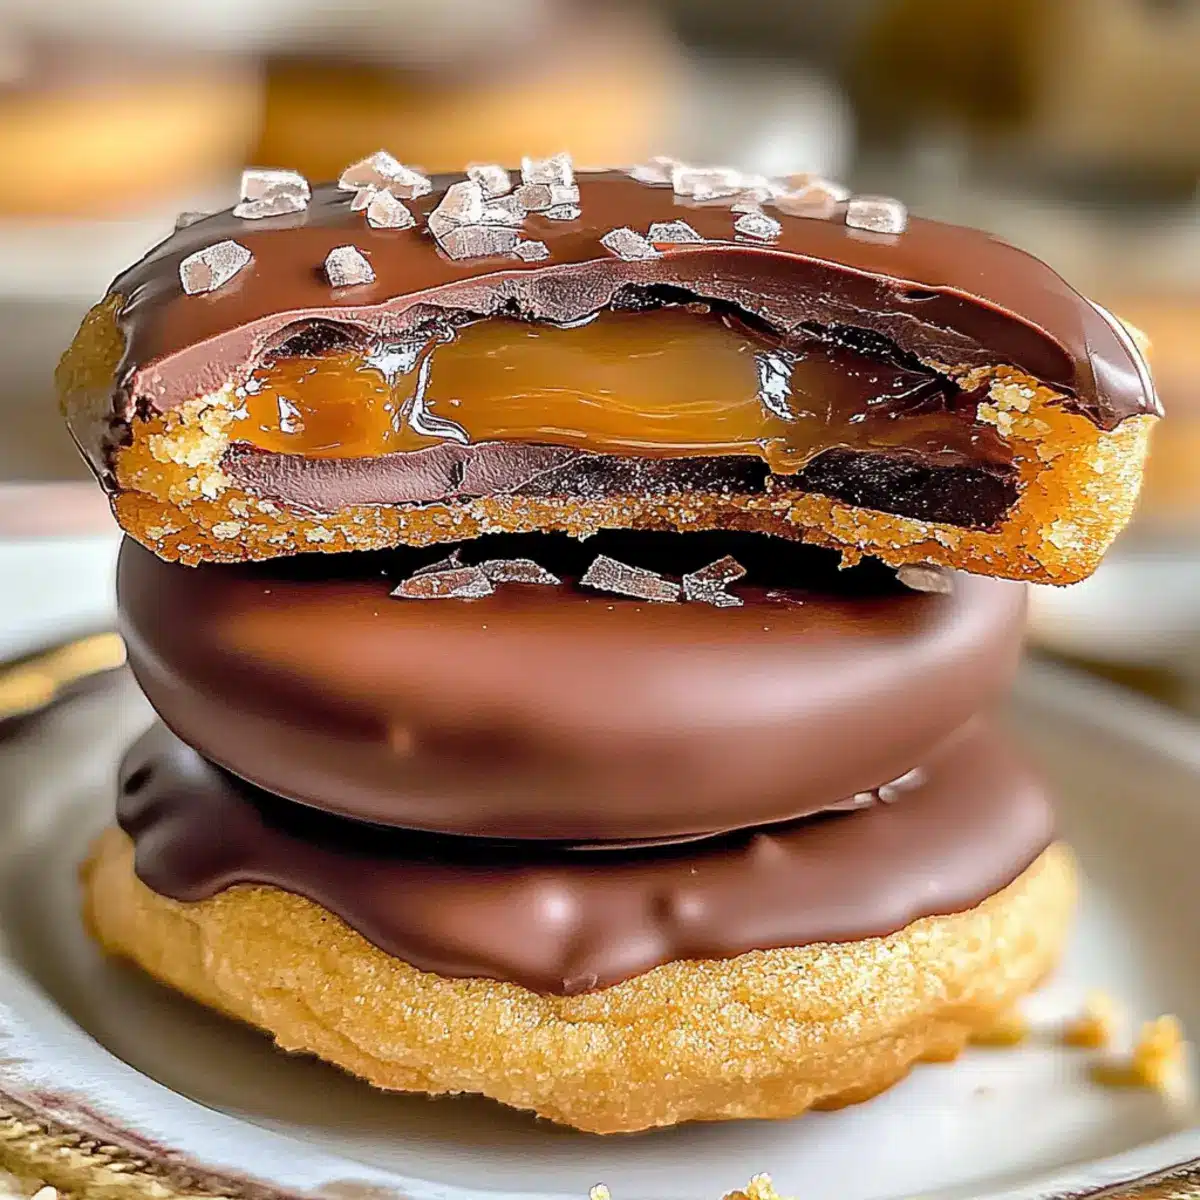
Customizable Fun: Enjoy the freedom to customize! Swap the chocolate for dark or white varieties, or add a sprinkle of sea salt for that gourmet touch.
Nostalgic Bliss: Perfectly reminiscent of your favorite candy bar, these cookies are a delightful treat that will transport you back to sweet childhood memories.
Quick and Easy: With simple ingredients and straightforward steps, you can whip these up in no time—ideal for busy bakers craving a homemade dessert.
Crowd-Pleasing Treat: Whether for a holiday cookie exchange or a weekend gathering, these cookies are guaranteed to impress family and friends. Check out our Pumpkin Smores Cookies for another impressive dessert!
Ultimate Twix-Style Cookies Ingredients
• Get ready to create these decadent Ultimate Twix-Style Cookies with this simple ingredient list!
For the Cookie Base
- Unsalted Butter – Provides richness and moisture; ensure it’s softened for easier creaming.
- Granulated Sugar – Adds sweetness and helps achieve a crispier crust; can replace with coconut sugar for a lower glycemic index.
- Brown Sugar – Contributes chewiness and enhances flavor; light or dark can be used interchangeably.
- Eggs – Acts as a binding agent; use room temperature eggs for better incorporation.
- All-Purpose Flour – Supplies structure to cookies; substitute with a 1:1 gluten-free flour blend for a gluten-free option.
- Baking Powder – Leavening agent that helps cookies rise slightly; ensure it’s fresh for best results.
- Salt – Enhances flavor and balances sweetness; sea salt can be used for a gourmet touch.
For the Gooey Layer
- Caramel Sauce – Provides the signature gooey layer; store-bought or homemade can be used—ensure it’s pourable.
For the Topping
- Chocolate Chips – Creates a sweet finish on top; feel free to swap for dark or white chocolate based on your preference.
Step‑by‑Step Instructions for Ultimate Twix-Style Cookies
Step 1: Preheat Your Oven
Begin by preheating your oven to 350°F (175°C). While the oven heats up, prepare a baking sheet by lining it with parchment paper. This will prevent the cookies from sticking and make cleanup a breeze. Get ready for the delightful aroma of baking cookies that will soon fill your kitchen!
Step 2: Cream the Butter and Sugars
In a large mixing bowl, combine softened unsalted butter, granulated sugar, and brown sugar. Using an electric mixer, beat the mixture on medium speed until it becomes light and fluffy, which should take about 2-3 minutes. Once fluffy, crack in the eggs one at a time, fully incorporating each egg before adding the next.
Step 3: Mix Your Dry Ingredients
In a separate bowl, whisk together the all-purpose flour, baking powder, and salt until evenly combined. Gradually add this dry mixture to the butter and sugar mixture, mixing on low speed until just combined. Be careful not to overmix; the dough for your Ultimate Twix-Style Cookies should be soft and slightly sticky but hold together.
Step 4: Shape the Cookie Dough
Using a cookie scoop or tablespoon, portion out the dough and place it onto the prepared baking sheet. Make sure to leave space between each mound. With your finger or the back of a spoon, gently create an indent in the center of the dough mounds. This will be where the gooey caramel layer goes later!
Step 5: Bake the Cookies
Carefully transfer the baking sheet to the preheated oven and bake for 10–12 minutes. The cookies should be golden brown around the edges while remaining soft in the center. Keep an eye on them as they bake; you want that perfect balance of crispiness and chewiness for your Ultimate Twix-Style Cookies.
Step 6: Fill with Caramel
Once the cookies are out of the oven, allow them to cool slightly on the baking sheet for about 5 minutes. While they are still warm, spoon the gooey caramel sauce into the indents you created earlier. Be generous! The warm cookies will help the caramel melt slightly, creating a delicious layer.
Step 7: Drizzle with Chocolate
In a microwave-safe bowl, melt the chocolate chips in 30-second intervals, stirring in between until smooth and fully melted. Once melted, drizzle the chocolate over each cookie, allowing it to flow over the caramel layer. Let the cookies sit at room temperature to set, or speed up the process by placing them in the refrigerator for a few minutes.
Step 8: Serve and Enjoy
After the chocolate has set, your Ultimate Twix-Style Cookies are ready to be enjoyed! These indulgent treats are best served fresh, but you can store any leftovers in an airtight container. Just be prepared for everyone to ask for more once they taste these delightful cookies!
Ultimate Twix-Style Cookies Customization
Feeling inspired to put your personal spin on these delightful treats? The world of customization awaits you, and I’m here to guide you through it! Let’s explore some fun and delicious variations that will add your special touch to the Ultimate Twix-Style Cookies.
-
Gluten-Free: Replace all-purpose flour with a 1:1 gluten-free flour blend for a chewy, delightful result that everyone can enjoy.
-
Nutty Twist: Stir in chopped nuts such as pecans or almonds for a delightful crunch that complements the caramel beautifully. The added texture takes these cookies to the next level!
-
Dairy-Free Delight: Use coconut oil instead of butter and non-dairy chocolate for a deliciously rich, lactose-free version that doesn’t skimp on flavor.
-
Salted Caramel: Add a sprinkle of flaky sea salt on top of the caramel layer for a sweet-savory combination that enhances all the flavors perfectly.
-
Flavor Explosion: Incorporate a teaspoon of almond or espresso extract into the dough for an unexpected burst of flavor that complements the sweetness.
-
Holiday Spice: Mix in a dash of cinnamon or nutmeg for a warm, cozy vibe that’s perfect for fall or winter baking.
-
Double Chocolate: Use chocolate cookie dough instead of traditional dough for a double dose of chocolatey goodness. It’s a dream for chocolate lovers!
-
Chewy Cookie: For a softer, chewier texture, reduce the baking time by a couple of minutes and slightly underbake the cookies, allowing them to set as they cool.
Feel free to get creative with these Ultimate Twix-Style Cookies! And if you adore cookie perfection as much as I do, you may want to explore more delectable options like Smores Cookies Gooey or our festive Cinnamon Roll Cookies. Your kitchen is your canvas, so let your imagination run wild!
Storage Tips for Ultimate Twix-Style Cookies
Room Temperature: Keep cookies in an airtight container at room temperature for up to one week to maintain freshness and flavor.
Fridge: For extended freshness, store cookies in the refrigerator for up to two weeks; just be sure they’re in a sealed container to prevent them from drying out.
Freezer: To freeze, wrap cookies individually in plastic wrap and place them in an airtight container or freezer bag. They can last up to three months; thaw at room temperature before enjoying again.
Reheating: If you prefer warm cookies, gently reheat them in the microwave for 10-15 seconds or in the oven at 300°F (150°C) for about 5 minutes until warmed through.
Expert Tips for Ultimate Twix-Style Cookies
-
Chill the Dough: Allow the cookie dough to chill for at least 30 minutes; this prevents excessive spreading and keeps the cookies thick and chewy.
-
Perfectly Softened Butter: Make sure your unsalted butter is properly softened—this ensures a smooth cream with the sugars, yielding a better texture in your Ultimate Twix-Style Cookies.
-
Use Fresh Baking Powder: Always check the expiration date on your baking powder; stale leavening agents will prevent your cookies from rising properly.
-
Layer Your Caramel: Fill the indents generously with caramel if you want that gooey layer to really shine; underfilling may lead to drier cookies.
-
Don’t Rush the Chocolate: Be patient while melting chocolate; using short intervals gives you a smooth consistency without burning, ensuring a beautiful drizzle on your cookies.
-
Experiment with Toppings: Personalize your cookies further by adding crushed nuts, sprinkles, or even a sprinkle of sea salt on top of the chocolate for an extra flavor kick!
What to Serve with Ultimate Twix-Style Cookies
Indulging in these buttery, gooey cookies is a delightful experience, especially when paired with the right treats and beverages.
-
Glass of Milk: The classic companion! The creaminess of milk beautifully balances the sweetness of the cookies, creating a satisfying contrast.
-
Espresso or Coffee: Sip on a rich cup of coffee for a delightful pairing. The bold flavors enhance the chocolatey goodness of the cookies and offer a cozy vibe.
-
Vanilla Ice Cream: A scoop of vanilla ice cream adds a refreshing creaminess that complements the warm cookies, transforming each bite into a heavenly dessert experience.
-
Chocolate Milkshake: For chocoholics, a thick chocolate milkshake is a dream come true. The smooth, rich flavors mirror the cookie’s decadence, making it a party in your mouth!
-
Fresh Berries: Add a touch of fruitiness with fresh strawberries or raspberries. Their tartness cuts through the richness of the cookies while adding vibrant color to your plate.
-
Hot Cocoa: On a chilly evening, indulge in a warm cup of hot cocoa. The cozy beverage is a match made in heaven with the cookies, adding another layer of sweetness to your treat.
-
Caramel Sauce Dip: Serve a little extra caramel on the side for those who just can’t get enough. It offers an indulgent touch that takes the cookie experience to another level.
-
Whipped Cream: Soft, fluffy whipped cream provides a light contrast, enhancing the overall texture with each bite. Top your cookies with a dollop to elevate your dessert!
-
Nutty Snack Mix: For a little crunch, pair with a nutty snack mix. The saltiness adds depth to the sweetness of the cookies, creating an intriguing flavor profile.
Whichever you choose to serve alongside your Ultimate Twix-Style Cookies, these delightful pairings promise to make your treat experience that much sweeter!
Make Ahead Options
These Ultimate Twix-Style Cookies are perfect for meal prep! You can prepare the dough up to 24 hours in advance by scooping it onto the baking sheet, covering it tightly with plastic wrap, and refrigerating. This not only saves time but also deepens the flavors as the ingredients meld together. The caramel sauce can be made ahead as well; just store it in an airtight container in the fridge for up to 5 days. When you’re ready to bake, simply follow the original instructions starting from Step 5, filling the cookies with caramel and drizzling with melted chocolate. Enjoy perfectly indulgent cookies with minimal effort!
Ultimate Twix-Style Cookies Recipe FAQs
How do I know if my butter is softened properly?
Absolutely! For the best texture in your Ultimate Twix-Style Cookies, your unsalted butter should feel cool to the touch, yet yield slightly when pressed with your finger. It should be pliable and creamy, making it easy to blend with the sugars.
How can I store leftover cookies to keep them fresh?
Very! To keep your Ultimate Twix-Style Cookies fresh, store them in an airtight container at room temperature for up to one week. If you want to enjoy them longer, you can refrigerate them for up to two weeks, ensuring they’re sealed tightly to prevent drying out.
Can I freeze these cookies? If so, what’s the best method?
Definitely! To freeze your Ultimate Twix-Style Cookies, wrap each cookie individually in plastic wrap or parchment paper, then place them in an airtight container or a freezer bag. They will keep well for up to three months. Simply thaw them at room temperature before diving in!
What should I do if the cookies spread too much while baking?
Oh no, that can happen! If your Ultimate Twix-Style Cookies spread too much, it often means your dough was too warm. Make sure to chill the dough for at least 30 minutes before baking to help them hold shape. If you notice you’re having this issue, try refrigerating for an additional 10-15 minutes!
Are there any allergen considerations I should be aware of?
Yes! If you’re making Ultimate Twix-Style Cookies for someone with allergies, be cautious of common allergens like eggs, gluten from the all-purpose flour, and dairy in the butter and chocolate. For a gluten-free treat, substitute with a 1:1 gluten-free flour blend and consider using dairy-free chocolate and vegan butter for a suitable alternative.
What types of chocolate can I use for these cookies?
Absolutely, you have options! While chocolate chips are traditionally used for drizzling, feel free to customize by using dark or white chocolate instead. You could even add a nutty flavor with hazelnut or almond chocolate for a unique twist!

Ultimate Twix-Style Cookies You Can't Resist Baking
Ingredients
Equipment
Method
- Preheat your oven to 350°F (175°C) and prepare a baking sheet with parchment paper.
- In a large mixing bowl, cream together softened unsalted butter, granulated sugar, and brown sugar until light and fluffy.
- Whisk together all-purpose flour, baking powder, and salt in a separate bowl, then gradually add to the butter mixture until just combined.
- Portion out the dough on the prepared baking sheet, creating indents in the center.
- Bake for 10–12 minutes until golden brown around the edges.
- Allow cookies to cool slightly, then fill the indents with caramel sauce.
- Melt chocolate chips in a microwave-safe bowl, then drizzle over each cookie.
- Let the chocolate set before serving and enjoy!
Leave a Reply