
Easter is a time for celebration, joy, and delicious food, and what better way to honor this special holiday than with Traditional Italian Easter Cookies, or Uncinetti? These charming, knot-shaped cookies are perfect for those of us who prefer a treat that doesn’t overwhelm the palate with sweetness. With their subtle flavor complemented by a bright, zesty lemon glaze, they make for an ideal accompaniment to your favorite cup of coffee or tea. Plus, the simple dough preparation means you can whip them up quickly, whether you’re a seasoned home chef or just starting your culinary journey. Not to mention, they can easily be adapted to fit gluten-free diets without sacrificing taste. What unique twists will you add to this classic recipe?

Why will you adore these cookies?
Delightful flavors: The combination of a light, not overly sweet cookie with a tangy lemon glaze creates a refreshing taste that surprises the palate.
Quick preparation: With simple dough-making methods, whether by hand or with a food processor, you can easily create these treats in no time.
Versatile for all diets: These cookies can be adapted for gluten-free diets, making them a delightful option for everyone to enjoy.
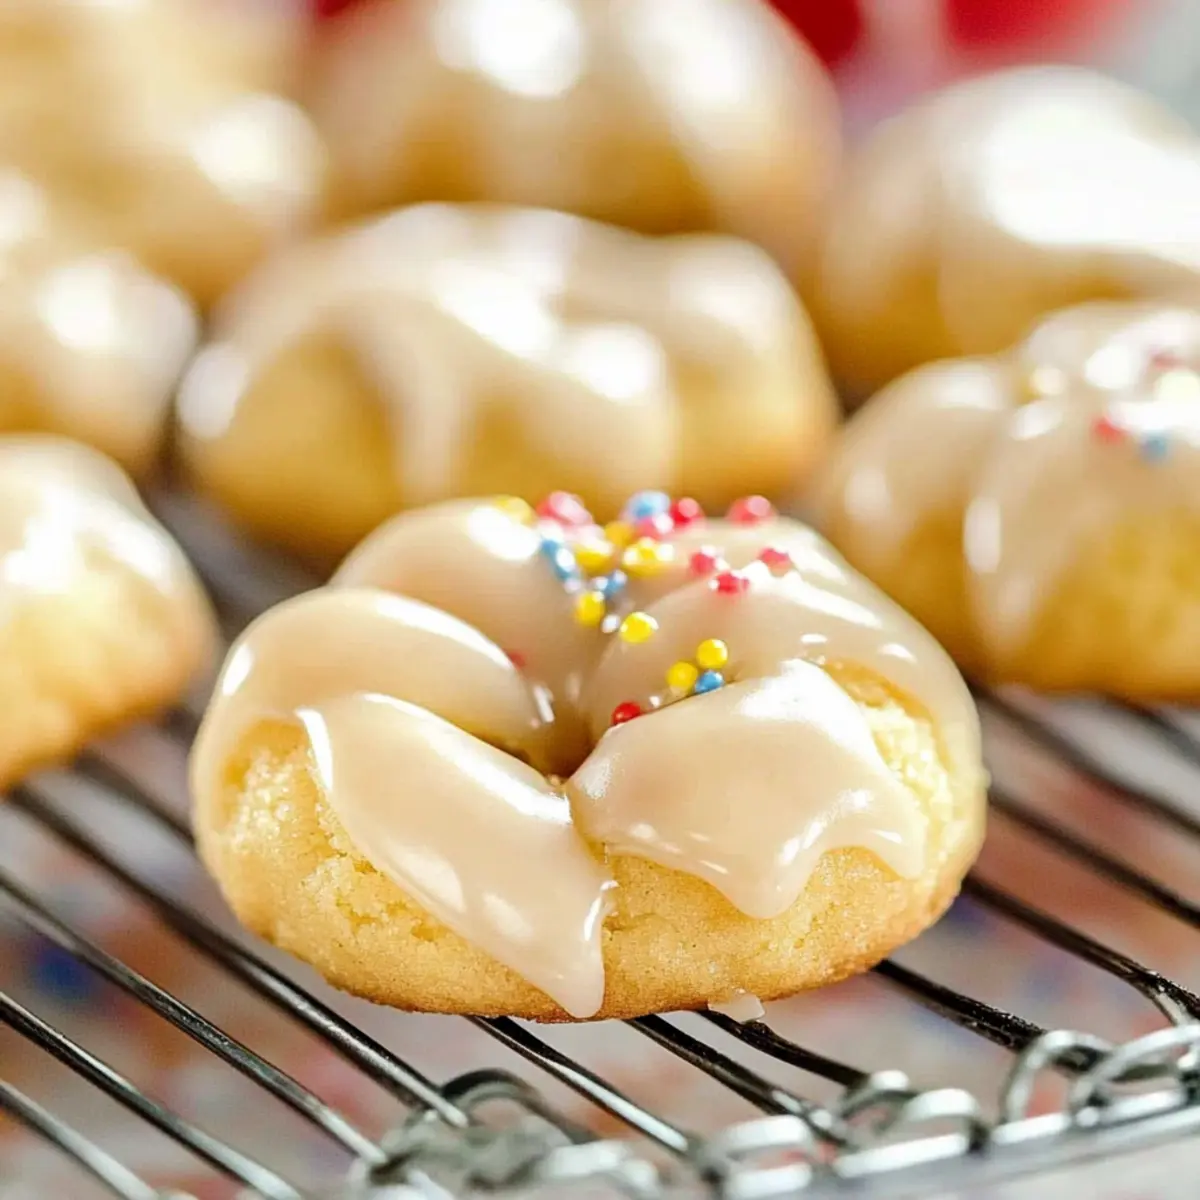
A festive touch: Perfect for Easter gatherings, their colorful glaze and charming shape add a celebratory vibe to any table.
Ideal companions: Enjoy them alongside tea or coffee, making these cookies the perfect pairing for cozy afternoons or holiday celebrations. If you’re looking for more delightful cookie options, check out my Cinnamon Roll Cookies and Pumpkin Smores Cookies for inspiration!
Italian Easter Cookies Ingredients
These delightful Italian Easter Cookies are not only delicious but also easy to make!
For the Cookies
- All-Purpose Flour – Provides structure to the cookies; measure accurately for the best results.
- Granulated Sugar – Adds mild sweetness without overpowering the lemon flavor; can be replaced with coconut sugar for a healthier touch.
- Baking Powder – Acts as a leavening agent to help the cookies rise slightly; ensure it’s fresh for optimal results.
- Salt – Enhances flavor and balances sweetness; use just a pinch to avoid overpowering the cookies.
- Lemon Zest – Provides a bright citrus aroma and taste; fresh zest is preferred for the best flavor.
- Egg – Binds ingredients and adds richness; substitute with a flax egg for a vegan option.
- Butter (melted and cooled) – Adds moisture and richness; can be swapped with light olive oil for a dairy-free version.
- Milk – Moistens the dough; any variety can be used, including almond milk for a vegan substitute.
For the Lemon Glaze
- Powdered Sugar – Sweetens the glaze and gives it a smooth texture; adjust milk for desired consistency.
- Lemon Juice – Flavors the glaze, fresh juice is recommended; can also use almond extract for a unique twist.
These ingredients will help you create the perfect Italian Easter Cookies, a delightful treat for your Easter celebrations!
Step‑by‑Step Instructions for Italian Easter Cookies
Step 1: Preheat the Oven
Begin by preheating your oven to 300°F (150°C). Once heated, line a cookie sheet with parchment paper, ensuring it’s ready for your Italian Easter Cookies. This will facilitate easy removal after baking and prevent sticking.
Step 2: Mix Dry Ingredients
In a large mixing bowl, whisk together 2 cups of all-purpose flour, ¾ cup of granulated sugar, 1 tablespoon of baking powder, ¼ teaspoon of salt, and the zest of one lemon. Mix thoroughly until evenly combined, allowing the vibrant lemon zest to infuse the dry ingredients with its aromatic essence.
Step 3: Combine Wet Ingredients
Create a well in the center of the dry mixture and crack in 1 egg. Pour in ¼ cup of melted and cooled butter along with ¼ cup of milk. Using a fork or your hands, mix the ingredients gently until they are almost combined, forming a shaggy dough that reveals hints of flour and buttery richness.
Step 4: Knead the Dough
Transfer the dough onto a lightly floured surface. Knead gently for about 1-2 minutes, just until a smooth texture forms. Be careful not to over-knead to keep your Italian Easter Cookies tender. Once satisfied with the texture, shape the dough into a cohesive ball.
Step 5: Shape the Cookies
Divide the dough into small portions and roll each piece into thin ropes, about 5-6 inches long. Shape each rope into a knot or a circle, ensuring they are neatly twisted. Arrange these lovely shapes on the prepared cookie sheet, leaving space between them for expansion during baking.
Step 6: Bake the Cookies
Place the cookie sheet in the preheated oven and bake for 15-18 minutes. Keep an eye on them, as you’re looking for a lightly golden color to ensure they are perfectly baked. The aroma wafting from the oven will signal that your Italian Easter Cookies are on their way!
Step 7: Cool the Cookies
Once baked, remove the cookies from the oven and let them cool on the sheet for about 5 minutes. Then, carefully transfer them to a wire rack to cool completely. This step is essential for achieving the right texture before glazing.
Step 8: Prepare the Lemon Glaze
In a small bowl, combine 1 cup of powdered sugar with the juice of one lemon and 1-2 tablespoons of milk. Stir until you reach your desired consistency—a smooth glaze that’s pourable yet thick enough to cling to your cookies. Adjust the milk as necessary.
Step 9: Glaze the Cookies
Once the cookies have cooled completely, generously drizzle the lemon glaze over each one. The bright and zesty glaze will not only add flavor but also a beautiful finish that enhances the Italian Easter Cookies’ appeal!

What to Serve with Traditional Italian Easter Cookies
Indulging in these delightful cookies elevates any festive gathering, making it special and memorable.
-
Rich Coffee: A warm, dark brew perfectly complements the lemony sweetness, enhancing the cookie’s flavor with each sip.
-
Herbal Tea: The delicate flavors of chamomile or peppermint tea create a soothing contrast to the cookie’s tangy glaze, perfect for a cozy afternoon.
-
Fresh Fruit Salad: A refreshing mix of strawberries, oranges, and grapes adds brightness and a burst of freshness alongside the cookies’ rich taste.
-
Cheese Platter: Including a variety of cheeses offers textural contrast, balancing the sweetness and making a delightful snack or dessert spread.
-
Lemon Sorbet: A light and refreshing palate cleanser, this frozen treat mirrors the lemon glaze and adds an elegant touch to your dessert table.
-
Pistachio Cookies: For a double dose of sweetness, these nutty treats complement the Italian Easter Cookies while providing a delightful crunch.
-
Sparkling Lemonade: The fizzy refreshing nature of a bubbly drink enhances the lemon flavor, making it an invigorating pick for holiday celebrations.
Sharing these pairings with your Italian Easter Cookies will surely create a joyful atmosphere, filled with laughter and delicious moments.
How to Store and Freeze Italian Easter Cookies
Room Temperature: Store unglazed cookies in an airtight container at room temperature for up to one week to maintain their delightful texture and flavor.
Fridge: While refrigerating is not necessary, you can store cookies in the fridge to extend freshness for up to two weeks; just ensure they are in a sealed container.
Freezer: For longer storage, freeze the unglazed cookies in an airtight container or freezer bag for up to three months. Thaw in the fridge before glazing.
Reheating: If you prefer warm cookies, briefly reheat them in the oven at 200°F (93°C) for 5-7 minutes; this will refresh their texture beautifully.
Make Ahead Options
These Italian Easter Cookies are perfect for meal prep and can significantly save you time during the busy holiday season! You can make the dough up to 24 hours in advance by mixing all the ingredients and then wrapping it tightly in plastic wrap before refrigerating. Alternatively, you can shape the cookies into knots and freeze them for up to 3 months; just bake directly from frozen, adding a couple of extra minutes to the baking time. For the glaze, prepare it a day ahead and store it in the fridge, then stir well before drizzling over the cooled cookies when ready to serve. This way, your Italian Easter Cookies will be just as delicious with minimal effort on the day of your celebration!
Italian Easter Cookies: Endless Possibilities
Feel free to get creative with these delightful cookies, adding your personal touch for even more flavor and enjoyment!
-
Almond Extract: Swap lemon juice for almond extract in the glaze for a unique flavor twist that will surprise your taste buds.
-
Gluten-Free Flour: Use a gluten-free flour blend to make these cookies accommodating for gluten-sensitive friends and family! Your loved ones will appreciate the thoughtful gesture.
-
Light Olive Oil: Replace melted butter with light olive oil for a lighter, dairy-free version that still delivers on richness and flavor. The result will be equally delicious!
-
Coconut Sugar: For a healthier option, use coconut sugar instead of granulated sugar. This will not only alter the sweetness but also add a hint of caramel flavor.
-
Zesty Citrus Combo: Enhance the classic lemon glaze with a combination of orange and lemon for an even more vibrant glaze that bursts with citrus. Each bite will feel like a celebration!
-
Texture Twist: Incorporate slivered almonds or chopped pistachios into the dough for an added crunch that contrasts beautifully with the soft, tender cookies.
-
Spice It Up: Add a pinch of ground cinnamon or nutmeg to the cookie dough for a warm spice note that will give a lovely aroma while baking. It’s like a hug in every bite!
-
Extra Glaze Option: Mix a tablespoon of whiskey or rum into your glaze for a grown-up twist that adds depth and complexity to these traditional cookies. Perfect for festive gatherings!
For more scrumptious cookie ideas, you might enjoy making Smores Cookies Gooey or trying out my luscious Chocolate Oat Cookies. Happy baking!
Expert Tips for Italian Easter Cookies
-
Measure Accurately: Ensure all ingredients, especially flour, are measured precisely. This helps maintain the right cookie texture and prevents them from being too dense.
-
Fresh Baking Powder: Always check your baking powder’s freshness. Expired baking powder can lead to flat cookies that don’t rise beautifully.
-
Knead Gently: Over-kneading can make the cookies tough. Aim for just 1-2 minutes of gentle kneading to keep your Italian Easter Cookies tender and delightful.
-
Cool Before Glazing: Allow the cookies to cool completely before adding the lemon glaze. This prevents the glaze from melting and ensures it sets perfectly for a beautiful finish.
-
Store Smartly: Keep your cookies in an airtight container at room temperature for up to a week. Avoid glazing until you’re ready to serve to maintain freshness.

Italian Easter Cookies Recipe FAQs
What is the best way to select lemons for the glaze?
Absolutely! Choose lemons that feel heavy for their size and have a smooth, shiny skin. Avoid those with dark spots or a dull appearance, as they may not be as juicy or flavorful. Fresh, juicy lemons will elevate your glaze beautifully, ensuring a vivid taste!
How should I store my Italian Easter Cookies?
I recommend storing unglazed cookies in an airtight container at room temperature for up to one week. If you decide to refrigerate them, they can last for up to two weeks, sealed tightly to prevent them from drying out. Just remember, wait to glaze until you’re ready to serve them for the best texture!
Can I freeze Italian Easter Cookies?
Yes, you can! For longer storage, freeze the unglazed cookies in an airtight container or freezer bag for up to three months. When you’re ready to enjoy them, simply thaw the cookies in the fridge overnight before adding the glaze. This way, they’ll taste fresh and delightful!
What should I do if the dough is too sticky?
If your dough turns out a little too sticky, don’t worry! Add flour gradually, one tablespoon at a time, until it reaches a manageable consistency for kneading. This helps retain the delicate texture of the cookies without making them too dense or dry. If in doubt, remember: it’s always easier to add more flour than to take it away!
Are there any dietary considerations for Italian Easter Cookies?
Very! If you’re looking for a gluten-free option, you can substitute the all-purpose flour with a gluten-free flour blend. Additionally, consider using a flax egg (1 tablespoon of ground flax mixed with 3 tablespoons of water) instead of a regular egg for a vegan version. These alternatives allow everyone to enjoy these festive treats!
Can I make these cookies ahead of time for an event?
Definitely! You can prepare the dough in advance and store it in the fridge for up to two days. Alternatively, feel free to freeze the formed cookie shapes for up to three months. Just be sure to let them thaw before baking. This makes it super convenient for your Easter preparations!
Italian Easter Cookies with Tangy Lemon Glaze Delight
Ingredients
Equipment
Method
- Preheat your oven to 300°F (150°C) and line a cookie sheet with parchment paper.
- In a large bowl, whisk together flour, sugar, baking powder, salt, and lemon zest until combined.
- Make a well in the dry ingredients, add egg, melted butter, and milk, then mix until shaggy dough forms.
- Transfer dough to a floured surface and knead gently for 1-2 minutes.
- Divide dough into small portions, roll into ropes, and shape into knots or circles on the cookie sheet.
- Bake for 15-18 minutes until lightly golden.
- Cool on the sheet for 5 minutes, then transfer to a wire rack.
- In a bowl, combine powdered sugar with lemon juice and milk to make glaze.
- Drizzle the glaze over cooled cookies.
Leave a Reply