
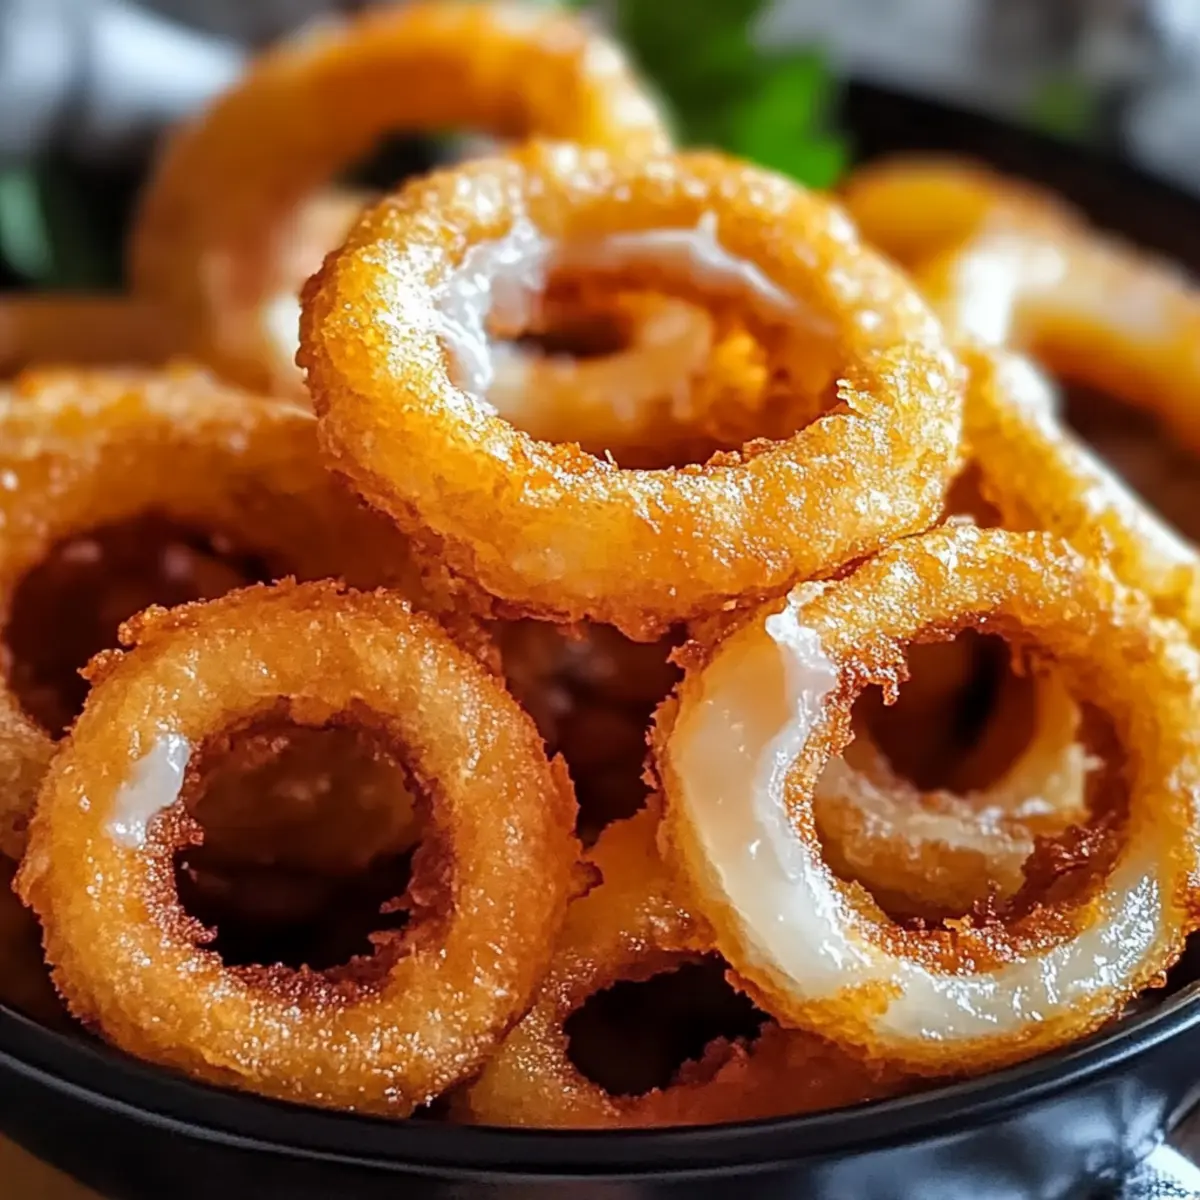
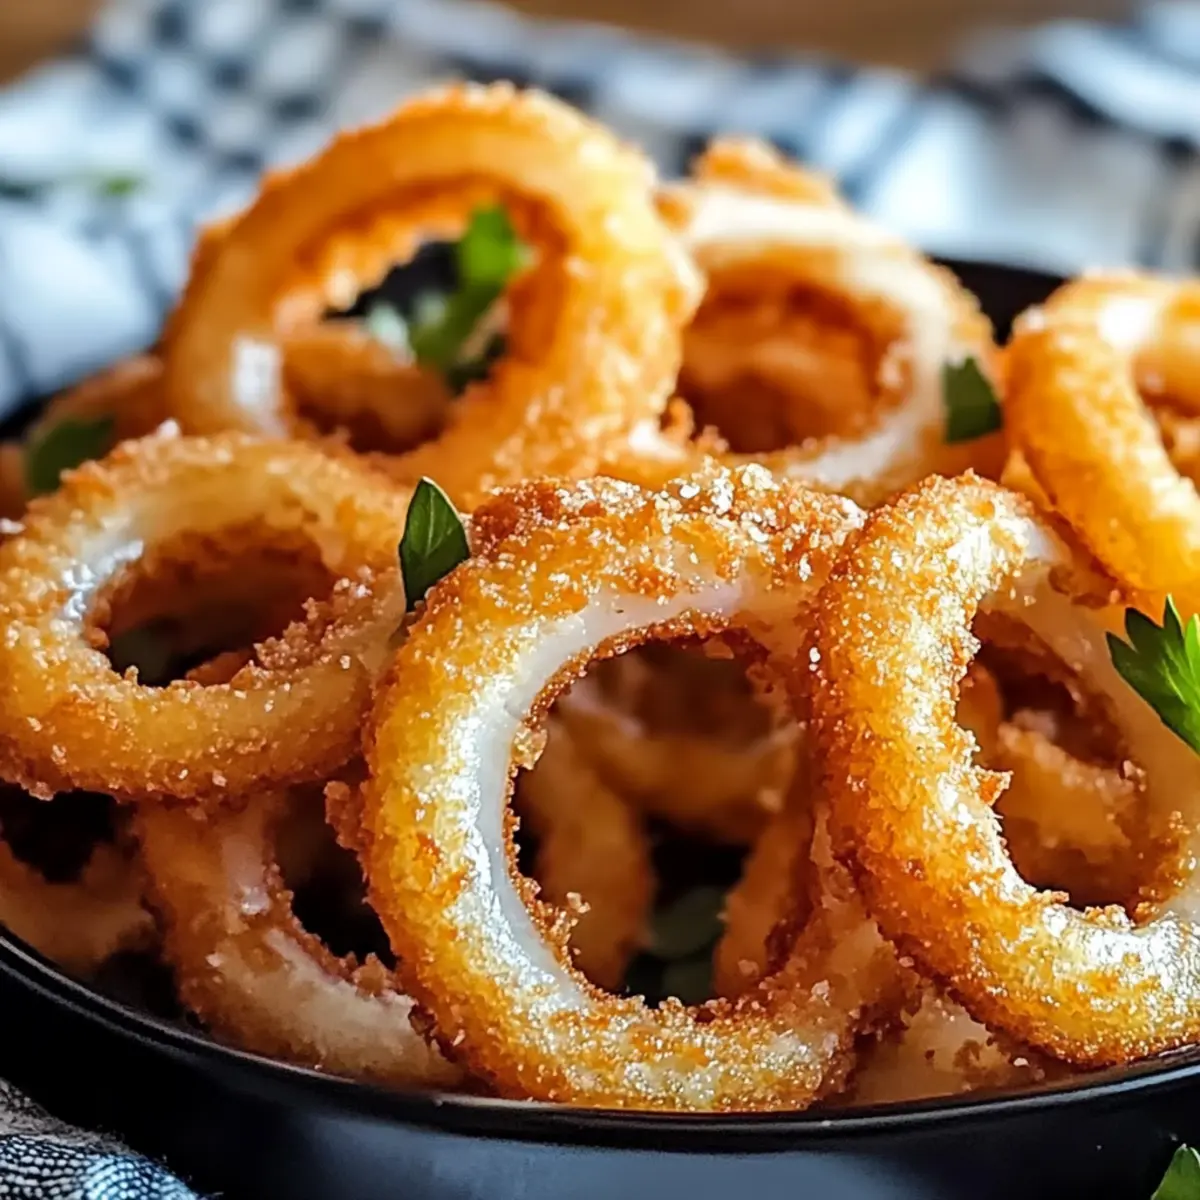
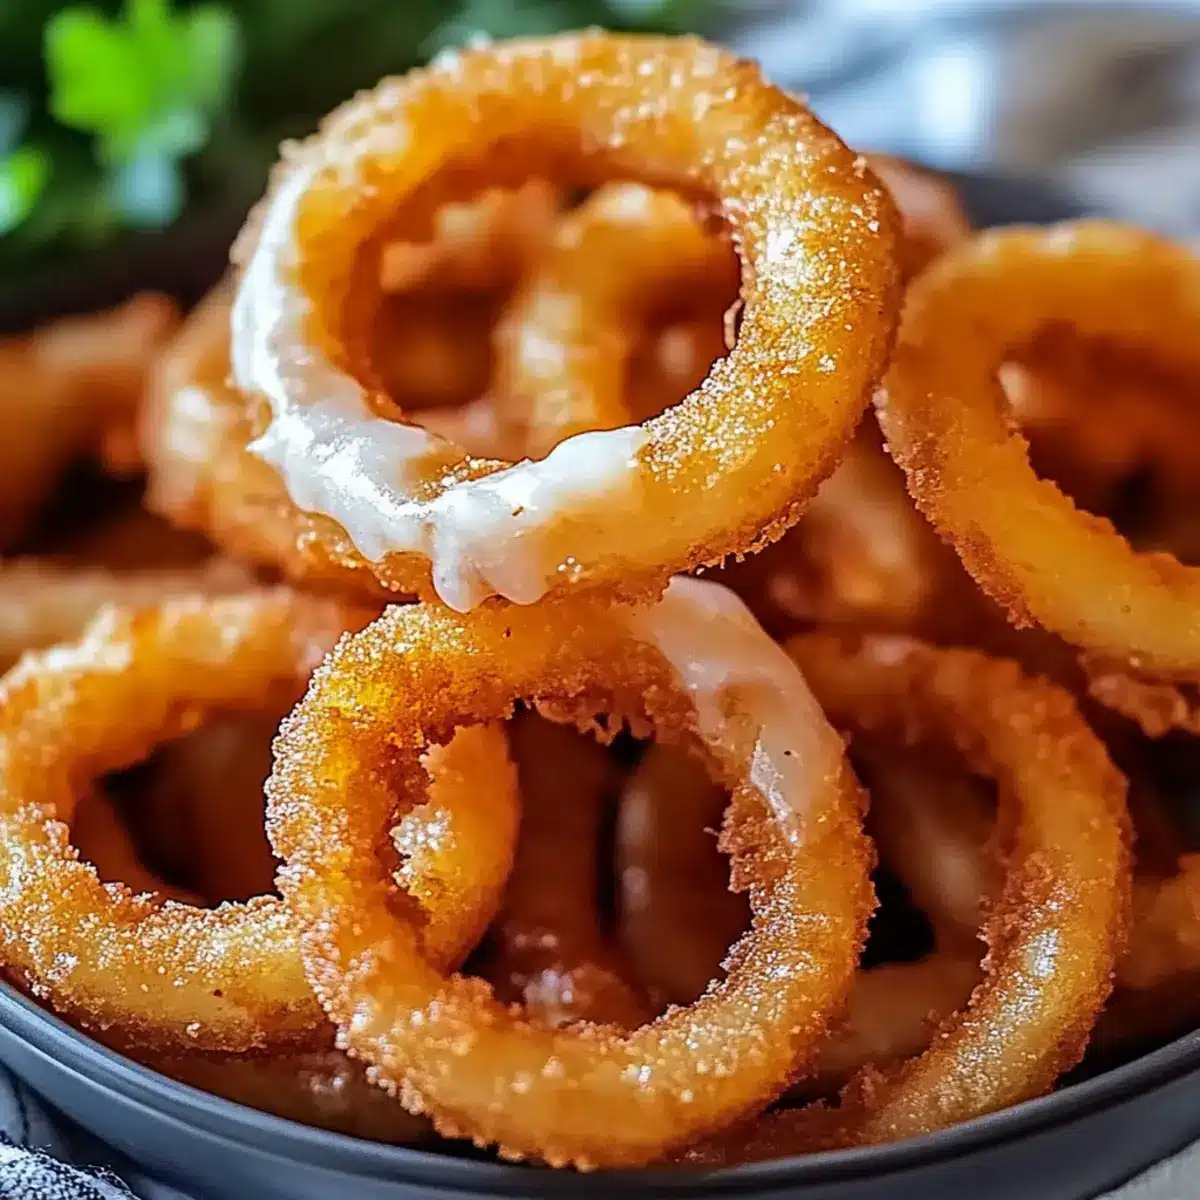
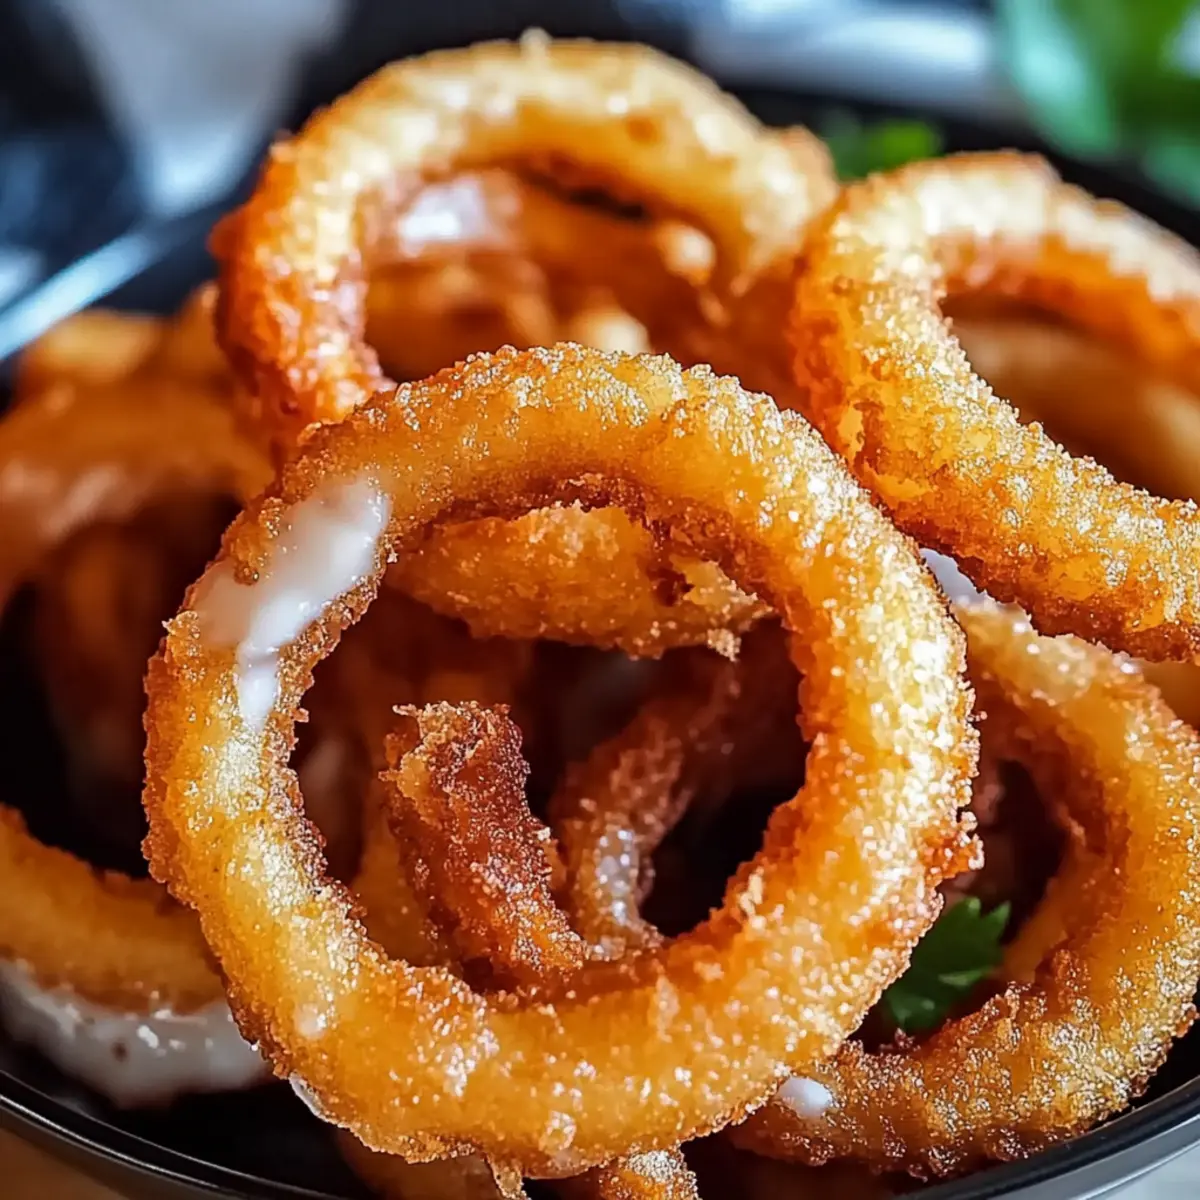
As I settled into my kitchen one afternoon, the aroma of sizzling onions began to dance through the air, instantly lifting my spirits. The delicious anticipation of making Gluten-Free Onion Rings was palpable. These crispy snacks are not just for those avoiding gluten; they offer crunchy indulgence suitable for everyone at your table. With their light, fluffy interior and golden-brown outer layer, they make for a fantastic side dish or a standalone treat perfect for any occasion. What makes this recipe truly special is how quick and easy it is, allowing you to whip up a flavorful bite in no time. Plus, you can enjoy them guilt-free, knowing they don’t compromise on taste or texture. Would you like to discover how to create this irresistible snack right in your own kitchen?
Why are These Onion Rings Irresistible?
Crispy Texture: With a perfectly crunchy exterior, these gluten-free onion rings offer the satisfying snap you crave without the gluten.
Flavor Explosion: The blend of garlic powder, paprika, and fresh onions creates a taste sensation that will have your taste buds dancing!
Quick and Easy: Ready in just a few steps, they are a hassle-free snack option for busy days or unexpected guests.
Versatile Serving: Pair them with your favorite dipping sauces like spicy ketchup or ranch to elevate the flavor further.
Diet-Friendly: Enjoy a classic snack without guilt, perfect for gluten-free diets yet loved by everyone! For more delicious gluten-free options, check out my Stuffed Seafood Bread recipe that also brings comfort food to your table.
Gluten-Free Onion Rings Ingredients
For the Onion Rings
• Onions – Use Vidalia or yellow onions for sweetness; red onions offer a sharper flavor.
• Gluten-Free All-Purpose Flour – Essential for creating that crispy batter without gluten.
• Baking Powder – Ensures a light, airy batter for the perfect crunch.
• Salt – Enhances the overall flavor, making each bite delicious.
• Black Pepper – Adds a hint of spice that complements the onions beautifully.
• Garlic Powder – Provides a depth of flavor that elevates the rings.
• Paprika – Contributes a mild flavor and vibrant color.
• Buttermilk (or Non-Dairy Milk) – Acts as a binder for the batter; almond or oat milk can be great substitutes.
• Gluten-Free Breadcrumbs – Coats the rings for extra crunch; ensure they’re gluten-free for dietary safety.
• Oil for Frying – Vegetable or canola oil heats up perfectly for a crispy finish.
These Gluten-Free Onion Rings are not only easy to make, but they also bring everyone in your family together for a delightful snack!
Step‑by‑Step Instructions for Gluten-Free Onion Rings
Step 1: Prep the Onions
Begin by preparing your onions for the Gluten-Free Onion Rings. Peel the onions and slice them into thick rings, about half an inch in width. Gently separate the rings and place them in a bowl, letting the sweet aroma fill your kitchen. This initial step sets the foundation for your delicious snack.
Step 2: Make the Batter
In a mixing bowl, combine gluten-free all-purpose flour, baking powder, salt, black pepper, garlic powder, and paprika. Whisk these dry ingredients together until evenly mixed. Gradually pour in the buttermilk, stirring continuously until the batter is smooth and well-combined. The batter should coat the back of a spoon without being too thick or overly runny.
Step 3: Bread the Rings
Dip each onion ring into the prepared batter, ensuring it’s evenly coated. Allow any excess batter to drip off before rolling it in gluten-free breadcrumbs for that delightful crunch. Make sure each ring is well-covered with breadcrumbs, then place them on a baking sheet lined with parchment paper, ready for frying.
Step 4: Heat the Oil
In a deep skillet or frying pan, pour enough oil to cover the bottom and heat it over medium-high heat until it reaches around 350°F (175°C). To test the temperature, drop a small amount of batter into the oil; it should sizzle immediately. This ensures that your Gluten-Free Onion Rings will fry up crispy and golden brown.
Step 5: Fry the Rings
Carefully add the breaded onion rings in batches to the hot oil, being cautious not to overcrowd the pan. Fry them for about 3-4 minutes on each side, or until they are golden brown and crispy. Use tongs to turn them gently during frying, allowing for even cooking and that perfectly crunchy texture we all love.
Step 6: Drain and Serve
Once they are beautifully golden and crispy, remove the onion rings from the oil and place them on a plate lined with paper towels. This will help absorb any excess oil, keeping them light and crunchy. Serve your Gluten-Free Onion Rings hot, perhaps with a selection of dips like ranch or spicy ketchup to elevate your snacking experience.
Storage Tips for Gluten-Free Onion Rings
-
Room Temperature: For best flavor, enjoy your gluten-free onion rings immediately after frying. They can be left at room temperature for about 30 minutes if needed.
-
Fridge: Store leftover rings in an airtight container in the refrigerator for up to 2 days. Ensure they’re completely cooled before sealing to prevent moisture buildup.
-
Freezer: To freeze, place cooked onion rings in a single layer on a baking sheet and freeze until solid. Transfer to a freezer-safe bag for up to 1 month.
-
Reheating: Reheat in the oven at 375°F (190°C) for about 10-15 minutes, or until crispy again. Avoid the microwave to keep your gluten-free onion rings from becoming soggy.
Gluten-Free Onion Rings Variations
Feel free to shake things up with these delicious modifications that will elevate your gluten-free onion rings!
-
Onion Variety: Try red onions for a sharper flavor or sweet shallots for a milder taste. Each variety brings a unique twist.
-
Spicy Kick: Add a sprinkle of cayenne pepper to the batter for a fiery kick that will make your taste buds sing. Perfect for those who crave heat!
-
Cheesy Goodness: Mix Parmesan cheese into the gluten-free breadcrumbs for a rich, savory crust that pairs beautifully with the sweet onions.
-
Air Fry: For a healthier option, air fry at 400°F (200°C) for 10-12 minutes, turning halfway through. You still get that crispy goodness without the oil!
-
Herb Infusion: Incorporate fresh herbs like parsley or thyme into the batter. A burst of freshness adds a delightful layer of flavor.
-
Flavored Batters: Experiment with beer or hard cider instead of buttermilk for a unique twist that enhances the depth in your batter.
-
Sweet Surprise: Dip the rings in a honey-mustard sauce after frying for a sweet and tangy contrast to the savory crunch.
-
Stuffed Rings: For a little adventure, try filling the onion rings with cheese or crab meat before breading. They become a decadent treat that’s sure to impress!
No matter which variations you choose, these gluten-free onion rings will remain a crowd-pleaser. Enjoy them alongside tasty dips, like homemade ranch or spicy ketchup. For another delicious recipe to try, be sure to check out my Stuffed Seafood Bread that’s bursting with flavor!
Expert Tips for Perfect Gluten-Free Onion Rings
-
Batter Consistency: Ensure your batter is smooth but not too thick; it should coat the onions evenly without dripping excessively. If it’s too thick, add a bit more buttermilk for the right texture.
-
Temperature Matters: Maintain the oil temperature at 350°F (175°C) while frying; if it’s too low, the rings will absorb oil and turn soggy, ruining your gluten-free onion rings.
-
Fry in Batches: Don’t overcrowd the pan! Frying too many onion rings at once can lower the oil temperature and lead to uneven cooking, so keep them in small batches.
-
Storage Tip: For the best taste and texture, enjoy your onion rings fresh. If you have leftovers, store them in a sealed container in the fridge and reheat in the oven to regain their crunch.
-
Experimentation is Key: Try different onion varieties like sweet Vidalia for a milder taste or red onions for a sharper bite. Adding a sprinkle of cayenne or Parmesan can elevate your gluten-free onion rings even more!
Make Ahead Options
These Gluten-Free Onion Rings are perfect for meal prep enthusiasts seeking a delicious snack without the last-minute rush! You can prepare the batter and coat the onion rings up to 24 hours in advance. Simply dip the sliced onions into the batter and then coat with gluten-free breadcrumbs, then place them on a baking sheet lined with parchment paper. To maintain their quality, store the prepared rings in an airtight container in the refrigerator. When you’re ready to fry, take out your prepped onion rings, heat the oil to 350°F (175°C), and fry them until golden brown and crispy—just a few minutes of cooking leads to a treat that tastes as fresh as if made right away!
What to Serve with Crispy Gluten-Free Onion Rings?
There’s nothing quite like pairing these crispy treats with delightful sides and sauces to create a meal that satisfies all your cravings.
-
Classic Burgers: These onion rings are the perfect crunchy companion to a juicy, grilled burger, bringing texture and flavor to every bite.
-
Fresh Salad: A vibrant garden salad with crisp greens and tangy vinaigrette balances the richness of the onion rings, creating a refreshing contrast.
-
Spicy Dips: Complement your rings with zesty dips like spicy ketchup or chipotle mayo. The heat enhances the onion’s sweetness and adds an exciting twist.
-
Creamy Ranch Dressing: A classic creamy ranch makes a delightful dip, providing a cooling element that beautifully offsets the crispy fried goodness.
-
Shrimp Tacos: Serve your onion rings alongside freshly made shrimp tacos for a fun, restaurant-style meal that’s full of flair and flavor.
-
Craft Beer: Pair with a crisp, cold craft beer to elevate your snacking experience. The carbonation cuts through the richness of the onion rings, making each bite more enjoyable.
-
Garlic Aioli: A homemade garlic aioli adds a rich, garlicky flavor that pairs wonderfully with the rings while enhancing their crunch.
-
Fries: For a classic twist, serve your onion rings alongside a side of crispy fries, offering varied textures that appeal to everyone at the table.
Each of these pairings will not only complement the crispy gluten-free onion rings but also turn your snack time into a culinary experience everyone will love!
Gluten-Free Onion Rings Recipe FAQs
What type of onions are best for gluten-free onion rings?
Absolutely! Vidalia or yellow onions are fantastic for their natural sweetness, making for a delicious crunch. If you prefer a sharper flavor, red onions work beautifully as well. Don’t hesitate to experiment with shallots for a milder taste!
How should I store leftover gluten-free onion rings?
Very well! For the best taste and texture, store leftover onion rings in an airtight container in the fridge for up to 2 days. Allow them to cool completely before sealing to avoid moisture build-up which can make them soggy.
Can gluten-free onion rings be frozen?
Yes, indeed! To freeze, place your cooled, cooked onion rings in a single layer on a baking sheet and freeze until solid. Then transfer them to a freezer-safe bag. They can be stored for up to 1 month. When you’re ready to enjoy them again, reheat in the oven for that crispy texture!
How do I ensure my gluten-free onion rings come out crispy?
A great question! Maintaining the oil temperature at 350°F (175°C) while frying is key. If the oil is too cool, the rings will absorb excess oil and become greasy. Also, avoid overcrowding the pan; frying in batches will give each ring the space it needs to fry up perfectly.
Are gluten-free onion rings safe for people with dietary restrictions?
Definitely! Just ensure you use gluten-free breadcrumbs and check all ingredient labels for hidden gluten. For those with allergies, always confirm that your selected ingredients, including the flour and seasoning mixtures, are free from cross-contamination. Enjoy worry-free snacking!
Crispy Gluten-Free Onion Rings Your New Favorite Snack
Ingredients
Equipment
Method
- Prep the Onions: Peel the onions and slice them into thick rings, about half an inch in width. Gently separate the rings and place them in a bowl.
- Make the Batter: In a mixing bowl, combine gluten-free all-purpose flour, baking powder, salt, black pepper, garlic powder, and paprika. Gradually pour in the buttermilk until the batter is smooth.
- Bread the Rings: Dip each onion ring into the prepared batter, allow excess to drip off, then roll in gluten-free breadcrumbs, ensuring they are well-covered.
- Heat the Oil: In a deep skillet, pour enough oil to cover the bottom and heat over medium-high heat until around 350°F (175°C).
- Fry the Rings: Add the breaded onion rings in batches to hot oil, frying for 3-4 minutes on each side until golden brown and crispy.
- Drain and Serve: Remove the onion rings from the oil and place them on a paper towel-lined plate. Serve hot with your choice of dips.
Leave a Reply