
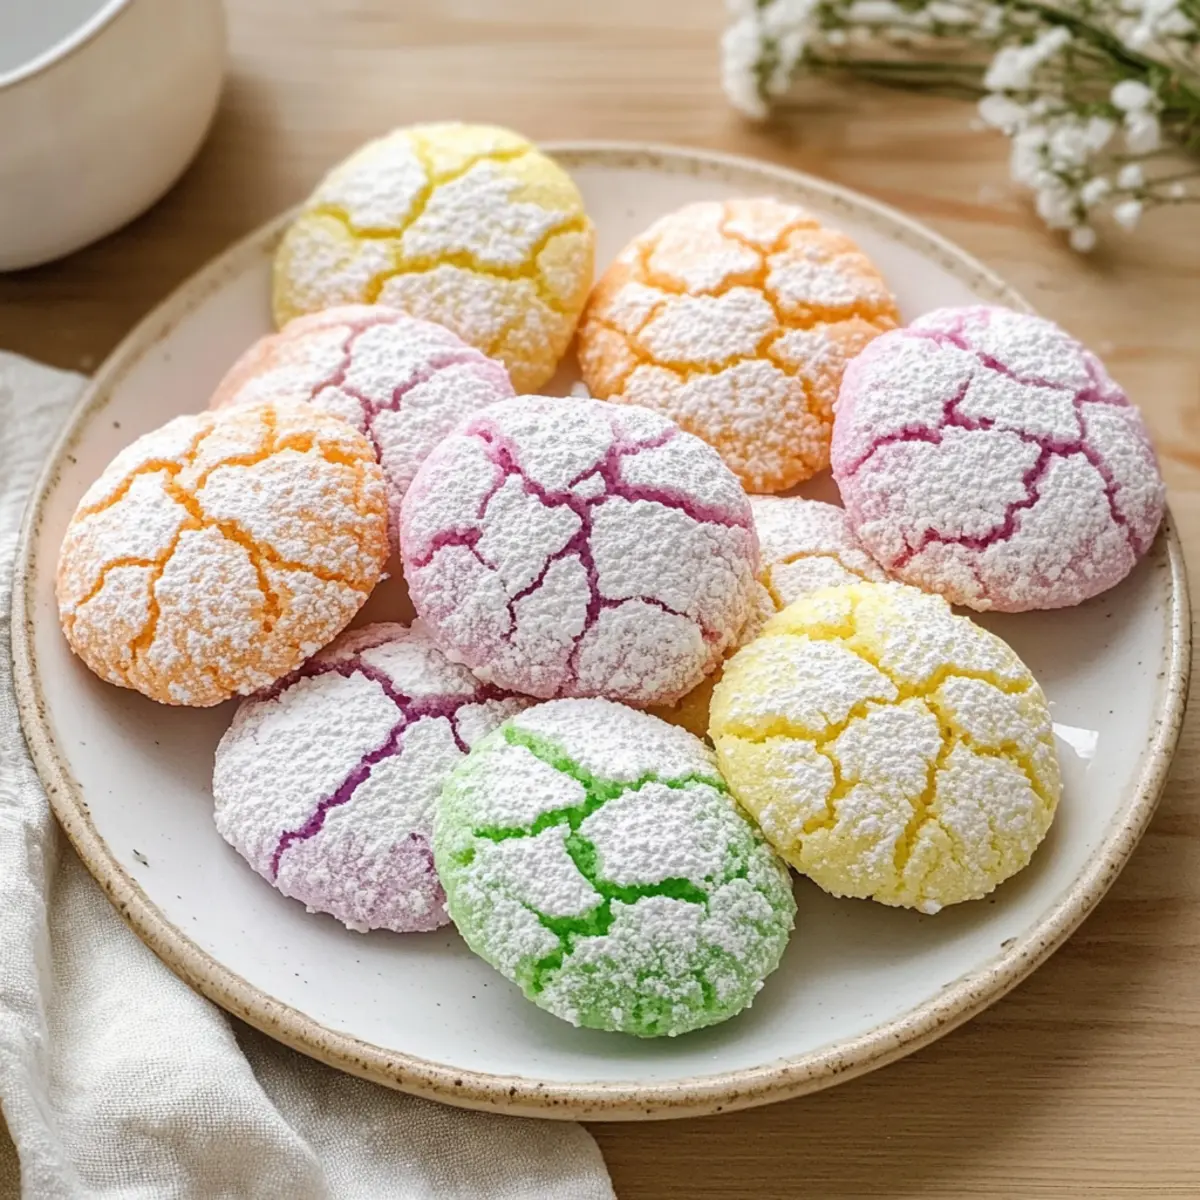
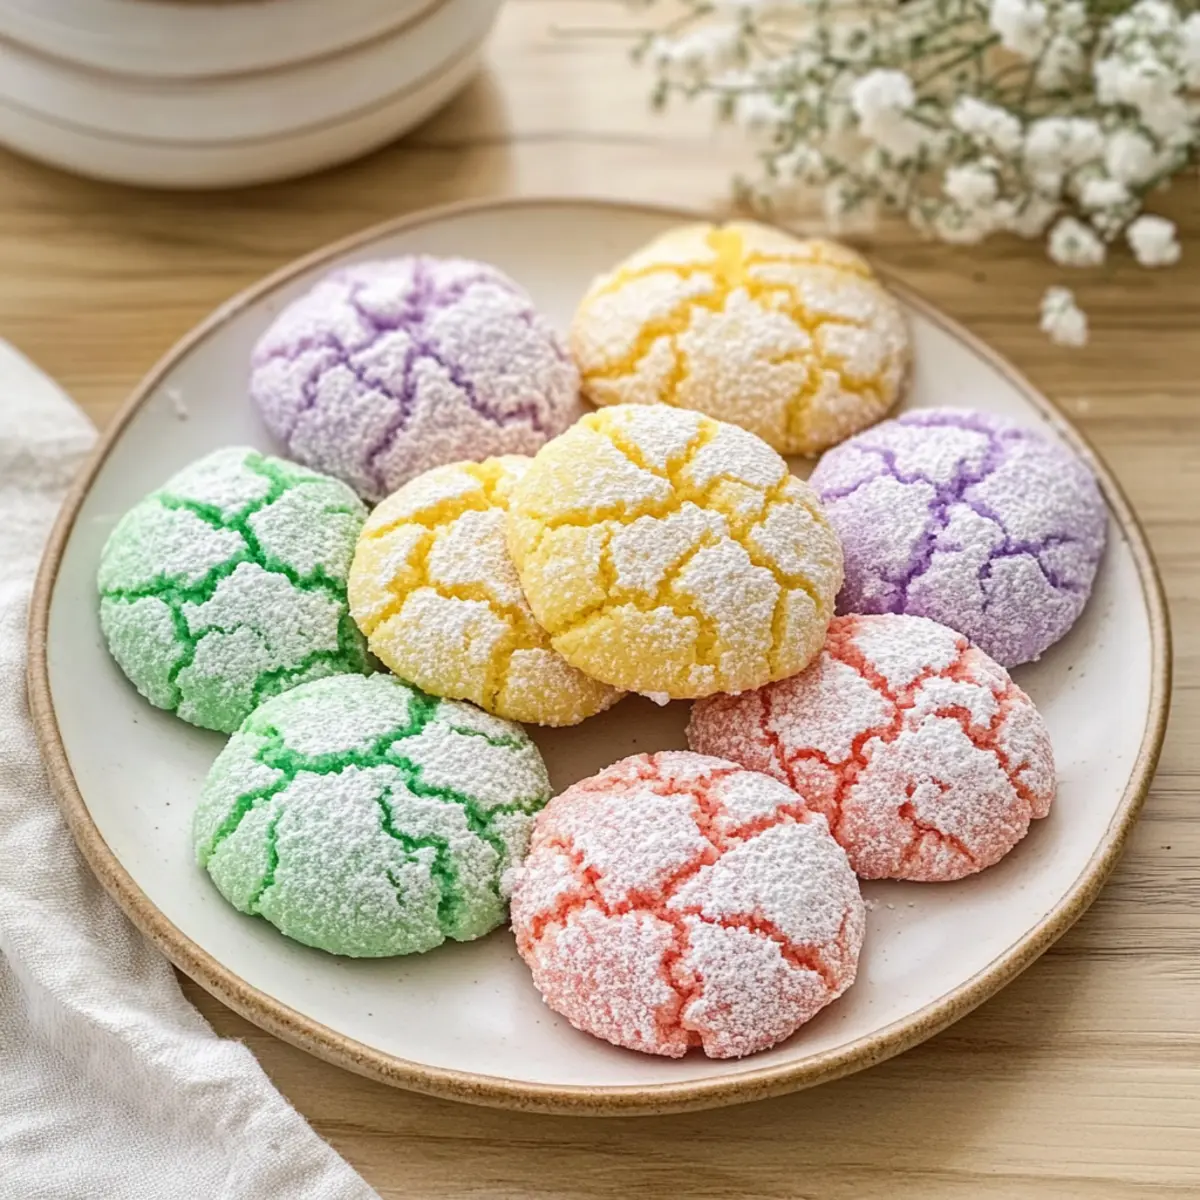
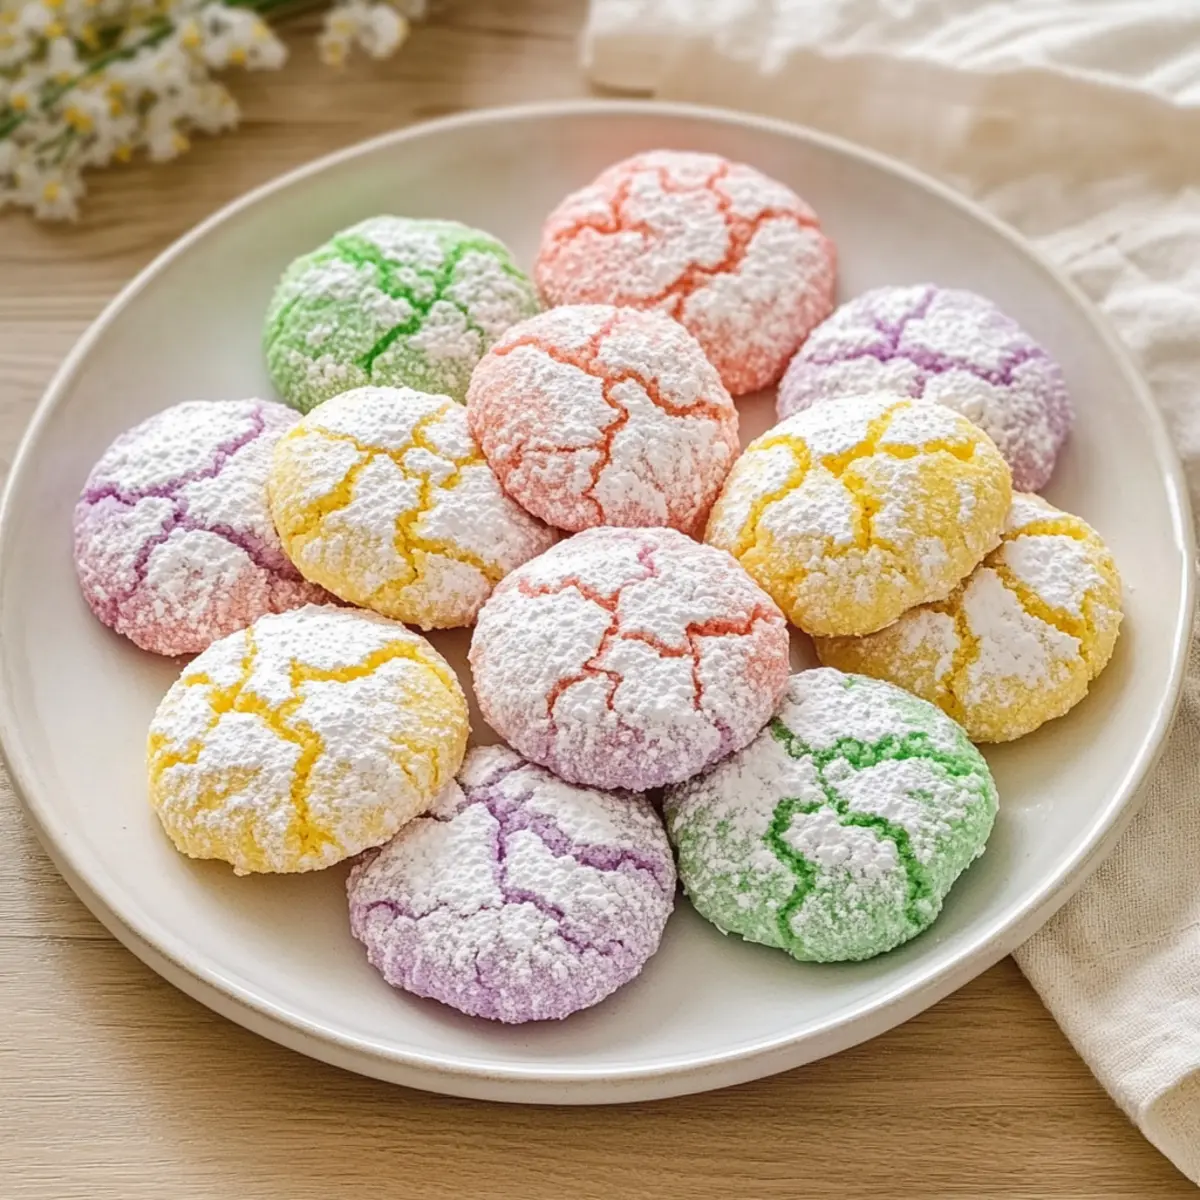
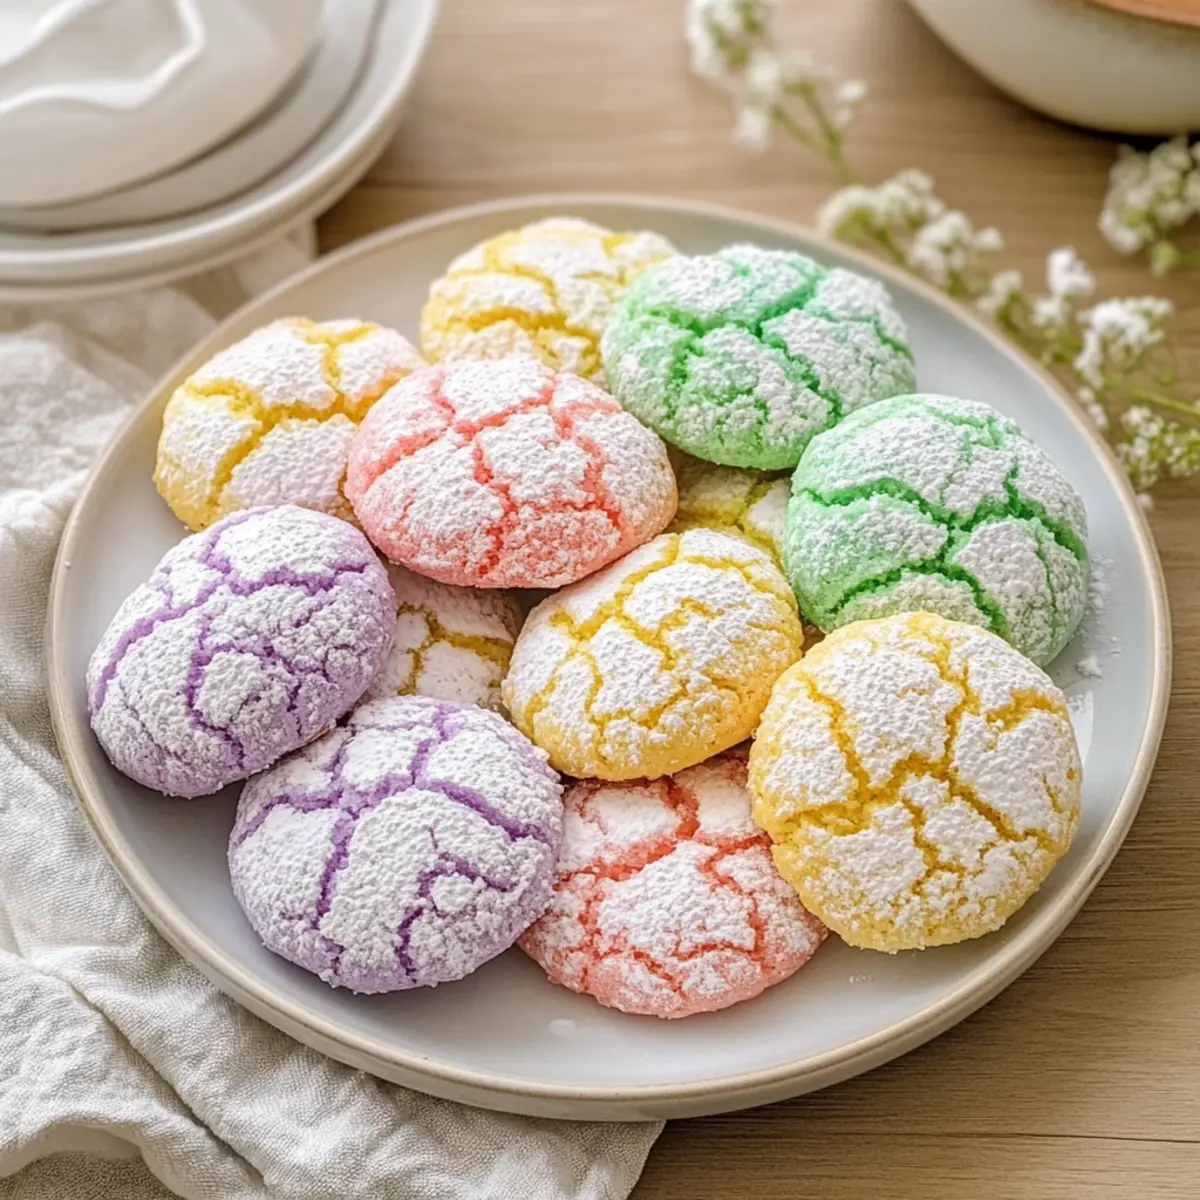
The moment I pulled these Springtime Crinkle Cookies from the oven, the delightful aroma of vanilla swirled through my kitchen like a gentle embrace. The pastel colors gleamed against the crispy powdered sugar, promising a whimsical treat that would brighten any gathering. Not only are these cookies a feast for the eyes, but they also boast a soft, chewy center that melts in your mouth, making them the perfect easy dessert for spring celebrations. With minimal prep time, these cookies become a delightful addition to your cookie repertoire, ideal for sharing with friends or savoring during a cozy afternoon. Ready to dive into the world of colorful baking? Let’s make your kitchen come alive with these delightful treats!
Why Try These Colorful Cookies?
Vibrant Colors: Each Springtime Crinkle Cookie bursts with charming pastel hues, making them a delightful centerpiece for Easter tables or spring gatherings.
Easy to Make: Simplicity is key with this recipe, ensuring that even novice bakers can whip up a batch without hassle.
Chewy Goodness: The perfectly soft and chewy center, contrasted with sugary, crisp edges, makes every bite a memorable experience that pleases all ages.
Versatile Options: Feel free to mix and match flavors and colors; try adding chocolate chips or using vibrant shades for different occasions like baby showers or birthday parties.
Crowd-Pleaser: Everyone loves a sweet treat! These cookies are sure to be the star of any gathering. Pair them with a glass of milk or alongside Cinnamon Roll Cookies for an even sweeter spread!
Springtime Crinkle Cookies Ingredients
• Here’s what you’ll need to create these delightful treats!
For the Dough
- All-Purpose Flour – Provides structure for the cookies; consider a gluten-free blend for a gluten-free version!
- Baking Powder – Essential for proper texture, giving lift as they bake; do not omit.
- Salt – A pinch enhances flavor and balances sweetness; your secret ingredient for a delicious cookie!
- Unsalted Butter – Adds richness and moisture; can be swapped for coconut oil if you’re going dairy-free.
- Granulated Sugar – Sweetens the cookies while contributing to their irresistible texture; brown sugar gives a deeper flavor if preferred.
- Large Eggs – Binds the ingredients for the cookie’s structure; feel free to substitute with flax eggs for a vegan option.
- Vanilla Extract – Imparts a classic sweet aroma and flavor; almond extract can be substituted for an exciting twist.
- Almond Extract (optional) – Adds a delicate nutty flavor; skip it if you want to stick with pure vanilla.
For Coating and Color
- Powdered Sugar – Coats the cookies for that signature crinkle aesthetic; cornstarch can work as a substitute depending on your dietary needs.
- Gel Food Coloring in Pastel Shades – Perfect for coloring the dough; avoid liquid coloring to keep the consistency thick, mixing soft shades for that spring vibe!
With these ingredients at hand, you’re all set to brighten your day with these beautiful Springtime Crinkle Cookies!
Step‑by‑Step Instructions for Springtime Crinkle Cookies
Step 1: Preheat and Prepare
Begin by preheating your oven to 350°F (175°C). While the oven warms up, line a baking sheet with parchment paper, ensuring it’s ready for the delightful Springtime Crinkle Cookies. This step is crucial for easy cookie removal once they’re baked, allowing for a hassle-free cleanup.
Step 2: Whisk Dry Ingredients
In a medium mixing bowl, whisk together the all-purpose flour, baking powder, and salt until well combined. This blend will create the structure your cookies need. As you mix, the dry ingredients will become a light, fluffy mixture, setting the stage for the perfect cookie dough.
Step 3: Cream Butter and Sugar
In a larger bowl, use a hand mixer to beat the softened unsalted butter and granulated sugar together until the mixture is light and fluffy, about 2-3 minutes. You’ll know it’s ready when it looks pale and creamy. This step helps incorporate air for a delightful texture in your Springtime Crinkle Cookies.
Step 4: Add Eggs and Extracts
Next, add the large eggs one at a time, mixing well after each addition, ensuring a smooth batter. Then stir in the vanilla extract, and if desired, the optional almond extract. The ingredients should blend seamlessly, filling the kitchen with a sweet aroma as the flavors meld.
Step 5: Combine Wet and Dry Ingredients
Gradually add the dry ingredients to the wet mixture, mixing until just combined. The dough will be thick and slightly sticky, which is perfect for your Springtime Crinkle Cookies. Take care not to overmix; you want the dough to come together but maintain a bit of texture.
Step 6: Color the Dough
Divide your dough into several portions, depending on how many colors you want your cookies to be. Add a few drops of pastel gel food coloring to each portion and knead until the colors are evenly distributed. You’ll enjoy seeing the bright hues form, setting the tone for these cheerful cookies.
Step 7: Chill the Dough
Place the colored dough portions in the refrigerator for at least 30 minutes. Chilling is essential; it helps solidify the fats, allowing your Springtime Crinkle Cookies to maintain their shape while baking. This little waiting period builds anticipation for the delightful baking ahead.
Step 8: Roll and Coat
Once chilled, preheat your oven again if needed. Roll tablespoon-sized balls of dough in powdered sugar until they are fully coated. Arrange them on the prepared baking sheet, ensuring they are spaced about 2 inches apart. The generous coating of sugar will give the signature crinkle effect when baked!
Step 9: Bake the Cookies
Bake the cookies in your preheated oven for 10–12 minutes, or until the tops are cracked while the centers remain soft. You’ll know they’re done when they puff up slightly and the edges turn a light golden color. Be sure to monitor closely for that perfect chewy texture.
Step 10: Cool and Serve
Allow the cookies to cool on the baking sheet for a few minutes before transferring them to a wire rack. This helps them set without losing their soft centers. Once cooled, these Springtime Crinkle Cookies are ready to brighten your day with their delightful colors and flavors.
What to Serve with Springtime Crinkle Cookies
These whimsical treats bring a burst of color and sweetness to any gathering, inviting you to create the perfect springtime spread.
- Creamy Milkshake: A rich vanilla milkshake pairs wonderfully, enhancing the cookie’s flavors while providing a nostalgic, creamy balance.
- Fresh Fruit Salad: A vibrant mix of strawberries, blueberries, and melon adds a refreshing contrast, brightening up the dessert table.
- Herbal Iced Tea: Serve your cookies with a chilled herbal iced tea; its cool notes beautifully complement the sweetness of the cookies.
- Chocolate Dipped Strawberries: These indulgent bites add a touch of decadence, creating a delightful dessert pairing that guests will adore.
- Vanilla Ice Cream: A scoop of creamy vanilla ice cream contrasts the chewy texture of the cookies, turning every bite into a sweet celebration.
- Spring Vegetable Salad: A light salad with mixed greens, nuts, and a citrus dressing provides a refreshing touch, balancing the cookie’s sweetness.
- Lemonade: The tartness of freshly squeezed lemonade cuts through the sugary cookies, making each bite feel like a cheerful spring day.
- Mini Cheesecake Bites: These bite-sized desserts add a creamy richness to your spread, perfect for those looking for variety alongside the cookies.
Expert Tips for Springtime Crinkle Cookies
-
Chill the Dough Properly: Make sure to chill the dough for at least 30 minutes. This step is vital for achieving a perfect shape and texture in your Springtime Crinkle Cookies.
-
Generous Powdered Sugar: Don’t be shy with the powdered sugar coating! A good layer enhances the crinkle effect and adds a sweet crunch that complements the chewy cookie.
-
Watch the Baking Time: Keep a close eye on the cookies as they bake. They should be slightly underbaked in the center when you take them out to maintain that glorious chewy texture we all love.
-
Use Gel Food Coloring: Opt for gel food coloring instead of liquid coloring to ensure bright pastel shades without affecting the dough’s consistency. This keeps your cookies thick and fluffy!
-
Experiment with Flavors: Feel free to switch up the extracts! Almond extract can be replaced or combined with vanilla for a unique twist that will enchant the taste buds.
Springtime Crinkle Cookies Variations
Feel free to get creative and customize your Springtime Crinkle Cookies to match your mood or dietary needs!
-
Vegan Option: Substitute eggs with flax eggs and use dairy-free butter for a delightful vegan treat. The flavors remain rich and delicious, perfect for everyone!
-
Gluten-Free: Replace all-purpose flour with a gluten-free blend. Just be sure to check the blend’s recommended ratios; your cookies will still be colorful and chewy!
-
Nutty Twist: Swap out unsalted butter for almond or macadamia nut butter for a delightful nutty depth. This variation not only enhances flavor but provides a unique texture as well!
-
Flavor Boost: Incorporate lemon or orange zest into the dough for bright, citrusy notes. The zesty aromas will whisk you away to sunny spring days with every bite!
-
Chocolate Delight: Add mini chocolate chips into the dough for an ooey-gooey surprise inside each cookie. The melted chocolate pairs beautifully with the sweet, sugary exterior.
-
Colorful Fun: Instead of pastel colors, try vibrant food dyes to create a rainbow of cookies for a birthday party or other festive celebrations. Exciting and whimsical, they cater to special occasions!
-
Spiced Up: Add a pinch of cinnamon or nutmeg to the dough for a warm, cozy flavor twist. Just a hint will transport you to delightful spice-filled treats, perfect for cozy gatherings.
-
Fruit-Filled: Mix in dried fruits like cranberries or blueberries for a chewy texture and a burst of fruity flavor. This unexpected addition makes each cookie a little surprise!
For an extra sweet assortment, why not serve these alongside some delicious Chocolate Oat Cookies to create a delightful spread? Ever thought about making a fun Spring dessert table with your creations? The possibilities are endless!
How to Store and Freeze Springtime Crinkle Cookies
Airtight Container: Store your Springtime Crinkle Cookies in an airtight container at room temperature for up to 5 days to keep them fresh and chewy.
Freezing: For longer storage, freeze the cookies in a single layer on a baking sheet. Once solid, transfer them to a freezer-safe bag for up to 3 months.
Reheating: Thaw cookies at room temperature for about 30 minutes before enjoying. To warm them slightly, pop them in the microwave for 5-10 seconds.
Dough Freezing: If you want to bake fresh cookies later, freeze the prepared cookie dough in individual balls wrapped in plastic wrap for up to 3 months. Thaw slightly before baking.
Make Ahead Options
These Springtime Crinkle Cookies are perfect for busy home cooks looking to save time during festive occasions! You can prepare the dough up to 24 hours in advance by rolling it into balls, coating them in powdered sugar, and refrigerating them. To maintain their delightful texture, ensure they are tightly wrapped in plastic wrap or stored in an airtight container. When you’re ready to bake, simply place the chilled dough balls on a baking sheet and preheat your oven; no need to thaw! Bake them as instructed, and you’ll enjoy fresh, colorful cookies with that same fabulous soft center and crisp edges, making entertaining a breeze!
Springtime Crinkle Cookies Recipe FAQs
What is the best way to select ripe ingredients for this recipe?
When selecting your ingredients for Springtime Crinkle Cookies, ensure your eggs are fresh, as they’ll bind the ingredients together. For butter, look for unsalted and creamy textures, while all-purpose flour should be free of clumps. A good practice is to squeeze the butter slightly; if it feels soft but firm, you’re good to go! Always check for any visual cues, like dark spots on eggs or hardness in butter.
How should I store leftover cookies?
To keep your Springtime Crinkle Cookies fresh and chewy, store them in an airtight container at room temperature for up to 5 days. If you’re looking to preserve their delightful taste longer, consider placing parchment paper between layers to prevent them from sticking together.
Can I freeze the cookie dough?
Absolutely! To freeze your Springtime Crinkle Cookies dough, first form tablespoon-sized balls and place them on a baking sheet lined with parchment paper. Freeze them until solid, about 2-3 hours, then transfer to a freezer-safe bag. This method allows you to bake fresh cookies quickly in the future; the dough can be kept for up to 3 months. When you’re ready to bake, simply thaw them slightly before placing them in the oven.
What if my cookies don’t crinkle?
If your Springtime Crinkle Cookies don’t develop those beautiful cracks, it might be due to the dough being too warm or if you didn’t coat them sufficiently in powdered sugar. Be sure to chill the dough for at least 30 minutes before rolling, and coat the balls generously in powdered sugar before baking to enhance that signature crinkle effect.
Are there any common allergies to consider?
Yes! When making Springtime Crinkle Cookies, be mindful of common allergens. The recipe contains gluten (from flour), dairy (from butter), and eggs. For gluten-free options, substitute the all-purpose flour with a suitable gluten-free blend. For a dairy-free and vegan version, use coconut oil instead of butter and flax eggs in place of large eggs. Always check with friends or family to ensure everyone can safely enjoy these colorful treats!
Chewy Springtime Crinkle Cookies to Brighten Your Day
Ingredients
Equipment
Method
- Preheat your oven to 350°F (175°C) and line a baking sheet with parchment paper.
- In a medium mixing bowl, whisk together the all-purpose flour, baking powder, and salt.
- In a larger bowl, cream the butter and sugar together until light and fluffy.
- Add the eggs one at a time, mixing well after each addition. Stir in vanilla and optional almond extract.
- Gradually add the dry ingredients and mix until just combined.
- Divide the dough and add pastel gel food coloring, kneading until colors are evenly distributed.
- Chill the colored dough portions in the refrigerator for at least 30 minutes.
- Roll tablespoon-sized balls of dough in powdered sugar and arrange on the prepared baking sheet.
- Bake for 10–12 minutes, until tops are cracked and the centers remain soft.
- Allow to cool for a few minutes before transferring to a wire rack.
Leave a Reply