
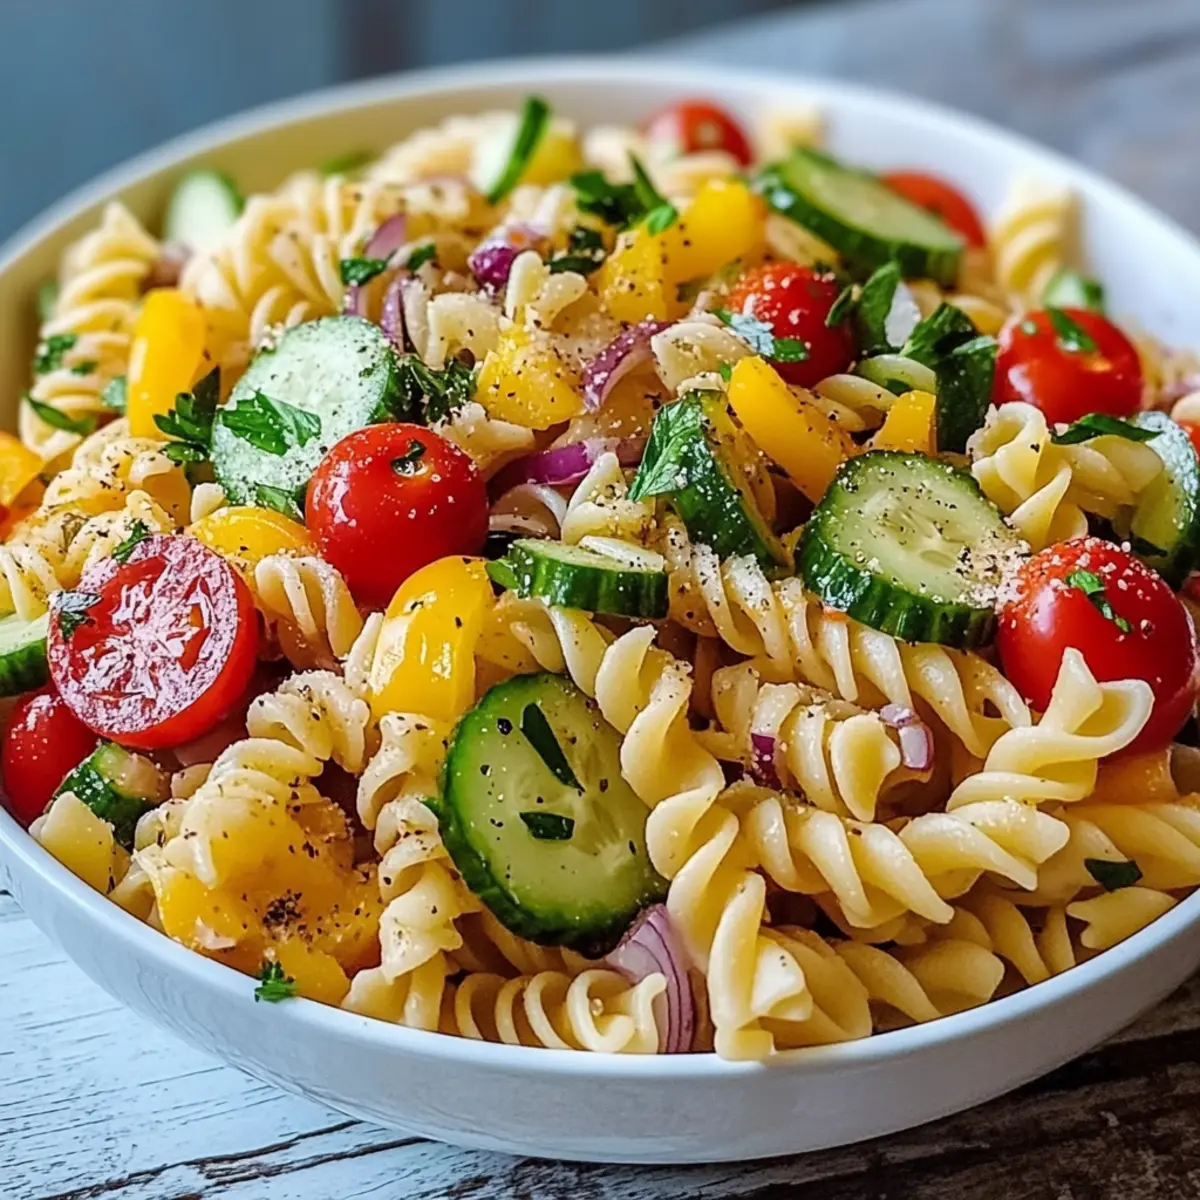
Stepping into the kitchen, I found myself captivated by a vibrant bowl of colors and textures that perfectly symbolizes the sunny spirit of California—enter the California Pasta Salad. This delightful dish is not only a feast for the eyes but also incredibly versatile, adaptable to embrace any seasonal bounty and dietary preference. With a blend of crunchy vegetables, creamy cheese, and the satisfying twirl of rotini, this make-ahead recipe is a crowd-pleaser fit for everything from sunny picnics to cozy family dinners. Plus, you’ll love how simple it is to whip up, leaving you plenty of time to savor moments with loved ones. Are you ready to dive into a bowl of fresh, hearty goodness that can be customized just the way you like it? Let’s get started!
Why is California Pasta Salad a Must-Try?
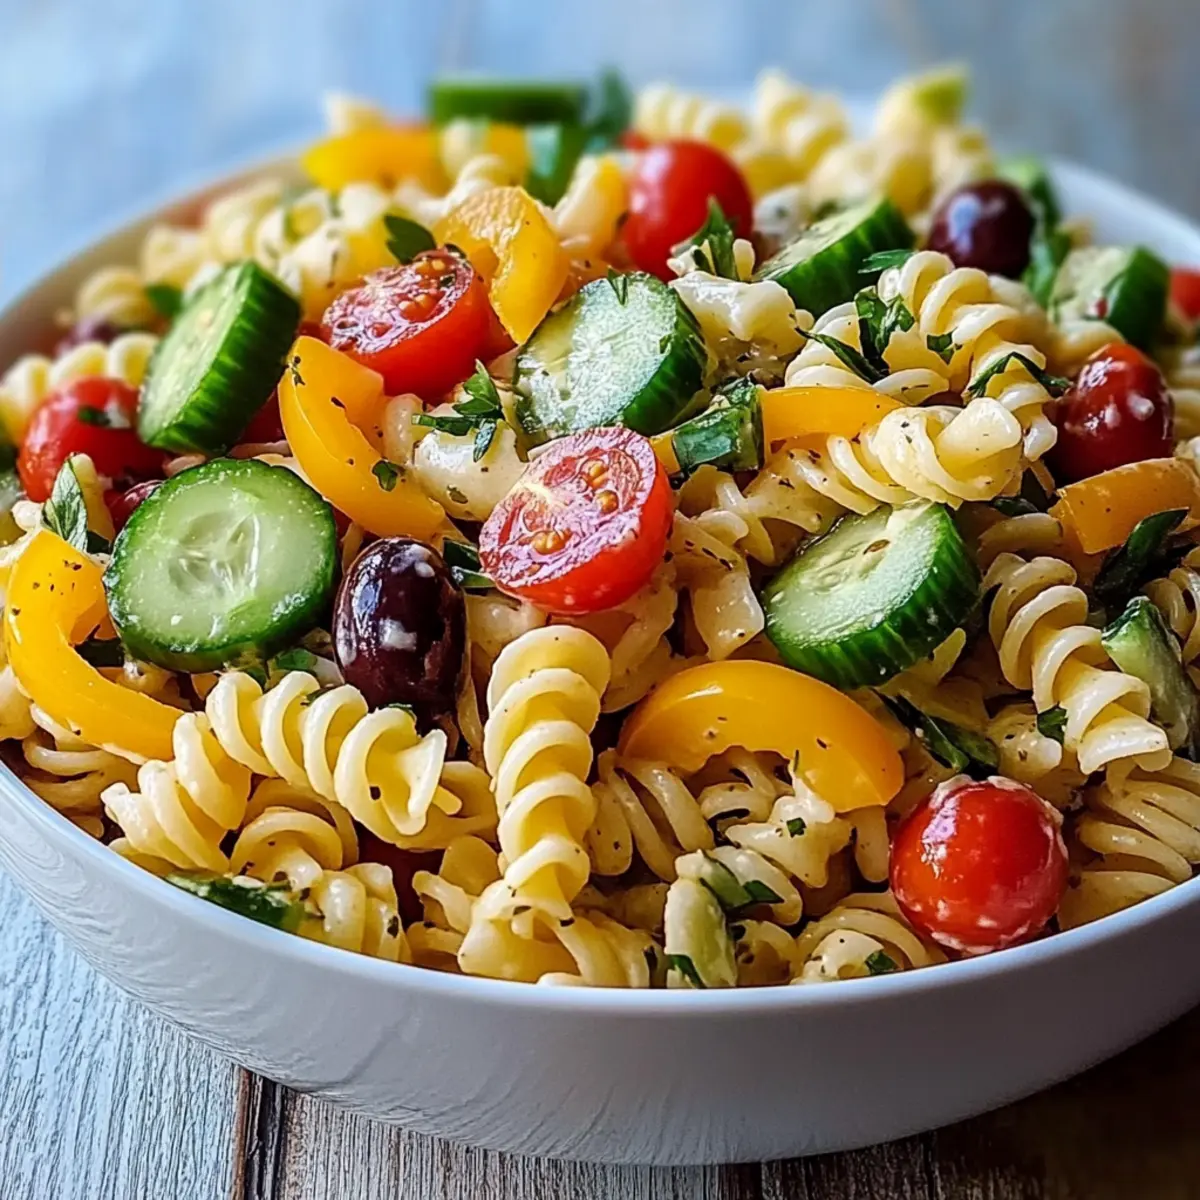
Vibrant Colors: This dish bursts with a rainbow of veggies, making every bite visually stunning!
Endless Flexibility: The customizable nature of this salad allows you to cater to various dietary needs, whether you prefer a vegan twist or gluten-free options.
Make-Ahead Convenience: An ideal recipe for busy days—prepare it in advance, so it’s ready when you are!
Flavorful & Fresh: The combination of crunchy veggies and creamy cheese, along with zesty Italian dressing, delivers a flavor explosion that’s sure to impress.
Perfect for Gatherings: Whether for a potluck or a picnic, serving it in individual jars adds a fun touch to your presentation. Add your favorite proteins to make it heartier! If you want a twist, try the Beef Pasta Comforting version!
California Pasta Salad Ingredients
• Dive into this colorful dish with fresh, seasonal flavors!
For the Salad
- Rotini Pasta – The main structure of the salad; substitute with gluten-free pasta if needed.
- Cherry Tomatoes – These provide a burst of sweetness; can be replaced with grape tomatoes for variety.
- Cucumber – Adds a refreshing crunch; zucchini can be used as an alternative if cucumbers aren’t available.
- Red Onion – Introduces a mild bite to the dish; shallots are a milder substitute that works well too.
- Black Olives – Contribute a salty depth of flavor; consider using green olives for a unique twist.
- Bell Pepper – Adds sweetness and vibrant color; you can also use sweet corn for a fun alternative.
- Sharp Cheddar Cheese – Provides creamy richness and bold flavor; try vegan cheese to keep it dairy-free.
- Fresh Parsley – Use for garnish and a pop of brightness; other herbs like basil or cilantro can substitute nicely.
For the Dressing
- Italian Salad Dressing – Binds the salad together with zesty flavor; a homemade dressing can enhance freshness and taste.
- Salt and Pepper – Season to taste, enhancing all the vibrant flavors of the salad.
Let this California Pasta Salad bring the sunshine to your table as it caters to all your cravings and dietary needs!
Step‑by‑Step Instructions for California Pasta Salad
Step 1: Cook the Pasta
Bring a large pot of salted water to a boil over high heat. Once boiling, add the rotini pasta and cook according to package instructions until al dente, usually about 8-10 minutes. The pasta should be firm but tender. Drain the pasta in a colander and rinse under cold water to stop the cooking process and help it cool quickly.
Step 2: Prepare the Vegetables
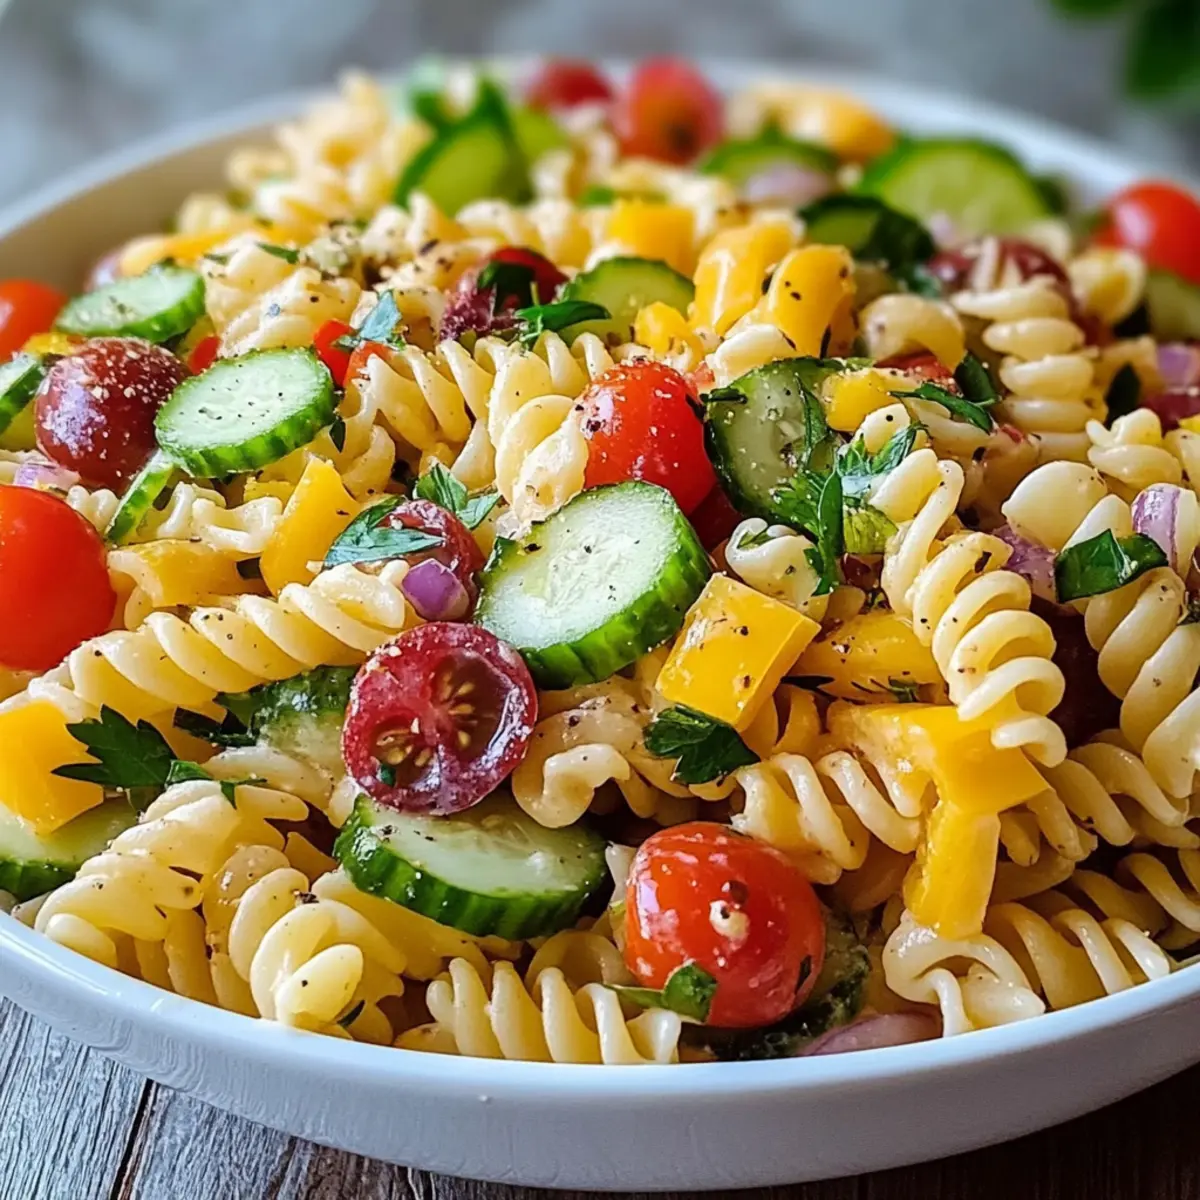
While the pasta is cooling, chop the cherry tomatoes, cucumber, red onion, bell pepper, and olives into bite-sized pieces. Use a sharp knife and cutting board for safety and ease. Gather all the diced vegetables in a large mixing bowl; their vibrant colors will start to make your California Pasta Salad visually appealing!
Step 3: Combine Ingredients
Once the pasta is completely cooled, add it to the bowl with the chopped vegetables. Grate or dice the sharp cheddar cheese and sprinkle it over the mixture. The combination of textures will create a delightful experience; use a large spoon to gently fold the ingredients together until evenly mixed, allowing every flavor to blend beautifully.
Step 4: Dress the Salad
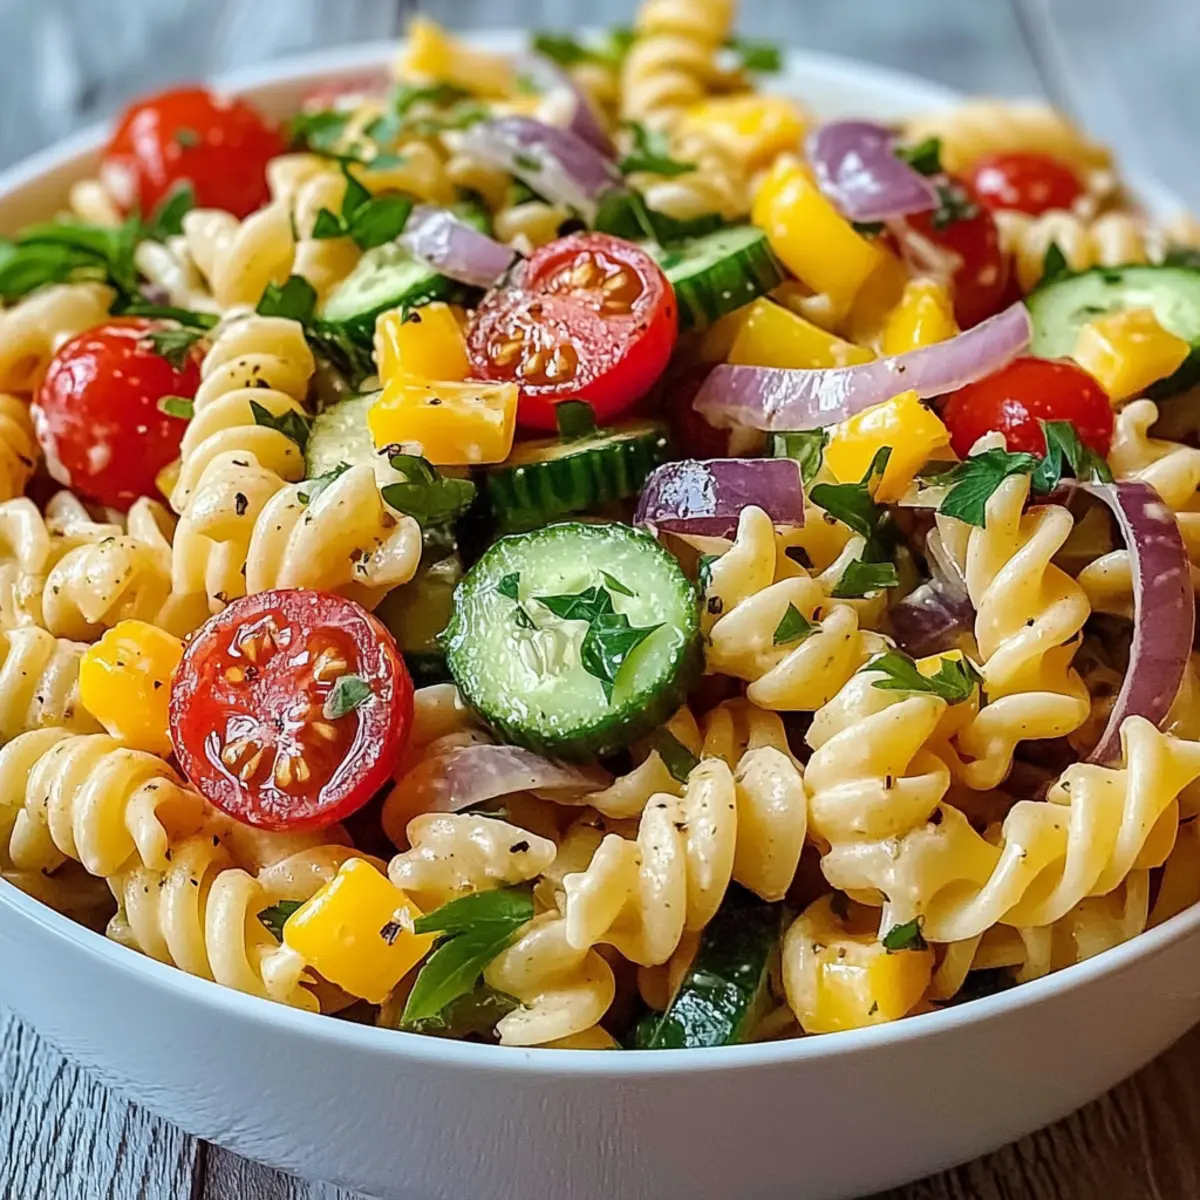
Drizzle Italian salad dressing over the pasta and vegetable mixture. Use about half a cup to start; you can always add more later if needed. Toss everything together with your large spoon until each ingredient is well coated in dressing. The vibrant colors will shine even brighter as the flavorful dressing brings the California Pasta Salad to life.
Step 5: Season to Taste
Sprinkle salt and pepper over the salad, adjusting the seasoning to your preference. This step is essential to enhance the fresh flavors of your ingredients and should be done according to your taste. Mix well to ensure that every bite of the California Pasta Salad is perfectly seasoned.
Step 6: Chill the Salad
Cover the mixing bowl tightly with plastic wrap or transfer the salad into an airtight container. Refrigerate the salad for at least 30 minutes, allowing the flavors to meld and the salad to chill. Note that if you have more time, chilling the salad for a few hours or overnight will deepen the flavor profile even further.
Step 7: Serve
Before serving, give the salad a gentle toss to redistribute the dressing and flavors. Scoop the colorful California Pasta Salad into a large serving bowl or individual mason jars for a fresh presentation. Garnish with fresh parsley for an extra touch of brightness and enjoy a refreshing bowl of goodness!
How to Store and Freeze California Pasta Salad
Fridge: Keep your California Pasta Salad covered in an airtight container in the fridge for up to 3 days. This will help preserve its freshness and flavor.
Freezer: For best results, avoid freezing this salad due to the creamy cheese and fresh vegetables. They may not retain their texture after thawing.
Make-Ahead Tips: You can prepare the California Pasta Salad a day in advance. Just mix the ingredients without dressing, cover, and refrigerate; add dressing right before serving.
Reheating: This dish is best enjoyed cold. If desired, you can serve it at room temperature straight from the fridge!
What to Serve with California Pasta Salad?
Nothing elevates a meal quite like the perfect accompaniment; let’s explore delightful sides and pairings to complement this vibrant dish.
-
Grilled Chicken: Tender, juicy grilled chicken adds protein and balances the lightness of the pasta salad, creating a satisfying meal.
-
Garlic Bread: With its crispy crust and buttery garlic flavor, this classic side invites you to enjoy the salad’s fresh notes even more!
-
Fruit Salad: A refreshing, sweet contrast to the savory pasta. The burst of flavors from seasonal fruits makes it the perfect palate cleanser.
-
Caprese Skewers: These colorful bites of mozzarella, basil, and cherry tomatoes not only align with the pasta salad’s freshness but add a fun visual element to your table.
-
Sparkling Lemonade: The zesty fizz of lemonade complements the creamy elements of the California Pasta Salad. The tangy sweetness will quench your thirst on a warm day.
-
Chips and Salsa: The crisp texture of tortilla chips alongside zesty, fresh salsa provides an enjoyable crunch and a bit of heat, enhancing the overall dining experience.
-
Stuffed Peppers: For a hearty addition, these fragrant bell peppers filled with rice and cheese offer a delightful contrast to the cool, crunchy salad.
-
Brownie Sundaes: Seal the meal with a rich, fudgy brownie topped with vanilla ice cream; it’s the sweet ending you deserve after indulging in that vibrant salad!
California Pasta Salad Variations
Feel free to get creative and make this delightful salad your own with these tasty twists!
- Gluten-Free: Swap rotini pasta for gluten-free pasta made from chickpeas or brown rice for a hearty alternative.
- Dairy-Free: Use vegan cheese or simply omit the cheese for a fresh, light flavor that lets the veggies shine. You’ll hardly miss the creaminess!
- Protein-Packed: Add grilled chicken, canned tuna, or chickpeas to turn your salad into a satisfying main course. The heartiness of protein will really elevate the meal!
- Fresh Herbs: Incorporate fresh basil or cilantro instead of parsley for a different flavor profile that brightens up every bite. Try tossing them in right before serving for that extra pop!
- Seasonal Mix-Ins: In summer, add slices of avocado or fresh corn; in fall, consider roasted butternut squash for a warm, comforting feel. Each season brings its own vibrant flavors!
- Spicy Kick: Toss in a few diced jalapeños or a sprinkle of red pepper flakes to heat things up. A little spice adds excitement and depth to your salad!
- Crunch Variation: Experiment with different nuts or seeds, like toasted pine nuts or sunflower seeds, for added crunch and a nutty flavor. They bring a satisfying texture that’s hard to resist.
- Zesty Dressing: Try a homemade lemon vinaigrette instead of Italian dressing for a bright, zesty alternative. You can customize the dressing for an even more personalized touch!
Feel inspired? This versatile dish can be enjoyed alongside a comforting Creamy Beef Pasta or a refreshing Broccoli Pasta for a meal that’s unforgettable!
Make Ahead Options
California Pasta Salad is an excellent choice for meal prep! You can prepare the pasta and chop your vegetables up to 24 hours in advance, storing them separately in airtight containers to maintain their freshness and crispness. Additionally, if you’re not serving it immediately, keep the dressing on the side until you’re ready to toss everything together—this will prevent the pasta from becoming mushy. When you’re set to serve, simply mix the chilled pasta and veggies, drizzle on the dressing, and give it a gentle toss. This way, each bite remains just as delicious as when it was freshly made, making your busy weeknights a whole lot easier!
Expert Tips for California Pasta Salad
-
Chill Longer: Letting the salad sit in the fridge overnight enhances flavor. The longer chilling time allows the ingredients to meld beautifully.
-
Avoid Sogginess: If prepping ahead of time, keep the Italian dressing separate until just before serving to prevent sogginess in your California Pasta Salad.
-
Fresh Herbs: For an extra burst of flavor, add fresh herbs like basil or cilantro just before serving. This ensures they stay vibrant and aromatic.
-
Texture Matters: Be sure to cut veggies into consistent sizes for even distribution of flavors and textures, making every bite equally satisfying.
-
Taste As You Go: Always taste the salad after dressing and seasoning. Adjust salt and pepper according to your preference to enhance the overall flavors.
California Pasta Salad Recipe FAQs
What type of pasta should I use for California Pasta Salad?
You can use rotini pasta as it’s great for holding onto the dressing and robust ingredients. If you’re looking for a gluten-free option, I recommend using gluten-free rotini. It retains the same delightful texture and works beautifully in this recipe!
How long can I store California Pasta Salad in the fridge?
Your California Pasta Salad will stay fresh in the refrigerator for up to 3 days when stored in an airtight container. Just remember to give it a good stir before serving again, as the dressing may settle!
Can I freeze California Pasta Salad?
I don’t recommend freezing this pasta salad. The creamy cheese and fresh veggies may lose their texture and quality once thawed. Instead, enjoy it fresh or make it a day ahead, omitting the dressing until just before serving!
What should I do if my salad turns out soggy?
If your salad has become soggy, it’s likely due to the dressing being added too early or too much liquid from the vegetables. To fix it, try adding more pasta or chopped veggies to absorb some moisture. For future batches, keep the dressing separate until serving to prevent this issue.
Are there any dietary considerations for this recipe?
Absolutely! This California Pasta Salad is versatile—opt for gluten-free pasta for those with gluten intolerances and replace the sharp cheddar cheese with a dairy-free option to create a vegan version. Additionally, be sure to check for any allergies regarding olives or specific vegetables if serving guests.
How can I make this salad more filling?
To elevate your California Pasta Salad to a more hearty meal, consider adding a protein source like grilled chicken, canned tuna, or chickpeas. Incorporating these options not only enhances the flavor but also makes it more satisfying while still retaining its fresh appeal.
California Pasta Salad: Colorful Flavor for Every Occasion
Ingredients
Equipment
Method
- Bring a large pot of salted water to a boil over high heat. Once boiling, add the rotini pasta and cook according to package instructions until al dente, usually about 8-10 minutes. Drain the pasta in a colander and rinse under cold water to stop the cooking process and help it cool quickly.
- While the pasta is cooling, chop the cherry tomatoes, cucumber, red onion, bell pepper, and olives into bite-sized pieces. Gather all the diced vegetables in a large mixing bowl.
- Once the pasta is completely cooled, add it to the bowl with the chopped vegetables. Grate or dice the sharp cheddar cheese and sprinkle it over the mixture. Gently fold the ingredients together until evenly mixed.
- Drizzle Italian salad dressing over the pasta and vegetable mixture. Toss everything together until each ingredient is well coated in dressing.
- Sprinkle salt and pepper over the salad, adjusting the seasoning to your preference. Mix well to ensure that every bite is perfectly seasoned.
- Cover the mixing bowl tightly with plastic wrap or transfer the salad into an airtight container. Refrigerate the salad for at least 30 minutes to allow the flavors to meld.
- Before serving, give the salad a gentle toss to redistribute the dressing and flavors. Serve in a large bowl or individual jars, garnished with fresh parsley.
Leave a Reply