
As summer heat swathes us in its embrace, I find myself drawn to the nostalgic bliss of homemade popsicles. It’s during these sun-soaked days that I whip up a batch of Cherry Creamsicles, my favorite healthy popsicle recipe. These delightful treats blend creamy vanilla goodness with the vibrant sweetness of cherries, all while sidestepping refined sugars. Each bite is a dreamy escape, satisfying my cravings and keeping the whole family refreshed. Not only are they incredibly easy to prepare, but they also offer a guilt-free indulgence without compromising on flavor. Who wouldn’t want to enjoy a dessert that’s wholesome, fun to make, and just as colorful as a summer day? Ready to dive into this cherry-filled adventure? Let’s get started!
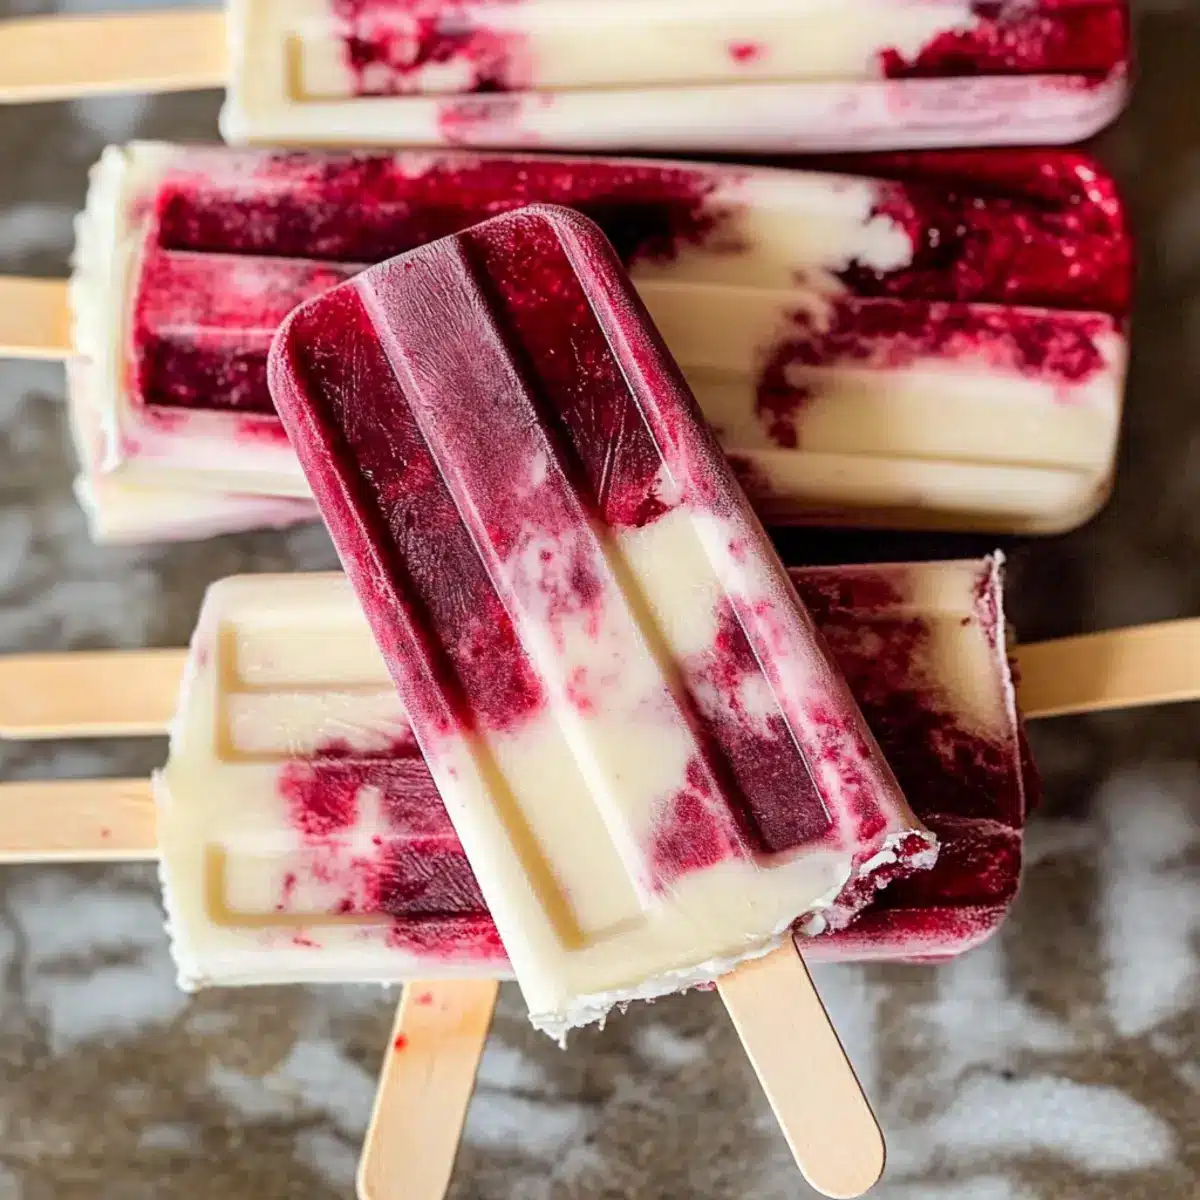
Why Are Cherry Creamsicles Perfect for Summer?
Refreshing and delicious: Enjoy the cool, creamy texture that bursts with cherry flavor, making them an ideal summer treat.
Healthy indulgence: With no refined sugars, you can savor these treats guilt-free, knowing they are made with wholesome ingredients.
Kid-friendly fun: Involve the little ones in making these Cherry Creamsicles—it’s a wonderful way to get them excited about healthy snacks!
Versatile options: Feel free to experiment with different fruits or variations; strawberries and lemon juice work beautifully for new flavor profiles.
Quick to prepare: These popsicles require minimal effort and are freezer-friendly for on-the-go snacks.
Elevate your summer dessert game with these delightful Cherry Creamsicles that the entire family can enjoy!
Cherry Creamsicle Ingredients
• The perfect blend for summer treats!
For the Popsicle Base
- Pitted Fresh or Thawed Frozen Organic Cherries – They provide the primary fruity flavor; you can use any sweet stone fruit if cherries are unavailable.
- Coconut Water or Filtered Water – This helps blend the cherries and adds hydration; regular water can be used, but coconut water enhances the flavor.
- Raw Light-Colored Honey – A natural sweetness without refined sugars; maple syrup may be used for a vegan option.
For the Cream Layer
- Raw Cream or Organic Whipping Cream – Offers a rich, creamy texture; substitute with coconut cream from canned full-fat coconut milk for a dairy-free version.
- Organic Vanilla Extract – Adds warmth and enhances the flavor; no substitutions necessary.
Try these ingredients in your Cherry Creamsicles for a delightful, healthy popsicle recipe that will engage your taste buds!
Step‑by‑Step Instructions for Cherry Creamsicles
Step 1: Chill Mixing Bowl
Begin by placing a large mixing bowl in the fridge to chill. This will help your cream whip up beautifully for the Cherry Creamsicles later. Aim to chill the bowl for at least 15-20 minutes while you prepare the other ingredients.
Step 2: Prepare Cherries
If using frozen cherries, ensure they are completely thawed. For fresh cherries, rinse them thoroughly and remove the pits. You want about two cups of cherries, as they will provide the vibrant, sweet flavor that makes these Cherry Creamsicles so delightful.
Step 3: Blend Ingredients
In a blender, combine the prepared cherries with coconut water or filtered water. Blend until the mixture is completely smooth and free of chunks, about 30-60 seconds. You want a luscious cherry puree that serves as the base for your popsicles.
Step 4: Whip Cream
Retrieve the chilled mixing bowl and pour in the raw cream or organic whipping cream. Add in the organic vanilla extract and raw light-colored honey. Use an electric mixer to whip the mixture on medium speed for about 1-1.5 minutes until it thickens and forms soft peaks, achieving a fluffy texture.
Step 5: Layer Mixtures
Begin filling your popsicle molds by alternating spoonfuls of the whipped cream and cherry puree. Start with a layer of cream, followed by cherry puree, creating a beautiful swirl effect. Repeat until the molds are filled, leaving a little space at the top for expansion as they freeze.
Step 6: Freeze Popsicles
Carefully place the filled molds in the freezer. Allow them to freeze for at least 6-8 hours, preferably overnight, until they are completely solid. This wait ensures that your Cherry Creamsicles will have the right texture and delightful flavor.
Step 7: Release Popsicles
To remove the popsicles from the molds, hold them under warm running water for a few seconds. This gentle heat will loosen them, allowing you to easily pull out your beautiful Cherry Creamsicles without breaking them. Enjoy your refreshing homemade treat!
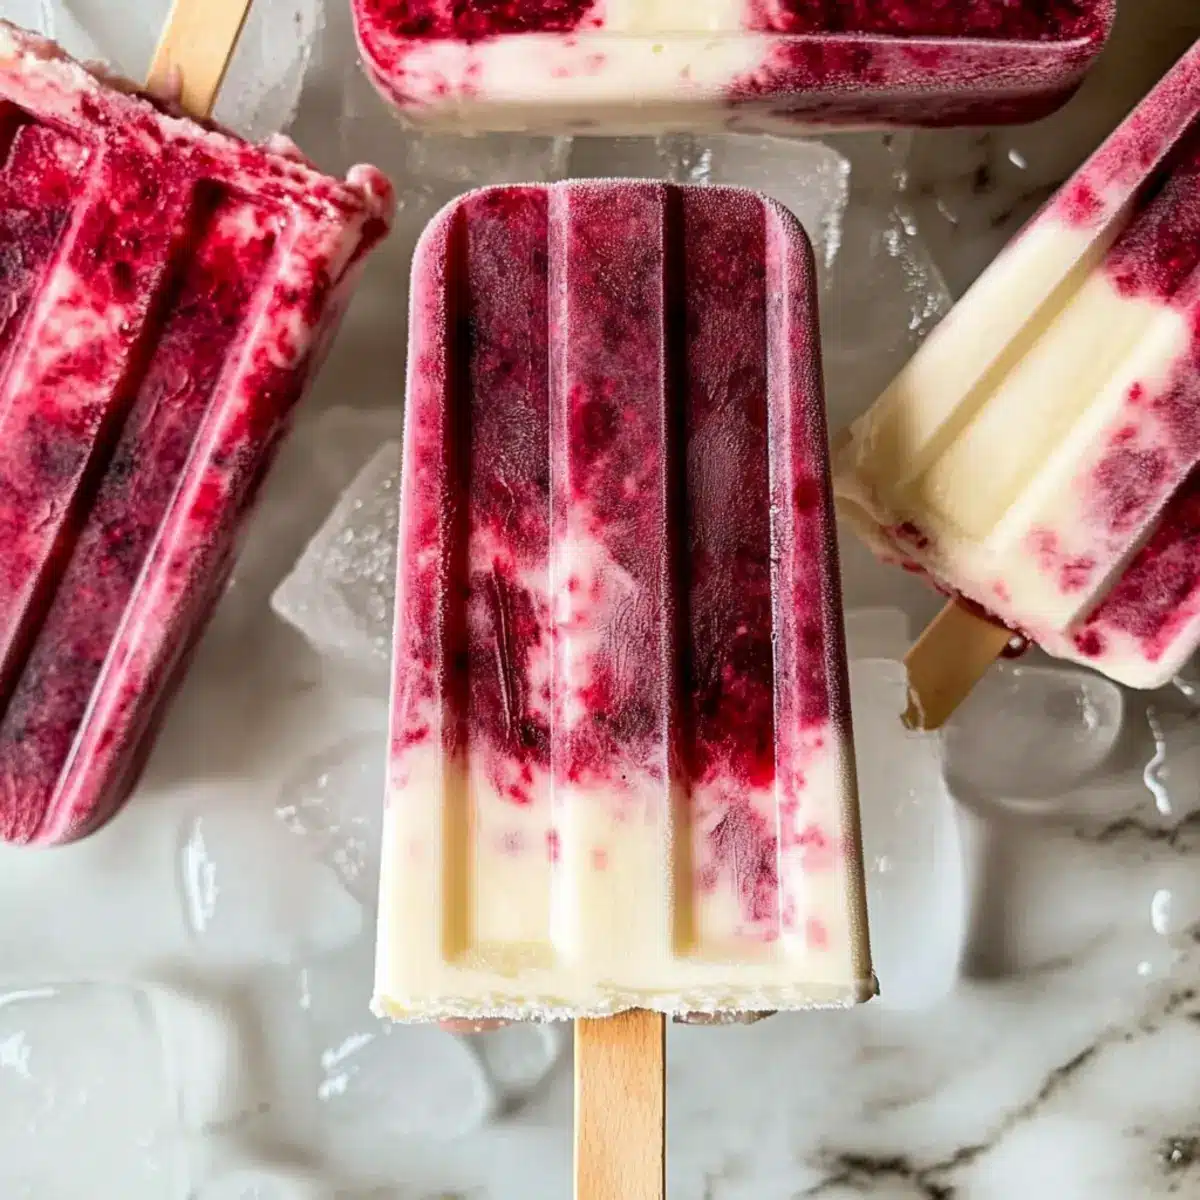
Expert Tips for Cherry Creamsicles
- Chill Your Tools: Make sure your mixing bowl and beaters are cold before whipping the cream; this helps achieve fluffy peaks for your Cherry Creamsicles.
- Perfect Consistency: Check the cherry puree for smoothness; any chunks will impact the creamy texture. Blend longer if necessary!
- Layering Technique: Gently swirl the mixtures together instead of mixing them; this creates beautiful layers and enhances both the appearance and taste of the Cherry Creamsicles.
- Mold Matters: If using popsicle molds, stainless steel ones often release popsicles more easily than plastic. Consider this small investment for effortless popsicle removal.
- Flavor Variations: Don’t hesitate to experiment with fruits like strawberries or peaches; they pair wonderfully with the cherry flavor in these healthy popsicle recipes.
Make Ahead Options
These Cherry Creamsicles are perfect for busy home cooks looking to save time and delight their families with a refreshing treat! You can prepare the cherry puree up to 24 hours in advance; simply blend the cherries and coconut water, then refrigerate in an airtight container to maintain freshness. The whipped cream can also be made ahead—whip it up to 3 days in advance, but be sure to store it in the chilled bowl with plastic wrap to prevent it from deflating. When you’re ready to serve, just layer the cherry puree and whipped cream into the molds and freeze for at least 6-8 hours. Your homemade Cherry Creamsicles will taste just as delicious, offering a sweet frozen escape that’s ready in a snap!
Cherry Creamsicles Variations & Substitutions
Get ready to personalize your Cherry Creamsicles with these delightful twists that will excite your taste buds!
- Dairy-Free: Substitute raw cream with coconut cream for a luscious, creamy texture that’s entirely dairy-free. The tropical notes from the coconut will enhance the cherry flavor beautifully.
- Sweetness Swap: Use agave syrup instead of honey for a completely vegan option. It blends seamlessly into the cream, ensuring just the right level of sweetness.
- Different Fruits: Try swapping cherries for fresh strawberries or peaches for a summery twist. Each fruit will impart its unique sweetness, creating a fruity dream in every bite!
- Flavor Boost: Add a teaspoon of fresh lemon juice to the cherry puree for a zesty lift. The bright acidity contrasts wonderfully with the creamy base, keeping things refreshing.
- Nutty Flavor: Incorporate a spoonful of almond or hazelnut extract into the whipped cream for a nutty aroma that perfectly complements the cherries. A delicious surprise awaits!
- Spicy Kick: For thrill-seekers, mix in a pinch of cayenne pepper to the cherry puree. This unexpected heat adds an exciting twist and brings out the sweetness even more.
- Coconut Water Swap: If you’re not a fan of coconut, regular filtered water can be used in place of coconut water without compromising flavor. It’s a subtle change that maintains the recipe’s integrity.
- Add Chocolate: For a treats-in-every-bite vibe, sprinkle mini dark chocolate chips in between the layers before freezing. As they freeze, they’ll create a delightful contrast to the cherry and cream.
Want to explore more tantalizing fruit combinations? Don’t forget to check out my guide on Healthy Popsicle Recipes for more refreshing ideas!
Storage Tips for Cherry Creamsicles
Freezer: Store your Cherry Creamsicles in airtight containers to maintain their creamy texture and flavor for up to 2 weeks.
Thawing: When you’re ready to enjoy a popsicle, simply run warm water over the mold for a few seconds, making it easy to release your delicious treat.
Refrigeration: If you have leftover cherry puree, it can be stored in the fridge for up to 3 days in a sealed container, ready to create more popsicles or as a topping for yogurt.
Packaging: If you’re storing the popsicles for longer, consider wrapping them individually in plastic wrap to prevent freezer burn and maintain freshness.
What to Serve with Cherry Creamsicles?
Transform your cherry-filled delight into a delightful experience by pairing it with these tempting side options!
- Fresh Fruit Salad: A vibrant mix of berries, melon, and citrus complements the creamy texture and enhances the fruity flavor.
- Light Yogurt Parfait: Layer yogurt with granola and more cherries for a refreshing breakfast or snack that echoes the flavor of the popsicles.
- Minty Watermelon Gazpacho: The coolness of watermelon adds a refreshing touch and contrasts nicely with the creaminess of the Cherry Creamsicles.
- Coconut Water: This hydrating drink echoes the coconut notes in the popsicle base, making it a perfect companion on warm days.
- Chilled Herbal Iced Tea: A light, refreshing herbal tea offers a flavorful yet mild contrast that won’t overpower the popsicle’s sweetness.
- Almond Biscotti: The crunchy texture of biscotti beautifully contrasts with the creamy popsicles, making for a satisfying snack combination.
- Chocolate Dipped Mini Pretzels: The sweet-salty crunch of pretzels adds a delightful textural balance and brightens the cherry notes.
- Coconut Sorbet: For an extra tropical vibe, serve alongside coconut sorbet for a cooling and creamy experience that marries textures perfectly.
- Sparkling Water with Lime: A bubbly, citrusy drink cleanses the palate and enhances the light, fruity tastes of your Cherry Creamsicles.
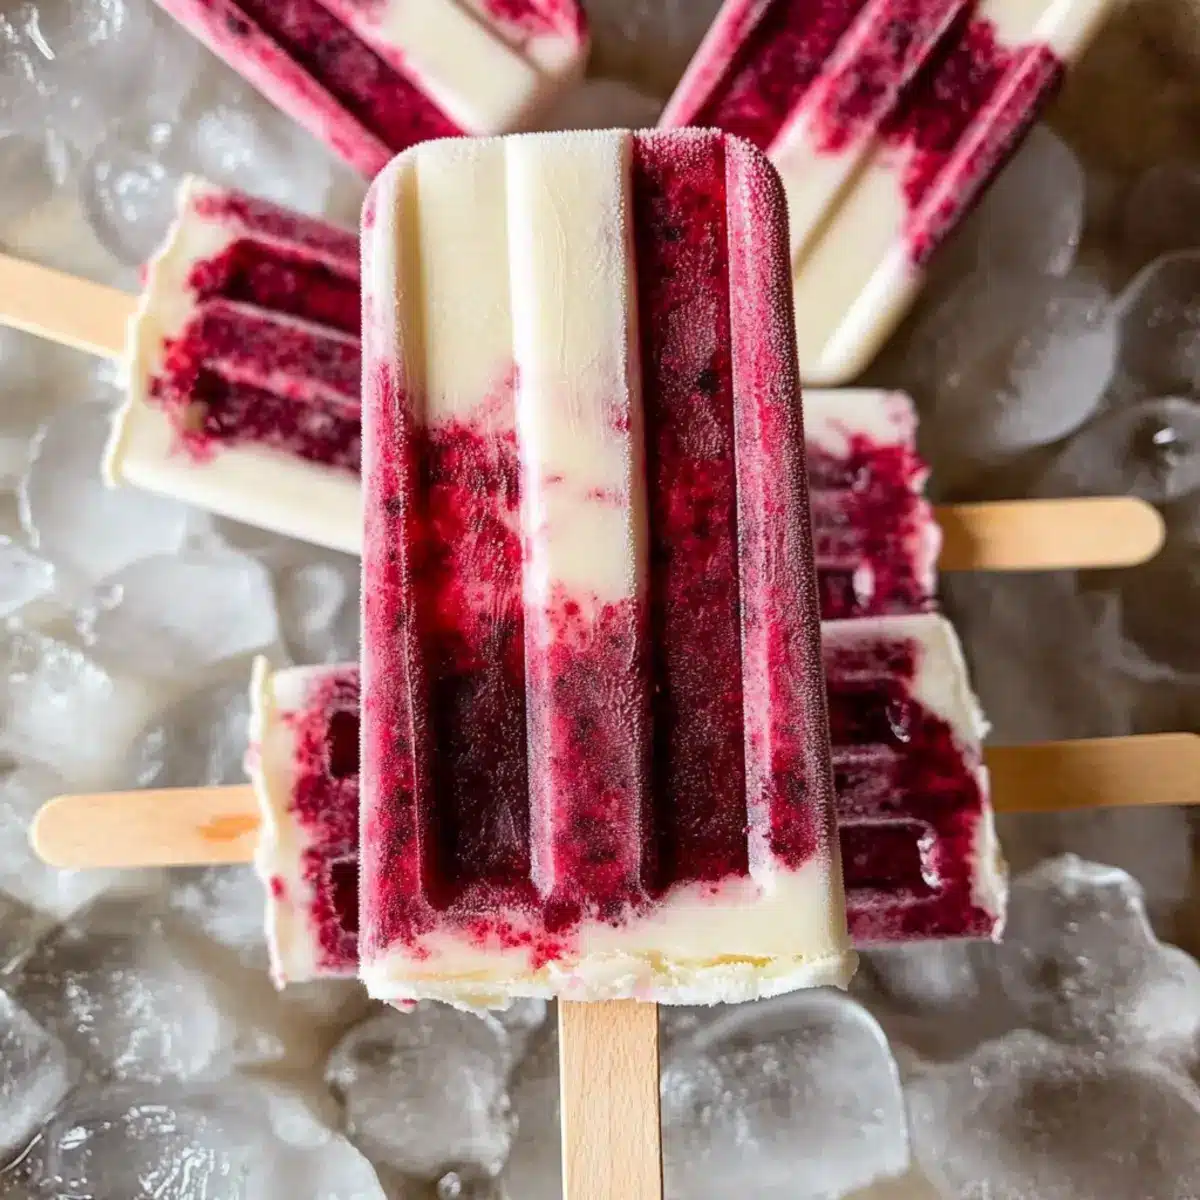
Cherry Creamsicles Recipe FAQs
How do I select ripe cherries for this recipe?
Absolutely! When choosing cherries, look for ones that are deep red and firm, free of any bruises or dark spots. The more vibrant the color, the sweeter they tend to be. If you’re using frozen cherries, ensure they don’t have frost or ice crystals, which can indicate they’ve been in the freezer too long.
What is the best way to store Cherry Creamsicles?
To maintain the delightful flavor and texture of your Cherry Creamsicles, store them in airtight containers in the freezer for up to 2 weeks. Don’t forget to wrap them individually in plastic wrap if you want to prevent freezer burn. This method ensures each popsicle stays fresh and ready for your summer cravings!
Can I freeze Cherry Creamsicles for longer than 2 weeks?
While it’s best to enjoy your Cherry Creamsicles within two weeks, they can technically be kept in the freezer for up to 3 months. However, be aware that over time, their texture and flavor may begin to degrade. For optimal indulgence, try to consume them within that two-week window.
What if my whipped cream doesn’t thicken?
Very! If your whipped cream doesn’t thicken, it may be due to using room temperature cream or not chilling your bowl adequately. To remedy this, try chilling your mixing bowl and beaters for at least 20 minutes. Ensure your cream is very cold before whipping it again, and consider adding an extra scoop of cream to help stabilize it.
Are Cherry Creamsicles suitable for children or those with food allergies?
Yes! These Cherry Creamsicles are a fantastic and healthy choice for kids and are gluten-free. However, if anyone has allergies, be mindful of the cream and honey in the recipe. You can swap honey for maple syrup to create a dairy-free and vegan version, making these popsicles friendly for various dietary needs.
How can I add variety to my Cherry Creamsicles?
For a fun twist, feel free to incorporate different fruits like strawberries, peaches, or even a squeeze of lemon juice for a tart kick! Layering in some pureed fruit at the base can provide beautiful color contrasts and bursts of flavor in every bite, making every batch a surprise!
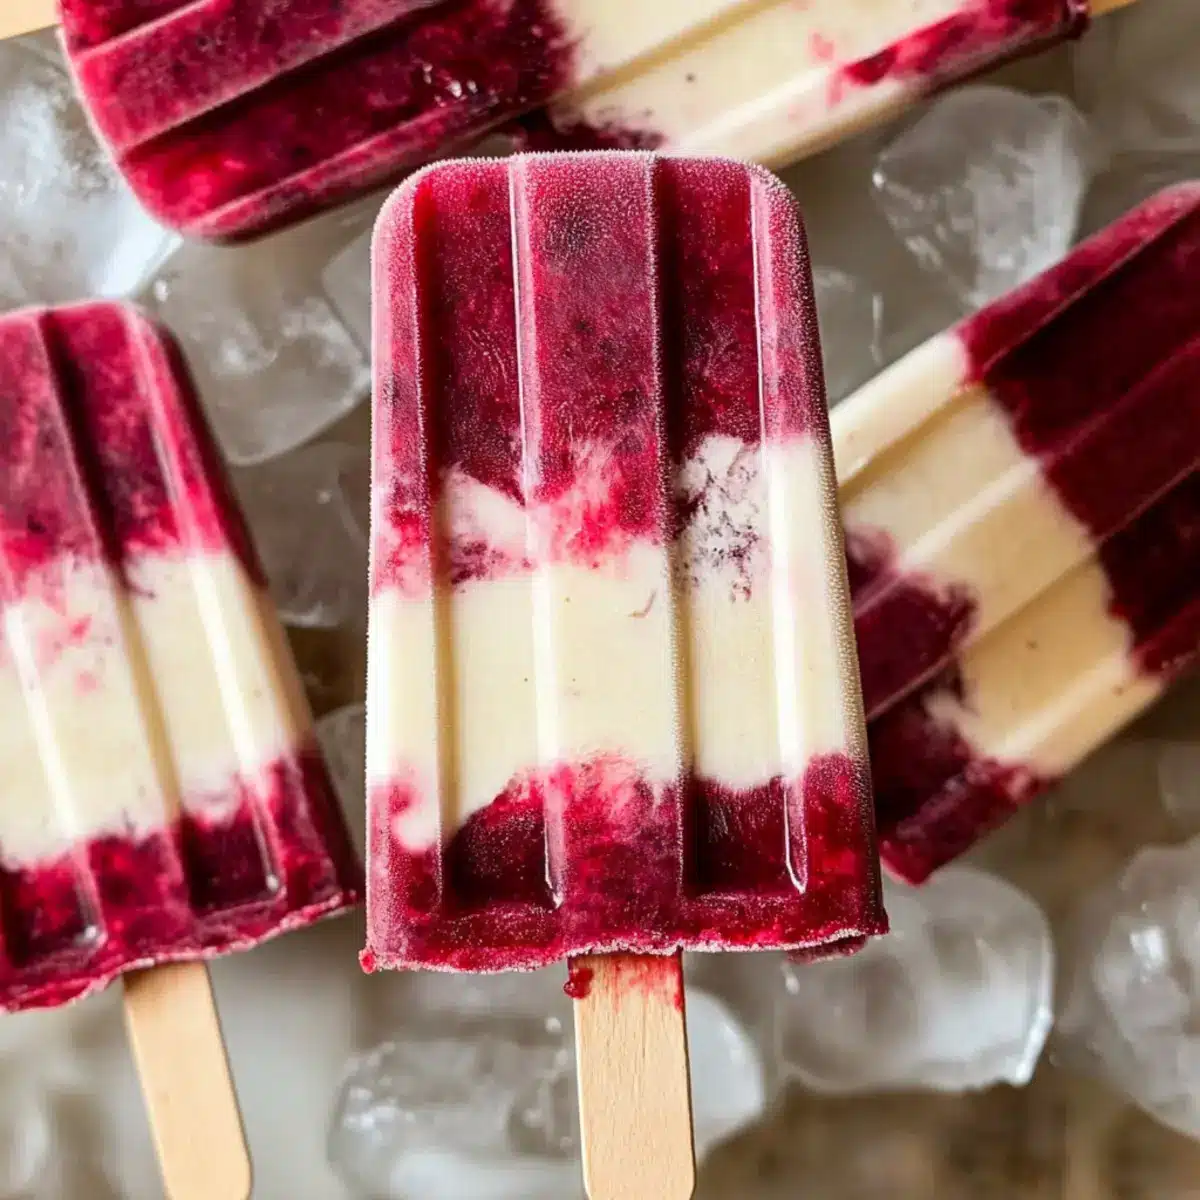
Creamy Cherry Creamsicles: Healthy Popsicles You’ll Love
Ingredients
Equipment
Method
- Chill Mixing Bowl - Place a large mixing bowl in the fridge to chill for at least 15-20 minutes.
- Prepare Cherries - If using frozen cherries, ensure they are completely thawed. For fresh cherries, rinse and remove pits.
- Blend Ingredients - Combine the prepared cherries with coconut water in a blender until completely smooth.
- Whip Cream - In the chilled bowl, mix raw cream, vanilla extract, and honey. Whip on medium speed until thickened.
- Layer Mixtures - Fill popsicle molds by alternating spoonfuls of whipped cream and cherry puree.
- Freeze Popsicles - Freeze molds for at least 6-8 hours or overnight until solid.
- Release Popsicles - Hold molds under warm running water for a few seconds to release popsicles.
Leave a Reply