
As I stepped into the kitchen, the comforting aroma of cinnamon and sweet apples filled the air, instantly reminding me of the cozy fall gatherings of my childhood. Today, I’m excited to share my recipe for Apple Pie Bars, a delightful twist on the traditional apple pie that combines the rustic charm of the classic dessert with the convenience of bar form. Not only are these bars easy to make, but they also become an instant crowd-pleaser at any gathering. Whether you’re hosting friends or just want to treat your family, this dessert offers the perfect balance of sweet and spice, while also accommodating gluten-free guests. Can you almost taste the warmth of that gooey apple filling? Let’s dive into this delightful recipe that’s sure to warm your heart and home!
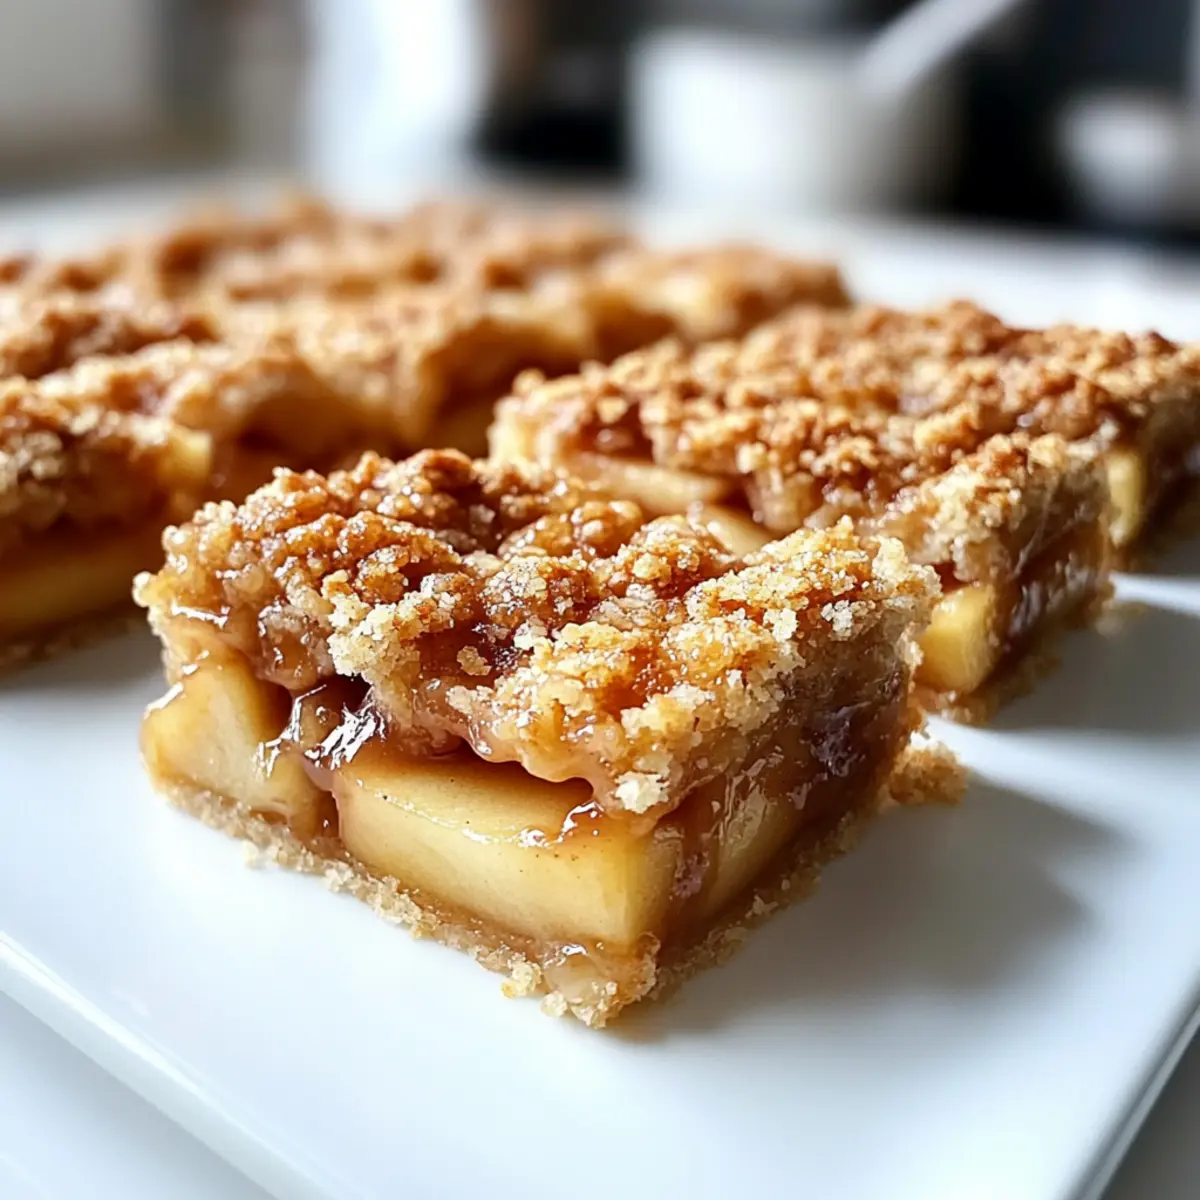
Why Are Apple Pie Bars So Irresistible?
Comforting and familiar, these Apple Pie Bars evoke nostalgic feelings of family gatherings and cozy evenings. Quick and easy, they’re perfect for busy schedules, letting you whip up a delightful dessert without spending hours in the kitchen. Gluten-free options make them accessible for everyone at your table, ensuring no one misses out on this classic treat. Versatile as well, consider adding a nutty crunch with walnuts or a drizzle of caramel sauce for extra indulgence. They make for an impressive dessert that’s equally delightful served warm after dinner or enjoyed cold as a sweet snack the next day!
Apple Pie Bars Ingredients
For the Crust and Crumble
- All-Purpose Flour – Provides structure for the crust and crumble; substitute with gluten-free flour for a gluten-free option.
- Granulated Sugar – Adds sweetness to the crust.
- Salt – Enhances the overall flavor profile.
- Butter (cold) – Contributes richness and a flaky texture; remember to chill it for the best results.
For the Apple Filling
- Brown Sugar – Introduces sweetness and a touch of caramel flavor to the filling.
- Cinnamon – A warm spice that elevates the apples’ natural sweetness; essential for that cozy taste.
- Nutmeg – Offers a depth of flavor and holiday aroma; can be optional if you prefer without.
- Cornstarch – Acts as a thickener for the apple filling, helping prevent it from being too runny.
- Lemon Juice – Balances the sweetness and brightens the filling’s flavors.
- Vanilla Extract – Enhances the overall taste of the bars.
- Apples (mixed varieties) – The star of the show; for best flavor, use a mix like Granny Smith and Honeycrisp to balance tartness and sweetness.
These Apple Pie Bars are bound to become a cherished recipe in your home, blending tradition and taste for a delightfully memorable treat!
Step‑by‑Step Instructions for Apple Pie Bars
Step 1: Preheat and Prepare the Baking Pan
Begin by preheating your oven to 350°F (175°C). While the oven warms up, line a 9×13 inch baking pan with parchment paper, leaving some overhang to make removal easier later. This will set the stage for your Apple Pie Bars, ensuring a perfect bake and easy cleanup.
Step 2: Create the Crust Mixture
In a large mixing bowl, combine all-purpose flour, granulated sugar, and salt. Using a pastry cutter or your fingers, cut cold butter into the dry ingredients until the mixture resembles coarse crumbs. This blending creates a flaky texture for both the crust and crumble layers, essential for your delicious apple pie bars.
Step 3: Form the Crust Layer
Press two-thirds of the crumb mixture firmly into the bottom of the prepared baking pan to form an even crust. Make sure it covers the entire base for a sturdy foundation. Bake in the preheated oven for about 15 minutes, or until the crust turns lightly golden. Allow it to cool slightly while you prepare the apple filling.
Step 4: Prepare the Apple Filling
In a separate bowl, toss together the sliced apples, brown sugar, cinnamon, nutmeg, cornstarch, lemon juice, and vanilla extract. Ensure the apples are well-coated; this mixture will bring out their natural sweetness and create a gooey filling that complements the crust perfectly as you assemble your Apple Pie Bars.
Step 5: Assemble the Bars
Once the crust has cooled, evenly spread the apple mixture over it. Take the remaining flour-butter mixture and crumble it over the apples, creating a textured topping that will bake into a delightful golden layer. This step is crucial for a beautiful finish on your apple pie bars, enhancing both flavor and aesthetics.
Step 6: Bake the Apple Pie Bars
Return the assembled bars to the oven and bake for 35–40 minutes. Keep an eye on them; you want the top to be golden brown, and the apples should be tender when pierced with a fork. The aroma of cinnamon and baked apples will fill your kitchen, a sure sign that your Apple Pie Bars are coming to life.
Step 7: Cool and Slice
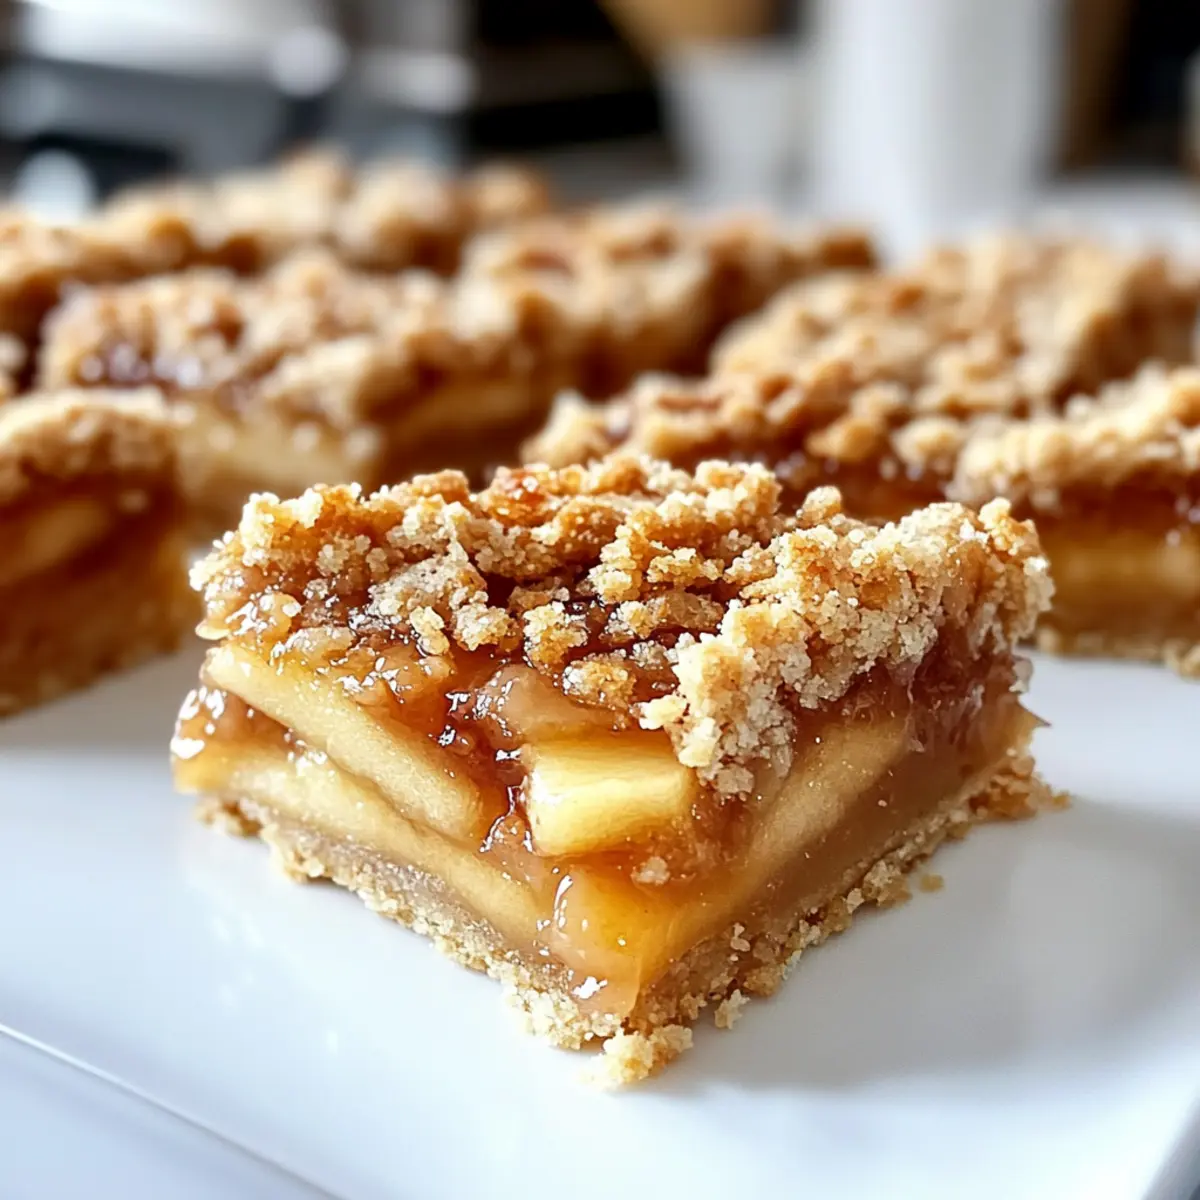
Once baked, remove the pan from the oven and let the bars cool completely in the pan. This will help the filling set and make slicing easier. After cooling, use the parchment overhang to lift the bars out gently, then slice into squares or rectangles. Your Apple Pie Bars are now ready to bring warmth and joy to your gathering!
How to Store and Freeze Apple Pie Bars
Room Temperature: Store Apple Pie Bars in an airtight container at room temperature for up to 3 days. They will maintain their delightful texture, perfect for enjoying as a snack!
Fridge: For longer freshness, these bars can be stored in the refrigerator for up to 7 days. Just cover them well to prevent drying out—use parchment or wax paper between layers if stacking.
Freezer: To extend their life, freeze Apple Pie Bars in an airtight container for up to 3 months. Make sure to separate layers with parchment paper to prevent sticking.
Reheating: When ready to enjoy, thaw in the refrigerator overnight, then reheat in a warm oven for 10 minutes at 350°F (175°C) for that fresh-baked taste!
Apple Pie Bars Variations & Substitutions
Feel free to experiment with these delightful twists that can elevate your Apple Pie Bars into something uniquely yours!
-
Gluten-Free: Replace all-purpose flour with a gluten-free flour blend to accommodate gluten intolerances. You won’t lose any of the deliciousness!
-
Pears Instead of Apples: Swap apples for ripe pears for a sweeter, softer filling. Pears bring their own magical flavor while keeping the bars beautifully cohesive.
-
Nutty Crunch: Add chopped walnuts or pecans to the crumb topping for a delightful crunch. This variation not only boosts flavor but also adds a lovely texture contrast.
-
Caramel Drizzle: After baking, drizzle warm caramel sauce over the top of your bars for a decadent finish. It brings a rich, indulgent twist that will impress any sweet tooth!
-
Spiced Variation: Mix in additional spices like ginger or cloves to the apple filling for an aromatic kick. These warming spices can transport your taste buds straight to a cozy autumn kitchen.
-
Vegan Option: Swap butter with coconut oil and use a flax egg to make this dessert completely plant-based. You can enjoy the same comforting flavors with a lighter touch!
-
Cinnamon Sugar Topping: Before baking, sprinkle a mixture of cinnamon and sugar over the crumb topping for an added sweet layer of flavor. It’s a small touch that makes a big difference!
For more delicious apple recipes, check out my Salted Caramel Apple or try these delightful Cinnamon Apple Cottage bites! Enjoy turning your Apple Pie Bars into a personalized treat filled with warmth and joy!
Expert Tips for Apple Pie Bars
-
Apple Variety Mix: Using a combination of tart and sweet apples, like Granny Smith and Honeycrisp, enhances the flavor profile of your Apple Pie Bars.
-
Chill the Butter: Ensure your butter is cold before cutting it into the mixture. This is key to achieving that flaky and tender crumble texture.
-
Thickening Trick: If your filling seems too runny after baking, mix a bit more cornstarch with the apple mixture next time to achieve a thicker consistency.
-
Make Ahead: These bars taste even better the next day as flavors meld together, making them perfect for preparing in advance.
-
Proper Cooling: Allow the Apple Pie Bars to cool completely before slicing to help them set properly, preventing the filling from spilling out.
-
Storage Smarts: Store any leftovers in an airtight container at room temperature or in the fridge, separating layers with parchment paper to maintain freshness.
Make Ahead Options
These Apple Pie Bars are perfect for meal prep, allowing you to enjoy homemade goodness without the last-minute hassle! You can prepare the crust and crumble mixture up to 24 hours in advance by keeping it covered in the refrigerator; this helps maintain its flaky texture. Similarly, slice and toss your apples with the sweet filling ingredients and store them in an airtight container in the fridge for up to 3 days. When you’re ready to bake, simply follow the final steps by pressing the crust into the pan, layering the prepared apple mixture, topping it with the crumble, and baking as directed. This ensures you’ll have delicious, warm Apple Pie Bars just when you need them, capturing all that cozy flavor with minimal effort!
What to Serve with Apple Pie Bars?
As the aroma of warm apples and cinnamon fills your kitchen, it’s time to think about what delightful companions can elevate your homemade bars into a full meal experience.
- Creamy Vanilla Ice Cream: A scoop of creamy vanilla ice cream adds a rich dimension, creating a delightful contrast to the warm apple filling.
- Velvety Whipped Cream: Light and airy, whipped cream enhances the sweetness with its delicate texture, perfect for those who prefer a lighter touch.
- Caramel Drizzle: A warm drizzle of caramel sauce introduces a sweet, buttery flavor that beautifully complements the bars’ spiced apple filling.
- Spiced Chai Tea: The warming spices in chai tea echo the flavors in the apple pie bars, creating a cozy beverage pairing that’s perfect for any gathering.
- Toasted Nuts: Sprinkle some toasted pecans or walnuts for added crunch and a nutty flavor that pairs beautifully with the soft apples.
- Fresh Berries: A side of fresh berries introduces a burst of tartness, balancing the sweetness and adding a refreshing contrast to each bite.
- Coffee or Espresso: Serve with a rich cup of coffee or a shot of espresso; the bold flavors enhance the overall dessert experience beautifully.
- Maple Syrup Drizzle: For those who love sweet indulgence, a drizzle of maple syrup can amplify the flavors, offering a wonderfully sweet finish.
- Chocolate Sauce: A light drizzle of chocolate can add a decadent flair, transforming your bars into an even more luxurious treat.
With these delightful pairings, your Apple Pie Bars are set to shine brightly on any dessert table!
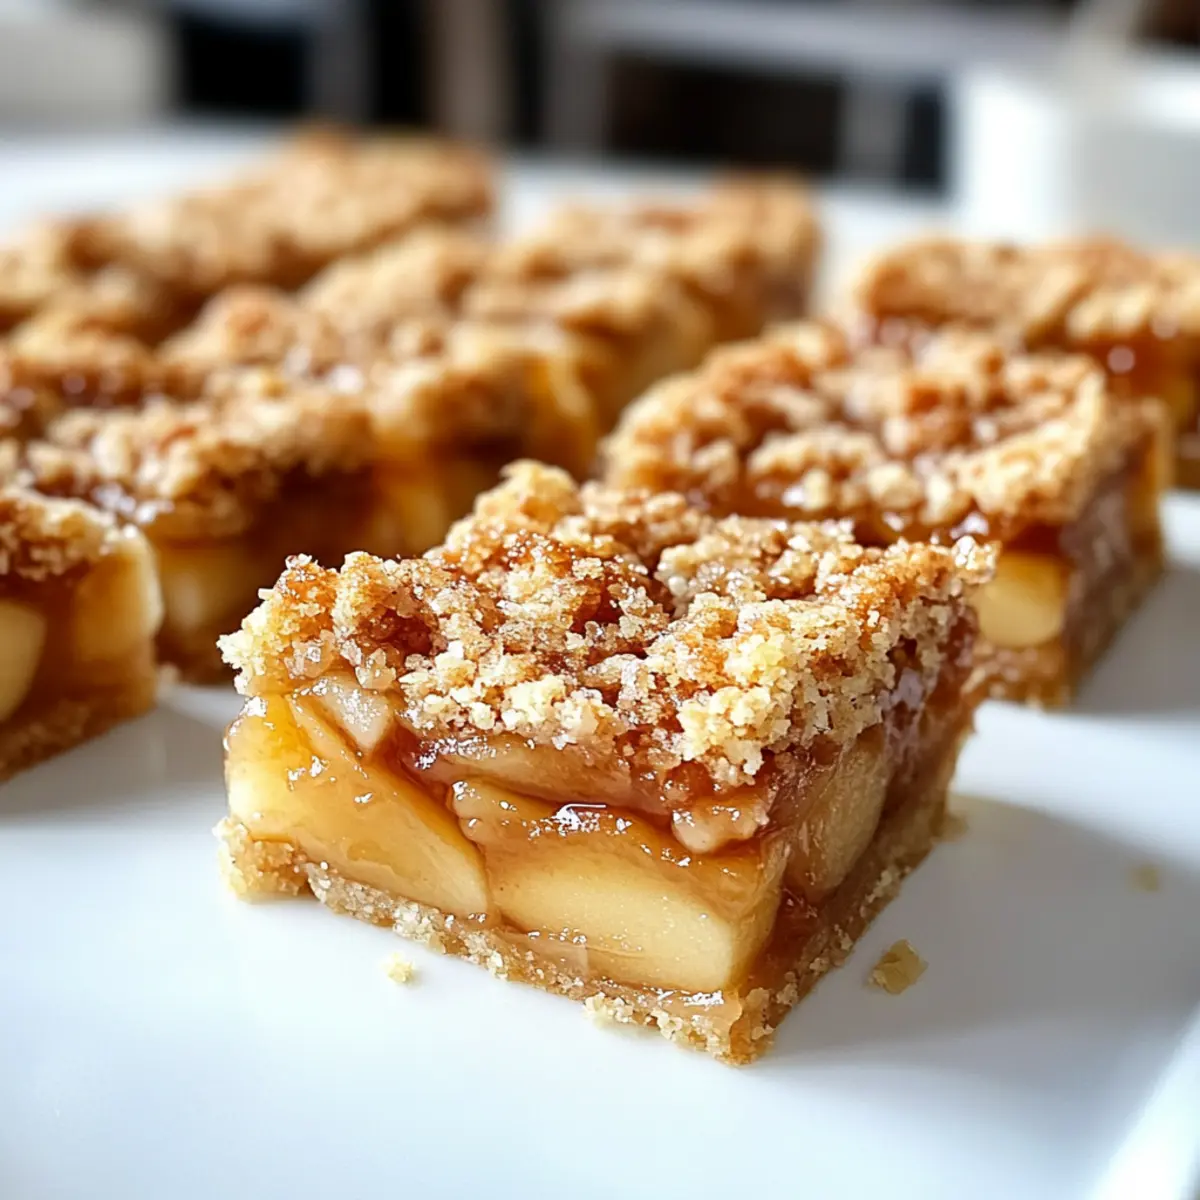
Apple Pie Bars Recipe FAQs
What type of apples should I use for the filling?
Absolutely! For the best flavor, I recommend mixing different apple varieties. Granny Smith apples provide a lovely tartness, while Honeycrisp apples add sweetness. This combination balances flavors beautifully and enhances the overall taste of your Apple Pie Bars.
How should I store Apple Pie Bars?
You can store Apple Pie Bars in an airtight container at room temperature for up to 3 days. If you want them to last longer, refrigerate them for up to 7 days. Just make sure to layer them with parchment paper to prevent sticking and keep them moist!
Can I freeze leftover Apple Pie Bars?
Very! To freeze, first allow the bars to cool completely. Then, place them in an airtight container, making sure to separate layers with parchment paper to avoid sticking. These bars can be frozen for up to 3 months. When you’re ready to enjoy them again, thaw them overnight in the refrigerator, then reheat for that freshly-baked taste!
What if my apple filling turns out too runny?
If your filling is too runny after baking, don’t worry! You can prevent this next time by increasing the amount of cornstarch in your mixture. Start with an extra teaspoon and see how it goes. Just ensure the apples are well-coated to absorb the liquid during baking for a gooey yet firm filling for your Apple Pie Bars.
Are these Apple Pie Bars suitable for gluten-free diets?
Yes, they can be! Simply substitute the all-purpose flour with gluten-free all-purpose flour. Many brands work wonderfully in this recipe, so I often make a gluten-free version for friends who have dietary restrictions. Just adjust the baking time slightly if needed, but enjoy without worry!
Can I make the bars ahead of time?
Definitely! In fact, I often prepare these Apple Pie Bars a day in advance. They taste even better the next day since the flavors meld nicely. Just cover them with plastic wrap or foil, and they’ll be ready to impress at your gathering!
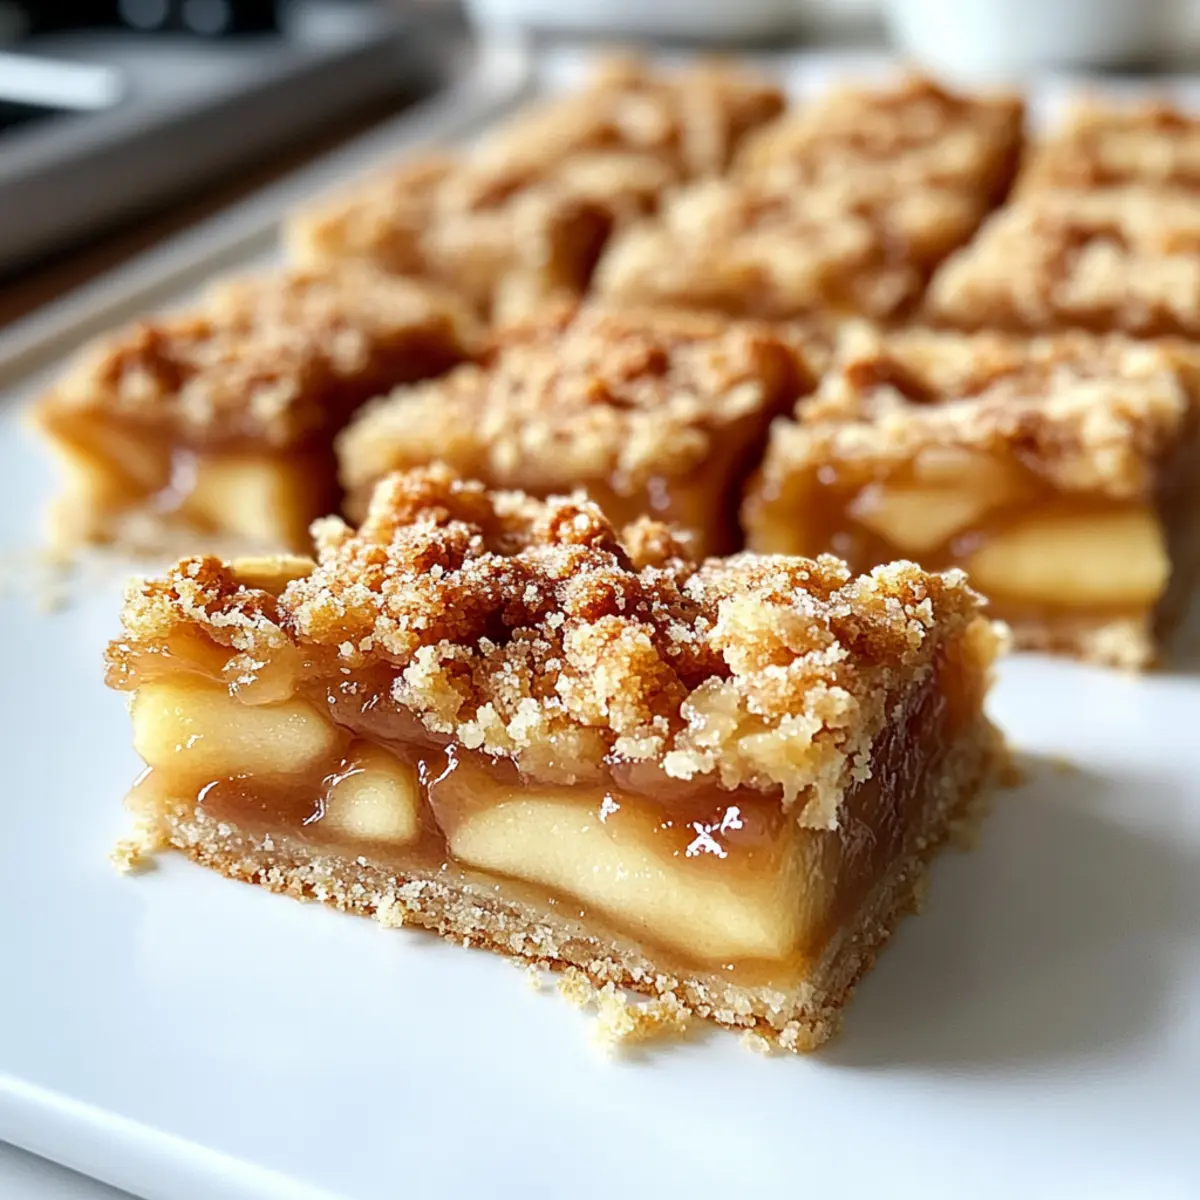
Cozy Apple Pie Bars for a Sweet Homestyle Treat
Ingredients
Equipment
Method
- Preheat your oven to 350°F (175°C) and line a 9x13 inch baking pan with parchment paper.
- In a large mixing bowl, combine all-purpose flour, granulated sugar, and salt. Cut cold butter into the dry ingredients until it resembles coarse crumbs.
- Press two-thirds of the crumb mixture firmly into the bottom of the baking pan to form an even crust. Bake for 15 minutes until lightly golden.
- In a separate bowl, toss the sliced apples with brown sugar, cinnamon, nutmeg, cornstarch, lemon juice, and vanilla extract.
- Spread the apple mixture over the cooled crust and crumble the remaining mixture over the apples.
- Bake for 35–40 minutes until the top is golden brown and the apples are tender.
- Remove from oven and let cool completely in the pan before slicing.
Leave a Reply