
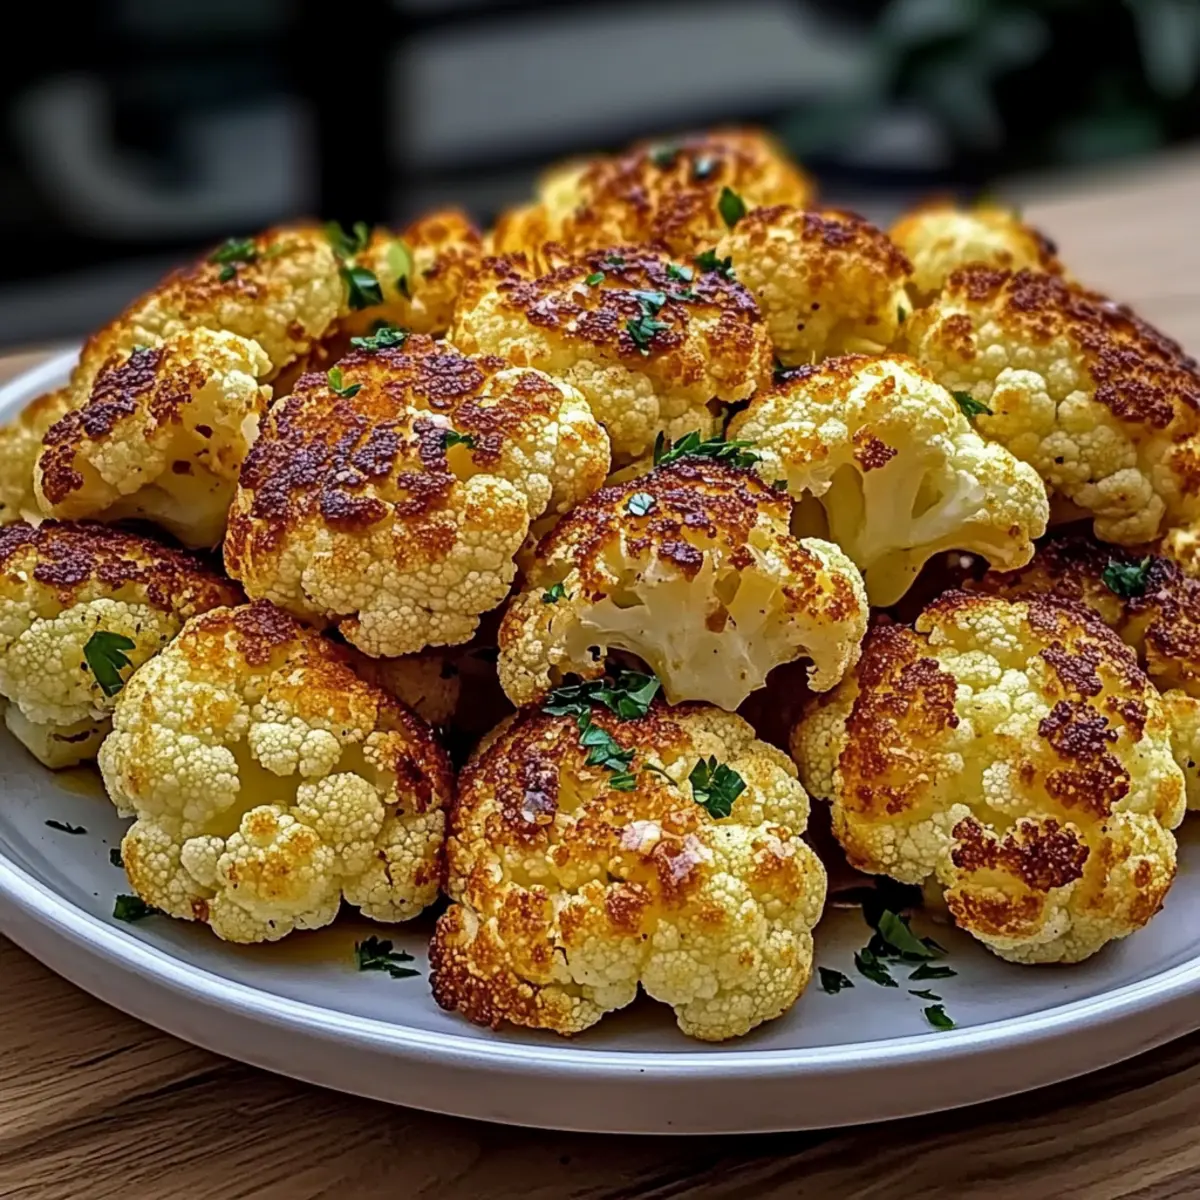
As I pulled the crispy, golden florets from the oven, an enticing scent enveloped my kitchen, a reminder of why I fell in love with cooking in the first place. This Garlic Butter Roasted Cauliflower Side is my go-to recipe when I want to impress without the fuss. With its quick prep time and wholesome ingredients, it turns an often-overlooked veggie into a delicious crowd-pleaser, perfect for both weeknight meals and special occasions. Plus, it’s easily adaptable for those looking to shed carbs or avoid dairy—just swap the butter for olive oil and you’re good to go! Curious about how this humble dish becomes the star of your dinner table? Let’s dive into the joys of roasting!
Why Is Garlic Butter Roasted Cauliflower a Hit?
Simplicity, this recipe requires minimal ingredients and straightforward steps, making it a breeze for anyone in the kitchen. Flavorful, the rich garlic butter infuses every bite, transforming ordinary cauliflower into something truly special. Versatile, you can easily adapt it for dietary needs—just use olive oil for a dairy-free option. Crowd-pleaser, it’s perfect for family dinners or gatherings, appealing to both veggie lovers and skeptics alike. Plus, quick cooking means you’ll have a delicious side on the table in no time, allowing you to enjoy your evening more!
Garlic Butter Roasted Cauliflower Ingredients
-
For the Cauliflower
• Cauliflower – Look for firm, white heads that are free of brown spots for the best roasting results. -
For the Garlic Butter
• Unsalted Butter – High-quality butter like Kerrygold adds richness and depth to the dish.
• Garlic – Fresh minced garlic is preferred for maximum flavor; alternatively, use 1 teaspoon of garlic powder. -
For Seasoning
• Salt – Enhances the natural flavor of the roasted cauliflower; adjust to your taste.
• Olive Oil (optional) – Substitute for butter for a dairy-free Garlic Butter Roasted Cauliflower side; try adding some smoked paprika for extra kick.
• Lemon Juice (optional) – A splash just before serving brightens the dish and enhances the garlicky goodness.
Step‑by‑Step Instructions for Garlic Butter Roasted Cauliflower Side
Step 1: Preheat the Oven
Begin by preheating your oven to 400°F (200°C). This temperature is perfect for achieving crispy, golden-brown cauliflower florets. While the oven heats, gather your ingredients and prepare for an amazing Garlic Butter Roasted Cauliflower side that will have everyone asking for seconds.
Step 2: Prepare the Cauliflower
Next, cut a fresh cauliflower into bite-sized florets, ensuring they are uniform in size for even cooking. Rinse them under cold water and use a clean kitchen towel to dry thoroughly; moisture is the enemy of crispiness. Your perfectly prepared cauliflower is now ready to soak up that delicious garlic butter.
Step 3: Make the Garlic Butter
In a small saucepan over low heat, melt about 4 tablespoons of unsalted butter. Once melted, add 3-4 cloves of freshly minced garlic and gently sauté until fragrant, approximately 1-2 minutes. Be careful not to brown the garlic, as it can turn bitter. Once aromatic, remove from heat and let the flavors meld.
Step 4: Toss the Cauliflower
In a large mixing bowl, combine the dried cauliflower florets with the melted garlic butter, ensuring each piece is generously coated. Sprinkle salt to taste, adjusting as necessary. This step is crucial for flavor; the buttery garlicky goodness will elevate the Garlic Butter Roasted Cauliflower side into a savory delight!
Step 5: Spread on Baking Sheet
Transfer the coated cauliflower onto a rimmed baking sheet, spreading them out in a single layer for optimal roasting. Avoid overcrowding the tray, as you want them to roast, not steam. Now, it’s time to say goodbye to your raw florets and hello to crispy goodness with a cooking time of about 25-30 minutes.
Step 6: Roast and Toss
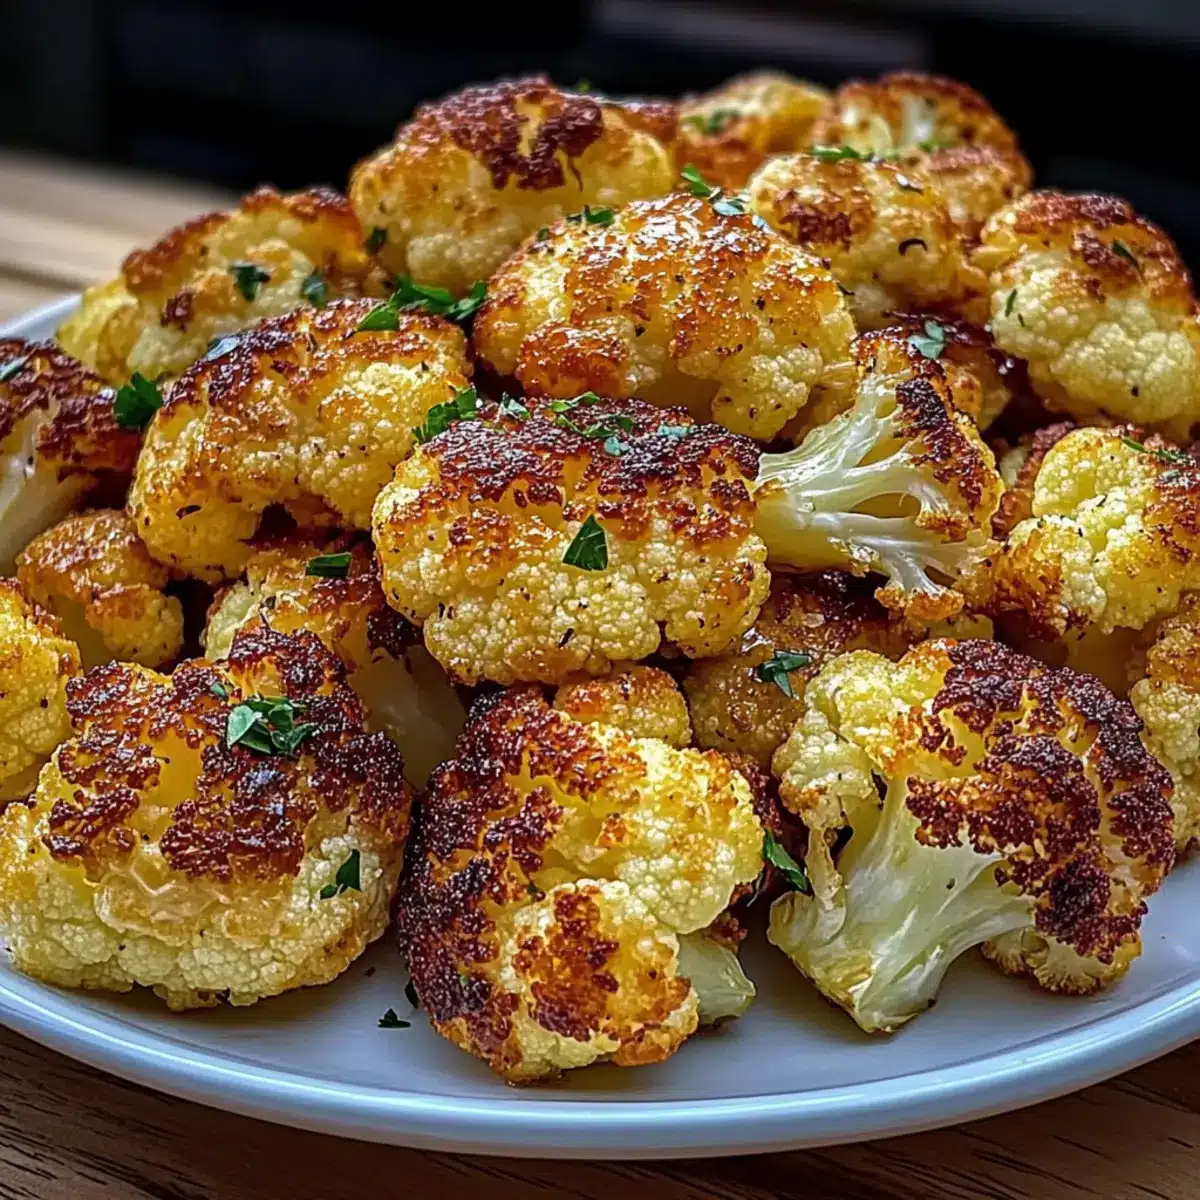
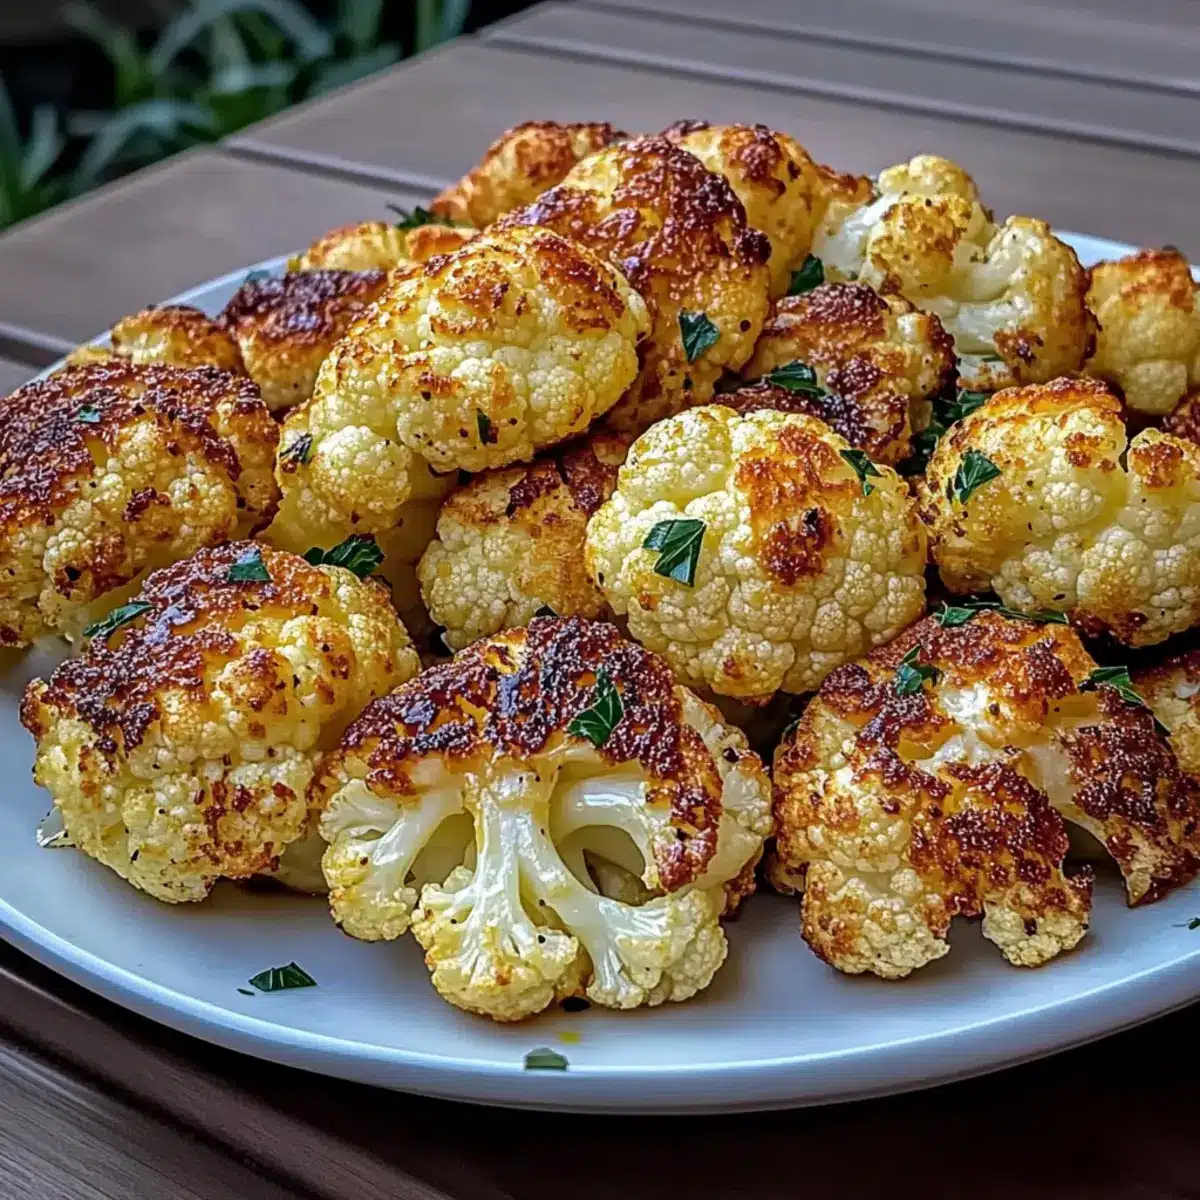
Place the baking sheet in the preheated oven and roast the cauliflower for 25-30 minutes. Halfway through cooking, use a spatula to toss the florets, redistributing the garlic butter. Look for crispy edges and a beautiful golden hue; this is when your Garlic Butter Roasted Cauliflower will reach its peak deliciousness.
Step 7: Optional Finish
If desired, just before serving, drizzle a little fresh lemon juice over the hot cauliflower for a bright, zesty finish. This enhancement complements the rich garlic butter beautifully and takes your Garlic Butter Roasted Cauliflower side to another level. Your kitchen is about to be filled with irresistible aromas!
Make Ahead Options
These Garlic Butter Roasted Cauliflower florets are perfect for meal prep enthusiasts! You can chop the cauliflower into florets and toss them with the garlic butter mixture up to 24 hours in advance, storing them in an airtight container in the refrigerator to maintain their freshness. Additionally, the flavored florets can be marinated in the garlic butter for deeper flavor for up to 3 days before roasting. Just be sure to remove excess moisture before cooking to achieve that irresistible crispiness. When you’re ready to serve, simply spread the marinated cauliflower on a baking sheet and roast for 25-30 minutes, tossing halfway through. This makes it easy to enjoy flavorful roasted veggies even on your busiest nights!
Expert Tips for Garlic Butter Roasted Cauliflower
• Toss Midway: Ensure to turn the cauliflower florets halfway through roasting to prevent steaming and achieve even crispiness.
• Watch the Garlic: Remove from heat immediately if the garlic starts to brown too quickly, as it can become bitter and ruin the flavor of your Garlic Butter Roasted Cauliflower side.
• Avoid Silpat Mats: Using parchment paper instead of Silpat mats will encourage better crispness and a delightful texture in the finished dish.
• Dairy-Free Swap: For a dairy-free option, substitute butter with olive oil and enhance the flavor with a bit of smoked paprika to keep it exciting.
• Add Freshness: Drizzle lemon juice over your roasted cauliflower just before serving for an added burst of brightness and flavor that elevates the dish!
How to Store and Freeze Garlic Butter Roasted Cauliflower
-
Fridge: Store leftover Garlic Butter Roasted Cauliflower in an airtight container for up to 3 days. Be sure to let it cool completely before sealing to maintain freshness.
-
Freezer: For longer storage, freeze the cauliflower in a single layer on a baking sheet until solid, then transfer to a freezer-safe bag. Use within 2-3 months for best quality.
-
Reheating: To retain crispiness, reheat from frozen or refrigerated by roasting at 400°F (200°C) for 8-10 minutes. Avoid microwaving to prevent sogginess.
-
Serving Tips: If the flavors have dulled, a quick squeeze of fresh lemon juice can brighten up your Garlic Butter Roasted Cauliflower, bringing back that delicious, garlicky flair!
Garlic Butter Roasted Cauliflower Variations
Feel inspired to put your own twist on this dish, creating unique flavors that will have everyone raving!
-
Dairy-Free: Replace unsalted butter with olive oil to make this dish completely dairy-free. Don’t forget to sprinkle some smoked paprika for an extra flavor kick!
It’s a simple swap, yet the outcome remains richly satisfying, making it perfect for anyone avoiding dairy. -
Add Balsamic Glaze: Drizzle balsamic glaze over the roasted cauliflower for a tangy and sweet finish that elevates the dish.
This added layer of flavor not only complements the garlic but also adds a beautiful shine! -
Herb-Infused: Toss in fresh or dried herbs like rosemary or thyme before roasting for a fragrant twist.
These herbs enhance the dish’s earthy notes, creating a more complex and inviting flavor profile. -
Spice it Up: Make it spicy by adding red pepper flakes or cayenne before roasting.
A little heat goes a long way, transforming this dish into a fiery delight that will excite your taste buds. -
Crunchy Topping: Top with toasted breadcrumbs or crushed nuts for added texture before serving.
This simple addition transforms the roasted cauliflower into a dish with delightful contrasts that everyone will enjoy. -
Change the Vegetable: Swap cauliflower for broccoli or Brussels sprouts, using the same method to maintain that crispy goodness.
Each vegetable brings its own flavor, making for exciting variations that easily cater to individual preferences! -
Asian-Inspired: Drizzle with soy sauce or sesame oil before serving for an Asian-inspired take on this classic.
Pairing with sesame seeds or green onions will give your dish a beautiful, unique flair that sparks intrigue. -
Cheesy Delight: For those who can have dairy, sprinkle parmesan or feta cheese over the cauliflower just before serving.
This elevates your Garlic Butter Roasted Cauliflower to another level, bringing richness that many will adore!
Don’t forget to check out other delightful recipes like Golden Crust Garlic or Cowboy Butter Steak for more tasty ideas!
What to Serve with Garlic Butter Roasted Cauliflower
Elevate your meal with delightful pairings that complement the irresistible flavors of roasted cauliflower.
-
Grilled Chicken: Tender, juicy chicken adds protein, perfectly balancing the buttery notes of the cauliflower. This classic duo creates a wholesome, comforting dinner.
-
Creamy Mashed Potatoes: Velvety and rich, mashed potatoes provide a comforting contrast to the crispy cauliflower, creating a feast for both the palate and the eyes.
-
Tasty Quinoa Salad: A zesty quinoa salad brings freshness and crunch, offering a delightful contrast of textures alongside your garlic butter roasted cauliflower. It makes the meal feel light and vibrant.
-
Roasted Brussels Sprouts: The earthy flavors of Brussels sprouts pair well with cauliflower, reinforcing the wholesome veggie theme while offering even more crunch and flavor.
-
Balsamic Glazed Salmon: Sweet and tangy, the glaze on salmon enhances the garlic notes found in your cauliflower, adding depth and sophistication to your meal.
-
Lemon Herb Couscous: Fluffy couscous infused with lemon makes each bite bright and refreshing, beautifully balancing the richness of the dish while adding a touch of elegance.
-
Crisp Green Salad: A refreshing blend of greens, tomatoes, and a light vinaigrette provides a crisp contrast to the warm, garlicky cauliflower, brightening up your plate.
-
Fruit-Infused Water: Pair your meal with refreshing fruit-infused water or herbal iced tea, providing a light and thirst-quenching accompaniment that enhances the dining experience.
Garlic Butter Roasted Cauliflower Recipe FAQs
How do I choose the best cauliflower?
Look for firm, white heads of cauliflower with no brown spots or dark patches. Fresh cauliflower should feel heavy for its size, indicating a good water content. Avoid any heads that exhibit “dark spots all over,” which can indicate spoilage.
How should I store leftovers of Garlic Butter Roasted Cauliflower?
Store any leftovers in an airtight container in the refrigerator for up to 3 days. Be sure to let them cool completely before sealing the container to maintain maximum freshness. When you’re ready to enjoy them again, remember to give a quick reheat in the oven for best results.
Can I freeze Garlic Butter Roasted Cauliflower, and how?
Absolutely! To freeze, lay the roasted cauliflower in a single layer on a baking sheet and place it in the freezer until solid. Once frozen, transfer the florets to a freezer-safe bag or container. For the best quality, use them within 2-3 months. When you’re ready to eat, roast them from frozen for about 10-15 minutes at 400°F (200°C) to restore their crispy texture!
What should I do if my cauliflower is soggy after roasting?
Soggy cauliflower is often due to excess moisture during the cooking process. To prevent this, make sure to thoroughly dry your florets after washing them, as moisture can lead to steaming instead of roasting. If they do turn out soggy, try roasting them a bit longer or at a higher temperature, tossing midway through to help crispen them up.
Are there any dietary considerations for this recipe?
Yes! This Garlic Butter Roasted Cauliflower side is naturally low-carb and gluten-free. For those needing a dairy-free option, simply replace unsalted butter with olive oil. If you or someone you are serving has allergies, double-check your garlic sources, as some pre-minced garlic can contain preservatives.
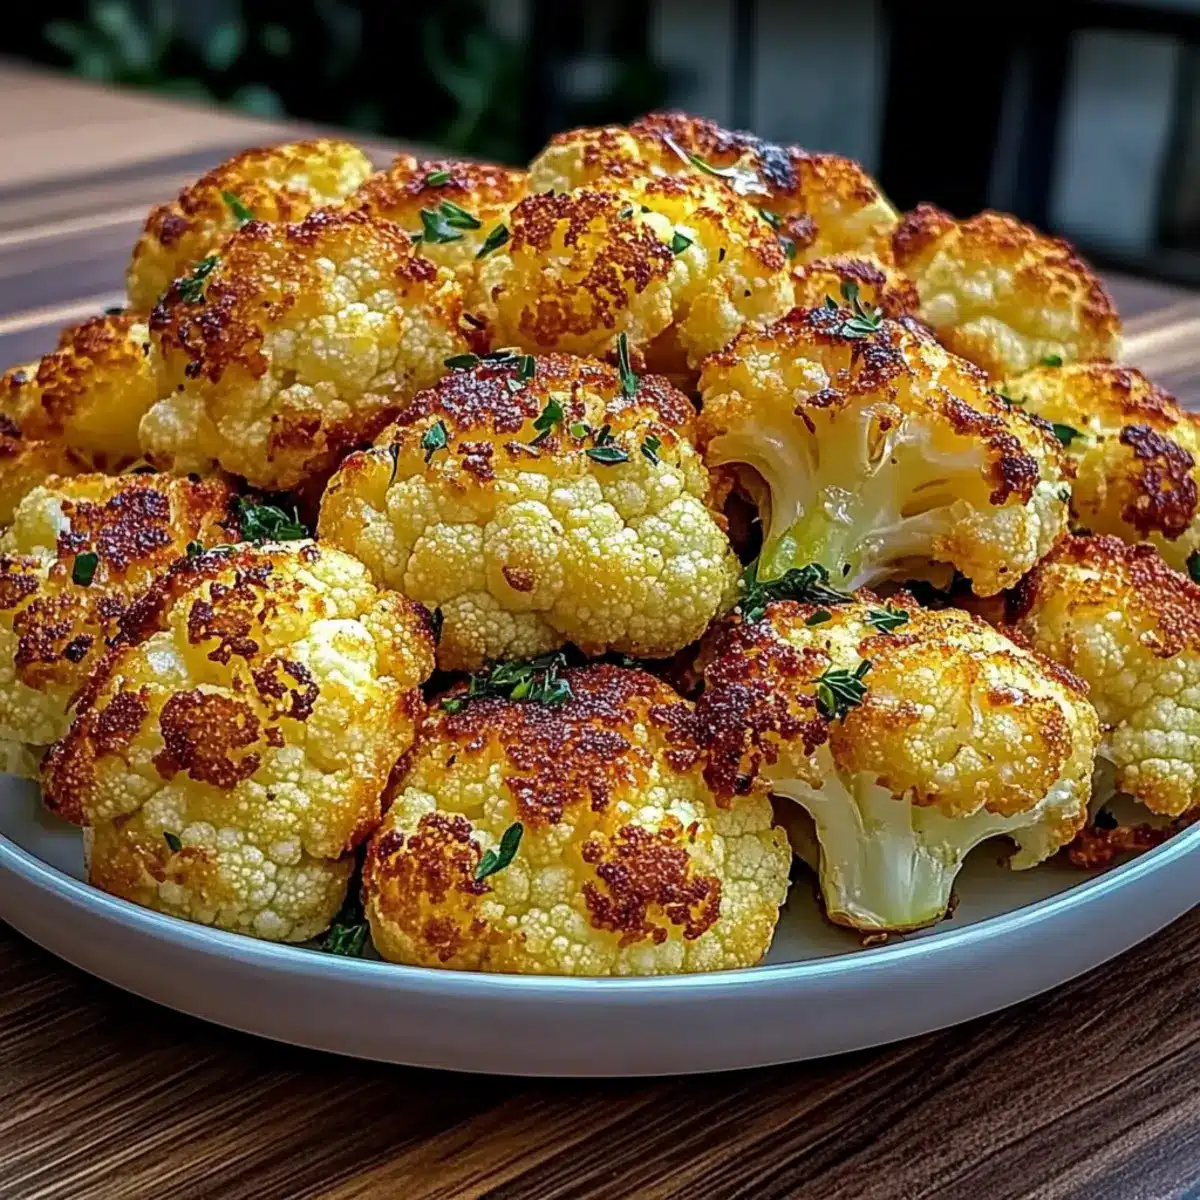
Garlic Butter Roasted Cauliflower Side That's Irresistibly Crispy
Ingredients
Equipment
Method
- Preheat your oven to 400°F (200°C) to achieve crispy, golden-brown cauliflower florets.
- Cut the cauliflower into bite-sized florets, rinse them under cold water, and dry thoroughly.
- Melt the unsalted butter in a small saucepan over low heat. Add minced garlic and sauté until fragrant, about 1-2 minutes.
- In a large mixing bowl, combine the dried cauliflower with melted garlic butter and sprinkle with salt.
- Spread the coated cauliflower on a rimmed baking sheet in a single layer.
- Roast in the oven for 25-30 minutes, tossing halfway through for even cooking.
- Drizzle fresh lemon juice over the hot cauliflower just before serving for added brightness.
Leave a Reply