
The sun-kissed shores of Hawaii are calling, and with this Ultimate Hawaiian Garlic Shrimp recipe, you can bring a taste of paradise right to your dinner table. Bursting with savory, garlicky goodness, this dish transports you to those lively food truck scenes, where every bite is a flavor explosion! Perfect for those busy weeknights, it’s not only quick and easy to prepare but also an impressive way to wow your guests at any gathering. The succulent shrimp coated in a rich, buttery sauce will have everyone asking for seconds, and it pairs beautifully with rice or sautéed veggies. Ready to savor the vibrant notes of the islands? Grab your apron, and let’s dive into this mouthwatering adventure together!
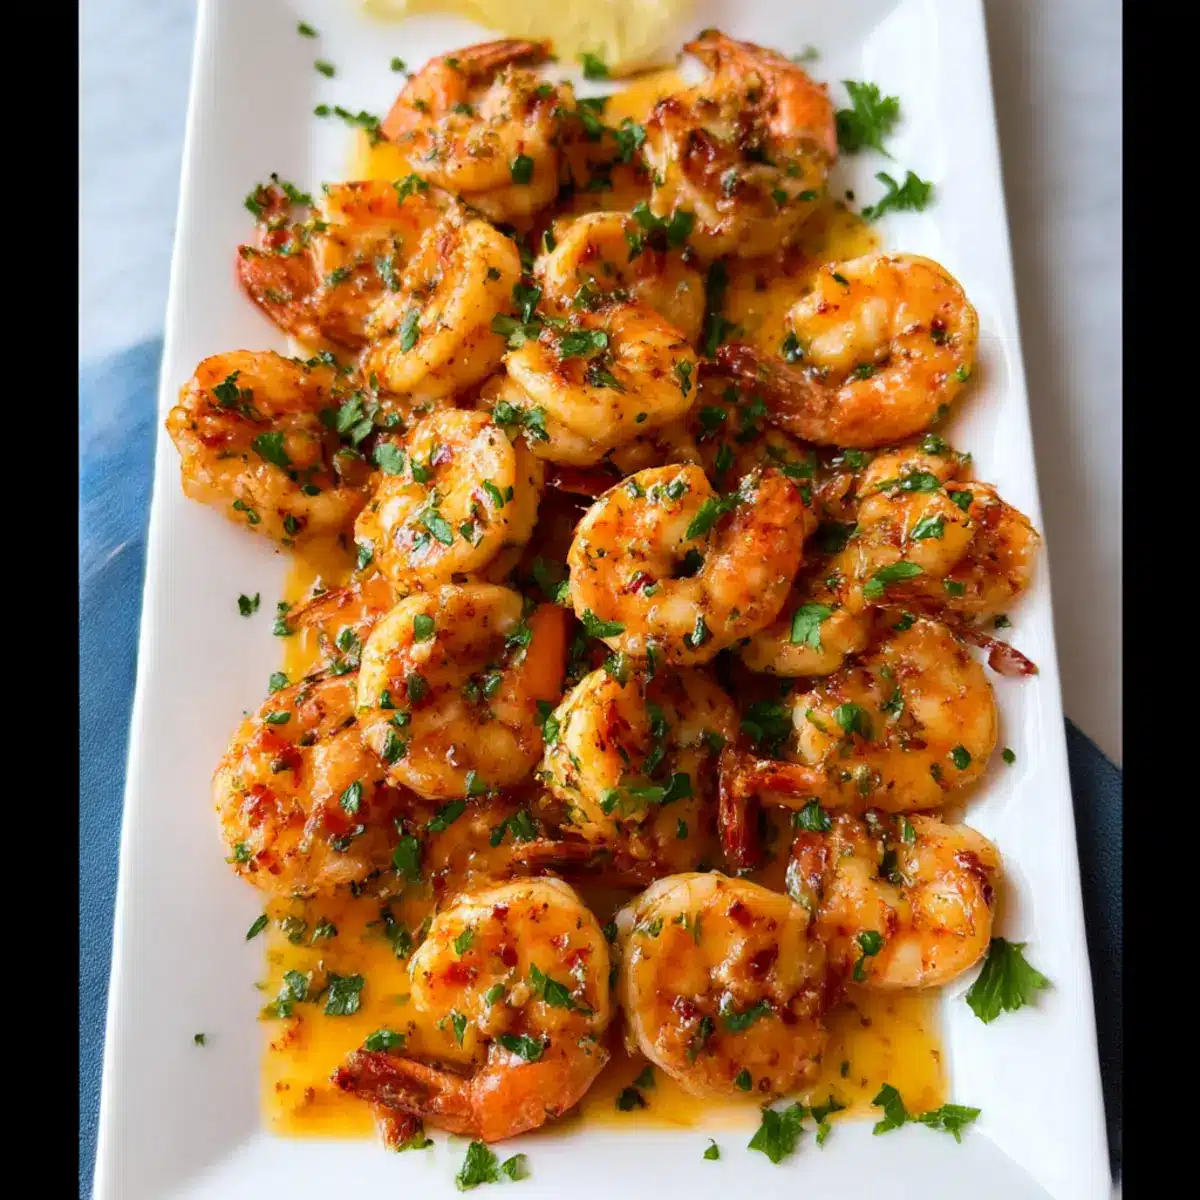
Why is this Garlic Shrimp Recipe a Must-Try?
Simplicity at Its Best: This recipe can be beautifully executed in just 20 minutes, perfect for busy weeknights or last-minute entertaining.
Bursting with Flavor: The vibrant garlic butter sauce and hints of lemon bring a fresh, rich profile that’ll have your taste buds dancing.
Perfectly Versatile: You can easily swap shrimp for chicken or tofu, allowing for customization based on dietary preferences.
Crowd-Pleasing Dish: Impress family and friends with this stunning dish that’s surprisingly easy to make—who doesn’t love a seafood treat?
Healthy Comfort Food: With an abundance of protein and fresh ingredients, you get guilt-free indulgence that works beautifully alongside sides like coconut rice or sautéed vegetables.
Elevate your meal game and bring the flavors of the islands into your kitchen today! If you’re a fan of garlic-infused dishes, you might also enjoy Garlic Shrimp Over or Honey Garlic Shrimp.
Garlic Shrimp Ingredients
• To create your stunning Garlic Shrimp masterpiece, gather the following ingredients:
For the Shrimp
- Shrimp – Fresh or extra-large shrimp provide the main protein; devein for a better eating experience. Substitute with chicken or tofu if desired.
For the Seasoning
- Garlic – Minced fresh garlic adds pungency and flavor; roasted garlic can be used for a milder option.
- All-Purpose Flour – Helps to create a light crust on the shrimp; can use gluten-free flour as a substitute.
- Paprika – Provides color and mild spice; smoked paprika can give a deeper flavor.
- Cayenne Pepper – Optional for additional heat; adjust according to your spice preference.
- Salt & Black Pepper – Used to taste; flaky sea salt can enhance flavor even more.
For the Sauce
- Unsalted Butter – Key for richness and sauce consistency; can use a plant-based butter for a dairy-free version.
- Olive Oil – Assists in cooking and prevents butter from burning; avocado oil is a suitable substitute.
- Lemon Juice – Brightens the dish; lime juice or vinegar can be alternatives.
For the Garnish
- Fresh Parsley – Garnish option for adding fresh color; chives or cilantro can be used instead.
Gather these ingredients to whip up delicious Garlic Shrimp that embodies the flavors of Hawaii!
Step‑by‑Step Instructions for Garlic Shrimp
Step 1: Prep Shrimp
Begin by patting the fresh shrimp dry with paper towels to remove excess moisture, which ensures a perfect sear. Place the shrimp in a medium-sized bowl. This preparation step is crucial for achieving that crispy texture in your Garlic Shrimp, so take care to coat them well.
Step 2: Coat Shrimp
Sprinkle all-purpose flour, paprika, cayenne pepper, salt, and black pepper over the shrimp in the bowl. Toss everything together until the shrimp are evenly coated in the mixture. This flavorful coating will create a delightful crust as they cook, adding to the overall richness of the dish.
Step 3: Heat Oil
In a large non-stick skillet, melt 2 tablespoons of unsalted butter along with 1 tablespoon of olive oil over medium heat. The combination of butter and oil not only enhances flavor but also prevents the butter from burning. Wait until the butter is fully melted and bubbling but not browned, which takes about 2 minutes.
Step 4: Sauté Garlic
Add minced garlic to the skillet and sauté for about 30 seconds, stirring constantly until fragrant. Be careful not to let the garlic brown, as this will create a bitter taste. The aroma of the garlic will fill your kitchen, signaling that it’s time to add the shrimp.
Step 5: Cook Shrimp
Carefully lay the coated shrimp in a single layer in the skillet. Cook them for about 2 minutes until they turn a lovely pink on one side. Flip the shrimp using tongs and cook for an additional 2 minutes until they are fully cooked through and opaque. Ensure they don’t overcook to keep them tender.
Step 6: Finish
Remove the skillet from heat and squeeze fresh lemon juice over the perfectly cooked Garlic Shrimp. Toss everything together to combine, allowing the zesty lemon to brighten the flavors. Finally, garnish with fresh parsley for a pop of color and added freshness.
Step 7: Serve Immediately
Transfer the Garlic Shrimp to a serving platter, drizzling any extra sauce left in the skillet over the top for an extra layer of rich flavor. Enjoy this dish hot, paired with coconut rice or sautéed vegetables for a complete meal bursting with Hawaiian-inspired goodness.
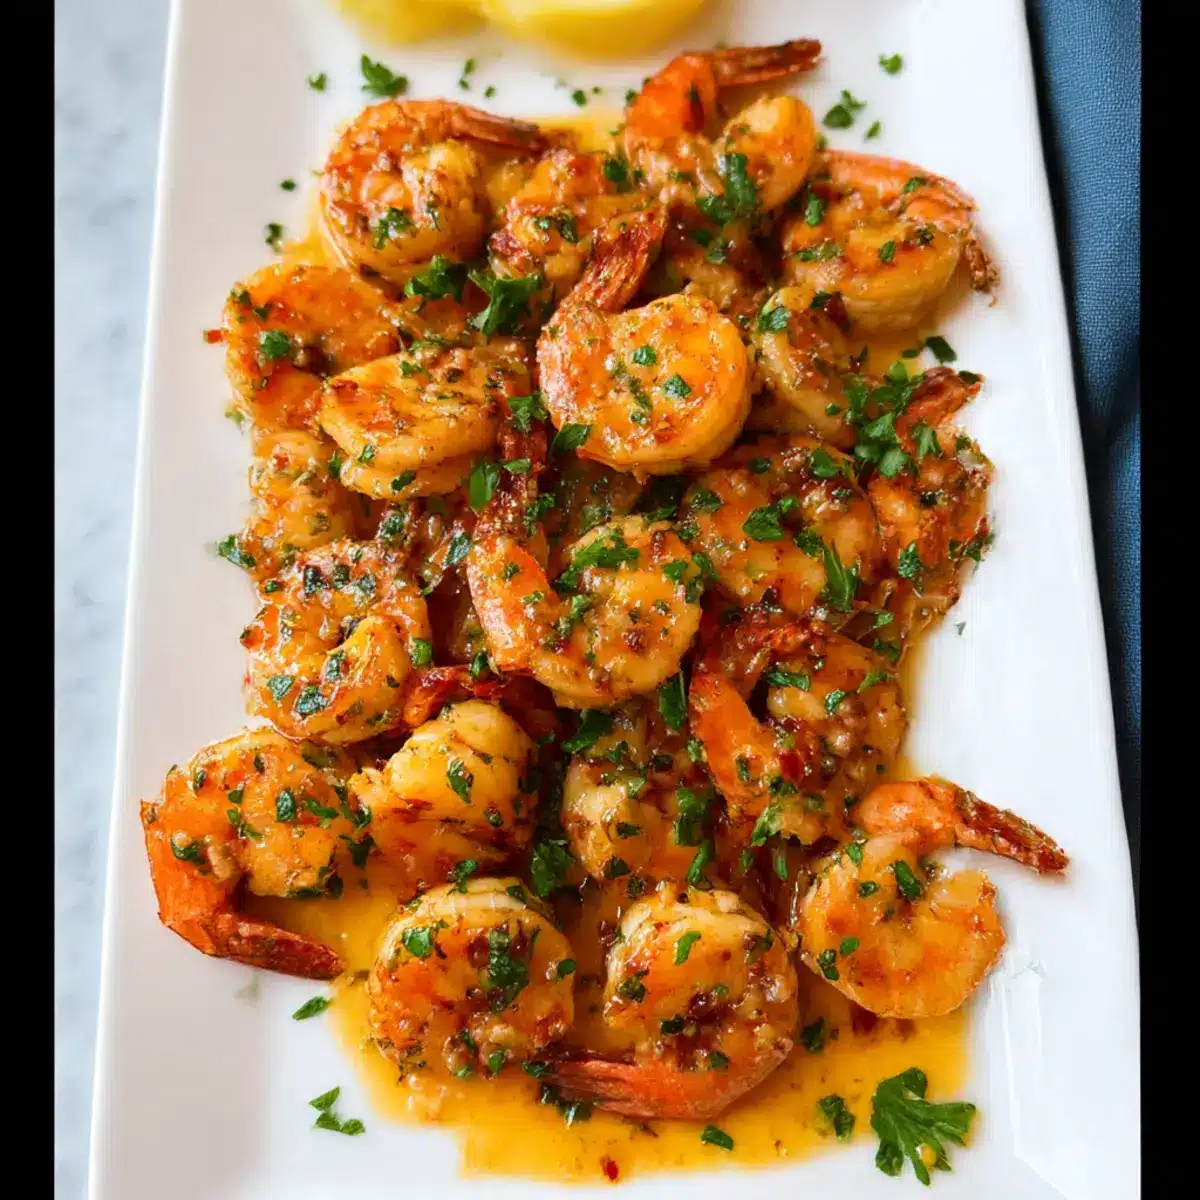
Garlic Shrimp Variations & Substitutions
Feel free to put your own spin on this Garlic Shrimp recipe and let your creativity shine!
-
Vegetable Boost: Add bell peppers or snap peas to the skillet for a colorful and nutritious twist. They’ll brighten the dish while adding delightful crunch.
-
Citrus Switch: Swap out lemon juice for lime for a zesty kick, or try a splash of vinegar for a unique tangy flavor. Each option offers its own delicious flair.
-
Creamy Delight: Stir in a touch of heavy cream or coconut milk at the end for a creamy sauce that brings a whole new layer of richness.
-
Dairy-Free: Use a plant-based butter alternative to keep things dairy-free without sacrificing flavor or texture. Your guests won’t miss the dairy at all!
-
Gluten-Free: Replace all-purpose flour with a gluten-free flour blend to cater to dietary needs while maintaining that delightful crust.
-
Heat It Up: Add crushed red pepper flakes or sriracha for a spicy kick. Feel free to adjust the amount based on your heat preference to keep everyone happy.
-
Herbal Infusion: Experiment with different herbs like basil or cilantro instead of parsley for a fresh, aromatic finish. Each herb brings its own personality to the dish.
-
Protein Swap: If you’d like a change from shrimp, try chicken or tofu for a hearty substitute. Each option pairs wonderfully with the garlicky sauce, making it just as satisfying.
For even more ideas, don’t miss trying the delectable Honey Garlic Shrimp or the crispy Coconut Shrimp Sweet. You’ll be amazed at how these flavorful variations can elevate your dining experience!
Expert Tips for Hawaiian Garlic Shrimp
-
Dry the Shrimp: Ensure shrimp are completely dried before coating. This step enhances the sear and helps achieve that coveted crispy texture.
-
Watch the Garlic: Be vigilant while sautéing garlic; cooked too long, it turns bitter. This simple step can alter the dish’s flavor profile significantly.
-
Customize the Spice: Adjust the cayenne pepper according to your heat preference. Start with less, as you can always add more for an extra kick!
-
Fresh Ingredients Matter: For the best flavor, opt for fresh garlic and herbs, elevating the garlic shrimp experience to new heights.
-
Don’t Overcrowd the Pan: Cook the shrimp in batches if necessary, ensuring each piece gets ample heat for superb cooking and flavor distribution.
Storage Tips for Garlic Shrimp
Fridge: Store leftover garlic shrimp in an airtight container in the refrigerator for up to 2 days. Ensure that it cools down to room temperature before sealing to maintain freshness.
Freezer: Garlic shrimp can be frozen for up to 3 months. Place it in a freezer-safe bag, squeezing out as much air as possible before sealing.
Reheating: To reheat, thaw in the fridge overnight and heat gently in a skillet over low heat, adding a splash of broth or water to prevent drying.
Room Temperature: Avoid leaving garlic shrimp at room temperature for more than 2 hours to ensure food safety and maintain flavor.
Make Ahead Options
These Hawaiian Garlic Shrimp are perfect for meal prep enthusiasts! You can coat the shrimp with flour, paprika, cayenne, salt, and pepper up to 24 hours in advance, allowing the flavors to infuse while keeping them fresh. Simply store the coated shrimp in an airtight container in the refrigerator to maintain quality. You can also prepare the garlic butter mixture and refrigerate it for up to 3 days. When ready to serve, just sauté the coated shrimp in the garlic mixture until pink and cooked through—this will ensure that your dish is just as delicious and vibrant as when freshly made, giving you restaurant-quality results with minimal effort!
What to Serve with Hawaiian Garlic Shrimp
Transform your meal into a delightful feast by discovering perfect pairings that bring out the best in your garlic shrimp.
-
Coconut Rice: The subtle sweetness of coconut rice balances the savory richness of the shrimp, creating a harmonious flavor ensemble.
-
Sautéed Vegetables: Bright, crispy veggies like bell peppers and snap peas add a fresh crunch that contrasts beautifully with the tender shrimp.
-
Garlic Butter Corn on the Cob: This side echoes the garlic theme while offering a juicy, sweet bite that complements the richness of the shrimp.
-
Mango Salad: The sweet and tangy notes of a mango salad infused with lime and fresh herbs enhance the tropical essence of your meal.
-
Hawaiian Sweet Rolls: These soft, buttery rolls are perfect for soaking up the luscious garlic butter sauce, making every bite a cozy delight.
-
White Wine: A chilled Sauvignon Blanc or a light Pinot Grigio can elevate the dining experience, adding a refreshing acidity that pairs marvelously with the garlic shrimp.
Add these sides and drinks to your table for a delightful, tropical-themed dinner that will be the highlight of your week!
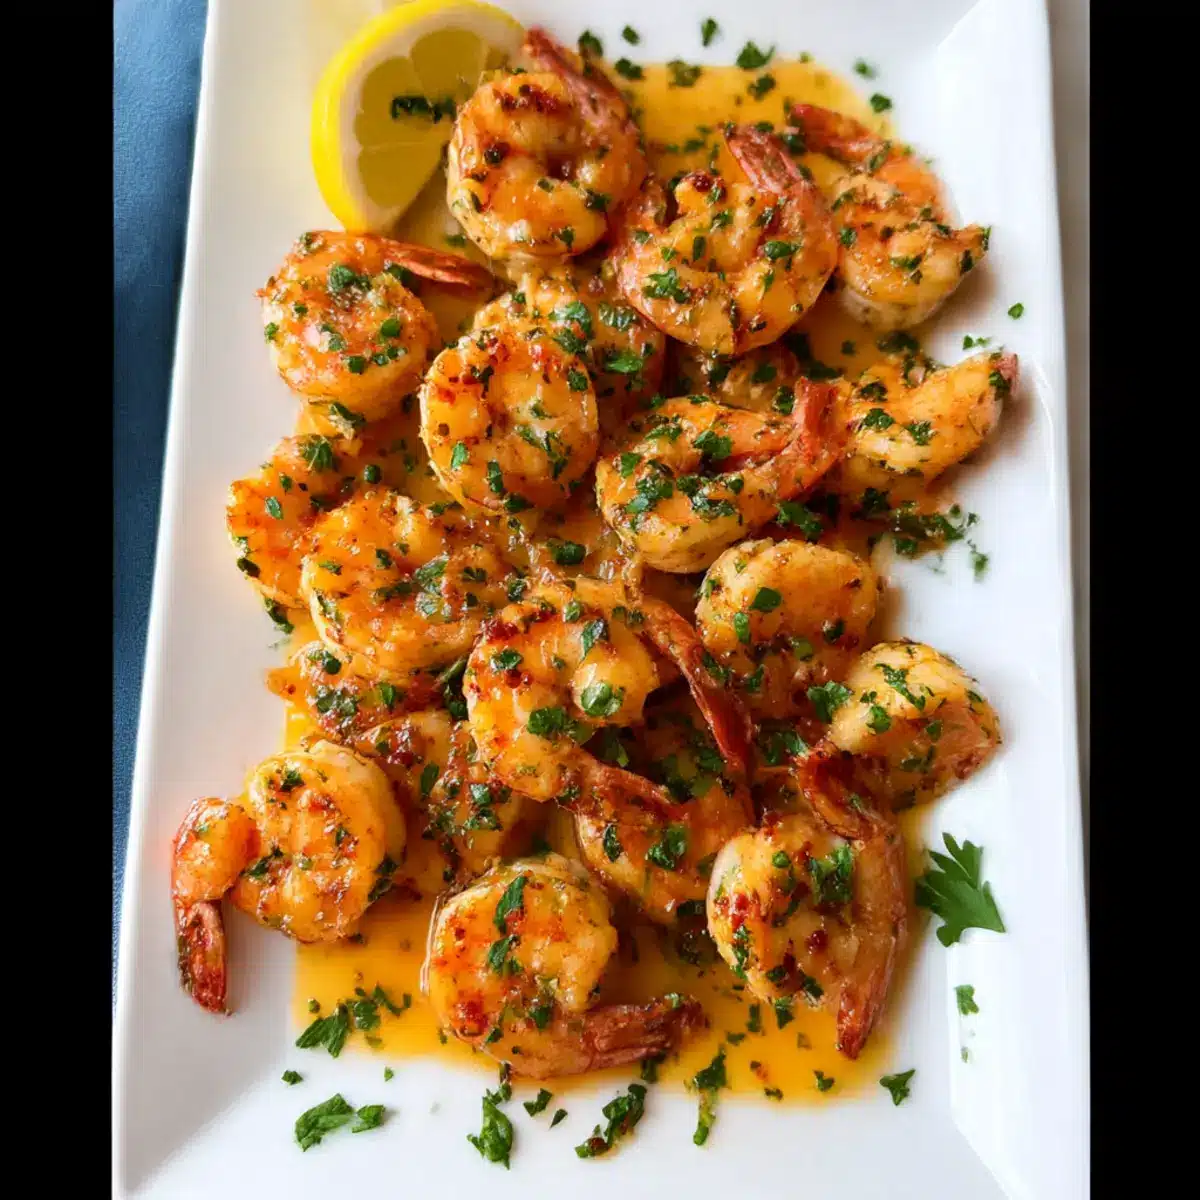
Hawaiian Garlic Shrimp Recipe FAQs
How do I choose the best shrimp for this recipe?
Absolutely! When selecting shrimp, look for fresh, firm shrimp with a mild ocean scent. Avoid any that have dark spots or an overpowering fishy odor. Wild-caught shrimp is often preferred for taste and sustainability, but farmed shrimp can also work well. If you’re opting for frozen, ensure they have no freezer burn, which can affect texture.
What is the best way to store leftover garlic shrimp?
Leftover garlic shrimp can be stored in an airtight container in the refrigerator for up to 2 days. Make sure to allow it to cool at room temperature before sealing it. If you plan to enjoy it later, I recommend transferring it to the fridge as soon as possible to maintain freshness.
Can I freeze garlic shrimp, and how do I do it?
Yes, you can freeze garlic shrimp for up to 3 months! To freeze, allow the shrimp to cool completely. Then, place them in a freezer-safe bag, squeezing out as much air as possible before sealing. Label the bag with the date. To reheat, thaw in the fridge overnight before gently reheating them in a skillet over low heat, adding a splash of broth or water to help maintain moisture.
What should I do if my garlic shrinks when cooking?
Very! If your garlic shrinks or turns bitter while cooking, it’s likely that the heat was too high or it was cooked for too long. Sauté garlic over medium heat and keep an eye on it, stirring frequently to prevent browning. If you burn some garlic, you’ll want to start over with fresh cloves to avoid a bitter flavor in your dish.
Is this recipe safe for people with shellfish allergies?
No, this garlic shrimp recipe is not safe for individuals with shellfish allergies, as shrimp is a common allergen. Always let guests know about the ingredients, and consider substituting shrimp with chicken, tofu, or tempeh as a safe alternative for those with dietary restrictions while still providing a flavorful dish.
Can I use another type of fat instead of butter for this recipe?
Of course! If you prefer a dairy-free option, feel free to replace the unsalted butter with plant-based butter or olive oil. The olive oil will still provide great flavor and help achieve that delightful, rich sauce. Just adjust cooking times as needed to ensure everything cooks evenly.
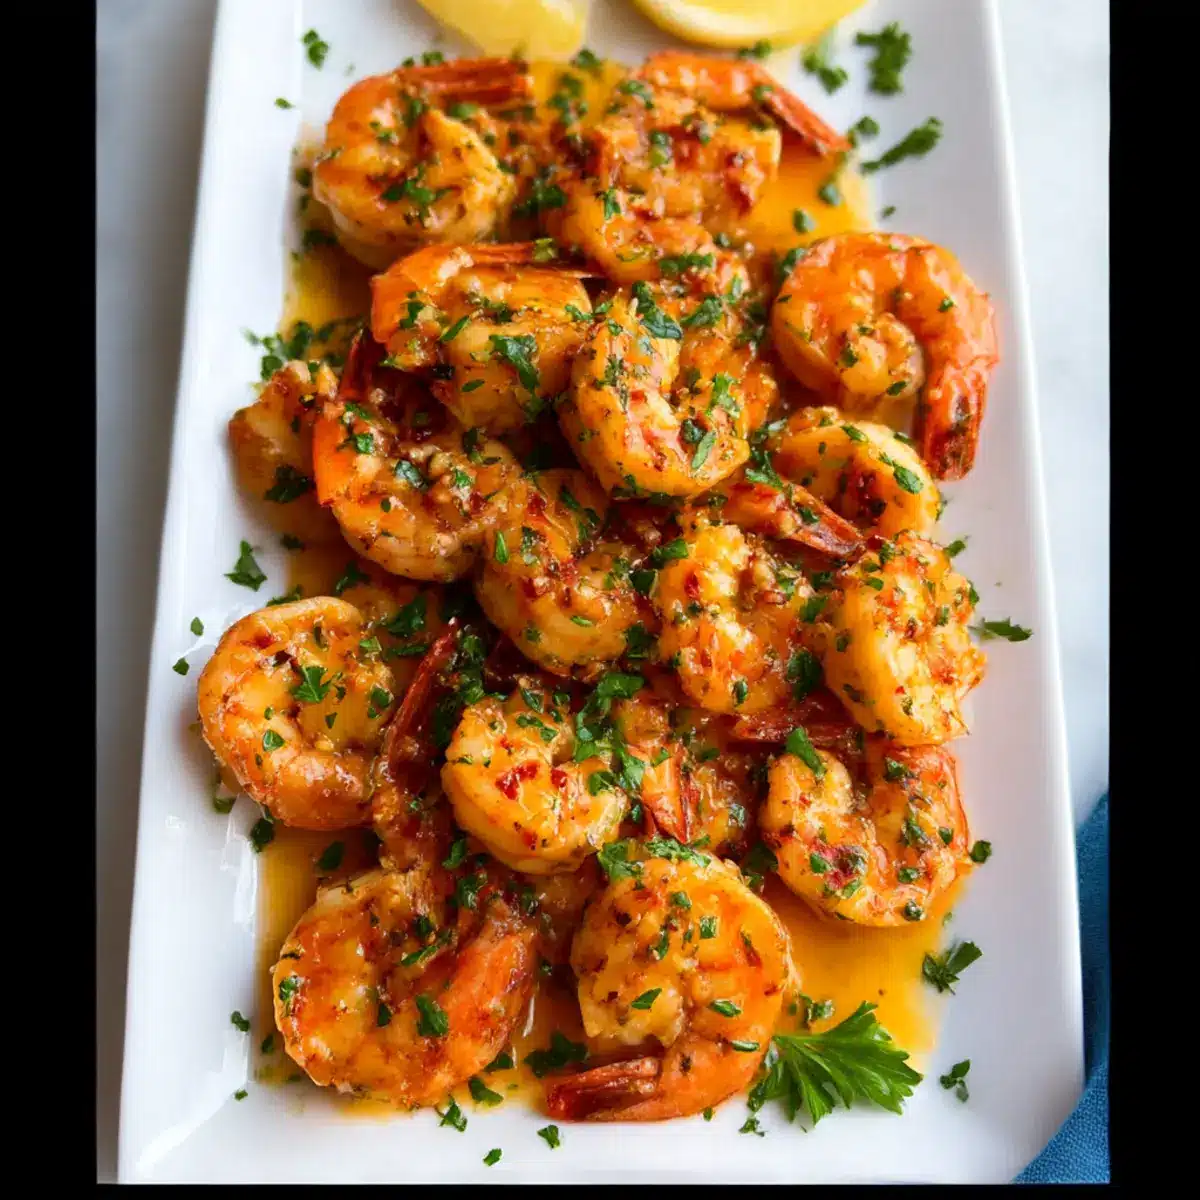
Savor the Flavor: Quick Garlic Shrimp in 20 Minutes
Ingredients
Equipment
Method
- Begin by patting the fresh shrimp dry with paper towels to remove excess moisture. Place the shrimp in a medium-sized bowl.
- Sprinkle all-purpose flour, paprika, cayenne pepper, salt, and black pepper over the shrimp. Toss everything until the shrimp are evenly coated.
- In a large non-stick skillet, melt 2 tablespoons of unsalted butter with 1 tablespoon of olive oil over medium heat.
- Add minced garlic to the skillet and sauté for about 30 seconds until fragrant, being careful not to let it brown.
- Carefully lay the coated shrimp in a single layer in the skillet. Cook for about 2 minutes until pink on one side. Flip and cook for another 2 minutes until fully cooked.
- Remove from heat and squeeze fresh lemon juice over the shrimp. Toss to combine, then garnish with parsley.
- Transfer the Garlic Shrimp to a serving platter and enjoy hot, paired with coconut rice or sautéed vegetables.
Leave a Reply