
The aroma of freshly baked breadsticks wafts through my kitchen, taking me straight back to Olive Garden, where those warm, garlicky delights are practically the highlight of the meal. Today, I’m excited to share my take on their iconic recipe for Homemade Olive Garden Breadsticks, which are as soft and fluffy as a cloud. Not only are they easy to whip up, but they’re also the perfect companion to your favorite soups and salads, bringing comfort to any dinner table. The best part? You can impress your friends while creating a cozy atmosphere without stepping foot outside your home! Are you ready to fill your kitchen with the irresistible scent of baking bread? Let’s get started!
Why Make Olive Garden Breadsticks at Home?
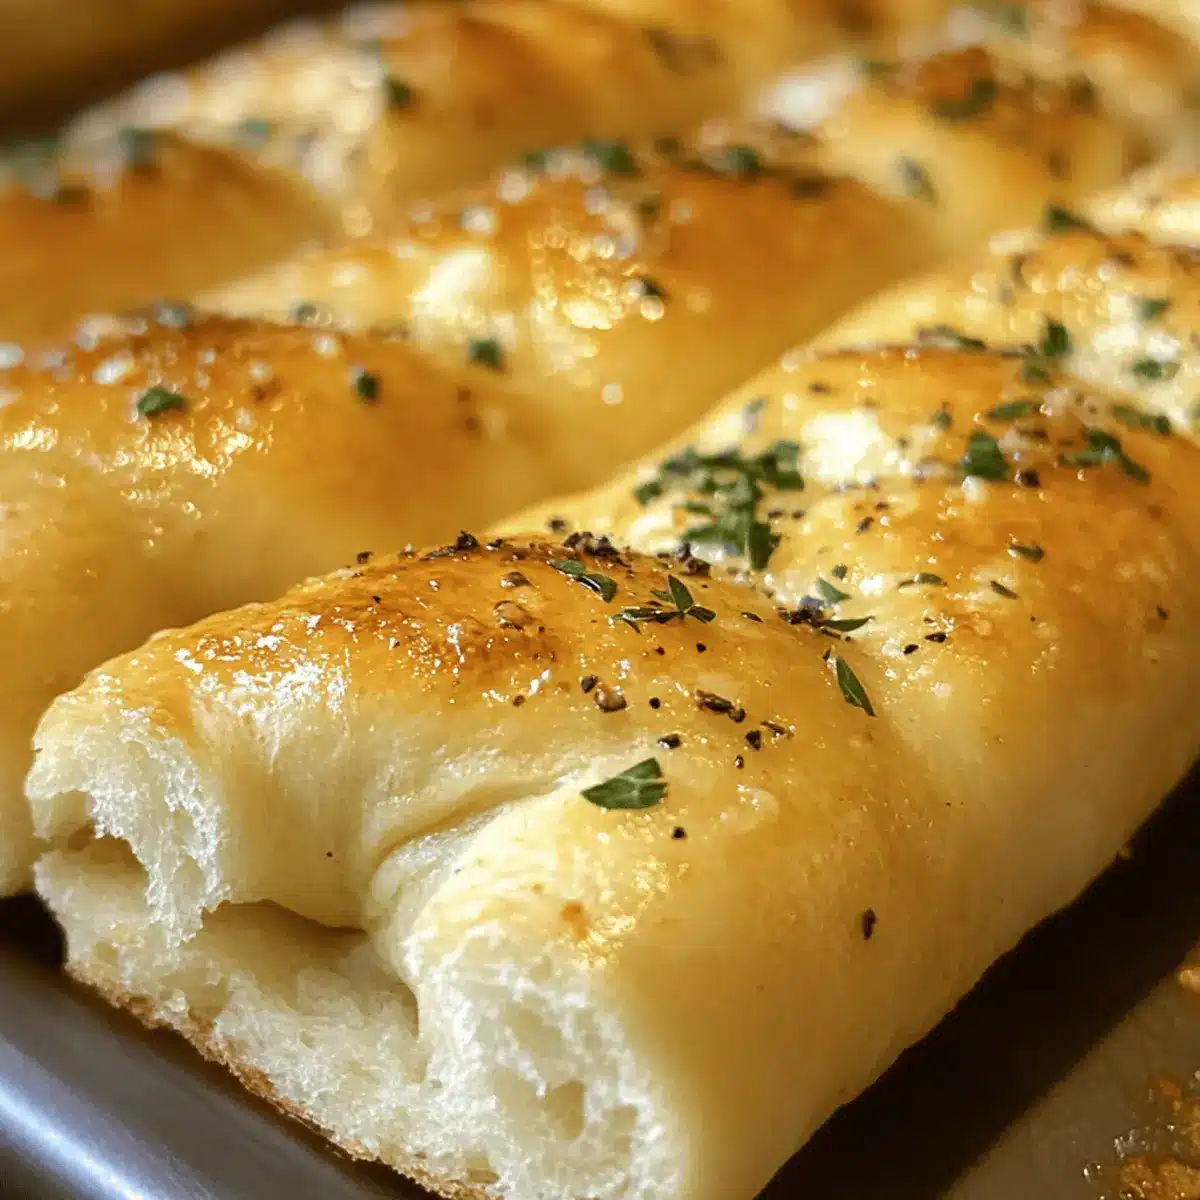
Irresistible flavors: Imagine the soft, garlicky perfection of these breadsticks bringing restaurant-quality taste right to your home.
Easy preparation: With minimal ingredients and simple steps, even beginner bakers can master this recipe.
Crowd-pleaser: Perfect as an appetizer or a side, these breadsticks will delight family and friends at any gathering.
Customization options: Get creative! Enhance the garlic butter with Parmesan cheese or serve them with delicious dips like marinara.
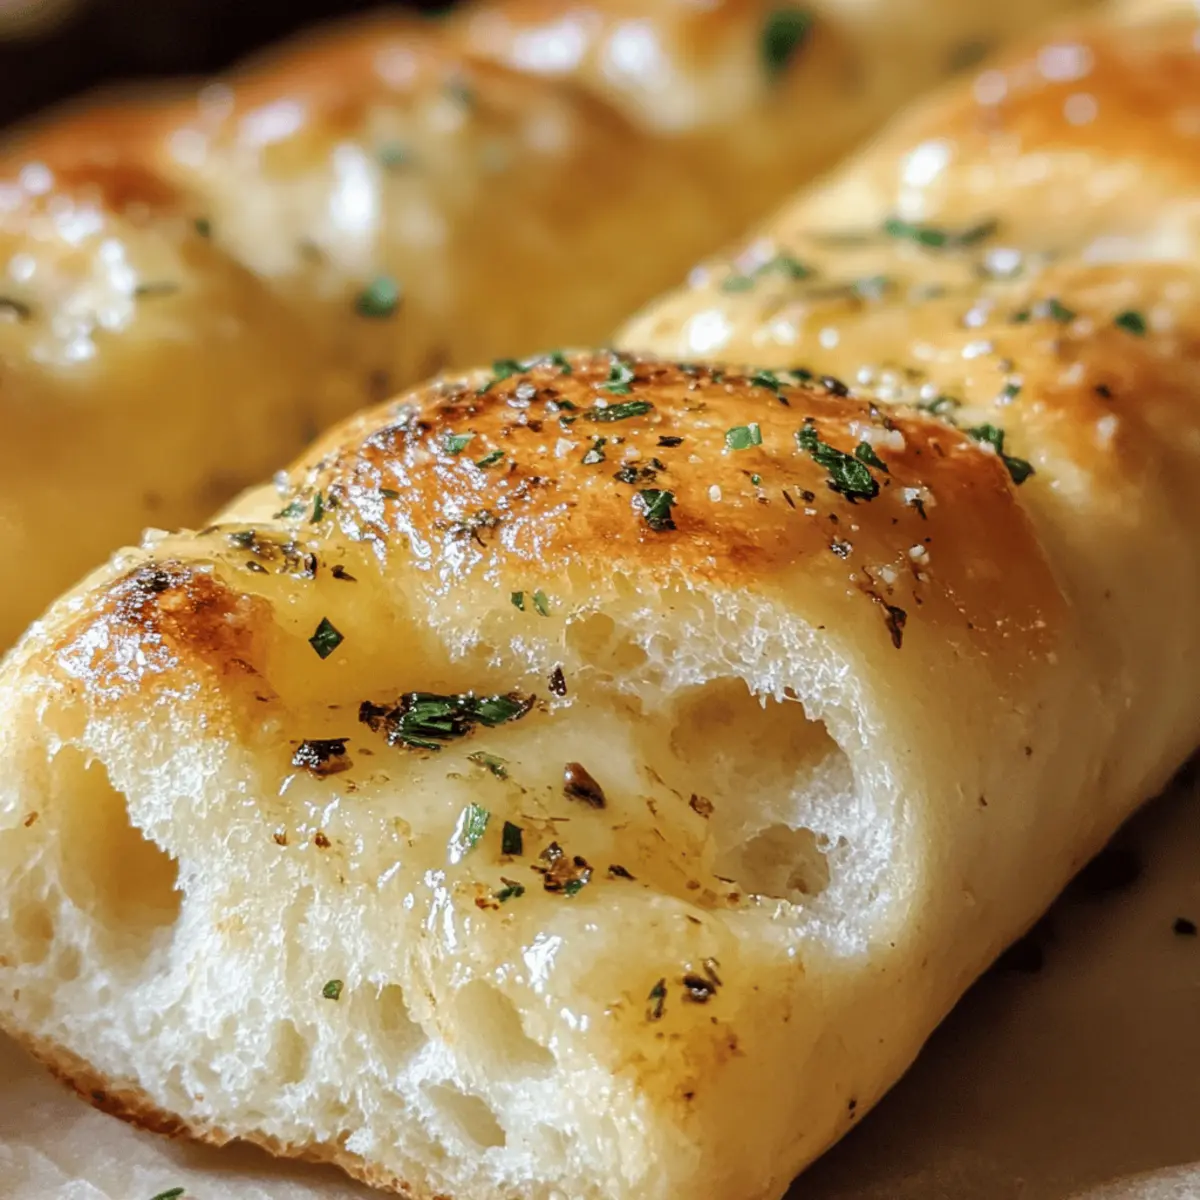
Comfort food: Nothing beats the cozy feel of warm, homemade breadsticks; they’re perfect for cozy nights in, paired with your favorite homemade soups.
Olive Garden Breadsticks Ingredients
For the Dough
- Warm Water – Activates yeast for rising; use water around 110°F for best results.
- Active Dry Yeast – The leavening agent essential for dough rise; ensure it’s fresh for effectiveness.
- All-Purpose Flour – Provides structure and chewiness; can substitute with bread flour for a chewier texture.
- Granulated Sugar – Sweetens the bread and helps activate the yeast; no substitutions needed for this recipe.
- Unsalted Butter – Adds richness to the dough and flavor to the garlic topping; melted butter is needed for both.
For the Topping
- Salt – Enhances flavor and balances sweetness; regular table salt is sufficient.
- Garlic Powder – Infuses that essential garlic flavor into the butter topping; fresh garlic can be a delightful substitute if desired.
Bring the enticing flavor of Olive Garden Breadsticks into your kitchen with these simple yet essential ingredients!
Step‑by‑Step Instructions for Homemade Olive Garden Breadsticks
Step 1: Activate the Yeast
In a large mixing bowl, combine warm water (around 110°F) with the active dry yeast and granulated sugar. Stir gently and let it sit for about 5-10 minutes until it becomes foamy. This step is crucial for ensuring your dough rises properly and gives those delightful Olive Garden Breadsticks their characteristic fluffiness.
Step 2: Mix the Dough
Once the yeast is activated, add the all-purpose flour, melted unsalted butter, and salt to the bowl. Mix with a wooden spoon or a dough hook on a mixer until the dough starts to come together. The mixture should be slightly sticky but cohesive, which is essential for achieving that soft, tender texture in your breadsticks.
Step 3: Knead the Dough
Turn the dough out onto a lightly floured surface and knead for about 8-10 minutes. You want the dough to be smooth and elastic. As you knead, feel for a slight tackiness without it being overly sticky; this consistency is vital for creating the perfect Olive Garden Breadsticks.
Step 4: Let It Rise
Place the kneaded dough in a greased bowl, cover it with a damp cloth or plastic wrap, and let it rise in a warm place for about 1 hour or until it has doubled in size. This step allows the dough to develop airiness and lightness, resulting in wonderfully fluffy breadsticks.
Step 5: Preheat the Oven
While the dough rises, preheat your oven to 400°F (200°C). A hot oven is key to achieving that lovely golden crust on your Olive Garden Breadsticks. Ensure your oven is fully preheated to get the best results, providing the right environment for baking.
Step 6: Shape the Breadsticks
Once the dough has risen, punch it down gently to release any air bubbles. Divide the dough into 12 equal pieces and roll each piece into a thin breadstick shape, about 6 inches long. This step is where your Olive Garden Breadsticks start taking shape, so aim for uniformity for even baking.
Step 7: Second Rise
Arrange the shaped breadsticks on a parchment-lined baking sheet, ensuring they are spaced apart. Cover them again with a cloth and let them rise for an additional 30 minutes. This second rise is essential for achieving that airy, fluffy texture characteristic of Olive Garden Breadsticks.
Step 8: Bake the Breadsticks
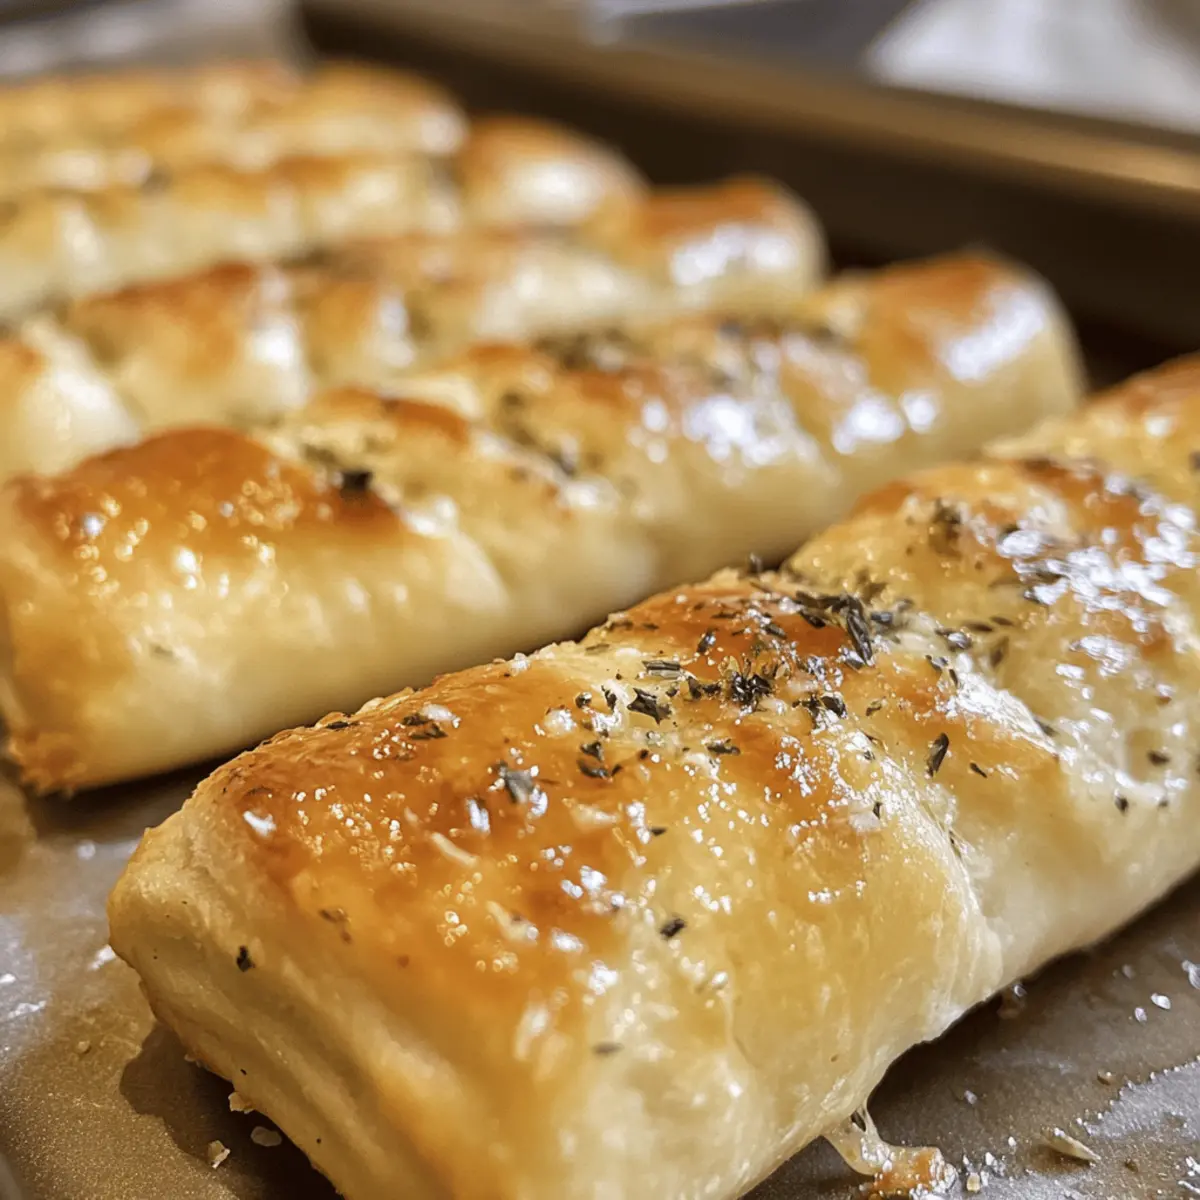
Once the breadsticks have risen, place the baking sheet in the preheated oven and bake for 12-15 minutes, or until they turn a beautiful golden brown. Keep an eye on them, as you want to catch that perfect shade; the aroma will tell you they’re close.
Step 9: Prepare the Garlic Butter
While the breadsticks are baking, melt some unsalted butter and mix in garlic powder and salt to create a flavorful garlic butter topping. This buttery goodness will enhance your Olive Garden Breadsticks, adding that irresistible restaurant-quality flavor everyone loves.
Step 10: Brush with Garlic Butter
Immediately after removing the breadsticks from the oven, brush them generously with the prepared garlic butter while they’re still hot. This step infuses each breadstick with rich, garlicky flavor, making your homemade Olive Garden Breadsticks absolutely irresistible.
How to Store and Freeze Olive Garden Breadsticks
Room Temperature: Store leftover breadsticks in an airtight container for up to 2 days to keep them soft and fresh.
Refrigerator: For longer storage, wrap the breadsticks in plastic wrap and keep them in the fridge for up to 5 days, ensuring they maintain moisture.
Freezer: If you want to save them for later, wrap the breadsticks well in plastic and store in the freezer for up to 2 months. Reheat in the oven at 350°F for about 10 minutes for best flavor and texture.
Reheating: When reheating, for a delicious finish, brush with melted garlic butter before serving to revive that signature Olive Garden flavor.
Olive Garden Breadsticks Variations
Feel free to get creative and mix up these classic breadsticks to personalize them for your palate!
-
Parmesan-Infused: Mix freshly grated Parmesan cheese into the garlic butter for extra richness and flavor.
This twist adds a delightful umami punch that elevates the breadsticks to new heights. Pair them with your homemade marinara sauce for a complete experience. -
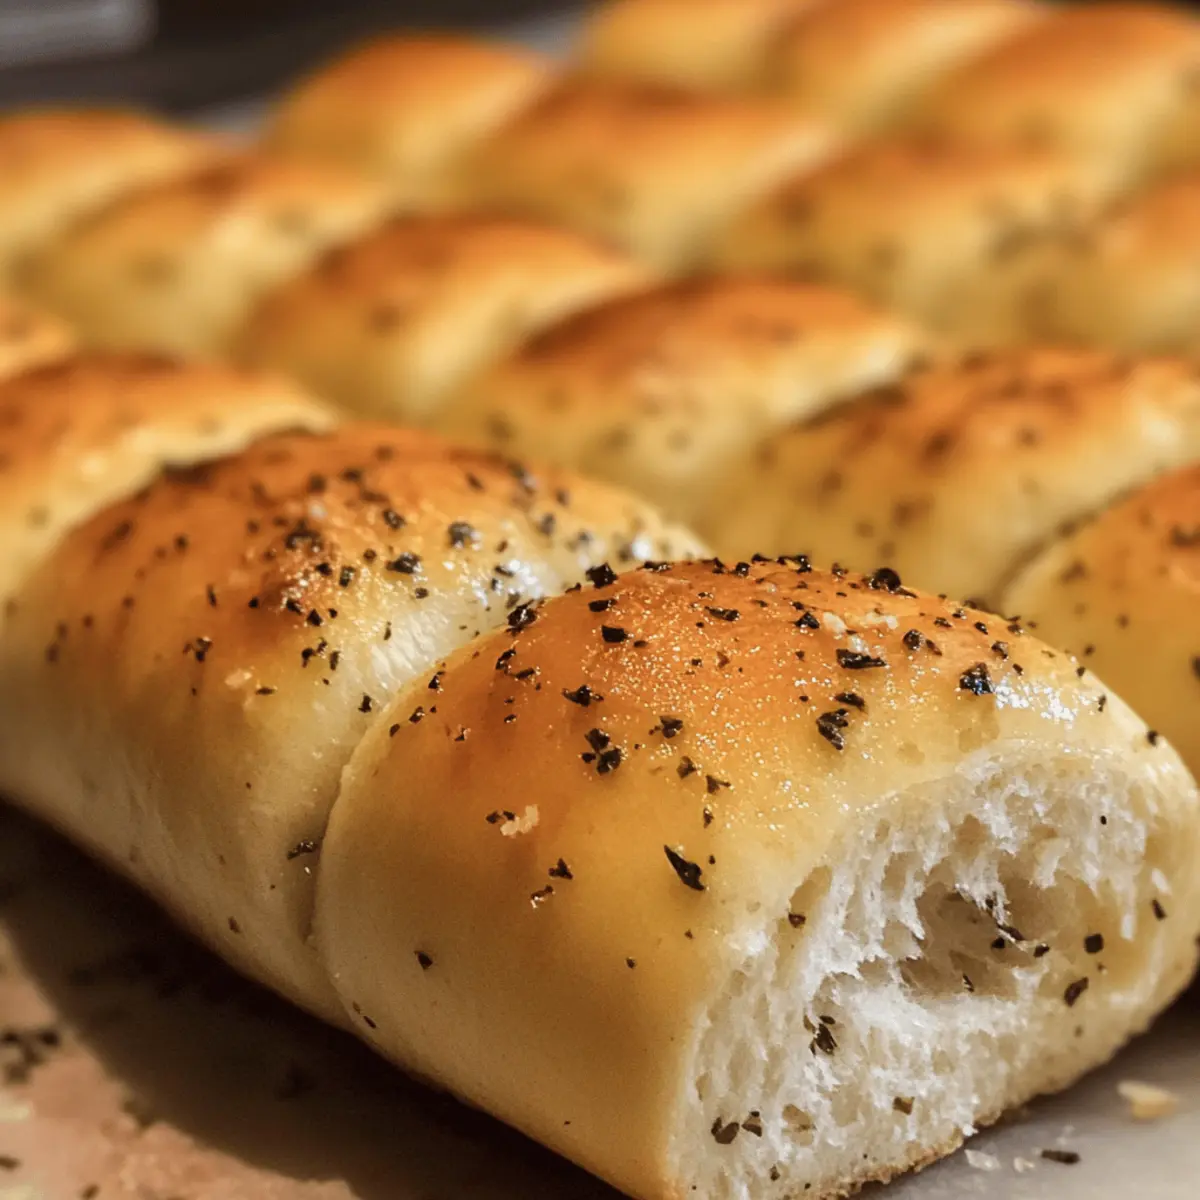
Herbed Delight: Add dried Italian herbs or fresh chopped parsley to the dough for a burst of freshness.
It’s a simple addition that transforms the breadsticks into an aromatic treat! -
Whole Wheat Option: Substitute half of the all-purpose flour with whole wheat flour for a healthier twist.
Your Olive Garden Breadsticks will be heartier and add a touch of nuttiness to the flavor profile. -
Garlic Lovers: Increase the garlic powder in your glaze or add fresh minced garlic for a punchier garlic flavor.
The more, the merrier when it comes to garlic, plus it makes them perfect for dipping in rich soups! -
Spicy Kick: Add crushed red pepper flakes or a dash of cayenne pepper to the dough for a spicy twist.
This variation is ideal for those who enjoy a hint of heat, delivering a simple yet exciting flavor contrast. -
Cheesy Breadsticks: Mix shredded mozzarella or cheddar cheese directly into the dough for cheesy goodness.
You’ve just stepped into the realm of indulgence, and who could resist cheesy breadsticks on the side of a classic pasta dish? -
Garlic Aioli Dippables: Serve with a side of homemade garlic aioli instead of traditional marinara for a gourmet touch.
Elevating your breadsticks to an appetizer will surely wow your guests at any gathering.
These variations not only keep your breadsticks interesting but also open up endless pairing possibilities for your favorite soups and salads. Enjoy creating your unique spin on these beloved breadsticks!
Expert Tips for Olive Garden Breadsticks
Yeast Activation: Ensure your yeast is activated properly by using warm (not hot) water at 110°F to avoid a flat dough.
Second Rise: Don’t skip the second rise after shaping. It’s essential for achieving that airy texture that mimics the iconic Olive Garden Breadsticks.
Baking Monitor: Keep a close eye on your baking time. Breadsticks should be golden brown but not overdone, as they can dry out quickly.
Garlic Butter Timing: Brush the garlic butter on immediately after baking for maximum flavor absorption into the warm breadsticks.
Rolling Consistency: When shaping the breadsticks, aim for uniform thickness to ensure even baking and that perfect chewy texture.
Make Ahead Options
These Homemade Olive Garden Breadsticks are a fantastic option for meal prep, allowing you to savor warm, delicious breadsticks without the rush! You can prepare the dough up to 24 hours in advance by following the first three steps—activating the yeast, mixing, and kneading. Once the dough is ready, cover it tightly and refrigerate. To maintain quality, let it come to room temperature and rise in a warm place for about an hour before shaping. You can also shape the breadsticks and freeze them for up to 3 months; simply freeze them on a baking sheet first, then transfer them to a bag. When it’s time to bake, let them rise for about 30 minutes if frozen, then bake as instructed, ensuring you enjoy that freshly made taste with minimal effort!
What to Serve with Homemade Olive Garden Breadsticks?
The delightful appeal of these soft, garlicky delights makes them the perfect base for building a comforting, satisfying meal.
-
Creamy Tomato Soup: A bowl of this classic pairing enhances the warm flavors while the acidity balances the richness of the breadsticks.
-
Caesar Salad: Crisp romaine and tangy dressing complement the fluffy texture of the breadsticks, creating a refreshing contrast.
-
Alfredo Pasta: The sumptuous, creamy sauce clings to every bite of breadstick, making for a decadent pairing your family will love.
-
Garlic Parmesan Wings: These zesty wings are a fantastic appetizer that ties in the garlic theme, elevating your dinner party menu.
-
Homemade Marinara Sauce: A warm bowl for dipping brings a burst of flavor, enriching the breadsticks’ delightful taste and enhancing the overall experience.
-
Sparkling Lemonade: A fizzy, citrusy drink brightens the meal, offering a refreshing sip that contrasts beautifully with the rich garlicky breadsticks.
Pairing these delectable breadsticks with any of these options will create a truly memorable dining experience, worthy of a special occasion or a cozy night in.
Olive Garden Breadsticks Recipe FAQs
How do I choose the right ingredients for Olive Garden Breadsticks?
Absolutely! For the best results, always use active dry yeast that is fresh and hasn’t been expired, as this is crucial for proper rising. When selecting all-purpose flour, look for a brand that provides a good protein content, and aim for finer granules for the fluffiest texture. The warm water should be around 110°F; using a thermometer can help ensure it’s at the right temperature to activate the yeast effectively.
What is the best way to store leftover Olive Garden Breadsticks?
I recommend storing your leftover breadsticks in an airtight container at room temperature for up to 2 days. If they remain unwrapped, they can lose their lovely softness. Alternatively, you can wrap them tightly in plastic wrap and refrigerate for up to 5 days. Just make sure they’re completely cool before wrapping to avoid moisture buildup that can lead to sogginess.
Can I freeze Olive Garden Breadsticks? How?
Yes, you can freeze these delightful breadsticks! Once they’re cooled completely, wrap each stick tightly in plastic wrap and place them in a freezer-safe bag or container. They will maintain their quality for up to 2 months. When you’re ready to enjoy them, preheat your oven to 350°F and bake them directly from the freezer for about 10-12 minutes, then brush with melted garlic butter—with that fresh touch, they’ll taste as good as when you first made them!
What should I do if my dough doesn’t rise properly?
Very common! If your dough isn’t rising, there may be a few culprits. First, check if your yeast is active by dissolving it in warm water (110°F) with a bit of sugar; it should become foamy after 5-10 minutes. If it doesn’t, your yeast may be expired; it’s best to start with fresh yeast. Additionally, ensure your dough is placed in a warm, draft-free area while rising. If necessary, you can create a warm environment by preheating the oven for about a minute, turning it off, and letting the dough rise inside with the door closed.
Are Olive Garden Breadsticks safe for people with allergies?
When considering allergies, these breadsticks contain gluten (due to the all-purpose flour) and dairy (from the butter). For those with gluten intolerance or celiac disease, I recommend using a gluten-free flour blend that’s suitable for baking without compromising the texture too much. Always double-check other ingredients like garlic powder, which could have cross-contamination, especially if someone has severe allergies.
Olive Garden Breadsticks: Homemade Soft & Garlic-Infused Joy
Ingredients
Equipment
Method
- In a mixing bowl, combine warm water with yeast and sugar. Let it sit for 5-10 minutes until foamy.
- Mix in flour, melted butter, and salt until the dough comes together but is slightly sticky.
- Knead the dough on a floured surface for 8-10 minutes until smooth and elastic.
- Place in a greased bowl, cover, and let rise for about 1 hour until doubled in size.
- Preheat the oven to 400°F (200°C).
- Punch down the dough, divide into 12 pieces, and roll each into 6-inch breadsticks.
- Arrange on a parchment-lined baking sheet, cover, and let rise for an additional 30 minutes.
- Bake for 12-15 minutes until golden brown.
- Melt butter, mix with garlic powder and salt. Brush over breadsticks immediately after baking.
Leave a Reply