
As I sank my spoon into a silky layer of cheesecake, I couldn’t help but think of the magic of no-bake desserts. That’s exactly what these Mini Biscoff Cheesecakes bring to the table: a delightful, easy-to-make treat that takes the allure of Biscoff cookies and transforms them into a creamy, dreamy escape for cookie butter lovers. Perfect for gatherings or a sweet surprise after dinner, these little wonders not only save you time but are also guaranteed to impress with their rich flavor and irresistible textures. With just a few simple steps, you’ll create a dessert that looks as beautiful as it tastes—so why not indulge in a moment of bliss? What occasion do you have in mind to share these delightful bites?
Why are Mini Biscoff Cheesecakes irresistible?
Irresistible Flavor: The rich, spiced essence of Biscoff cookies melds beautifully with creamy cheesecake, creating a dessert you’ll crave over and over.
Effortless Preparation: You’ll love the no-bake simplicity! No complicated techniques here, just mix and chill.
Versatile Delight: Wonderful for celebrations or as a cozy treat at home, these mini cheesecakes please both friends and family alike.
Smooth, Luscious Texture: Enjoy the contrast of a buttery crust with a creamy filling topped with fluffy whipped cream—pure indulgence.
Time-saver: Ready to impress in just a few hours, these are perfect for when you’re short on time but big on flavor.
Mini Biscoff Cheesecake Ingredients
For the Crust
• Biscoff Cookie Crumbs – 2 cups for a flavorful base; you can also use graham cracker crumbs if preferred.
• Granulated Sugar – 2 tbsp (24 g) to add a touch of sweetness; feel free to reduce the amount for a less sweet crust.
• Salted Butter – 6 tbsp (84 g) melted for binding crumbs; unsalted can be used if you adjust the salt level.
For the Filling
• Cream Cheese – 16 oz (454 g), room temperature for a creamy texture; stick with full-fat variety for the best consistency.
• Powdered Sugar – 1¾ cup (210 g) to sweeten the filling; you can swap it with granulated sugar for a different texture.
• Biscoff Spread (Cookie Butter) – 1 cup (237 g) delivers that signature Biscoff flavor; consider sunflower seed butter for a nut-free option.
• Vanilla Extract – 2 tsp adds depth to the flavor; opt for pure vanilla for extra richness.
• Heavy Cream (for filling) – 1 cup (237 ml) is whipped in for aeration and thickness; coconut cream works well for a dairy-free alternative.
For the Whipped Cream Topping
• Heavy Cream – ¾ cup (177 ml) for fluffy whipped cream; remember to whip it well for best results!
• Powdered Sugar (for whipped cream) – 2 tbsp (16 g) sweetens the topping; adjust to your taste preference.
• Vanilla Extract (for whipped cream) – ½ tsp enhances the whipped cream flavor.
For Decoration
• Additional Biscoff Spread – ¾ cup (177 g), melted for drizzling on top; it adds a delightful finish.
• Biscoff Cookie Crumbs – 2 tbsp (30 g) for a tasty garnish; they give a lovely crunch and visual appeal.
• Biscoff Cookies (halved) – 12 cookies for an eye-catching decorative touch.
Indulge in making these Mini Biscoff Cheesecakes and watch as they impress cookie butter lovers at your next gathering!
Step‑by‑Step Instructions for Mini Biscoff Cheesecakes
Step 1: Prepare the crust
In a mixing bowl, combine 2 cups of Biscoff cookie crumbs, 2 tablespoons of granulated sugar, and 6 tablespoons of melted salted butter. Stir until the mixture resembles wet sand. Press this mixture firmly into the bottoms of mini cheesecake pans, ensuring an even layer. Place the pans in the refrigerator for about 15 minutes to set while you prepare the filling.
Step 2: Make cheesecake filling
Using a large mixing bowl, beat 16 ounces of room temperature cream cheese with 1¾ cups of powdered sugar, 1 cup of Biscoff spread, and 2 teaspoons of vanilla extract until smooth and creamy. Incorporate 1 cup of heavy cream gradually, then whip the mixture on high speed until it thickens and achieves a light, fluffy texture. This rich filling is perfect for your Mini Biscoff Cheesecakes.
Step 3: Assemble cheesecakes
Once the crust has set, spoon or pipe the creamy cheesecake filling into the prepared crusts, filling them generously but not overflowing. Use a spatula for an even finish. Chill the assembled cheesecakes in the refrigerator for at least 12 hours to allow them to firm up and the flavors to harmonize beautifully.
Step 4: Make whipped cream
In a chilled mixing bowl, whip ¾ cup of heavy cream with 2 tablespoons of powdered sugar and ½ teaspoon of vanilla extract until medium-stiff peaks form. Be careful not to overwhip, as it might turn grainy. This freshly whipped cream will serve as a delightful topping for your Mini Biscoff Cheesecakes, adding a lightness to complement the rich filling.
Step 5: Decorate cheesecakes
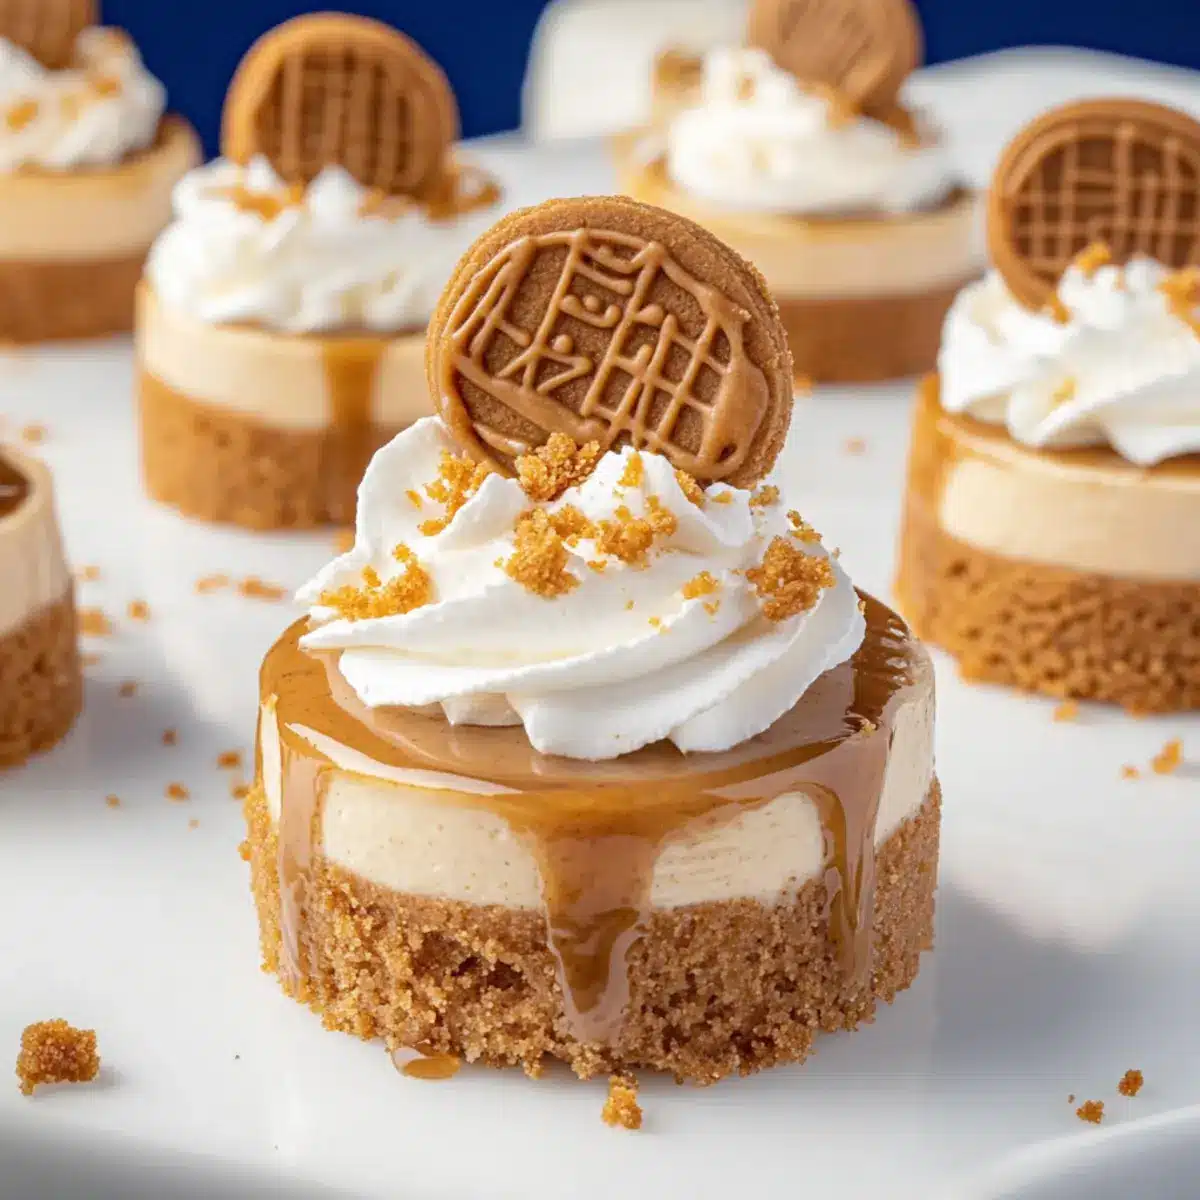
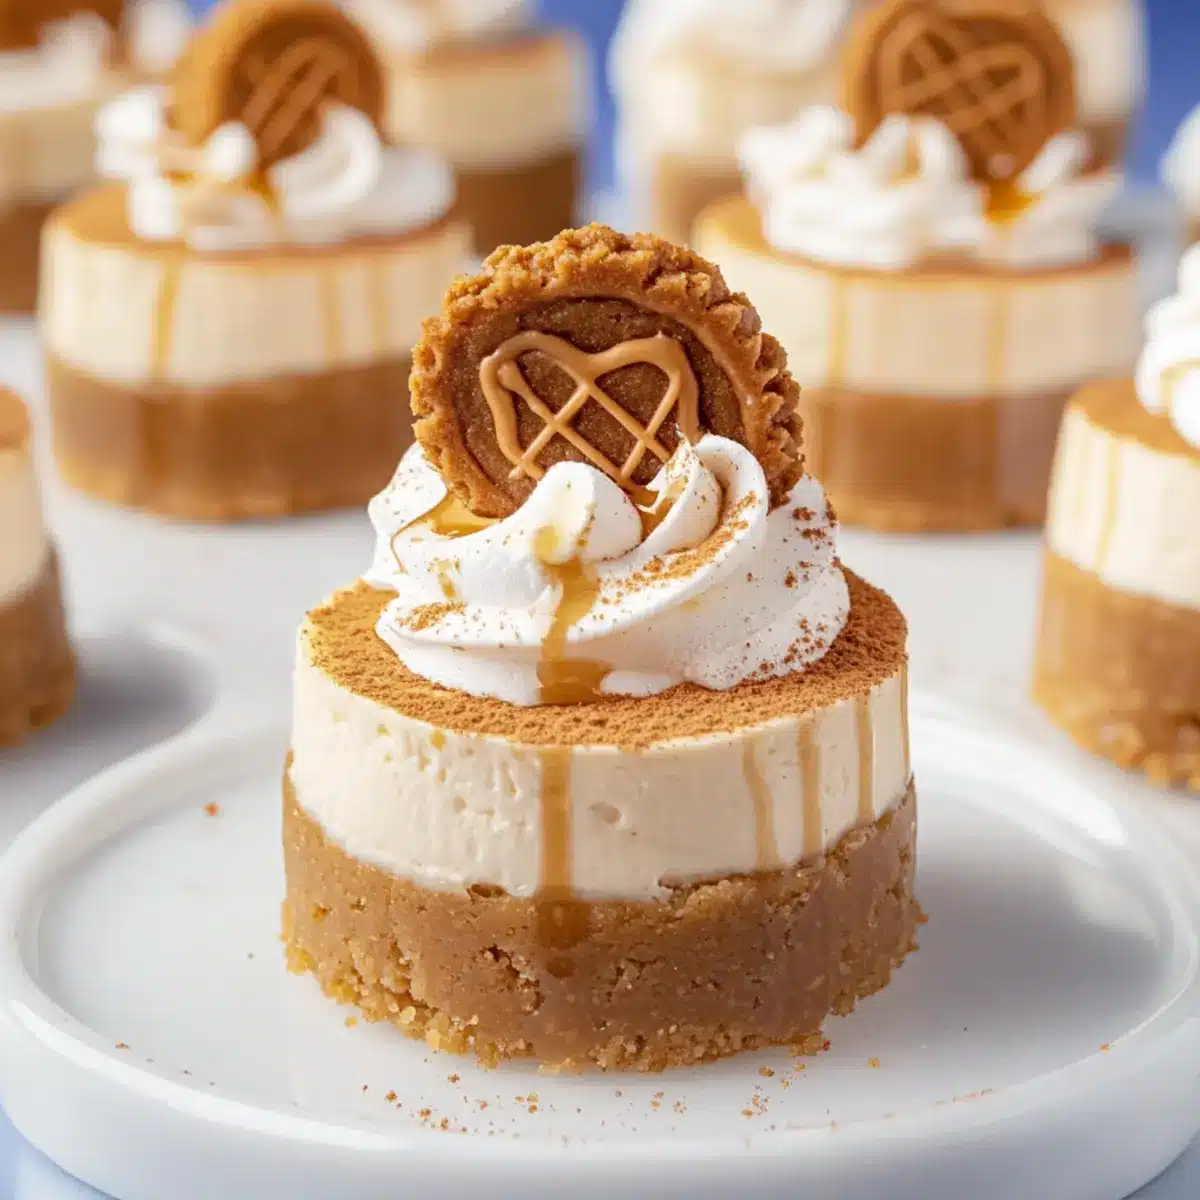
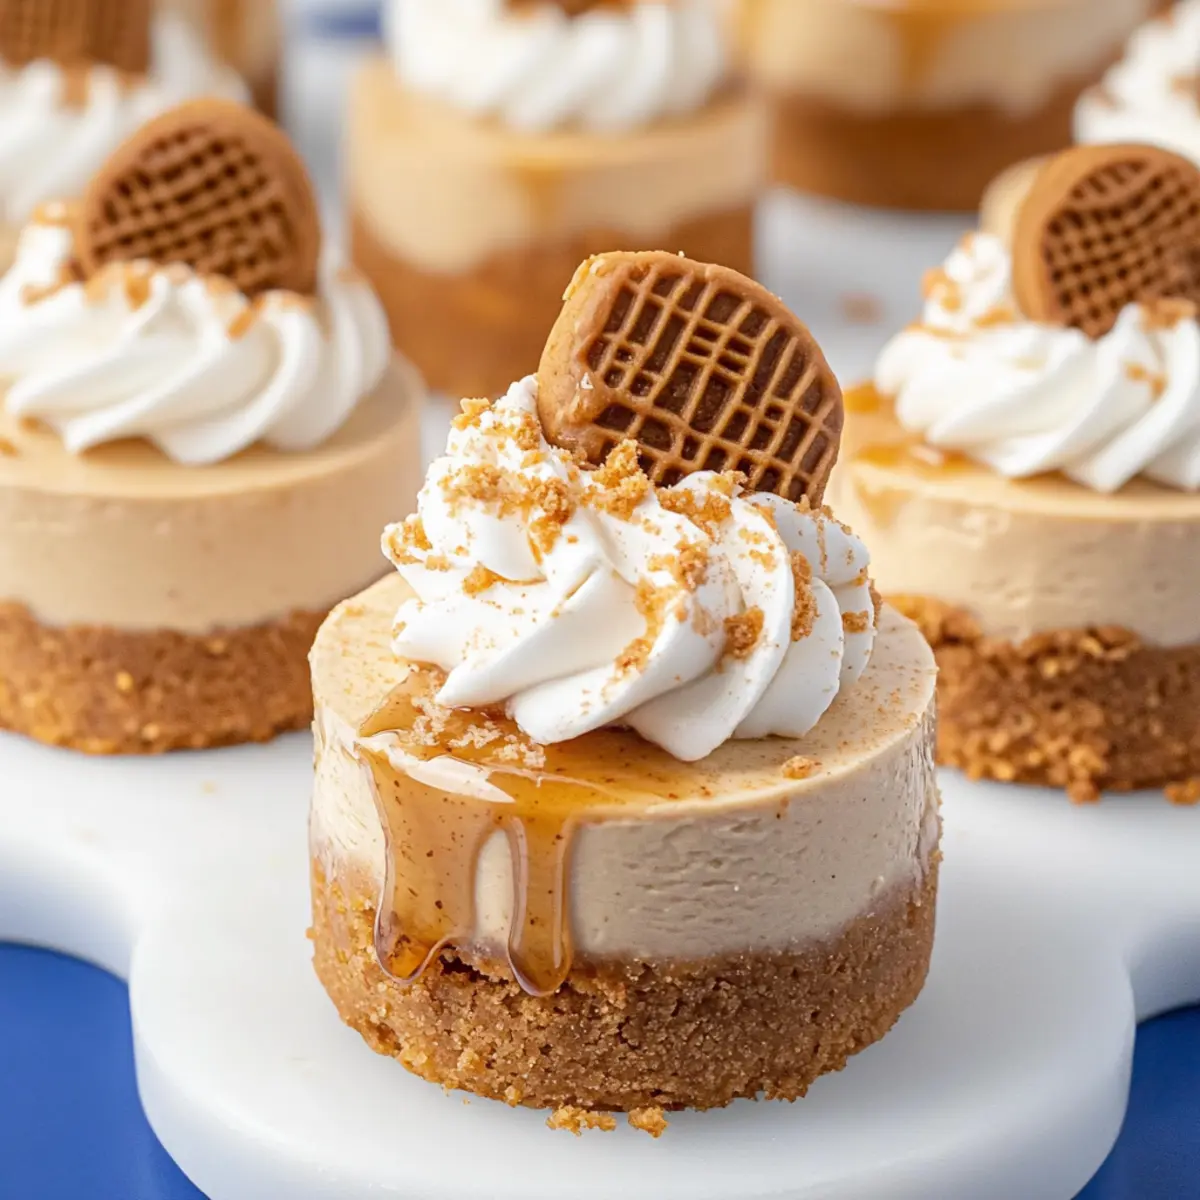
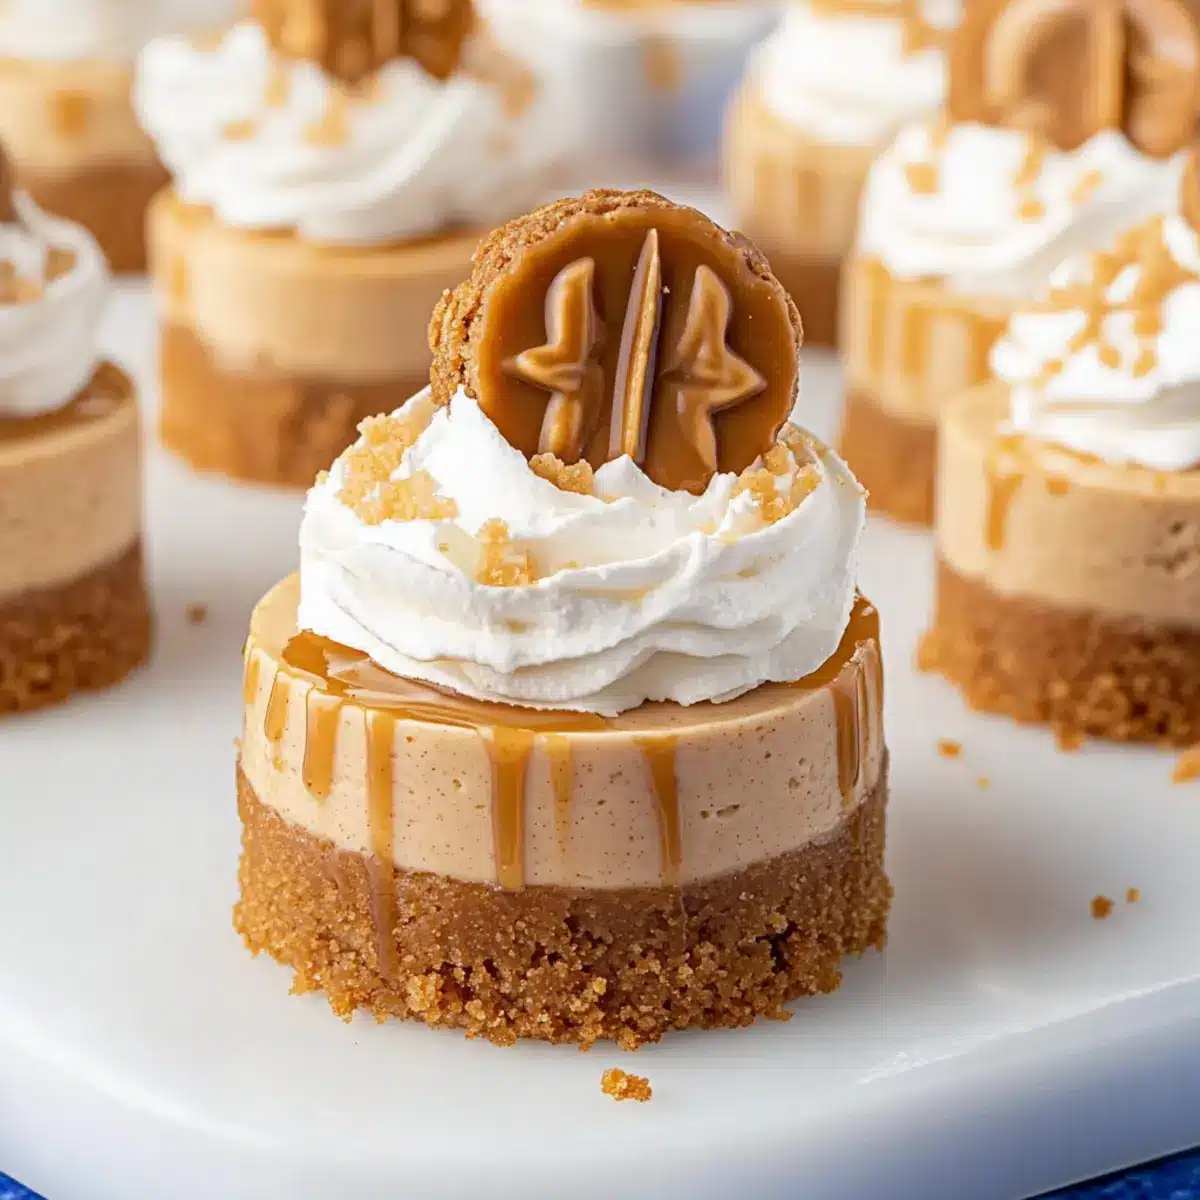
Once your cheesecakes are set, melt ¾ cup of Biscoff spread until it’s pourable. Drizzle this over the cheesecakes for a luscious finish. Then, pipe the whipped cream on top using a piping bag fitted with a star tip for a beautiful presentation. Sprinkle with 2 tablespoons of Biscoff cookie crumbs and place a halved Biscoff cookie on each cheesecake for the final touch.
Mini Biscoff Cheesecakes: Customize Your Treats!
Feel free to make these Mini Biscoff Cheesecakes your own with exciting twists and substitutes that will delight your taste buds!
- Nut-Free Delight: Swap Biscoff spread with sunflower seed butter for a nut-free option that still packs a flavorful punch.
- Indulgent Chocolate: Replace Biscoff spread with chocolate hazelnut spread for a luscious chocolate twist. You can’t go wrong with this rich upgrade!
- Fruity Surprise: Add a layer of strawberry or raspberry puree beneath the whipped cream for a delightful fruity twist that elevates each bite. The burst of fruit flavor is refreshing!
- Cookie Crust Variations: Use crushed Oreos or ginger snaps instead of Biscoff cookie crumbs for a unique flavor and texture. Each variation offers a delightful twist!
- Dairy-Free Option: Try coconut cream instead of heavy cream for the filling and whipped cream for a delicious dairy-free version. The result is creamy and dreamy!
- Flavor Boost: Stir in a teaspoon of lemon juice to the filling for a zingy contrast against the sweet richness. This brightens the flavors beautifully!
- Make It Spicy: Add a pinch of cinnamon or nutmeg to the crust for extra warmth and spice that complements the Biscoff flavor, making it even more inviting.
- Layered Dessert: Use small jars to layer the crust, cheesecake filling, and whipped cream for a stunning presentation. These jars are perfect for parties or gifts!
Embrace the possibilities and enjoy crafting your own version of these delectable Mini Biscoff Cheesecakes!
How to Store and Freeze Mini Biscoff Cheesecakes
Fridge: Store in an airtight container in the refrigerator for up to 3 days. This keeps the cheesecakes fresh while the flavors meld beautifully.
Freezer: For longer storage, freeze individual cheesecakes wrapped tightly in plastic wrap and aluminum foil for up to 2 months. Thaw in the fridge before serving.
Serving: When ready to enjoy, let them sit at room temperature for about 15-20 minutes for the best texture. The creamy filling will be easier to savor!
Make-Ahead: Consider preparing these Mini Biscoff Cheesecakes a day in advance. The extra chilling time enhances the flavors and creates a more indulgent experience.
What to Serve with Mini Biscoff Cheesecakes?
As you indulge in these rich, cream-filled bites, think about rounding out your dessert table with delightful accompaniments that enhance every flavor.
-
Fresh Berries: A medley of raspberries, blueberries, or strawberries provides a refreshing contrast to the creamy cheesecakes, adding a burst of tartness that perfectly complements the sweetness.
-
Chocolate Drizzle: A rich chocolate drizzle over the top not only enhances the visual appeal but adds a decadent layer of flavor, making each bite even more indulgent.
-
Whipped Coffee Cream: Light and airy, a whipped coffee cream offers a coffeehouse twist that pairs beautifully with the sweetness of the cheesecakes, creating a satisfying balance.
-
Caramel Sauce: A drizzle of warm caramel sauce introduces a buttery sweetness that pairs effortlessly with the Biscoff’s spiced notes, elevating the overall dessert experience.
-
Crispy Biscotti: A few crunchy biscotti on the side invites you to dip and savor the coffee-infused flavors, transforming your dessert into a delightful Italian-style treat.
-
Mint Tea: Completing the experience with a soothing cup of mint tea provides a fresh palate cleanser between bites, enhancing the sweetness of the desserts and leaving you feeling refreshed.
Feel free to mix and match these accompaniments to create a memorable dessert spread that everyone will love!
Make Ahead Options
These Mini Biscoff Cheesecakes are perfect for meal prep enthusiasts! You can prepare the crust and filling up to 24 hours in advance. Simply mix the Biscoff cookie crumbs, sugar, and melted butter for the crust, and press it into mini cheesecake pans. For the filling, beat the cream cheese, powdered sugar, Biscoff spread, and vanilla until smooth, then fold in the whipped cream. Chill the assembled cheesecakes in the refrigerator and serve within 3 days for the best flavor. To maintain quality, cover the cheesecakes with plastic wrap to prevent any drying out, and add the whipped cream and toppings just before serving for that fresh, delightful finish. Enjoy the ease of having this delectable dessert ready and waiting!
Expert Tips for Mini Biscoff Cheesecakes
Room Temperature Magic: Let your cream cheese reach room temperature for a smoother mixing process, ensuring a creamy filling that’s free of lumps.
Watch the Whipping: Whip heavy cream to medium-stiff peaks—overwhipping will create a grainy texture, compromising the delightful creaminess of your Mini Biscoff Cheesecakes.
Chill Wisely: Allow the assembled cheesecakes to chill for at least 12 hours to achieve the best flavor and texture; this waiting period is worth it!
Avoid Overfilling: Don’t fill the crusts to the brim; the cheesecake will slightly expand during chilling. This simple tip prevents messy overflow.
Perfect Piping: Use a Wilton 1M piping tip for a gorgeous presentation of whipped cream, making your cheesecakes look as good as they taste.
Mini Biscoff Cheesecakes Recipe FAQs
How do I choose ripe ingredients for the Mini Biscoff Cheesecakes?
Absolutely! Ensure your cream cheese is at room temperature before using; this makes for a smoother and creamier consistency in your cheesecake. For the heavy cream, opt for fresh and cold cream, as this whips up to create that delightful fluffy topping.
What are the best storage methods for Mini Biscoff Cheesecakes?
Store your delicious Mini Biscoff Cheesecakes in an airtight container in the refrigerator for up to 3 days to keep them fresh. You can also cover them with plastic wrap to help maintain their moisture and flavor.
Can I freeze Mini Biscoff Cheesecakes?
Yes, indeed! For freezing, wrap each cheesecake tightly in plastic wrap, then wrap them again in aluminum foil. This way, they can be stored in the freezer for up to 2 months. When you’re ready to enjoy, simply transfer them to the fridge to thaw overnight for the best texture.
What if my cheesecake filling doesn’t thicken properly?
No worries! If your filling doesn’t thicken as expected, it could be due to under-whipping the heavy cream. Ensure you beat the heavy cream until medium-stiff peaks form, as this adds the necessary aeration. If you’re having trouble, you can always add a touch of cornstarch to help stabilize the filling.
Are there any dietary considerations for the Mini Biscoff Cheesecakes?
Certainly! For nut-free options, substitute Biscoff spread with sunflower seed butter, or use dairy-free coconut cream for a vegan dessert. If you have allergies to gluten, make sure to use gluten-free cookie options for the crust, such as gluten-free Biscoff cookies or graham crackers.
Can I make these Mini Biscoff Cheesecakes ahead of time?
Absolutely! These cheesecakes can be made a day in advance, allowing the flavors to meld beautifully. This make-ahead option not only saves time on the day of your gathering but also enhances the creamy texture, making for a delightful treat!
Mini Biscoff Cheesecakes: Your No-Bake Cookie Dream Dessert
Ingredients
Equipment
Method
- In a mixing bowl, combine Biscoff cookie crumbs, granulated sugar, and melted salted butter. Stir until the mixture resembles wet sand. Press this mixture firmly into the bottoms of mini cheesecake pans and refrigerate for 15 minutes.
- Beat cream cheese with powdered sugar, Biscoff spread, and vanilla extract until smooth. Gradually incorporate heavy cream and whip until thick and fluffy.
- Spoon or pipe the cheesecake filling into the prepared crusts. Chill in the refrigerator for at least 12 hours.
- Whip heavy cream with powdered sugar and vanilla extract until medium-stiff peaks form. Top the cheesecakes with whipped cream.
- Melt Biscoff spread and drizzle over the cheesecakes. Pipe whipped cream on top, sprinkle with cookie crumbs, and place a halved cookie on each cheesecake.
Leave a Reply