
As I stood by the stove, the inviting aroma of sizzling potatoes filled the air, a comforting reminder of my grandmother’s kitchen. Today, I’m excited to share my version of Authentic Irish Potato Farls—these delightful little potato cakes are not only quick to whip up, but they’re also egg-free and incredibly satisfying. Imagine biting into a perfectly crispy exterior that soon gives way to a fluffy, hearty inside; they make for an ideal companion to your morning eggs or a simple spread of butter. Whether you call them potato fadge, boxty, or griddle cakes, these farls have a way of bringing everyone together around the breakfast table. Curious about how to recreate this Irish staple in your own kitchen? Let’s dive in!
Why Try Authentic Irish Potato Farls?
Comforting Homemade Delight: These potato farls provide a heartwarming taste of Irish tradition, perfect for any breakfast lover.
Quick Preparation: Whip up these delights in just 30 minutes—ideal for busy mornings!
Egg-Free Enjoyment: Suitable for those avoiding eggs, making it a great option for various diets.
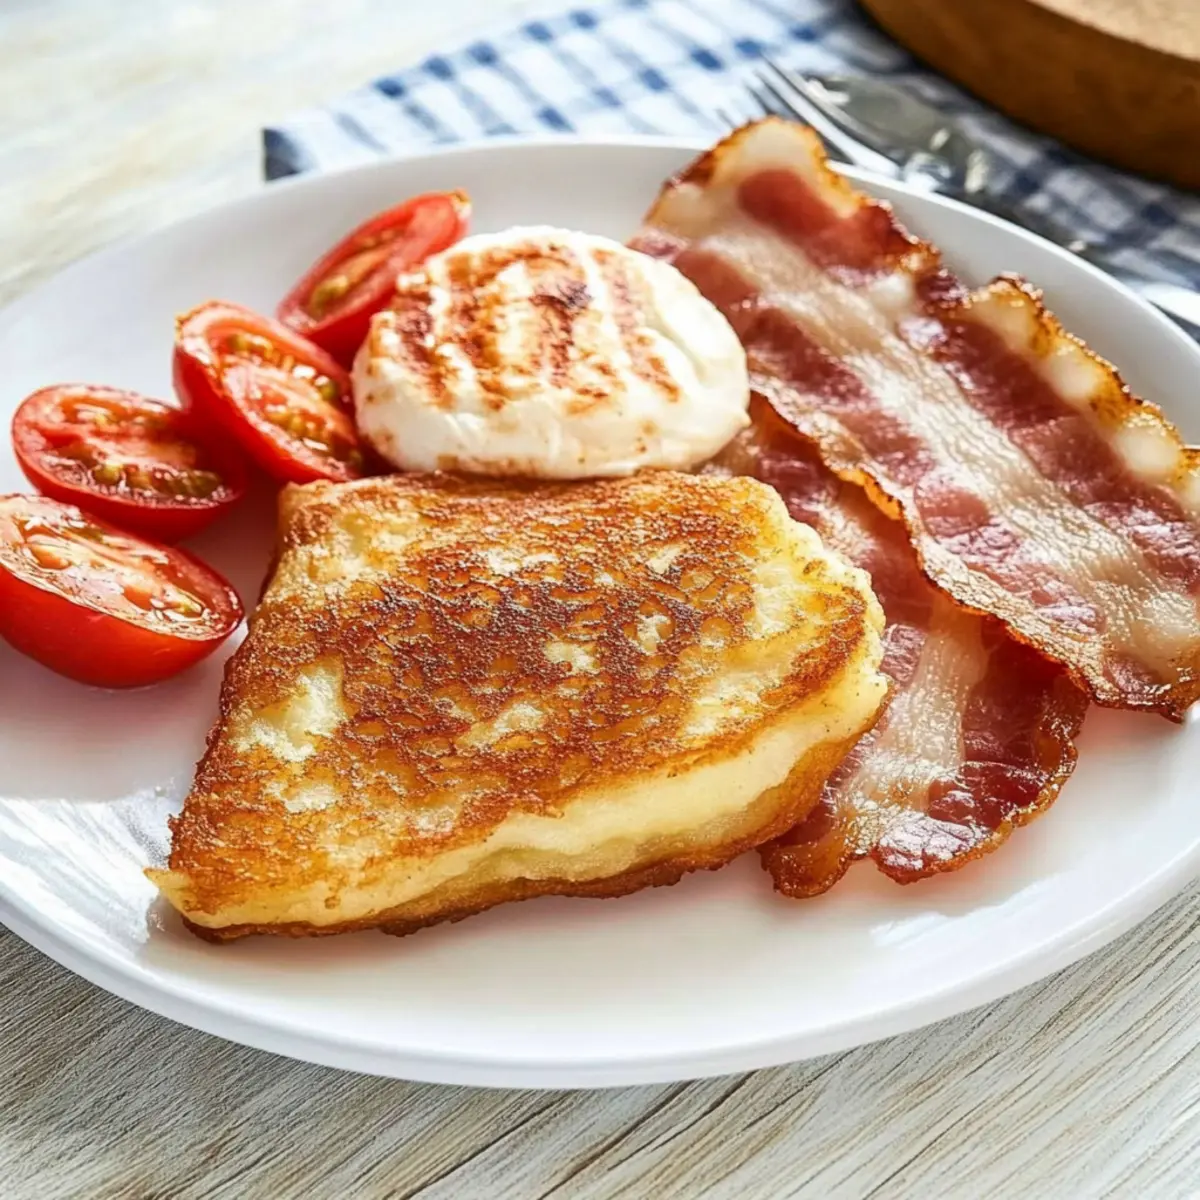
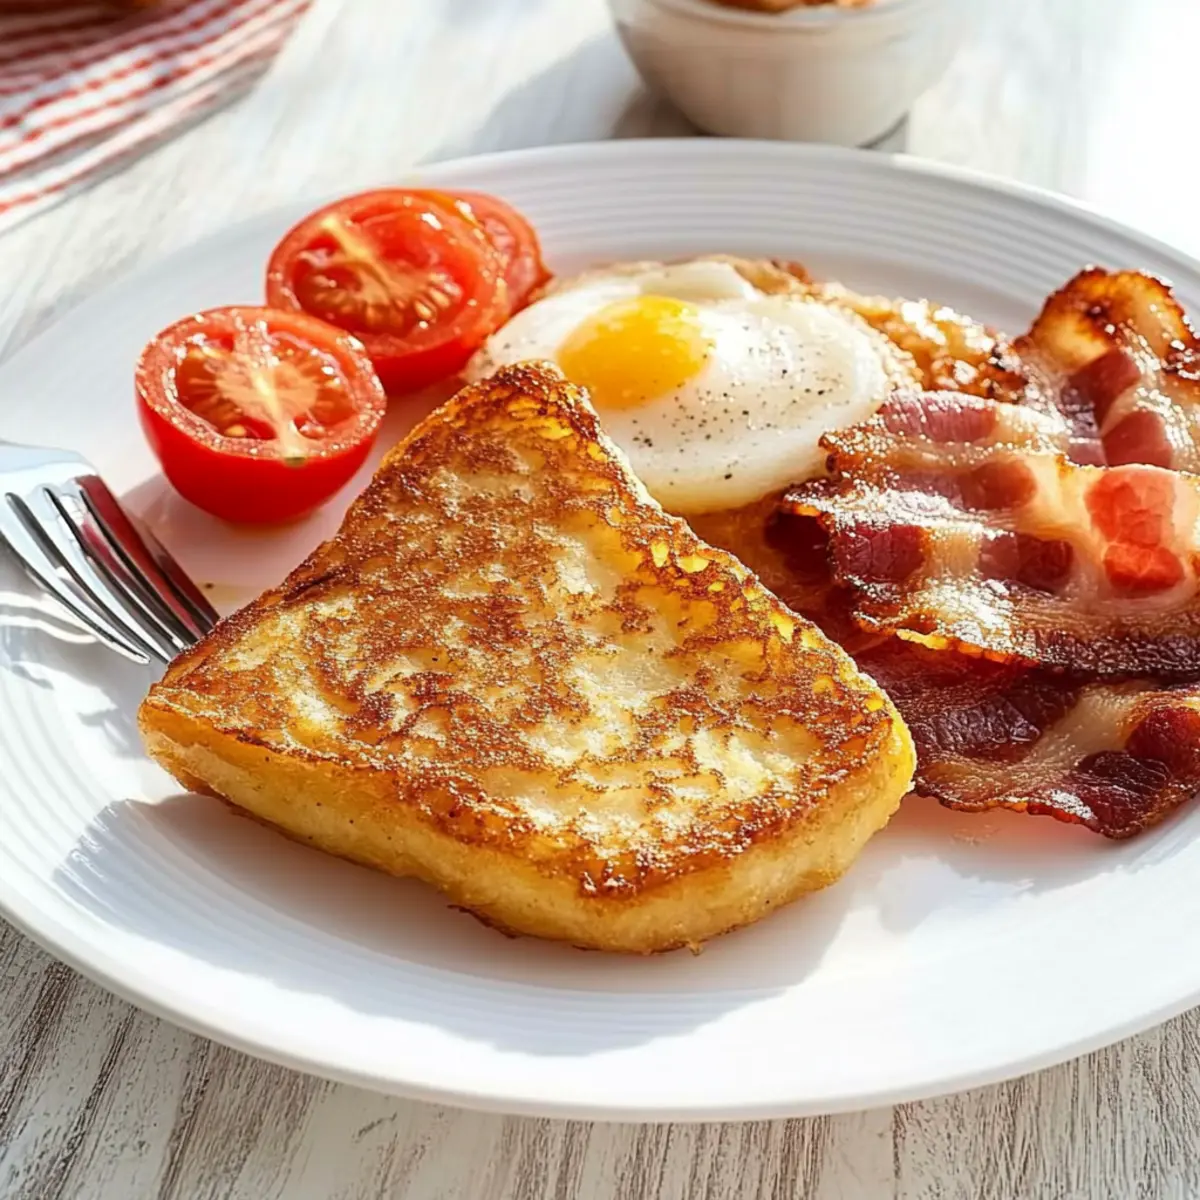
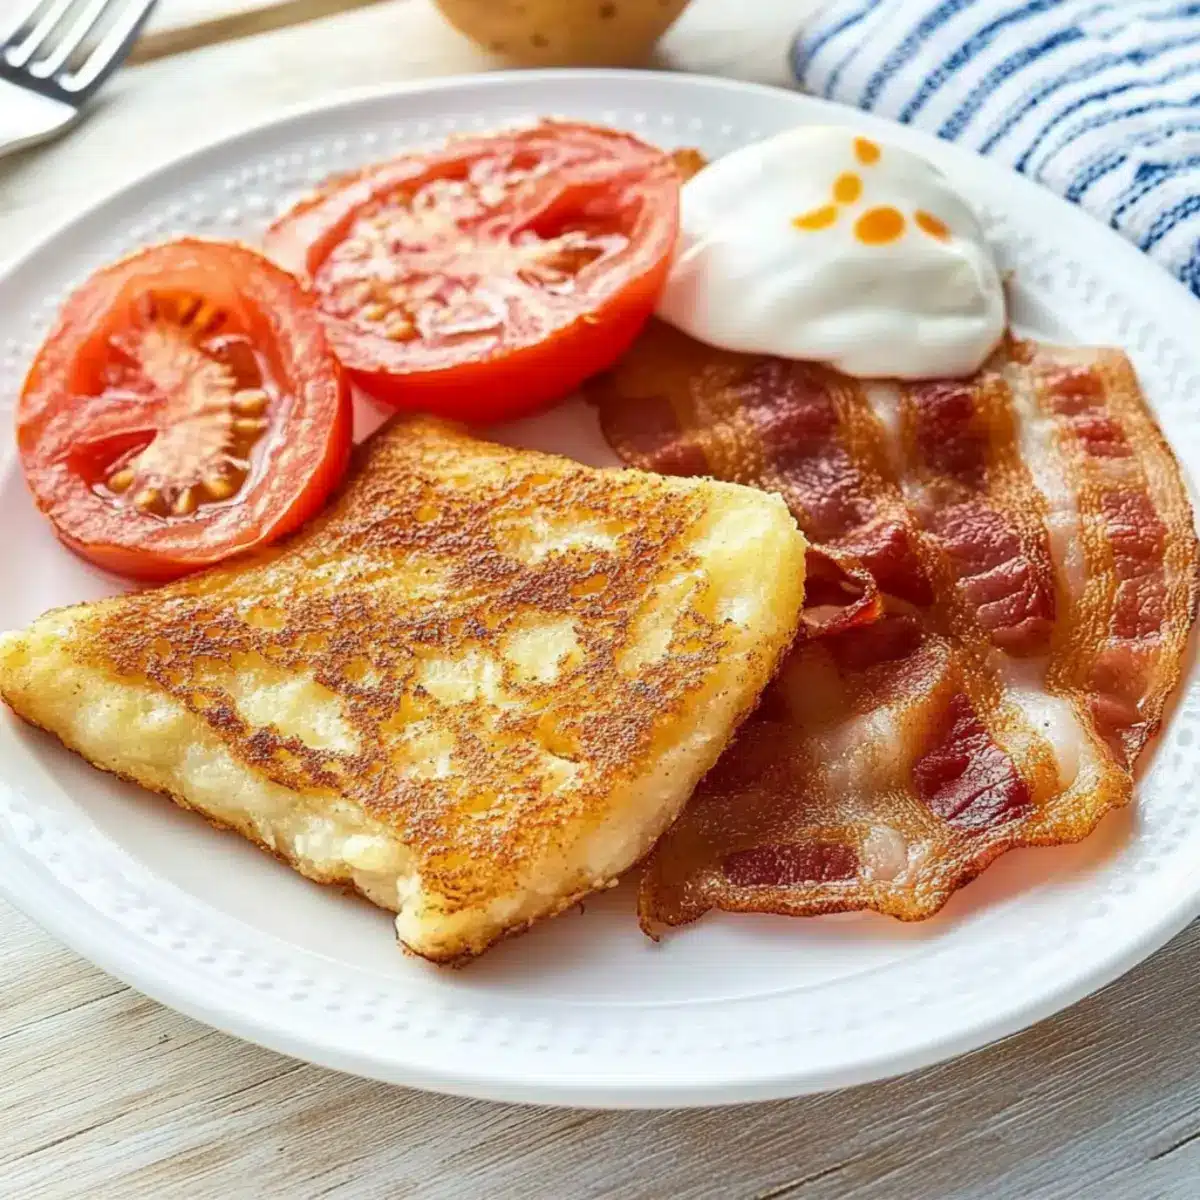
Versatile Pairing: Enjoy them with eggs, crispy bacon, or even as a standalone treat with butter.
Crispy & Fluffy: Experience the perfect combination of crispy exteriors and fluffy interiors that everyone will love.
Give them a try alongside a warm bowl of Broccoli Potato Cheese for a hearty breakfast that’s sure to satisfy!
Irish Potato Far Ingredients
• Get ready to create your own delicious Irish Potato Farls with these simple ingredients!
For the Farls
- Potatoes (Russet, Maris Piper, Roosters) – Fluffy, starchy potatoes are perfect for achieving the ideal texture.
- All-Purpose Flour – This binds the ingredients and adds structure; consider using gluten-free flour for a versatile option.
- Sea Salt – Enhances the potato flavor; feel free to adjust according to your taste preferences.
- Black Pepper – Adds a subtle heat; optional based on your spice tolerance.
- Butter – Essential for the rich flavor, but can be replaced with margarine or oil for a dairy-free option.
Make sure to enjoy these Irish Potato Far creations straight from the pan!
Step‑by‑Step Instructions for Irish Potato Farls
Step 1: Prepare the Potatoes
Start by peeling and chopping your potatoes into even-sized cubes for consistent cooking. Aim for about 2 pounds of fluffy, starchy varieties like Russet or Maris Piper. Once chopped, place them in a pot of salted cold water and bring it to a boil over medium heat. Cook for about 20-25 minutes, or until the potatoes are fork-tender and easily break apart.
Step 2: Drain and Dry
After cooking, drain the potatoes thoroughly in a sieve to remove excess water. Let them sit for about 5 minutes to dry out slightly—this step is crucial for achieving a fluffy texture in your Irish Potato Farls. Ensure they cool slightly so you can handle them without burning your fingers when mashing.
Step 3: Mash the Potatoes
Transfer the warm, dried potatoes to a mixing bowl or pass them through a fine sieve for a super smooth consistency. Using a potato masher or a fork, mash until fluffy, making sure there are no lumps. This will create a perfect base for your farls, enhancing their light texture and ensuring they cook evenly.
Step 4: Mix the Dough
In the bowl with your fluffy potatoes, add about 1 cup of all-purpose flour, 1 teaspoon of sea salt, and optional freshly cracked black pepper. Melt 2 tablespoons of butter and pour it into the mixture. Stir everything together until a soft dough forms. Make sure not to overmix—just combine until there are no dry spots of flour left.
Step 5: Shape the Farls
On a lightly floured surface, turn out your dough and gently shape it into an 8-inch round disc, about ½ inch thick. Use a sharp knife or a bench scraper to cut the disc into 6 equal triangles. Each piece should have clean edges, ensuring even cooking when they’re on the skillet.
Step 6: Cook the Farls
Heat a skillet over medium heat and melt about 2 tablespoons of butter until it begins to sizzle. Carefully place the potato farls into the skillet, leaving enough space between them. Cook for about 5 minutes or until they’re golden brown and crispy on one side before flipping and cooking the other side for another 5 minutes.
Step 7: Serve and Enjoy
Once the Irish Potato Farls are golden brown and crispy all around, transfer them to a warm plate. Serve hot—these delightful farls are perfect alongside eggs, grilled tomatoes, or simply with a spread of butter. Enjoy the comforting flavors of this traditional Irish dish!
Irish Potato Far Variations
Feel free to explore these delightful twists on the classic Irish Potato Farls to suit your taste!
- Herb-Infused: Add finely chopped fresh herbs like parsley or chives for a burst of flavor and a vibrant color.
- Cheesy Delight: Mix in shredded cheese, such as Cheddar or Gouda, for an indulgent and rich flavor experience.
- Bacon Lovers: Incorporate crisp, crumbled bacon into the dough for a savory, smoky twist that enhances every bite.
- Spicy Kick: Add a pinch of cayenne or chopped jalapeños to give your farls a delightful heat that wakes up your taste buds.
- Leftovers Magic: Use leftover mashed potatoes instead of fresh ones for a speedy preparation; just ensure they’re fluffy!
- Gluten-Free Option: Swap all-purpose flour with a gluten-free blend for those requiring dietary adjustments; it works beautifully!
- Sweet & Savory: For a unique breakfast option, mix in small diced apples and cinnamon, pairing beautifully with maple syrup.
- Mini Farls: Shape smaller, bite-sized farls for appetizers; serve alongside a creamy dip for an exciting twist at gatherings.
For a comforting side, try pairing your potato farls with a warm bowl of Sausage Sweet Potatoes or indulge in a serving of Creamy Garlic Shrimp over these delightful cakes!
Storage Tips for Irish Potato Farls
Fridge: Store any leftover Irish Potato Farls in an airtight container for up to 3 days. They keep their flavor and texture best when sealed from moisture.
Freezer: To freeze, arrange uncooked farls between sheets of parchment paper to prevent sticking. They can be cooked from frozen, adjusting the skillet time slightly for perfect results.
Reheating: Reheat cooked farls in a skillet over medium heat or in the oven until warmed through and crispy—this typically takes about 5-7 minutes.
Room Temperature: If you have any that you plan to eat soon, keep them at room temperature for no more than 2 hours to maintain freshness.
Expert Tips for Irish Potato Farls
-
Choose the Right Potatoes: Use fluffy, starchy potatoes like Russet for the best texture in your farls; avoid waxy potatoes, which can lead to a dense product.
-
Thorough Drying: After boiling, make sure the potatoes are well-dried in the sieve; moisture will prevent the dough from forming properly.
-
Gentle Mixing: Combine the ingredients just until a dough forms; overmixing can result in tough farls that lack fluffiness.
-
Heat Control: Cook at medium heat to ensure the farls develop a crispy exterior without burning; too high a heat can lead to uneven cooking.
-
Creative Add-Ins: Enhance your Irish Potato Farls by adding chopped fresh herbs or spring onions to the dough for an extra layer of flavor.
Make Ahead Options
Authentic Irish Potato Farls are a fantastic meal prep option that saves you time in the kitchen! You can prepare the dough up to 24 hours in advance; simply shape the farls and refrigerate them on a parchment-lined tray. This helps them maintain their texture and prevents sticking. When you’re ready to enjoy them, just heat a skillet, and cook the farls for about 5 minutes per side until they are golden brown and crispy. To elevate the flavors, consider frying them in a bit of bacon fat for a truly indulgent touch. Meal prep these comforting potato farls, and you’ll have a delightful breakfast or snack in no time!
What to Serve with Authentic Irish Potato Farls?
Imagine gathering around the breakfast table, eager to savor the deliciousness of freshly made potato farls alongside delightful pairings that elevate the experience.
-
Creamy Scrambled Eggs: Their rich creaminess complements the crispy exterior of the farls, creating a wonderful harmony of textures.
-
Grilled Tomatoes: Juicy and smoky, they offer a fresh burst of flavor that balances the comforting potato cakes beautifully.
-
Crispy Bacon: The savory, salty crunch of bacon adds a hearty dimension that turns your breakfast into an indulgent feast.
-
Fresh Herb Butter: A simple blend of melted butter with fresh herbs brings a fragrant, vibrant twist that enhances every bite.
-
Baked Beans: Sweet and tangy, baked beans bring a warmth and heartiness to the table, making your meal more substantial.
-
Fruit Preserves: A sweet tinge of raspberry or strawberry preserves spread on a warm farl creates a delightful contrast, perfect for a comforting breakfast.
-
Irish Breakfast Tea: Pair your farls with a robust Irish breakfast tea that offers a rich caffeine boost and beautifully complements the flavors.
-
Applesauce: The subtle sweetness and smooth texture of applesauce provide a refreshing contrast to the crispy farls.
For an unforgettable meal, consider adding a simple green salad with a tangy vinaigrette for some freshness and crunch!

Authentic Irish Potato Farls Recipe FAQs
How do I select the right potatoes for Irish Potato Farls?
Absolutely! For the best texture, choose fluffy, starchy varieties like Russet, Maris Piper, or Roosters. These types create a light and airy farl. Avoid waxy potatoes as they can lead to a denser consistency.
What’s the best way to store leftovers?
To keep your Irish Potato Farls fresh, store any leftovers in an airtight container in the fridge for up to 3 days. This helps retain both flavor and texture, ensuring you can enjoy them later without compromising quality.
Can I freeze Irish Potato Farls?
Very! To freeze uncooked farls, lay them out between sheets of parchment paper in a single layer to prevent sticking. Once they’re frozen solid, you can transfer them to a freezer bag. They can be cooked directly from frozen—just add a couple of extra minutes to your cooking time, usually about 7-8 minutes per side.
What if my farls turn out too dense?
If your Irish Potato Farls end up dense, it may be due to overmixing the dough or using the wrong type of potatoes. To prevent this, mix just until combined, and stick to fluffy, starchy potatoes. If you find yourself with dense farls, consider serving them with a drizzle of gravy or sauce to enhance their flavor.
Are Irish Potato Farls safe for my dietary needs?
Yes! These farls are egg-free and can easily be made gluten-free by substituting with a gluten-free flour blend. Be sure to check your butter substitute as well for dairy-free options if needed. Always keep an eye on allergy labels, especially for flour alternatives.
Crispy Irish Potato Far: A Comforting Homemade Delight
Ingredients
Equipment
Method
- Peel and chop potatoes into even-sized cubes. Place in salted cold water and boil for 20-25 minutes until fork-tender.
- Drain the potatoes in a sieve and let sit for 5 minutes to dry out.
- Mash warm, dried potatoes in a mixing bowl until fluffy with no lumps.
- Add flour, salt, pepper, and melted butter to the mashed potatoes and mix until a soft dough forms.
- Shape the dough into an 8-inch round disc on a floured surface and cut into 6 triangles.
- Heat a skillet over medium heat, melt butter, and cook farls for about 5 minutes on each side until golden brown.
- Serve hot with eggs or butter.
Leave a Reply