
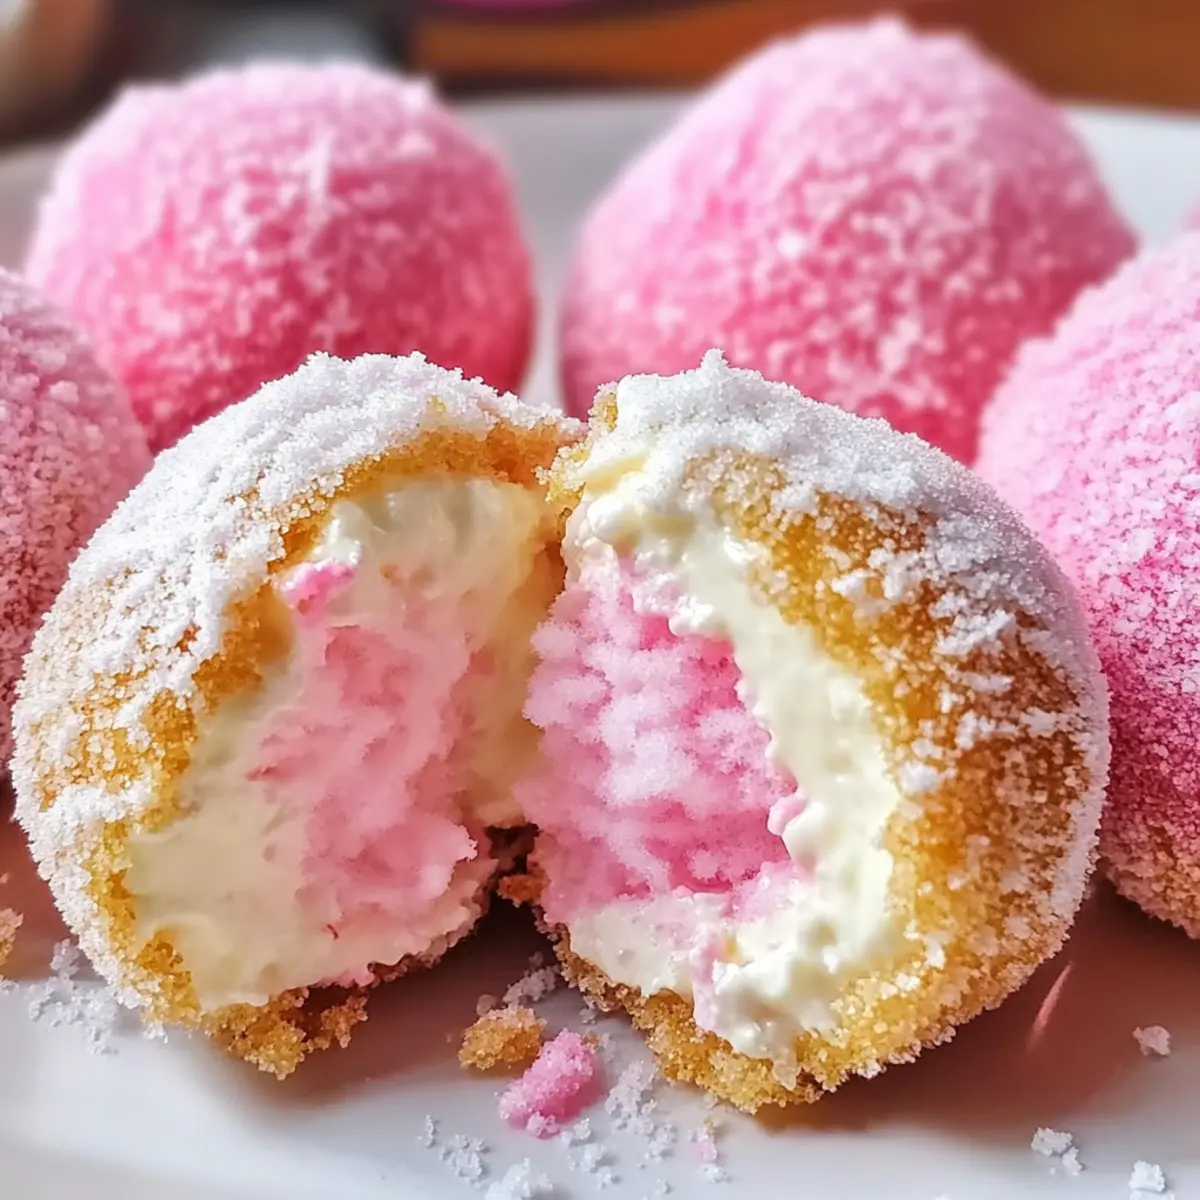
As I watched my kids spin in delight at the carnival, I reminisced about the magic woven into every bite of cotton candy. Those fluffy clouds of sweetness sparked inspiration for my latest treat: Crispy Cotton Candy Cheesecake Bombs. This whimsical dessert marries the nostalgic essence of cotton candy with the luxurious creaminess of cheesecake, all nestled within a crunchy, golden shell. Perfect for birthday parties or cozy family gatherings, these bombs are not just a feast for the eyes; they promise quick prep and guaranteed smiles with every bite. If you’re tired of fast food desserts and crave something extraordinary, get ready to indulge in a culinary adventure that’s as fun to make as it is to savor! Curious how to whip up these delightful bites? Let’s dive in!
Why Are These Cheesecake Bombs a Hit?
Whimsical Flavors: Each bomb captures the dreamy flavor of cotton candy, elevating your dessert game with a nostalgic twist.
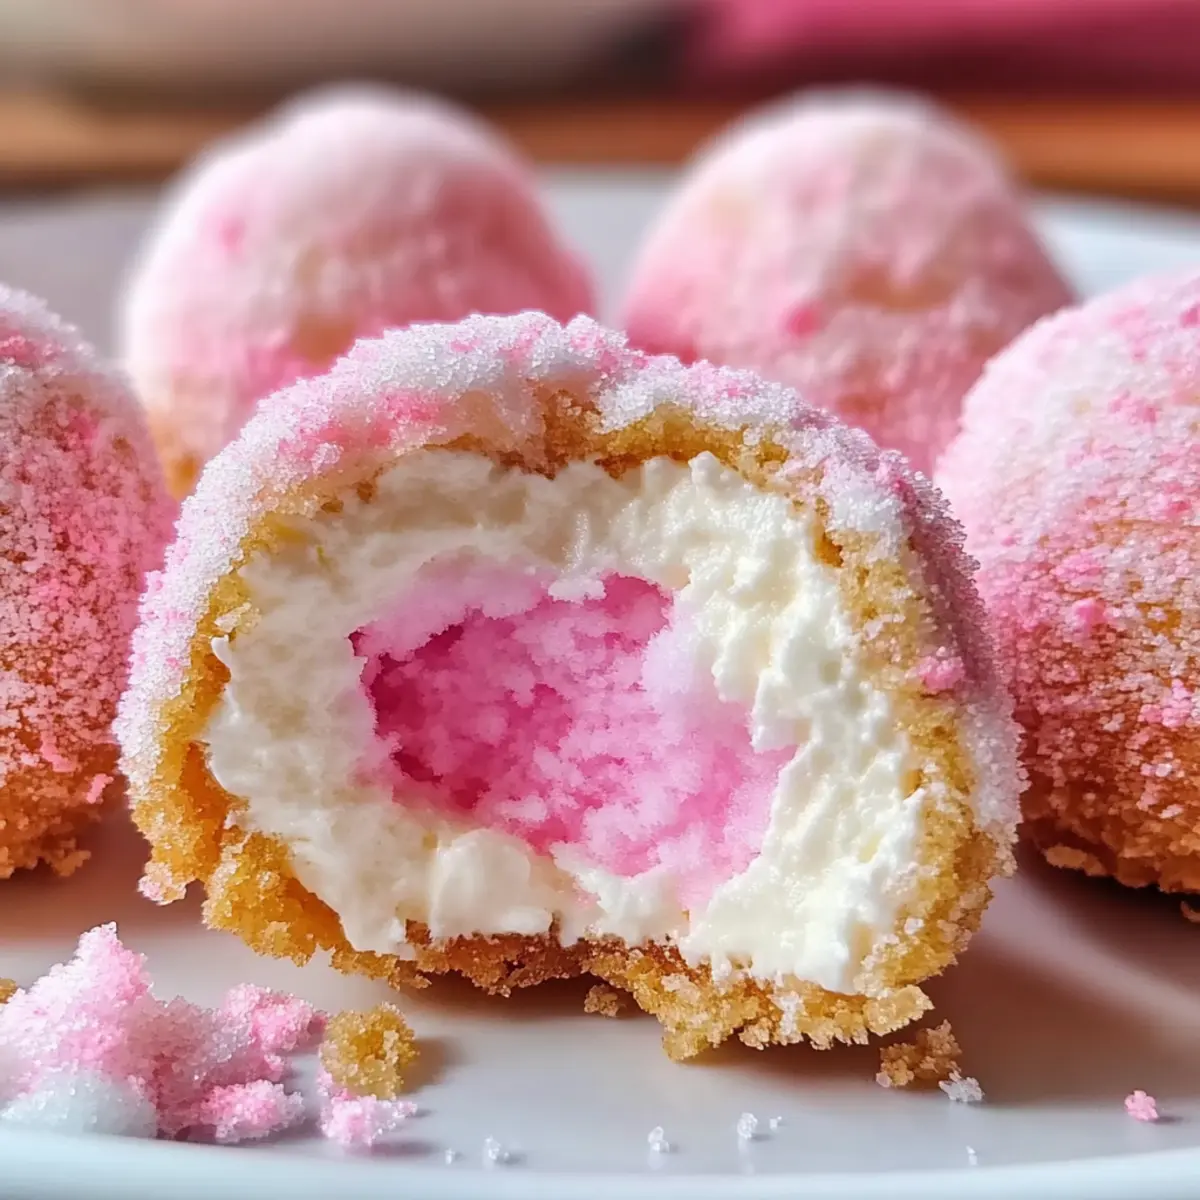
Crispy Perfection: Golden, crunchy shells create the perfect contrast to the creamy cheesecake filling, ensuring every bite is a delight.
Quick and Easy: This recipe is designed for both novice and experienced cooks, allowing for delightful results with minimal fuss!
Crowd-Pleasing Treat: Whether you’re hosting a birthday party or just looking for a special family dessert, these bombs guarantee smiles and satisfied taste buds.
Versatile Options: Feel free to customize! Try different flavored extracts or toppings to create your unique version—perhaps a sprinkle of rainbow for the kids or a drizzle of chocolate for an adult twist. If you love unique desserts, don’t forget to check out our Strawberry Crunch Cheesecake and Millionaires Cheesecake Indulge for more exciting ideas!
Cotton Candy Cheesecake Bombs Ingredients
-
For the Filling
• Cream Cheese – Provides a creamy, rich base for the cheesecake filling; use full-fat for the best texture.
• Powdered Sugar – Adds sweetness and aids in achieving a smooth filling; can substitute with a sugar alternative for a lower-sugar version.
• Vanilla Extract – Enhances the flavor profile; opt for pure vanilla for the best taste.
• Cotton Candy Flavoring – Imparts the signature cotton candy taste; can substitute with other flavors if needed.
• Whipped Topping – Adds lightness and creamy texture; non-dairy options can be used for a vegan version.
• Heavy Cream – Contributes richness to the filling; can replace with non-dairy cream for a lighter alternative. -
For the Dough
• Refrigerated Biscuit Dough – Forms the dough wrapping for a convenient prep; homemade dough is a great fresh alternative.
• All-Purpose Flour – Used for dusting work surfaces; gluten-free alternatives can work in gluten-free options. -
For Frying & Coating
• Vegetable Oil – Required for frying; peanut oil can also be used for an added flavor twist.
• Granulated Sugar – Used for coating post-frying; consider mixing in cotton candy flavoring for an extra touch.
• Powdered Sugar – For dusting before serving; optional but highly recommended for that perfect presentation.
• Cotton Candy (for topping) – Adds visual flair and reinforces the cotton candy flavor; optional based on availability.
Step‑by‑Step Instructions for Crispy Cotton Candy Cheesecake Bombs
Step 1: Prepare the Filling
Begin by beating 8 ounces of cream cheese in a mixing bowl until smooth and creamy, about 2-3 minutes. Gradually mix in 1 cup of powdered sugar, 1 teaspoon of vanilla extract, and 1 teaspoon of cotton candy flavoring until well combined. Fold in 1 cup of whipped topping and 1/4 cup of heavy cream gently until light and fluffy. Chill this delightful filling in the refrigerator for 30 minutes to let the flavors meld.
Step 2: Prepare Dough
While your filling is chilling, lightly dust a clean work surface with all-purpose flour. Unroll one can of refrigerated biscuit dough and flatten each round into 1/8 inch thick circles using a rolling pin. Ensure even thickness for a consistent and crispy outer layer for your Cotton Candy Cheesecake Bombs. Take your time to shape each piece uniformly.
Step 3: Shape Bombs
Once the filling is chilled, scoop about 1-2 tablespoons of the cheesecake mixture and roll it into a smooth ball between your palms. Place the ball at the center of each flattened dough circle. Carefully fold the edges of the dough over the filling, pinching to seal and form a ball shape. Roll gently between your hands until smooth, ensuring no filling is exposed.
Step 4: Fry Bombs
In a large heavy pot, heat vegetable oil over medium-high heat until it reaches 350°F (175°C). Carefully drop the prepared cheesecake bombs in batches, frying for 1-2 minutes on each side until they are golden brown on the outside. Use a slotted spoon to transfer the bombs to a plate lined with paper towels to drain excess oil, keeping them warm as you prepare the next batch.
Step 5: Coat Bombs
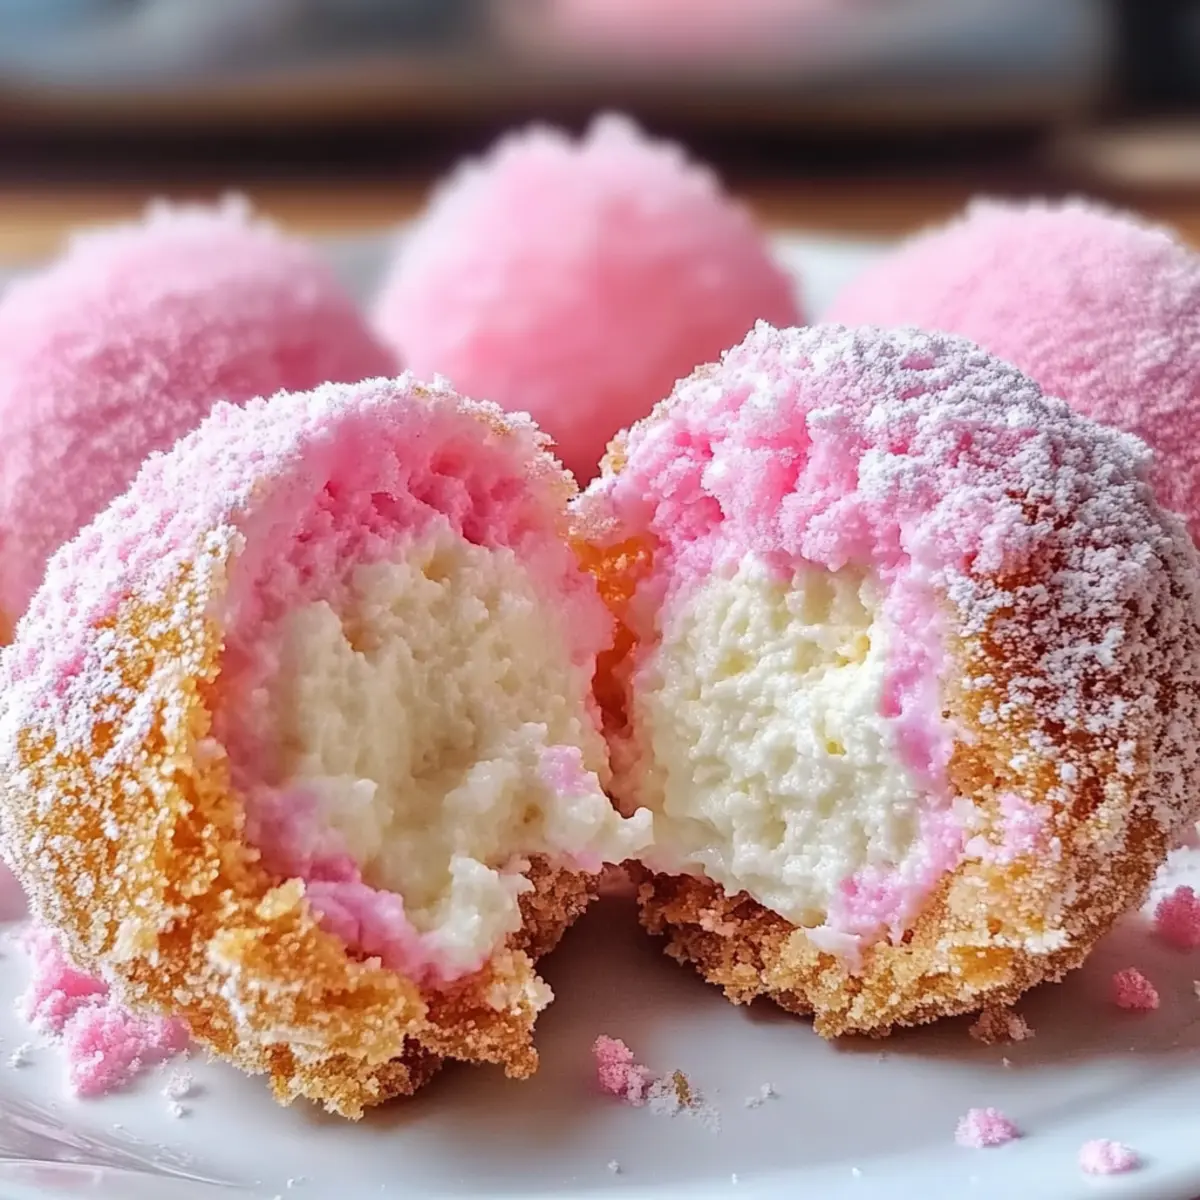
While the bombs are still warm, roll them in a bowl of granulated sugar to give them a sweet, crunchy coating. For an extra special touch, lightly dust them with powdered sugar, and add pieces of cotton candy on top for a whimsical presentation. Serve your Crispy Cotton Candy Cheesecake Bombs immediately for the best flavor and texture, and watch smiles light up the room!

Expert Tips for Cotton Candy Cheesecake Bombs
• Temperature Control: Maintain the oil temperature at 350°F to ensure a crispy exterior without overcooking the filling.
• Serve Fresh: These bombs are best enjoyed straight after frying; they maintain their delightful crunch and creamy center when served warm.
• Chill Filling: Letting the filling chill for at least 30 minutes enhances the flavors and makes it easier to scoop and shape without losing texture.
• Avoid Poking: When sealing the dough around the filling, ensure it’s tightly pinched to prevent leakage during frying; any exposed filling can result in messy bombs.
• Dough Thickness: Keep your dough circles about 1/8 inch thick. If too thin, they can tear during frying; too thick, and they may not get crispy enough to balance the creamy filling.
What to Serve with Crispy Cotton Candy Cheesecake Bombs
Imagine a whimsical dessert that stars at any gathering, tantalizing both your eyes and taste buds.
- Refreshing Fruit Salad: A mix of fresh berries and melons complements the sweetness, adding a burst of natural flavor to balance the rich cheesecake bombs.
- Creamy Vanilla Ice Cream: The classic pairing of cold, velvety ice cream enhances the warm, crispy texture of the bombs, creating a delightful contrast.
- Chocolate Sauce Drizzle: A rich chocolate sauce brings a decadent twist, enticing those who crave a little indulgence with each bite.
- Sparkling Lemonade: The fizzy, tangy notes of lemonade cleanse the palate beautifully after each rich, sweet bomb, making it a perfect drink choice.
- Caramel Sauce: A drizzle of warm caramel over the bombs adds a luscious sweetness that pairs harmoniously with the cotton candy flavor.
- Whipped Cream: Light and airy, whipped cream brings an extra layer of creaminess that beautifully complements the cheesecake filling, enhancing each bite.
- Mini Tarts: These bite-sized treats bring variety and offer different textures, introducing a playful twist that keeps the dessert table interesting.
- Coconut Macaroons: With their chewy texture, these delightful cookies add a tropical flair that harmonizes with the whimsical theme of cotton candy.
- Fruit-Infused Sparkling Water: Light and refreshing, this subtle drink option enhances the overall experience without overshadowing the delicate flavors of the dessert.
Make Ahead Options
Crispy Cotton Candy Cheesecake Bombs are a fantastic option for busy home cooks who want to save time without compromising on flavor! You can prepare the cheesecake filling up to 24 hours in advance—just mix and refrigerate until you’re ready to use. Also, you can form the bombs, seal them well, and store them in an airtight container for up to 3 days in the fridge. To maintain their crispy texture, avoid frying until you’re ready to serve. When it’s time to enjoy, simply heat the oil, fry until golden, and coat in sugar for that irresistible crunch. You’ll love how easy it is to create this delightful treat ahead of time!
How to Store and Freeze Cotton Candy Cheesecake Bombs
Room Temperature: Enjoy these bombs warm straight from the fryer for the best experience; they are best consumed immediately.
Fridge: Store any leftovers in an airtight container for up to 2 days. Reheat in the oven at 350°F for a few minutes to restore crispiness.
Freezer: These bombs are not suitable for freezing once fried, as it compromises their crispy texture. However, the filling can be frozen for up to 1 month; just thaw it before use.
Make-Ahead Tips: Prepare the creamy filling a day in advance and store it in the fridge; it simplifies your cooking process while maintaining the delightful flavors of your Cotton Candy Cheesecake Bombs.
Cotton Candy Cheesecake Bombs Variations
Feel free to play around with these delightful ideas and make this whimsical dessert your own!
-
Mascarpone Swap: Substitute cream cheese with mascarpone for a smoother, creamier filling that melts in your mouth. This keeps the indulgence high while adding a new flavor dimension.
-
Cookie Dough Alternative: Replace biscuit dough with cookie dough for a sweet twist on the outside. This transformation lends a warm, gooey center that complements the cheesecake filling beautifully.
-
Flavor Extracts: Incorporate different flavor extracts like strawberry or almond to the filling or the dough for a personalized touch. Experiment with combinations to discover new favorites!
-
Add Sprinkles: Mix colorful sprinkles into the dough before frying to create a festive look. Perfect for birthdays or celebrations, these joyous colors will bring an extra sparkle to the table.
-
Non-Dairy Version: Use non-dairy cream cheese and whipped topping to craft a vegan alternative. Enjoy all the flavors of this treat without compromising on your dietary preferences.
-
Spicy Sweetness: Add a pinch of cinnamon or nutmeg into the filling for a warm spice flavor. This variation offers a surprisingly delightful twist, perfect for fall gatherings.
-
Ultimate Flavor Boost: Drizzle your warm bombs with caramel or chocolate sauce after frying. This extra layer of sweetness and richness elevates the dessert experience.
If you’re curious for even more delightful dessert ideas, check out our Pepperoni Pizza Bombs for a savory counterpart!
Cotton Candy Cheesecake Bombs Recipe FAQs
What type of cream cheese should I use?
Absolutely! For the best texture and flavor, I recommend using full-fat cream cheese. It provides a rich, creamy base that complements the other ingredients beautifully. Low-fat options can work in a pinch, but the flavor and texture may not be as indulgent.
How should I store leftover Cheesecake Bombs?
For any leftovers, store them in an airtight container in the fridge for up to 2 days. When you’re ready to enjoy them again, simply reheat in an oven at 350°F for a few minutes—it’s the best way to restore that delightful crispy texture!
Can I freeze the filling for later use?
Yes, you can! If you’re making these Cotton Candy Cheesecake Bombs ahead of time, you can freeze the filling for up to 1 month. Here’s how: place the filling in a freezer-safe container, leaving some space at the top for expansion. When you’re ready to use it, just thaw it in the fridge overnight, re-mix gently, and it’s good to go!
What can I do if the dough tears while shaping?
Very! If your dough tears while shaping it around the filling, don’t worry—just take a small piece of dough and use it to patch the hole gently. Make sure to pinch the seams tightly, but if there’s still a little exposure, that’s okay; just keep an eye on it while frying to minimize any spillage.
Are these Cheesecake Bombs safe for pets or allergies?
While these delicious treats are perfect for humans, be cautious with pets, especially due to their sugar content, and avoid giving them cheesecake at all. If you or your guests have dairy allergies, consider using lactose-free cream cheese and whipped topping, or ensuring the dessert is enjoyed by individuals who can consume these ingredients safely.
Crispy Cotton Candy Cheesecake Bombs You’ll Crave Again!
Ingredients
Equipment
Method
- Begin by beating cream cheese in a mixing bowl until smooth and creamy, about 2-3 minutes. Gradually mix in powdered sugar, vanilla extract, and cotton candy flavoring until well combined. Fold in whipped topping and heavy cream gently until light and fluffy. Chill this filling in the refrigerator for 30 minutes.
- Lightly dust a clean work surface with all-purpose flour. Unroll one can of refrigerated biscuit dough and flatten each round into 1/8 inch thick circles using a rolling pin.
- Scoop about 1-2 tablespoons of the cheesecake mixture and roll it into a smooth ball between your palms. Place the ball at the center of each flattened dough circle. Fold the edges of the dough over the filling, pinching to seal and form a ball shape.
- Heat vegetable oil over medium-high heat until it reaches 350°F. Carefully drop the cheesecake bombs in batches, frying for 1-2 minutes on each side until golden brown. Transfer to a plate lined with paper towels to drain excess oil.
- While still warm, roll the bombs in granulated sugar to coat. Dust with powdered sugar and add pieces of cotton candy on top before serving immediately.
Leave a Reply