
As I stirred the pot, the earthy aroma of miso danced through the kitchen, wrapping me in a warm embrace. That’s when I knew I was onto something magical—my creamy miso pasta was about to become a new weeknight favorite. This delightful dish takes just 30 minutes to whip up, transforming humble spaghetti into a comforting bowl of umami goodness. With its silky texture and rich flavors, it’s the perfect quick dinner for anyone craving something satisfying without a lengthy cooking time. Plus, it’s remarkably versatile; whether you want to toss in some veggies or top it with crispy tofu, the possibilities are endless. Are you ready to elevate your pasta game? Let’s dive into this deliciously creamy miso pasta recipe!
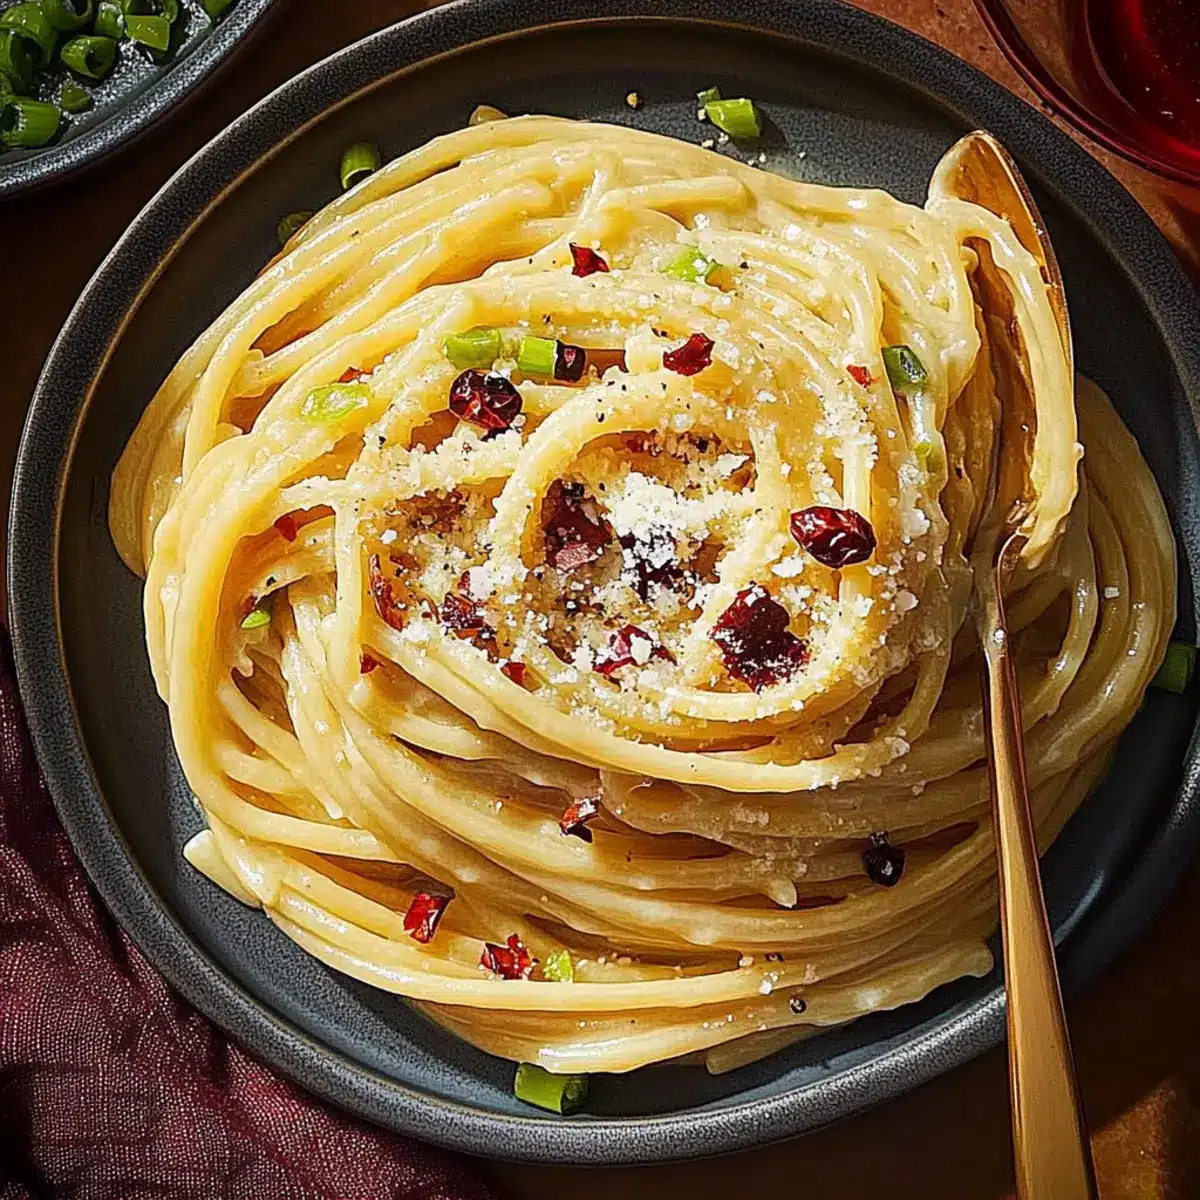
Why is Creamy Miso Pasta a Must-Try?
Simplicity Meets Flavor: This recipe is incredibly easy, requiring just a few pantry staples like pasta, miso, and Parmesan.
Rich Umami Kick: The unique blend of miso and butter creates a depth of flavor that will impress your taste buds and make you rethink your usual pasta dishes.
Quick Cooking Time: Ready in just 30 minutes, it’s an ideal choice for busy weeknights when you want comfort food without the fuss.
Customization Options: Feel free to add grilled chicken, sautéed shrimp, or seasonal veggies for a protein boost, or swap the pasta type for a fun twist. Try it with Marry Chicken Pasta for another delightful dinner option!
Crowd-Pleasing Dish: Whether it’s family dinner or a cozy night in, this creamy miso pasta is sure to satisfy everyone at the table.
Creamy Miso Pasta Ingredients
For the Pasta
• Long thin pasta – Use spaghetti, linguine, or fettuccine for the sauce to cling perfectly, making each bite satisfying.
For the Sauce
• White miso paste – Adds a rich umami flavor and buttery notes; you can experiment with different types of miso for varied taste profiles.
• Cubed butter – Helps emulsify the sauce for a luxurious texture; substitute with olive oil for a lighter version if desired.
• Coarsely ground pepper – Enhances flavor with a touch of heat; feel free to adjust the amount based on your preference.
• Finely shredded Parmesan cheese – Provides creaminess and depth; try Pecorino Romano for a different flavor twist.
Optional Garnishes
• Thinly sliced green onions – Adds freshness and a mild onion flavor to brighten up the dish.
• Sliced Thai red chilies – Introduces a spicy kick; adjust to your heat tolerance for an added element of fun.
• Chili crisp – Gives an extra layer of crunch and flavor, making your creamy miso pasta even more irresistible!
Step‑by‑Step Instructions for Creamy Miso Pasta
Step 1: Cook the Pasta
Bring a large pot of salted water to a rolling boil over high heat. Add your long thin pasta, like spaghetti, and cook according to package directions for al dente, around 8-10 minutes. Once cooked, reserve about 3/4 cup of the pasta cooking water, then drain the rest in a colander, letting the steam rise as the noodles rest while you prepare the sauce.
Step 2: Prepare the Miso Mixture
In a small bowl, whisk together the reserved pasta water with the white miso paste until smooth and free of lumps. This step ensures your creamy miso pasta sauce is velvety without any clumps. Set aside the miso mixture as you get your skillet ready for the next step, envisioning the richness about to unfold.
Step 3: Melt the Butter
Place a large skillet over medium heat and add 2 tablespoons of cubed butter. Allow it to melt slowly, creating a luscious base for your sauce. Once the butter is melted and begins to foam slightly, add coarsely ground pepper to the skillet. Stir it through for about a minute, infusing the butter with a hint of heat before introducing the miso mixture.
Step 4: Combine the Sauce and Pasta
Pour the miso mixture into the skillet with the melted butter, stirring gently until heated through, about 2 minutes. Now, add the cooked pasta to the skillet, along with the remaining 2 tablespoons of butter and 1/2 cup of finely shredded Parmesan cheese. Toss continuously for 2-3 minutes until the cheese melts completely and the sauce becomes glossy and coats every strand of pasta.
Step 5: Adjust and Serve
If your sauce seems thick, gradually incorporate additional reserved pasta water, one tablespoon at a time, until you reach your desired consistency. Look for a silky texture that clings to the pasta beautifully. Once you’re satisfied, plate your creamy miso pasta, topping it with optional garnishes like thinly sliced green onions or chili crisp for added flavor, and serve immediately for a delightful dining experience.
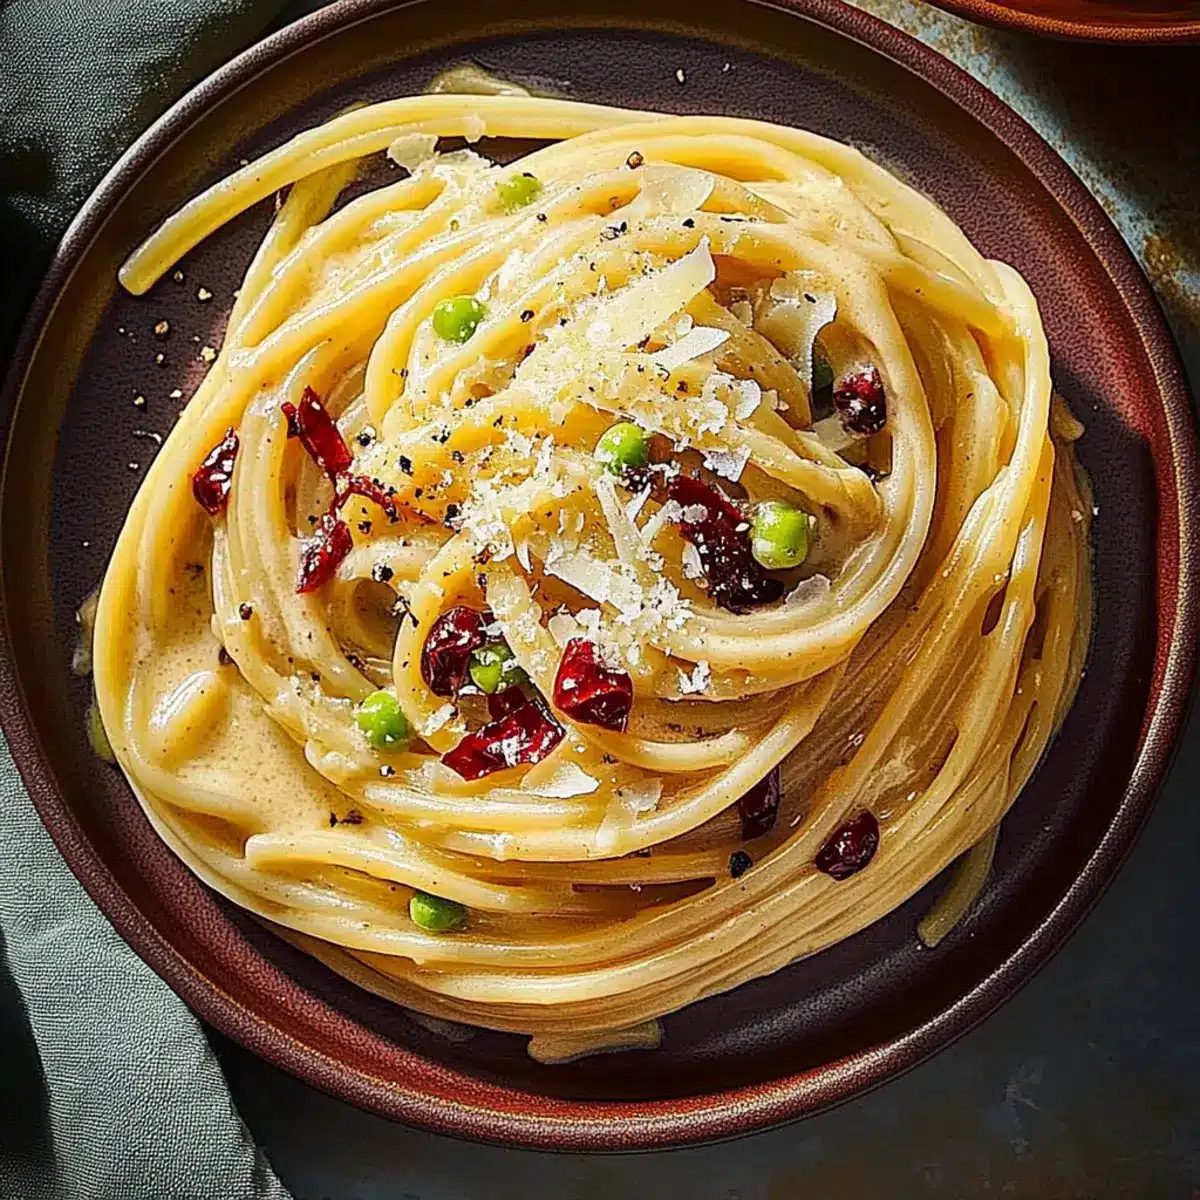
Creamy Miso Pasta Variations & Substitutions
Customize this creamy miso pasta recipe to suit your taste buds and dietary needs!
-
Pasta Swap: Use shorter pasta shapes like rigatoni or penne for a delightful texture twist. Each bite will capture even more sauce!
-
Dairy-Free: Substitute butter with olive oil or vegan butter, and replace Parmesan with nutritional yeast for a creamy, plant-based version. You’ll still achieve that rich, umami flavor.
-
Protein Boost: Add grilled chicken, sautéed shrimp, or crispy tofu for a heartier dish. This extra protein will turn your pasta into a fulfilling meal that’s sure to please.
-
Cheese Alternatives: Experiment with Gouda or a sharp cheddar for different flavor profiles. Each cheese brings its own unique touch that can elevate the dish in delightful ways.
-
Veggie Addition: Stir in seasonal vegetables like spinach or cherry tomatoes for a burst of freshness and nutrients. This combo not only enhances flavor but also adds a beautiful pop of color to your plate.
-
Spice It Up: Toss in sliced Thai red chilies or a dash of red pepper flakes for an added kick. It’s the perfect way to uplift the dish, leaving a warm, spicy finish on your palate.
-
Miso Variations: Try using a darker miso for a more robust flavor, or mix different misos to create a unique taste experience. Whichever option you choose, it will add an exciting depth to your dish.
For different delightful dinner options, you might also enjoy exploring Beef Pasta Comforting or Steak Pasta Dinner. Enjoy the journey of flavor!
Expert Tips for Creamy Miso Pasta
-
Salt Your Water: Always remember to salt your pasta cooking water with about 1 tablespoon of salt per pound of pasta for optimal flavor in your creamy miso pasta.
-
Whisk for Smoothness: Ensure you whisk the miso with hot pasta water first to create a smooth sauce, avoiding any clumps for a luxurious texture.
-
Cheese Control: Monitor your heat when melting cheese; if the sauce thickens too much, gradually add reserved pasta water to maintain the creamy consistency.
-
Fresh is Best: Opt for freshly shredded Parmesan instead of pre-grated cheese to achieve the best texture and flavor without any added anti-caking agents.
-
Customize Wisely: Feel free to experiment with different types of miso or cheeses to personalize your creamy miso pasta to suit your taste preferences.
How to Store and Freeze Creamy Miso Pasta
Fridge: Store leftovers in an airtight container for up to 4 days to retain flavor and freshness.
Freezer: For longer storage, freeze the creamy miso pasta in portions for up to 2 months. Let it cool completely before transferring to freezer-safe bags or containers.
Reheating: When ready to enjoy, thaw in the fridge overnight, then gently reheat on the stovetop over low heat. Add a splash of reserved pasta water or broth to loosen the sauce and restore its creamy texture.
Avoid Clumping: If storing a mixed dish with garnishes, it’s best to keep the garnishes separate to maintain their texture and flavor until serving.
Make Ahead Options
These Creamy Miso Pasta preparations are perfect for busy home cooks looking to save time during hectic weeknights! You can prepare the miso mixture (whisk together miso paste and reserved pasta water) up to 24 hours in advance—just refrigerate it in an airtight container. The pasta can also be cooked and stored for up to 3 days; toss it lightly with olive oil to prevent sticking. When ready to serve, heat a skillet, melt butter, add the miso mixture, and toss in the pre-cooked pasta along with Parmesan until heated through. This way, your creamy miso pasta will be just as delicious and satisfying, perfect for a quick, comforting meal!
What to Serve with Creamy Miso Pasta
Looking to create a complete dining experience that will leave everyone asking for seconds?
- Crisp Green Salad: A refreshing mix of greens with a zesty vinaigrette cuts through the richness of the pasta.
- Garlic Sautéed Spinach: Nutty spinach sautéed in garlic adds a vibrant, earthy flavor that complements the umami notes.
- Roasted Vegetables: Caramelized seasonal veggies bring sweetness and texture, balancing the creamy sauce beautifully.
- Crunchy Asian Slaw: This tangy slaw with carrots and cabbage introduces a delightful crunch and contrast to the dish.
- Chilled Endive Salad: The refreshing bitterness of endive, paired with citrus, adds a bright note against the creamy pasta.
- Chardonnay or Riesling: A glass of chilled white wine enhances the meal, providing a light and crisp pairing with the flavors.
- Homemade Garlic Bread: Golden, buttery slices are perfect for soaking up any extra sauce, transforming every bite into pure bliss.
- Coconut Sorbet: To finish on a light note, this dessert offers a refreshing, dairy-free option that cleanses the palate.
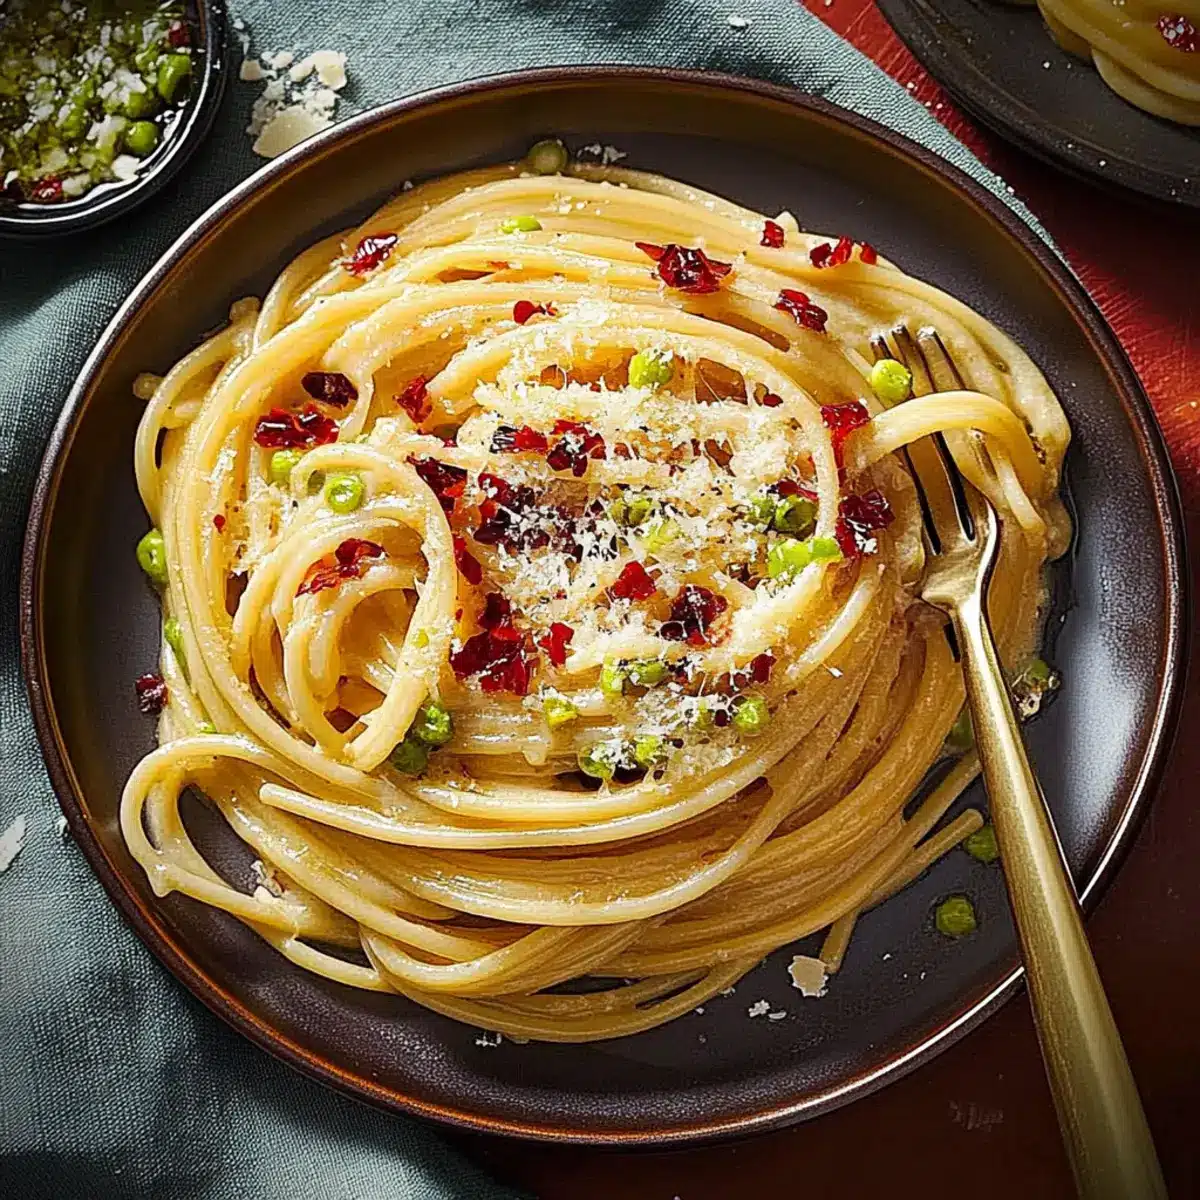
Creamy Miso Pasta Recipe FAQs
How do I choose the right pasta for this recipe?
Absolutely! For creamy miso pasta, I recommend using long thin pasta varieties like spaghetti, linguine, or fettuccine. These shapes allow the silky sauce to cling beautifully to each strand, ensuring a delightful bite every time.
What is the best way to store leftover creamy miso pasta?
Store any leftovers in an airtight container and keep them in the refrigerator for up to 4 days. This way, you can enjoy your delicious pasta without compromising its creamy goodness!
Can I freeze creamy miso pasta?
Yes, you can! To freeze creamy miso pasta, let it cool completely before portioning it into freezer-safe bags or containers. It will stay fresh in the freezer for up to 2 months. When you’re ready to indulge, thaw it overnight in the fridge and gently reheat it on low heat. Consider adding a splash of reserved pasta water or broth to restore the creamy texture.
What are some common issues I might encounter while making creamy miso pasta?
One common issue is the sauce becoming too thick. If this happens, simply add a bit more reserved pasta cooking water, one tablespoon at a time, until you achieve your desired consistency. Also, if the cheese clumps, make sure to whisk the miso with hot pasta water first to prevent lumps—the smoother, the better!
Is creamy miso pasta safe for my pets or those with certain allergies?
While delicious for humans, creamy miso pasta may not be suitable for pets, particularly due to the miso and cheese components. Additionally, familiarize yourself with any potential allergens among the ingredients: miso paste can contain soy, and Parmesan cheese may not be suitable for those with dairy allergies. Always be cautious and consider dietary restrictions before sharing!
Can I customize the ingredients in creamy miso pasta for dietary needs?
Very! This recipe is wonderfully adaptable. If you’re looking for a lighter option, substitute butter with olive oil. For a dairy-free version, experiment with vegan Parmesan or nutritional yeast. Don’t hesitate to mix in your favorite proteins or veggies to make it your own—more variety makes mealtimes even more fun!
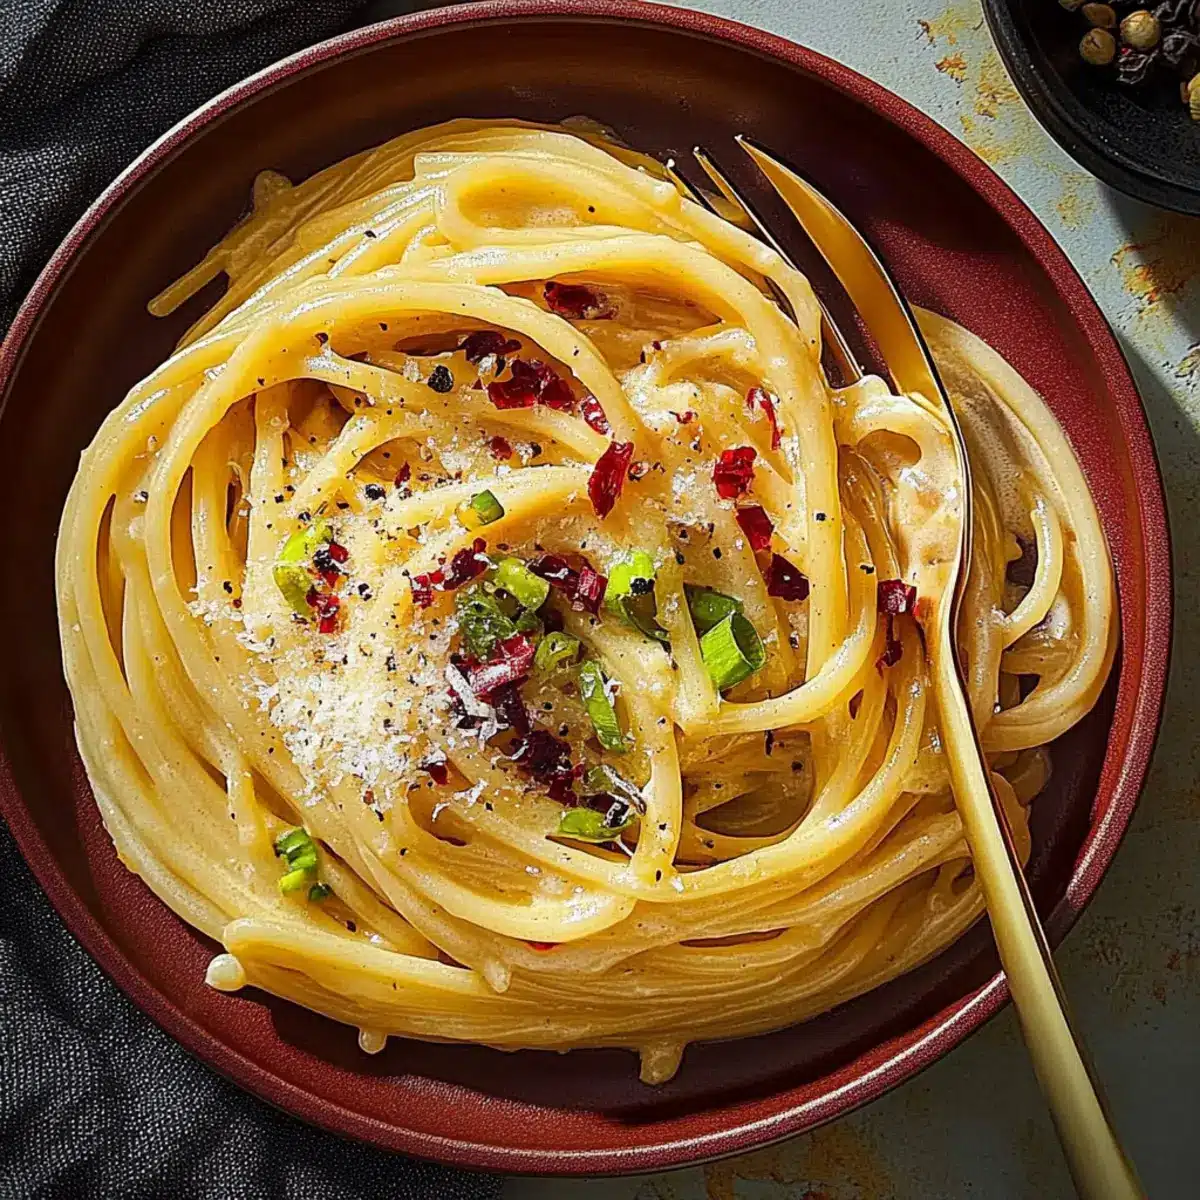
Creamy Miso Pasta: Your New Favorite Comfort Food Delight
Ingredients
Equipment
Method
- Bring a large pot of salted water to a boil and cook the long thin pasta according to package directions for al dente, about 8-10 minutes.
- In a small bowl, whisk together the reserved pasta water and white miso paste until smooth.
- Melt cubed butter in a skillet over medium heat, then add coarsely ground pepper and stir for a minute.
- Pour the miso mixture into the skillet, stir gently, and then add the cooked pasta, remaining butter, and Parmesan cheese.
- Toss continuously until the cheese melts and sauce coats the pasta. Adjust consistency with reserved pasta water if needed.
- Plate the pasta and garnish with green onions or chili crisp before serving.
Leave a Reply