
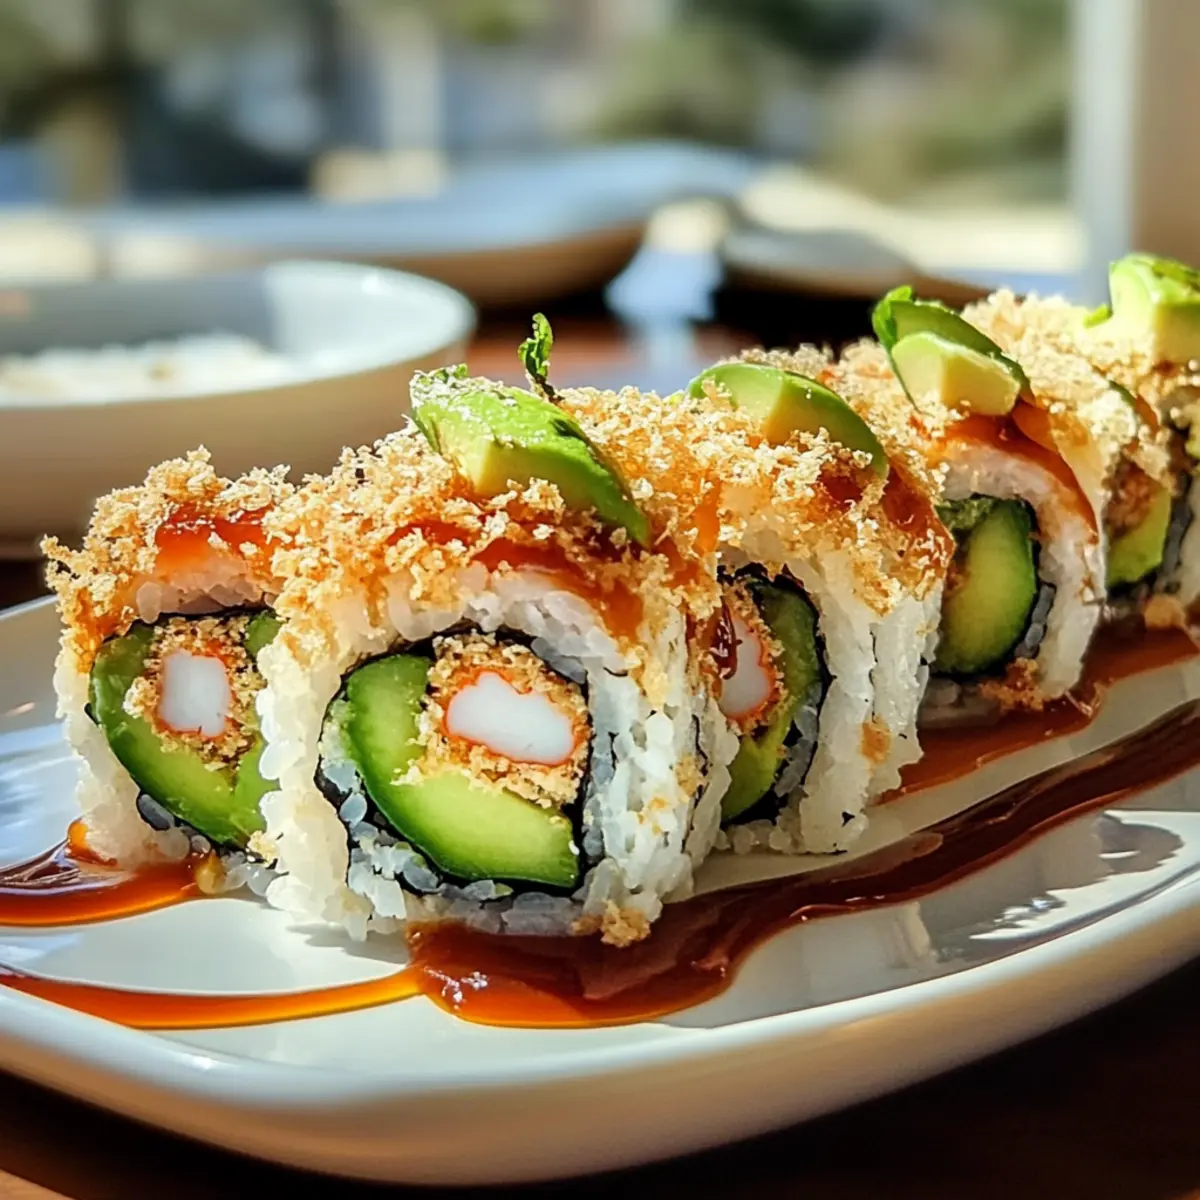
As I stood in my kitchen, the vibrant colors of fresh ingredients caught my eye—creamy avocado, crisp cucumber, and flavorful imitation crab all waiting to be transformed into something extraordinary. This Homemade California Crunch Roll Sushi isn’t just your typical sushi; it’s a delightful canvas for culinary creativity, offering a fun way to impress friends or indulge in a cozy night at home. Not only is it easy to whip up, but it’s also highly customizable, allowing you to tailor each roll to your taste—add spice, go vegetarian, or crank up the crunch! Ready to dive into a flavorful adventure? Let’s roll!
Why Is This Sushi Recipe Special?
Simplicity: This Homemade California Crunch Roll Sushi is designed for everyone, whether you’re a newbie or a seasoned chef. Customizable: With various filling options like spicy tuna or marinated tofu, you can create a sushi roll that’s uniquely yours. Flavorful: The combination of creamy avocado, fresh cucumber, and crunchy tempura flakes brings every bite to life! Fun: It’s a playful activity perfect for family nights or impressing friends. If you love flavors that pop, you might also enjoy making Cinnamon Roll Cookies for dessert afterward!
Homemade California Crunch Roll Sushi Ingredients
For the Sushi Rice
• Short-grain white rice – This type of rice is essential for stickiness, helping your rolls hold together beautifully!
For the Roll Filling
• Imitation crab – The main filling; feel free to substitute with real crab, shrimp, or tofu for different flavors.
• Avocado – Adds a creamy texture; ensure it’s perfectly ripe for the best taste.
• Cucumber – Offers a refreshing crunch, balancing the creaminess of the other fillings.
For the Wrapping
• Nori (seaweed sheets) – Choose dark green, sushi-grade nori for the best results; soy paper is a milder substitute.
For the Crunchy Topping
• Tempura flakes – These add a delightful crunch on top; you can buy them pre-made or fry your own vegetables for freshness.
For the Spicy Mayo
• Mayonnaise – Mix this with sriracha for some zip; adjust to your preferred spice level, or swap for sweet chili sauce for a milder kick.
Now you’re all set to create your Homemade California Crunch Roll Sushi, a treat that will absolutely thrill your family and friends! Enjoy the fun of rolling your unique masterpiece!
Step‑by‑Step Instructions for Homemade California Crunch Roll Sushi
Step 1: Prepare the Sushi Rice
Begin by rinsing 2 cups of short-grain white rice under cold water until the water runs clear, which takes about 2-3 minutes. Cook the rice according to the package instructions, typically steaming or boiling for 15-20 minutes until tender. Once cooked, transfer it to a bowl and gently fold in rice vinegar while it cools to room temperature, creating that signature flavor for your Homemade California Crunch Roll Sushi.
Step 2: Set Up Your Rolling Station
Lay a bamboo sushi mat on a clean, flat surface and place a sheet of nori, shiny side down, on top of it. Keep a small bowl of water mixed with rice vinegar nearby to moisten your hands. This will prevent the rice from sticking to your fingers as you spread it. Having everything within reach ensures you can roll your sushi with ease and precision, maintaining the fun of making Homemade California Crunch Roll Sushi.
Step 3: Spread the Sushi Rice
With moistened hands, scoop a handful of sushi rice and evenly spread it over the nori, leaving about a 1-inch border at the top. Press down gently but firmly to ensure the rice adheres to the seaweed, creating a solid base for your roll. The rice layer should be thin and uniformly spread to allow for a balanced Homemade California Crunch Roll Sushi, making sure not to overcrowd it with ingredients later.
Step 4: Add Fillings to Your Roll
Begin layering your fillings about 2 inches from the bottom of the rice-covered nori. Start with strips of imitation crab, followed by thin slices of ripe avocado and cucumber for a burst of freshness. Optionally, sprinkle some tempura flakes on top for added crunch. The vibrant colors of the fillings not only enhance flavor but also make your Homemade California Crunch Roll Sushi visually appealing—a true feast for the eyes!
Step 5: Roll the Sushi
Carefully lift the bamboo mat starting from the bottom, rolling it over the fillings while gently pressing inward to form a tight cylinder. Continue rolling until you reach the edge of the nori, using a little water on the border to seal the roll. This technique helps create a beautifully compact Homemade California Crunch Roll Sushi that’s ready for presentation. Aim for a snug roll without overfilling to ensure it holds together well.
Step 6: Slice the Sushi Roll
Once the roll is complete, use a sharp, wet knife to slice the sushi into even pieces, about 1 inch thick. Wipe the knife with a damp cloth between cuts to maintain clean edges and a beautiful presentation. Each slice of your Homemade California Crunch Roll Sushi should showcase the colorful fillings. Arrange the pieces on a serving plate and prepare to indulge in a delightful taste experience.
Step 7: Serve and Enjoy
Serve your Homemade California Crunch Roll Sushi immediately, accompanied by soy sauce, pickled ginger, and wasabi on the side for an authentic experience. This sushi pairs wonderfully with a refreshing seaweed salad or a hearty bowl of miso soup to complete your meal. Enjoy the fusion of flavors and the joy of sharing this delicious creation with family and friends at your table!
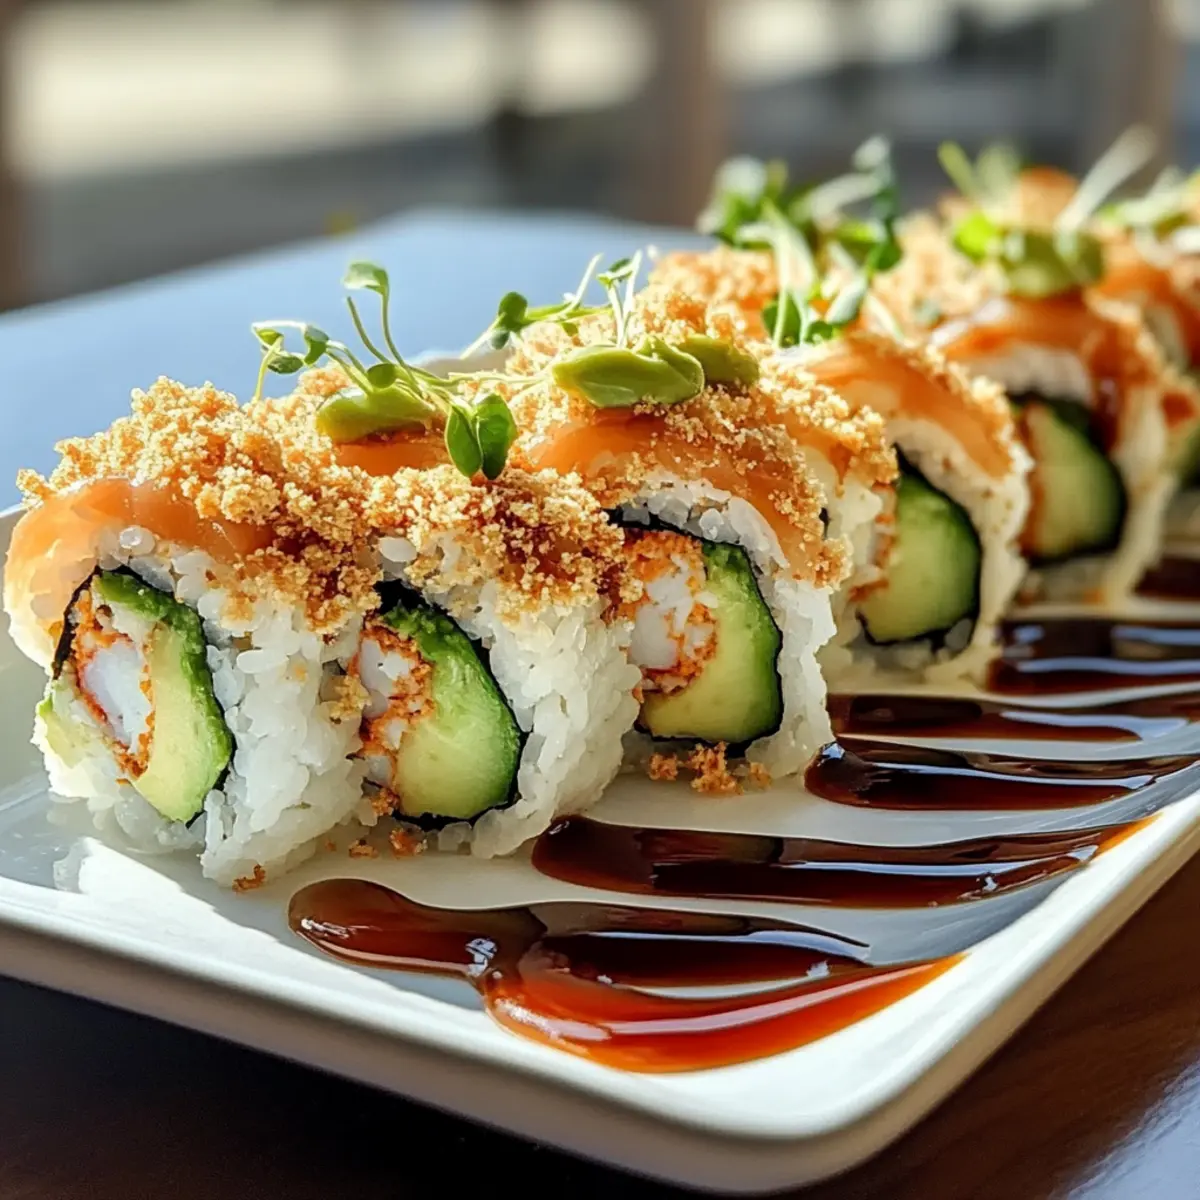
Expert Tips for Homemade California Crunch Roll Sushi
-
Perfectly Cooked Rice: Ensure your rice is tender but not mushy to maintain the ideal texture for your Homemade California Crunch Roll Sushi. Undercook slightly if necessary; it will finish steaming outside the heat.
-
Nori Quality Matters: Use high-quality, crisp sushi-grade nori for best results. If your nori feels flimsy, it may tear during rolling, ruining the integrity of your Homemade California Crunch Roll Sushi.
-
Moisten for Easy Handling: Keep your hands moist with the vinegar-water mixture when spreading rice and handling nori. This prevents sticking and helps create a tidy roll, making for less hassle while you make your Homemade California Crunch Roll Sushi.
-
Layer Sparingly: Be careful not to overfill your sushi roll. Too much stuffing can lead to a messy, unwieldy roll that falls apart, so keep your portions balanced.
-
Sharp Knife for Slicing: Use a sharp, wet knife for cutting the rolls. This ensures clean, even slices that showcase your vibrant fillings beautifully, making each piece of your Homemade California Crunch Roll Sushi a visual delight.
Homemade California Crunch Roll Sushi Variations
Feel free to get creative with this recipe and make it your own unique creation that delights your taste buds!
- Spicy Kick: Add more sriracha to your spicy mayo or layer in spicy tuna for a fiery twist.
- Vegetarian Delight: Swap out the imitation crab for marinated tofu and an array of colorful veggies for a fresh, plant-based option.
- Tempura Twists: Replace imitation crab with crispy tempura shrimp for added texture and crunch – it’s a delightful surprise!
- Tropical Fusion: Incorporate fruity delights like mango or pineapple for a sweet contrast that brings a summer vibe to your sushi.
- Sushi Bowl: Deconstruct your roll! Serve the fillings over a bed of sushi rice in a bowl for an easy-to-eat version.
- Whole Grain: For a healthier option, use brown rice instead of white rice to pack in extra nutrients and fiber.
- Gluten-Free: Ensure you use gluten-free soy sauce and nori for a fully gluten-free sushi experience.
- Japanese-Inspired Sauce: Drizzle some eel sauce over your sushi for a sweet and savory depth that elevates every bite.
The beauty of sushi is in its versatility, so if you enjoy these flavor combinations, consider making a delicious dessert afterwards, like Strawberry Crunch Cheesecake or pairing it with a warm bowl of Chinese Beef Broccoli for a complete meal!
Make Ahead Options
These Homemade California Crunch Roll Sushi are perfect for meal prep enthusiasts! You can prepare the sushi rice up to 24 hours in advance; just let it cool down before storing it in an airtight container in the refrigerator to maintain its texture. Additionally, slice cucumbers and avocados up to 3 days ahead—store them in a sealed container with a bit of lemon juice to prevent browning. When you’re ready to roll, simply take out the components, spread the rice over the nori, layer your fillings, and roll tightly. This preparation allows you to enjoy delicious sushi any day of the week with minimal effort and maximum flavor!
Storage Tips for Homemade California Crunch Roll Sushi
Fridge: Keep leftovers tightly wrapped in plastic wrap or an airtight container for up to 24 hours. This helps maintain moisture and freshness for your Homemade California Crunch Roll Sushi.
Freezer: While freezing isn’t recommended for fully assembled sushi, you can freeze leftover sushi rice in an airtight container for up to 1 month. Thaw and reheat before using in future rolls.
Reheating: Avoid reheating cooked sushi rolls; they’re best enjoyed fresh. If you need to reheat sushi rice, simply microwave it with a damp paper towel to retain moisture.
Serving Suggestions: Try serving leftover sushi with a side of soy sauce or pickled ginger to enhance flavors, but aim to consume them soon for the best experience!
What to Serve with Homemade California Crunch Roll Sushi
Create a delightful dining experience that brings every flavor to life, perfect for family nights or gatherings with friends.
- Edamame: Steamed edamame sprinkled with sea salt offers a light, fresh contrast to the rich flavors of sushi. Their delightful pop in your mouth enhances the overall dining experience.
- Miso Soup: This warm, comforting soup made with miso paste and seaweed perfectly complements the cool sushi, adding depth and warmth to your meal.
- Seaweed Salad: A zesty seaweed salad, with its tangy dressing and crunchy texture, balances the creamy fillings and adds a refreshing note.
- Pickled Ginger: Serve alongside your rolls; its sharp flavor cleanses the palate perfectly between bites, highlighting each delightful layer of flavor.
- Spicy Mayo Dipping Sauce: Drizzle some extra spicy mayo on the side for an exciting zing that elevates the flavors of the sushi.
- Japanese Beer: Enjoy your meal with a light, crisp Japanese beer that complements the flavors of your sushi beautifully, enhancing the whole experience.
- Green Tea: Sipping on warm green tea throughout your meal adds a soothing contrast and enhances the distinct flavors of Japanese cuisine.
- Coconut Sorbet: For dessert, a light coconut sorbet offers a refreshing finish, with a touch of sweetness that pairs nicely after the meal.
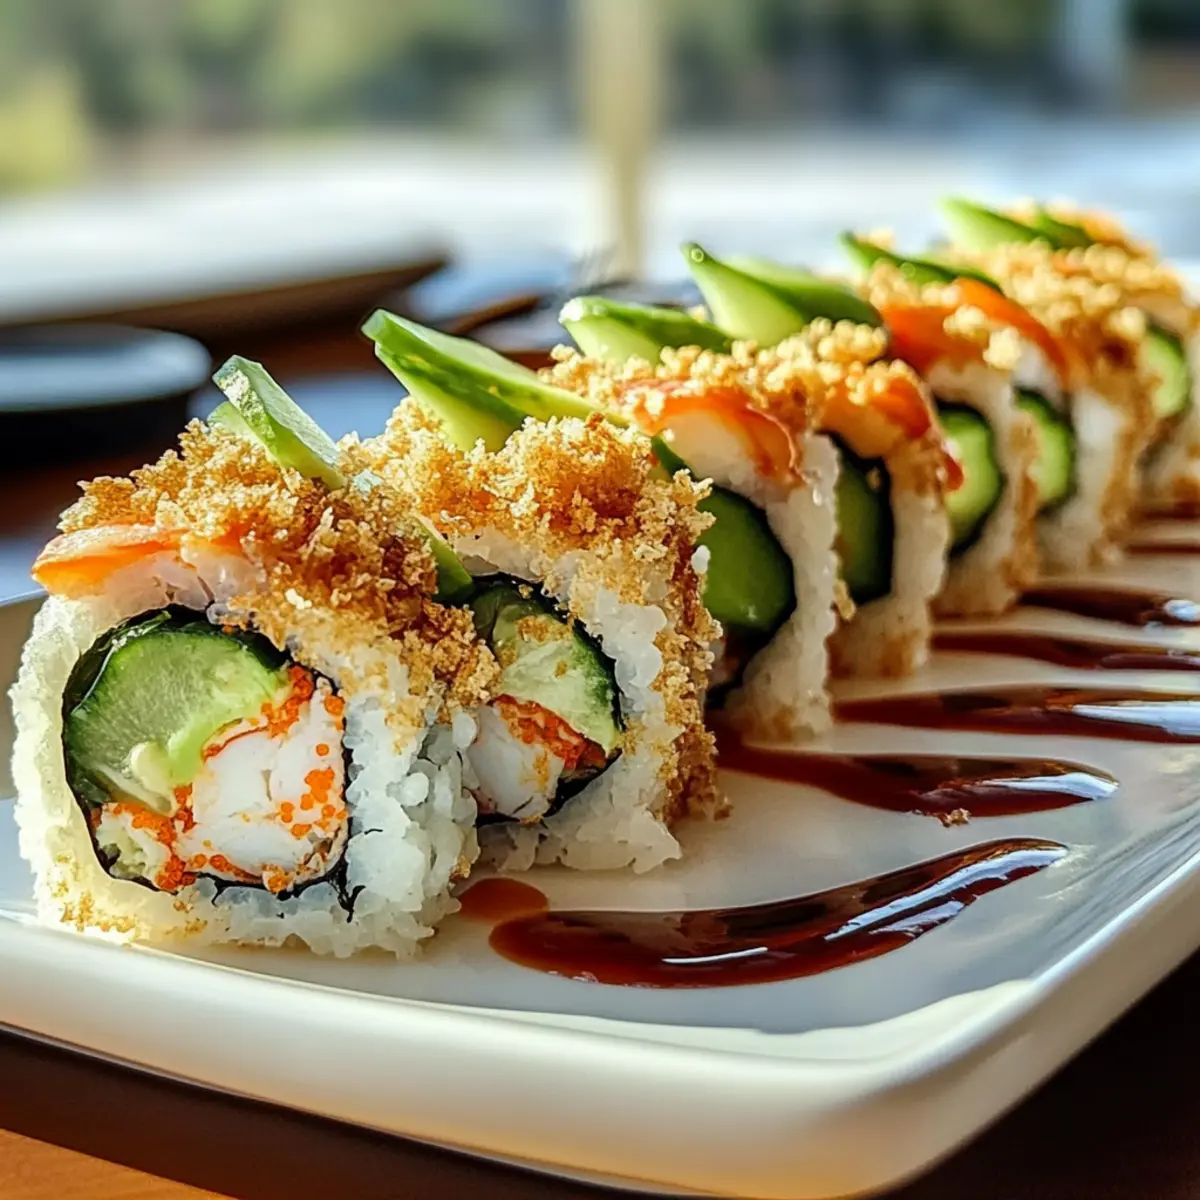
Homemade California Crunch Roll Sushi Recipe FAQs
What type of avocado should I use for the best flavor?
Absolutely! Seek out ripe Hass avocados, as they provide the ideal creamy texture and rich flavor. The skin should be dark and slightly bumpy, and when gently squeezed, it should yield just a bit. Avoid avocados that are overly soft or have dark spots all over, as they may be overripe.
How do I store leftover California Crunch Roll Sushi?
Leftovers should be tightly wrapped in plastic wrap or placed in an airtight container in the fridge, where they’ll stay fresh for up to 24 hours. Keeping them well-sealed helps maintain their moisture and flavors. If you’re looking to enjoy them later, try to eat them as soon as possible!
Can I freeze California Crunch Roll Sushi?
While it’s not recommended to freeze fully assembled sushi because it can affect texture, you can freeze leftover sushi rice! Allow it to cool and place it in an airtight container. It can be stored for up to 1 month. When you’re ready to use it, simply thaw it in the fridge overnight and reheat gently in the microwave with a damp paper towel.
What should I do if my sushi rolls are falling apart?
Very! If your rolls are falling apart, it could be due to overfilling or insufficiently pressing them together during the rolling process. Try rolling tighter and using a bit of water to seal the edges. If needed, wet your hands with the vinegar-water mixture while assembling, as this helps keep everything in place.
Is there a gluten-free option for the nori and spicy mayo?
Of course! To make your Homemade California Crunch Roll Sushi gluten-free, ensure that the nori you choose is labeled gluten-free, which most sushi-grade nori is. Additionally, for the spicy mayo, swap regular mayonnaise for a gluten-free version, and check that your sriracha doesn’t contain any gluten ingredients. This way, everyone can enjoy your sushi creation!
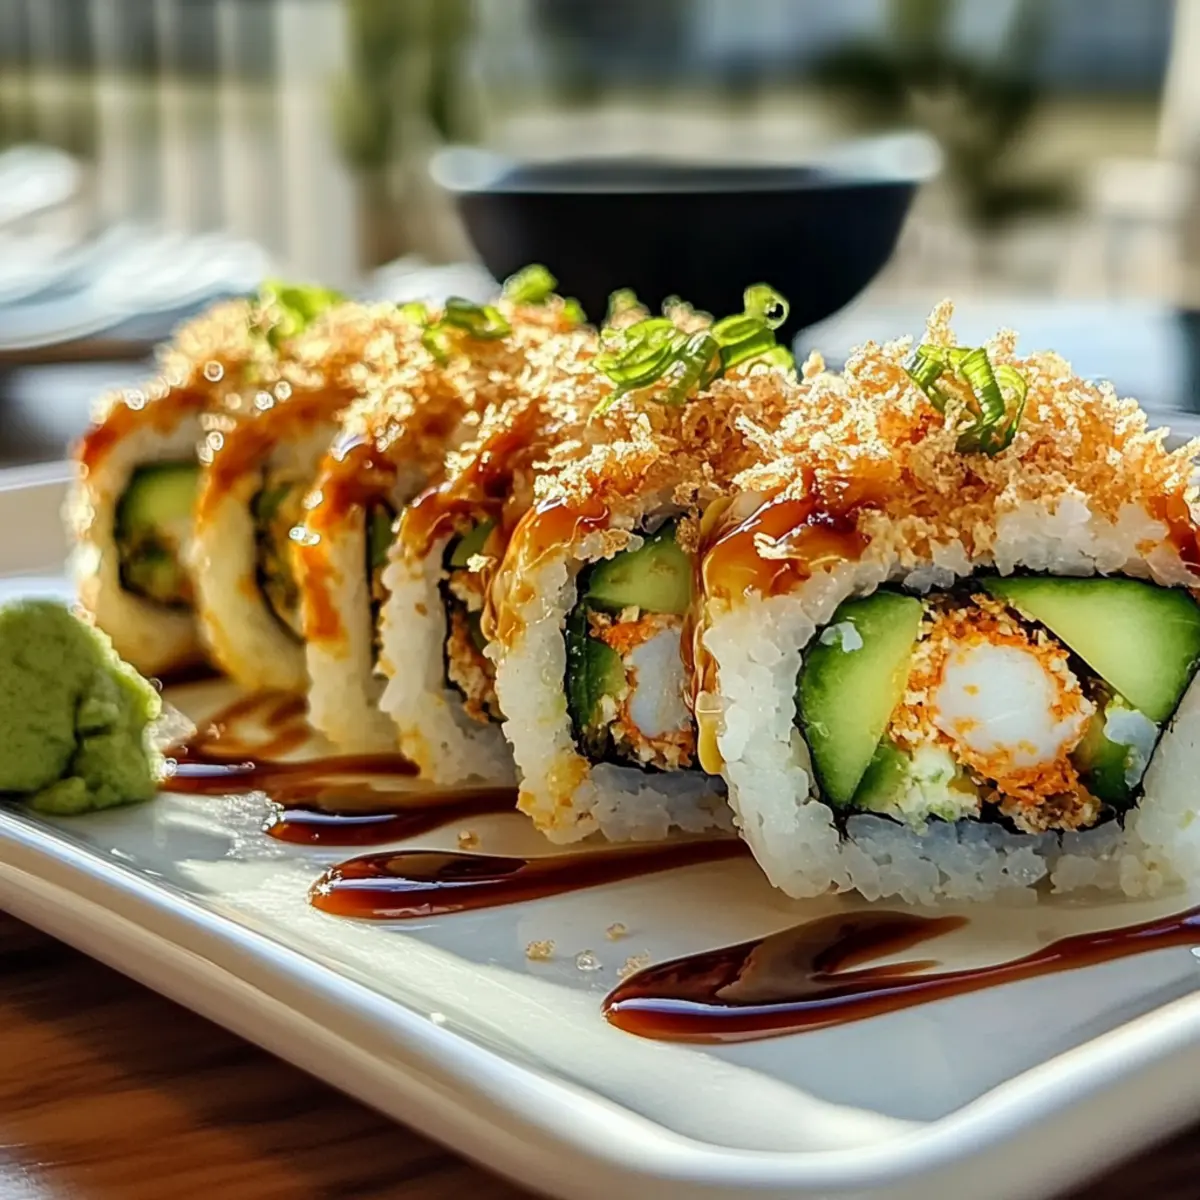
Homemade California Crunch Roll Sushi for Fun Family Nights
Ingredients
Equipment
Method
- Rinse the short-grain white rice under cold water until the water runs clear, then cook according to package instructions, typically for 15-20 minutes. Once cooked, fold in rice vinegar while cooling.
- Lay a bamboo sushi mat on a clean surface, place a sheet of nori shiny side down, and keep a bowl of vinegar-water nearby to moisten hands.
- With moistened hands, scoop a handful of sushi rice and spread it evenly over nori, leaving about a 1-inch border at the top. Press gently to adhere.
- Layer fillings 2 inches from the bottom of the rice-covered nori starting with imitation crab, then avocado and cucumber. Add tempura flakes if desired.
- Roll the sushi by lifting the bamboo mat from the bottom, pressing inward to form a tight cylinder. Seal the edge with a little water.
- Use a sharp, wet knife to slice the roll into 1-inch pieces, wiping the knife between cuts.
- Serve immediately with soy sauce, pickled ginger, and wasabi for a delightful experience.
Leave a Reply