
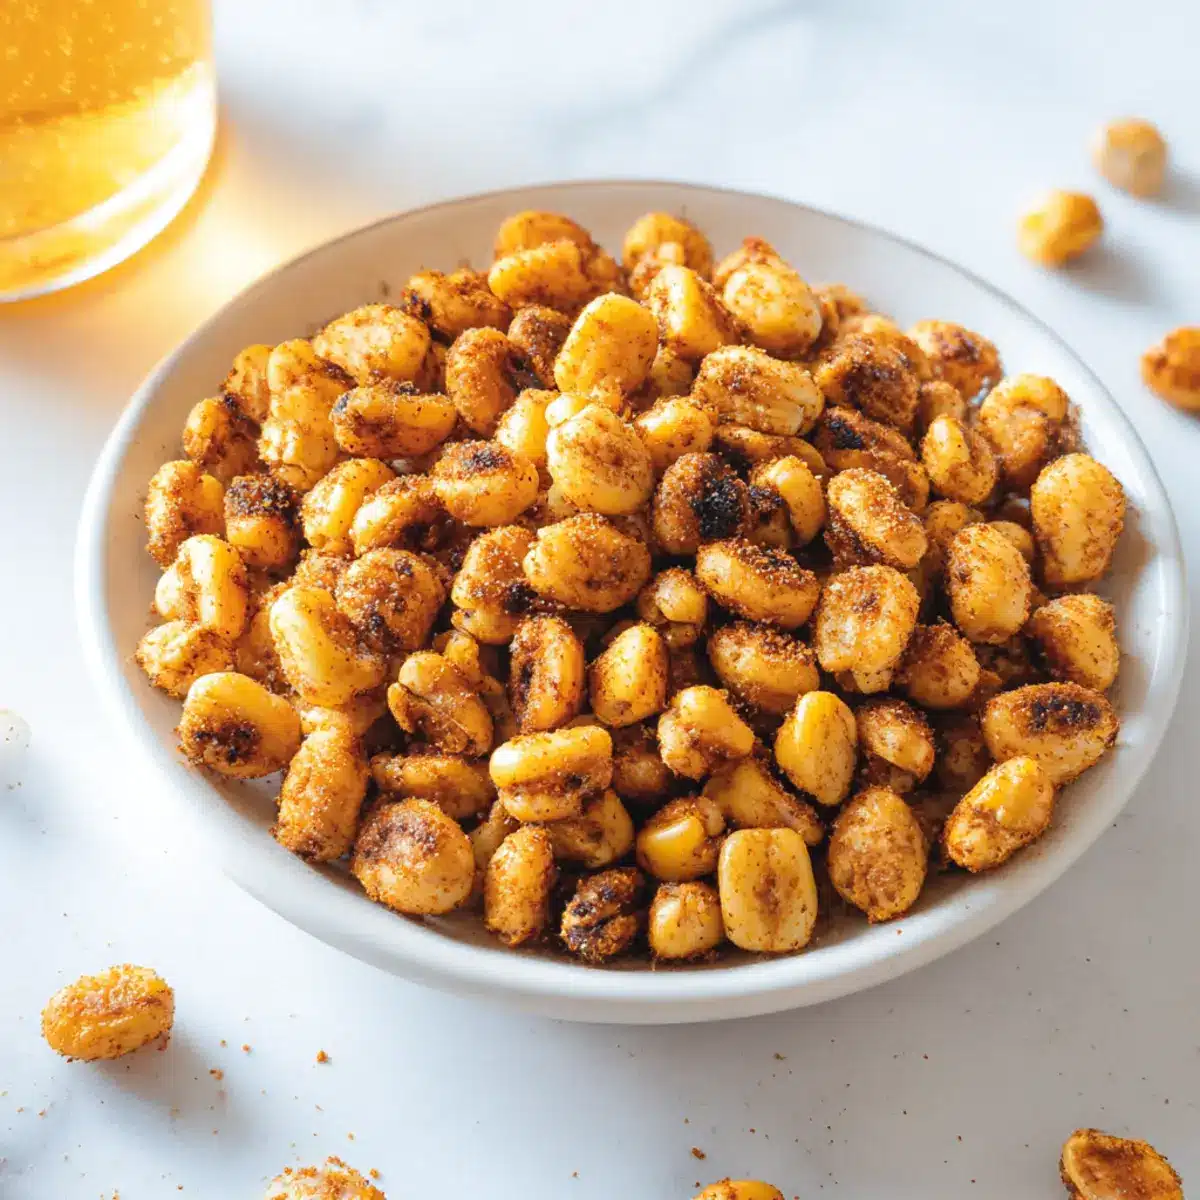
As I pulled a batch of these golden, crunchy Healthier Homemade Corn Nuts out of the oven, the tantalizing aroma instantly transported me back to carefree summer days spent munching on snack foods. These delightful bites are not just a nostalgic treat; they’re a healthier twist on traditional corn nuts, offering you that satisfying crunch without the guilt. With a simple bake rather than fry method, they’re a gluten-free, vegan snack packed with flavor—perfect for indulging during movie nights or game days without sacrificing your health goals. And the best part? You can customize the seasoning to fit your mood! Are you ready to elevate your snacking experience with these irresistible bites?
Why are Corn Nuts an Amazing Snack?
Crunchy, Guilt-Free Indulgence: These Healthier Homemade Corn Nuts offer the perfect balance of crunch and flavor without the extra calories.
Endless Customization: With various seasoning options like ranch or chili powder, you can tailor each batch to your taste, keeping every snack exciting!
Simple Preparation: They’re baked, not fried, making them an easier and cleaner option for busy people who still want delicious snacks at home.
Great for Any Occasion: Perfect as a solo snack or an addition to a cheese and charcuterie board, these corn nuts are sure to impress at parties!
Nutritional Benefits: At only 63 calories per serving, you can enjoy a delightful crunch while sticking to your health goals. Try pairing them with Spicy Jalapeno Corn for a flavorful snack duo!
Homemade Corn Nuts Ingredients
Satisfy your snack cravings with these delicious bites!
For the Corn Nuts
- Dried Hominy – A key structural component; ensure to use dried, not canned, for the classic crunchy texture.
- Peanut Oil – Adds necessary moisture and helps seasonings cling; can be replaced with vegetable, avocado, or canola oil for different flavors.
- Salt (fine ground) – Essential for seasoning; always use fine ground for better coating.
- Garlic Powder – Provides a savory depth to the flavor.
- Paprika – Adds a delightful smokiness and vibrant color.
- Onion Powder – Enhances the overall taste, making it more flavorful.
For Additional Seasoning Variations
- Ranch Dressing Mix – A wonderful way to enhance flavor with a familiar tang.
- Chili Powder – Perfect for a spicy kick if you’re craving something a little different.
- Lemon Pepper – Adds a burst of freshness that elevates the corn nuts.
- Sesame Oil – Use for a hint of nuttiness that pairs beautifully with the other ingredients.
Feel free to mix and match these seasonings to craft your ideal version of Homemade Corn Nuts!
Step‑by‑Step Instructions for Healthier Homemade Corn Nuts
Step 1: Soak Hominy
Begin by placing your dried hominy in a large bowl and covering it with water. Let it soak for 6-10 hours, allowing the hominy to hydrate and expand in size. You’ll know it’s ready when the grains have softened and are plump, making them perfect for your homemade corn nuts.
Step 2: Drain and Dry
Once the soaking time is up, drain the hominy thoroughly and transfer it onto a paper towel-lined tray. Pat the hominy dry gently with more paper towels to remove excess moisture. To ensure optimal crunchiness in your final product, let it air dry for about 1 hour before moving on to the next step.
Step 3: Preheat Oven
While the hominy is drying, preheat your oven to 375°F for convection baking or 400°F for traditional baking. This heat is crucial for achieving that perfectly golden-brown color and a satisfying crunch in your homemade corn nuts. Enjoy the warmth of the oven as it prepares to crisp up your delicious snack.
Step 4: Prepare Seasoning
In a small jar, mix together the fine ground salt, garlic powder, paprika, and onion powder to create your seasoning blend. This combination will bring out the savory flavors in your corn nuts. Shake or stir until well combined, ensuring each spice is evenly distributed for a consistent taste in every bite.
Step 5: Coat Hominy
In a large mixing bowl, add the dried hominy and drizzle with peanut oil. Use a spatula or your hands to gently mix the hominy, coating it evenly with the oil. Gradually sprinkle in your seasoning blend, making sure each piece of hominy is well-coated. This step is essential for imparting that flavorful kick to your homemade corn nuts.
Step 6: Bake
Spread the seasoned hominy evenly in a single layer on a clean baking sheet. Place it into the preheated oven and bake for approximately 40 minutes. Be sure to stir the hominy halfway through to ensure even cooking. Keep a close eye during the last 5 minutes to avoid burning, as you want them beautifully golden and crunchy.
Step 7: Cool
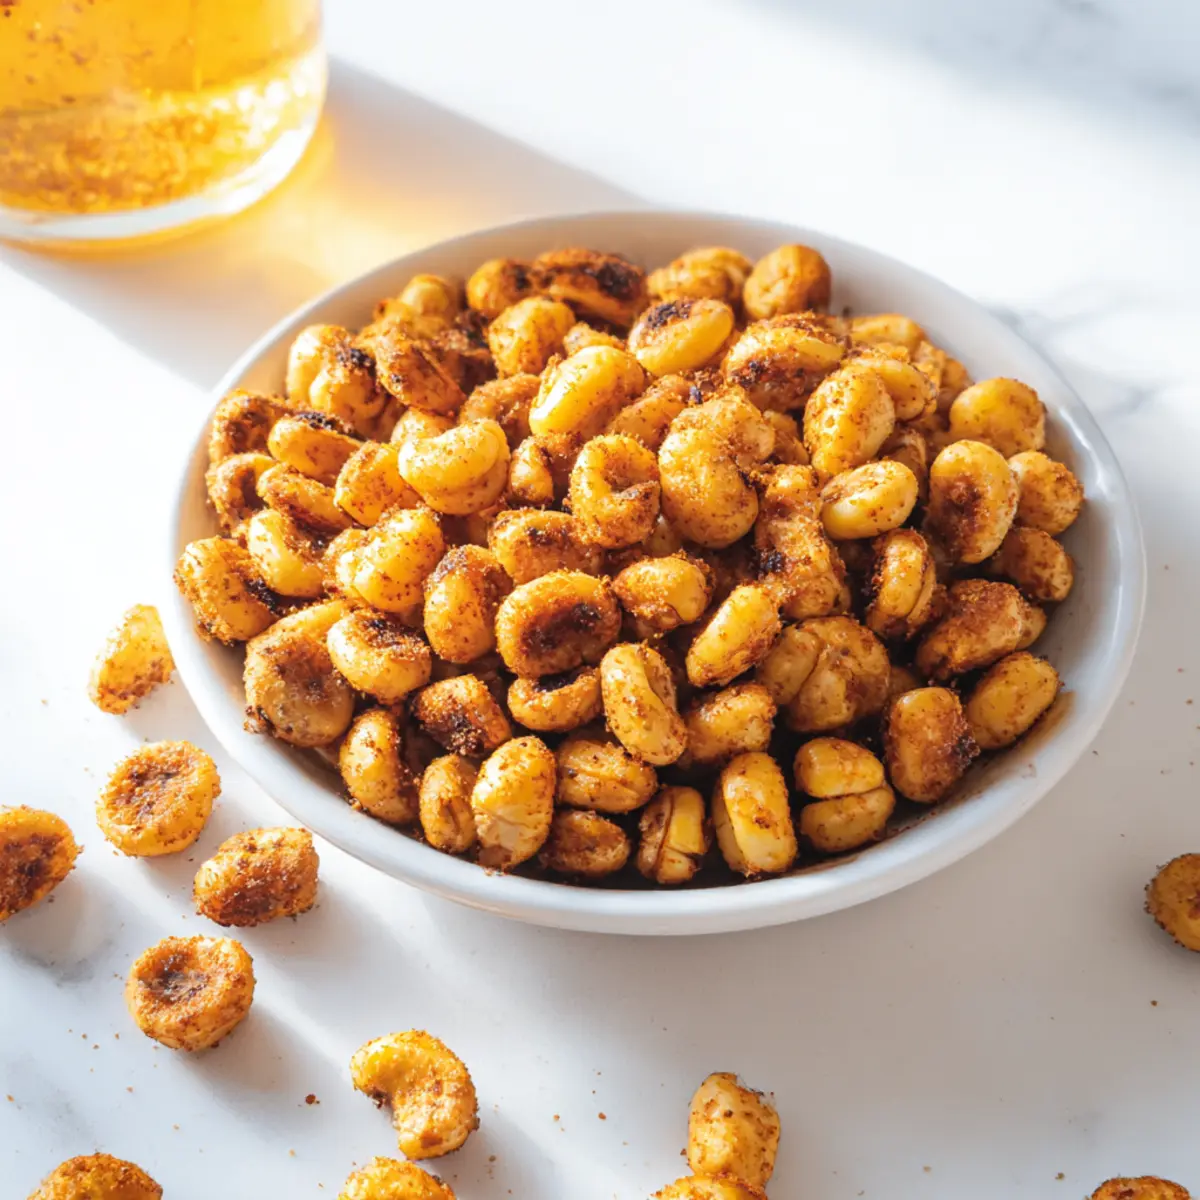
After baking, remove the corn nuts from the oven and let them cool on the baking sheet for at least 15 minutes. This cooling time allows them to crisp up even more. You’ll know they’re ready when they’ve hardened and achieved that addictive crunch that makes homemade corn nuts such a delightful snack.
Make Ahead Options
These Healthier Homemade Corn Nuts are the ideal snack to prepare ahead of time, saving you valuable moments on busy weeknights! You can soak the dried hominy up to 24 hours in advance; simply cover it with water and allow it to absorb overnight. After draining and drying, the hominy can be stored in an airtight container in the refrigerator for up to 3 days before baking. To keep the corn nuts crunchy, complete the baking process fresh, just before serving. When you’re ready to indulge, follow the baking instructions, and you’ll enjoy delicious, crispy corn nuts with minimal effort—perfect for satisfying snack cravings without the last-minute rush!
Homemade Corn Nuts Variations
Feel free to get creative and personalize your Homemade Corn Nuts for an exciting twist on your snack!
-
Dairy-Free: Use nutritional yeast instead of cheese powder for a cheesy flavor without the dairy.
-
Spicy Kick: Add cayenne pepper or crushed red pepper flakes to your seasoning mix for a fiery heat that elevates each bite.
-
Herb Infusion: Mix in dried herbs like oregano or dill for a fresh, aromatic flavor that adds depth to your homemade corn nuts.
-
Flavor Boost: Try using flavored oils, like chili oil or garlic-infused olive oil, to enrich the taste with unique profiles.
-
Sweet Twist: For a surprise dessert-like crunch, toss with cinnamon and a touch of sugar before baking. It’s comforting and delicious!
-
Asian Flair: Incorporate sesame oil in place of peanut oil and sprinkle with toasted sesame seeds for a nutty Asian-inspired flavor.
-
Savory Blend: Experiment with a mix of taco seasoning for a bold taste that’s perfect for game day snacking! You might find it pairs wonderfully with Chinese Beef Broccoli as a side!
-
Herbed Garlic: Combine minced fresh herbs, like parsley or thyme, with garlic powder for an aromatic element that will invigorate your taste buds.
Get ready for an enjoyable snacking journey where every batch can tell a different flavor story!
How to Store and Freeze Homemade Corn Nuts
Room Temperature: Store your Homemade Corn Nuts in an airtight container at room temperature for up to 2-3 weeks for maximum freshness and crunch.
Fridge: If you prefer to keep them longer, you can refrigerate the corn nuts in an airtight container, but this may soften their crunch; consume within 2 weeks.
Freezer: For extended storage, freeze the cooked corn nuts in a sealed bag for up to 3 months. Thaw at room temperature or reheat in the oven to restore crispiness.
Reheating: To enjoy the delightful crunch again, reheat your corn nuts in a 350°F oven for about 5-10 minutes, allowing them to crisp up before savoring!
What to Serve with Healthier Homemade Corn Nuts
Elevate your snacking experience with delicious pairings that complement the irresistible crunch of these corn nuts!
-
Creamy Guacamole: Adds a rich, creamy texture that beautifully balances the crunchy corn nuts, perfect for dipping during gatherings.
-
Spicy Salsa: A refreshing, zesty kick that contrasts with the corn nuts’ crunch. The flavors combine harmoniously for a satisfying bite.
-
Crisp Veggie Platter: Fresh carrots, celery, and bell peppers provide a crunchy, colorful side that enhances the snacking experience without overwhelming your palate.
-
Cheese Board: Pair with cheeses like aged cheddar or pepper jack for a delightful contrast in flavors; the saltiness of cheese amplifies the seasoning on the corn nuts.
-
Herbed Hummus: The creamy and earthy notes of hummus make for a fantastic dip, bringing a delightful contrast to the crunch while keeping it light.
-
Chilled White Wine: A glass of crisp Sauvignon Blanc refreshes the palate and complements the snack’s savory bite, making for a lovely evening treat.
-
Dark Chocolate: Indulge in a surprising contrast; the richness and slight bitterness of dark chocolate pair intriguingly with the salty corn nuts.
-
Sparkling Water with Lime: For a refreshing drink option, bubbly water adds zest to your snacking experience, cleansing the palate between bites of flavorful corn nuts.
Expert Tips for Homemade Corn Nuts
Dry Thoroughly: Allowing sufficient drying time for hominy is critical to achieve that desired crunch in your homemade corn nuts.
Avoid Canned: Always use dried hominy rather than canned for the best texture and flavor; canned won’t provide the same crispy results.
Season Generously: Don’t be shy with the seasonings; coating evenly is key for deliciously flavored corn nuts. Adjust to your taste preferences!
Watch the Oven: Keep a close eye during the last few minutes of baking; oven times can vary, and you want to avoid burning those lovely kernels.
Air Fryer Option: If you prefer a quicker alternative, cook in an air fryer at 400°F for about 24 minutes, shaking the basket halfway through for even cooking.
Experiment with Flavors: Don’t hesitate to experiment with different seasoning blends to find your favorite combination for these homemade corn nuts!
Healthier Homemade Corn Nuts Recipe FAQs
What type of hominy should I use for homemade corn nuts?
You should absolutely use dried hominy, as canned hominy won’t achieve the classic crunchy texture you’re looking for in homemade corn nuts. Look for packages labeled as “dried hominy” in your local grocery store or specialty markets.
How should I store homemade corn nuts to keep them fresh?
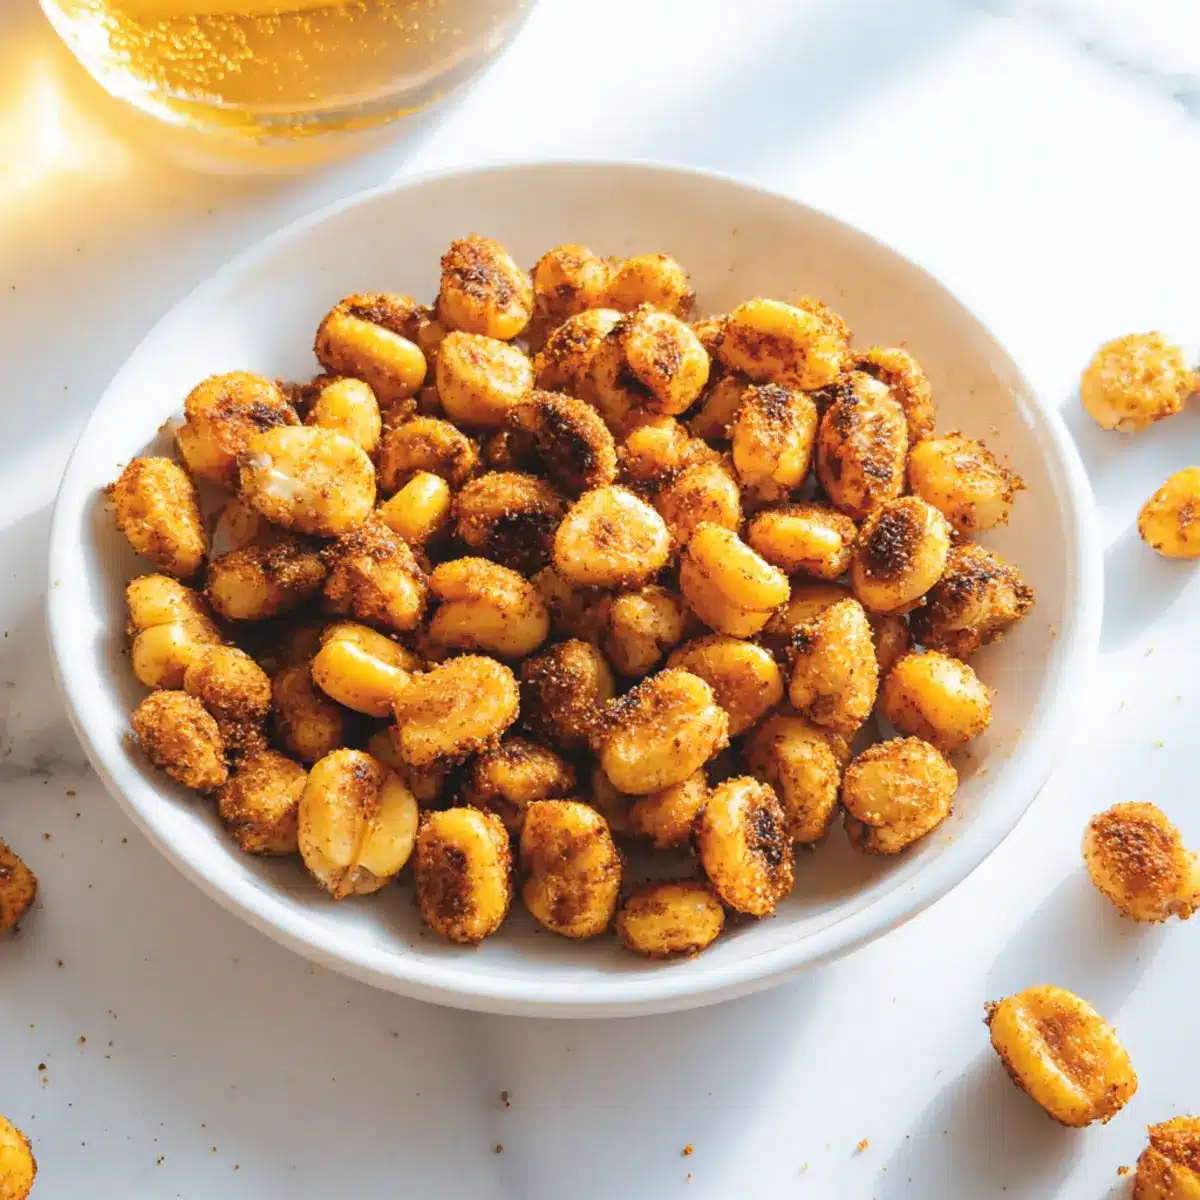
Store your healthier homemade corn nuts in an airtight container at room temperature, and they’ll stay fresh for about 2-3 weeks. Keeping them airtight is crucial for maintaining their delightful crunch!
Can I freeze homemade corn nuts? If so, how?
Yes, you can freeze them! Place your cooled corn nuts in a sealable bag or airtight container, ensuring to squeeze out as much air as possible. They can be frozen for up to 3 months. When you’re ready to enjoy them, simply thaw at room temperature or reheat in the oven to bring back that wonderful crispiness.
What if my corn nuts aren’t crunchy enough after baking?
If your homemade corn nuts aren’t as crunchy as you’d like, it’s often due to insufficient drying before baking. Make sure to let the hominy dry for an hour after patting it down, and ensure they are spaced evenly on the baking sheet. You could also bake them a bit longer, checking frequently to avoid burning.
Are homemade corn nuts suitable for everyone, including those with allergies?
These healthier homemade corn nuts are naturally gluten-free and vegan, making them a great snack option for many. However, they do contain peanut oil. If you, or anyone you are serving, has a nut allergy, you can substitute peanut oil with vegetable, canola, or avocado oil for a safe alternative.
How can I customize the flavor of my homemade corn nuts?
The beauty of homemade corn nuts comes from the endless seasoning options! You can experiment with a variety of spice blends to suit your taste. For a classic flavor, try ranch dressing mix or chili powder for a kick. Just remember to mix your spices well and coat the hominy evenly before baking. Enjoy the journey of flavor exploration!
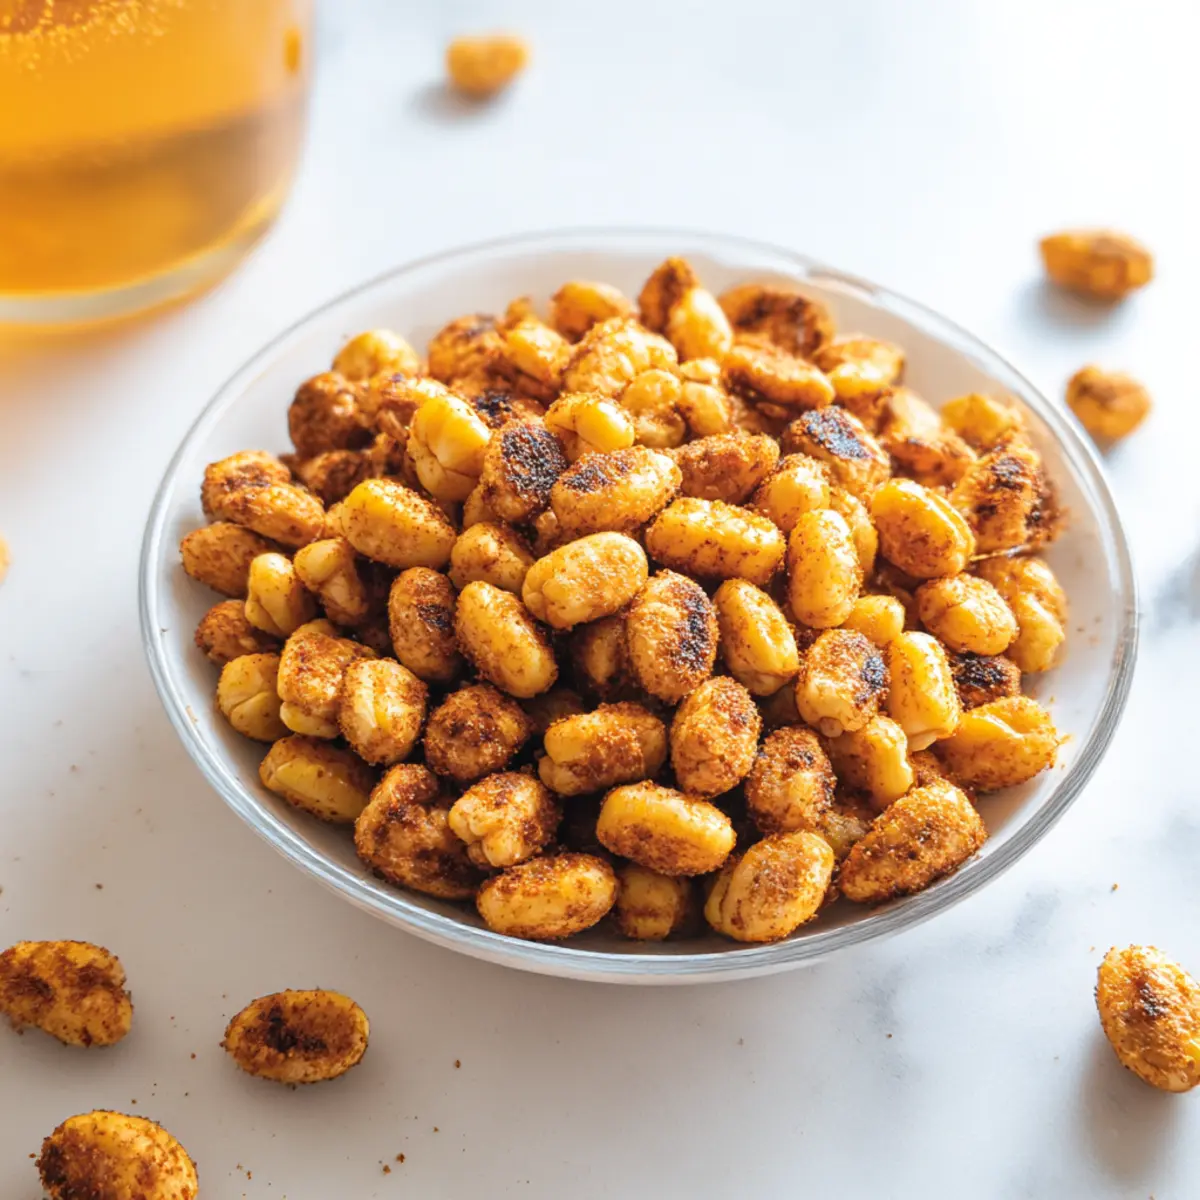
Crispy Homemade Corn Nuts: Guilt-Free Snacking Delight
Ingredients
Equipment
Method
- Soak the dried hominy in water for 6-10 hours to hydrate.
- Drain and pat the hominy dry, then let it air dry for 1 hour.
- Preheat oven to 375°F for convection or 400°F for traditional baking.
- Mix salt, garlic powder, paprika, and onion powder in a small jar for the seasoning blend.
- Coat the dried hominy with peanut oil and sprinkle in the seasoning blend.
- Spread the coated hominy on a baking sheet and bake for approximately 40 minutes, stirring halfway through.
- Cool the baked corn nuts on the baking sheet for at least 15 minutes before serving.
Leave a Reply