
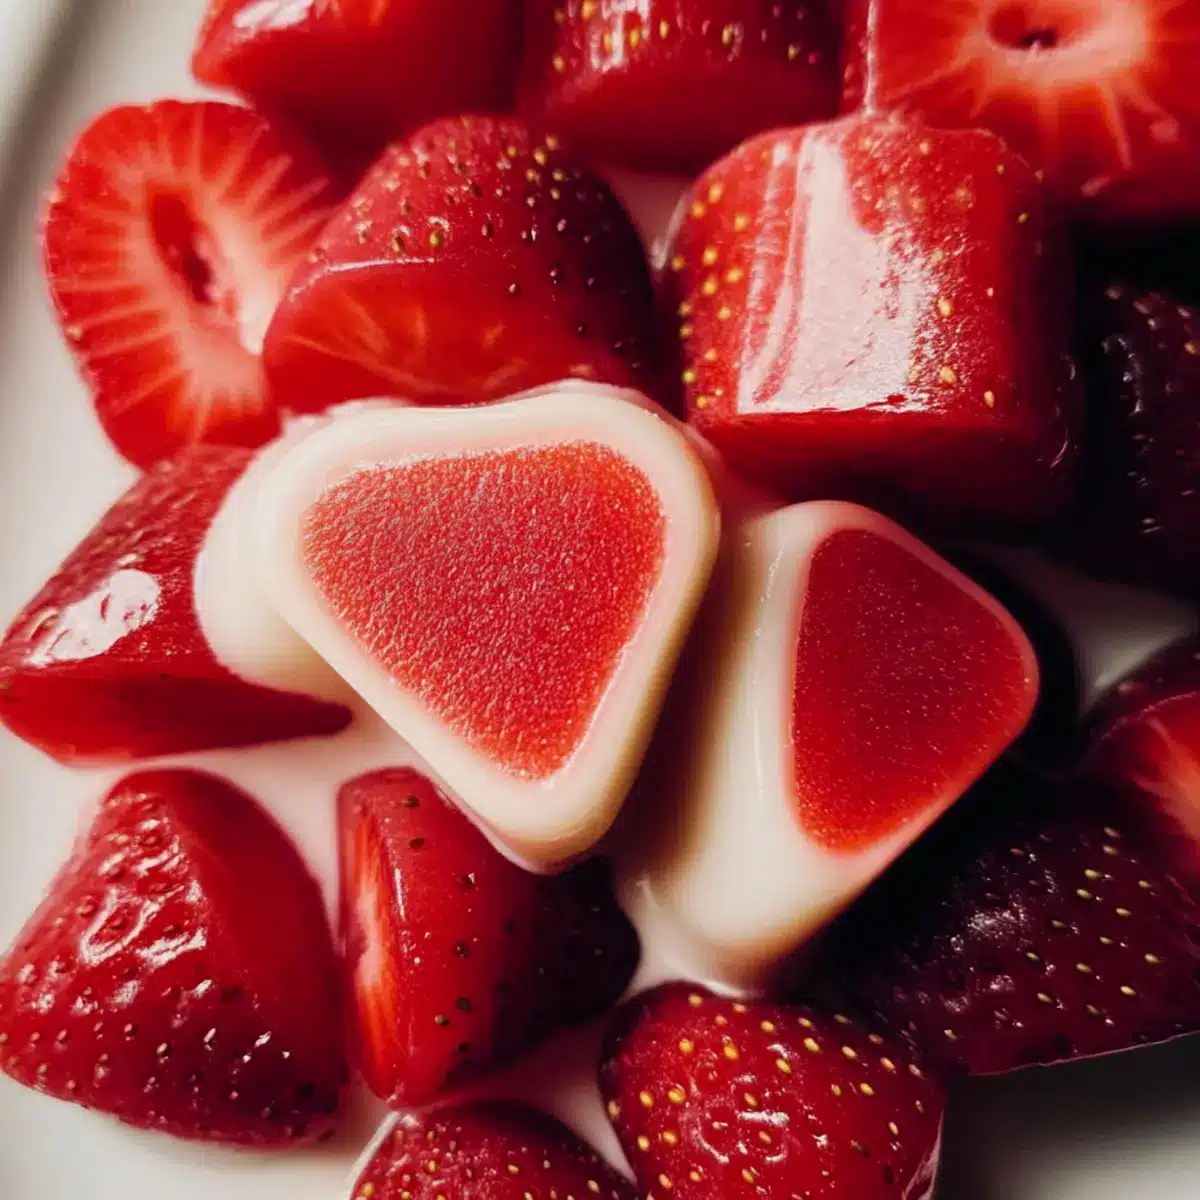
You know those fruity, chewy candies that bring a smile to your face? Well, let me tell you, my Homemade Strawberry Gummies will take you back to those carefree days while being a healthy delight for all ages! With just a handful of ingredients, these gummies are not only easy to whip up, but they also feature real fruit and less sugar than the store-bought kind. Packed with flavor and wholesome goodness, these vegan, gluten-free treats make for perfect snacks—whether you’re fueling an afternoon adventure or simply craving something sweet. Plus, you can switch things up by adding a delicious cream layer to elevate the experience! Are you ready to discover a delightful twist on healthy snacking?
Why Are These Gummies So Irresistible?
Flavor Explosion: The natural sweetness of fresh strawberries shines through in every bite, making these gummies a delightful treat for kids and adults alike.
Healthy Indulgence: Enjoy your favorite candy without guilt—this recipe is vegan, gluten-free, and made with minimal added sugar, giving you a much healthier option.
Creative Customization: With the ability to substitute fruits and sweeteners, you can experiment endlessly. Why not try mango or raspberry for a fun twist?
Easy to Make: No baking skills needed here! In just a few simple steps, you’ll have delicious gummies ready to enjoy—perfect for busy days.
Great for Sharing: These gummies are not only good for you but also a hit at parties, lunchboxes, and family gatherings. You’ll want to make extra to share with friends!
Fun Activity: Making these gummies can be a family-friendly activity that encourages creativity in the kitchen. Check out our Strawberry Crunch Cheesecake for another fun recipe to create together!
Homemade Strawberry Gummies Ingredients
• To create your own delicious homemade strawberry gummies, gather these simple ingredients!
For the Strawberry Layer
- Fresh Strawberries – Use ripe strawberries for the sweetest flavor; feel free to swap in other berries like blueberries or raspberries for variety.
- Sweetener (Honey or Agave) – This adds the perfect amount of sweetness that you can adjust as desired; omit it if you prefer a less sweet treat.
- Gelatin or Agar Agar Powder – Choose gelatin for a non-vegan option, or agar agar if you’re aiming for a vegan-friendly gummy.
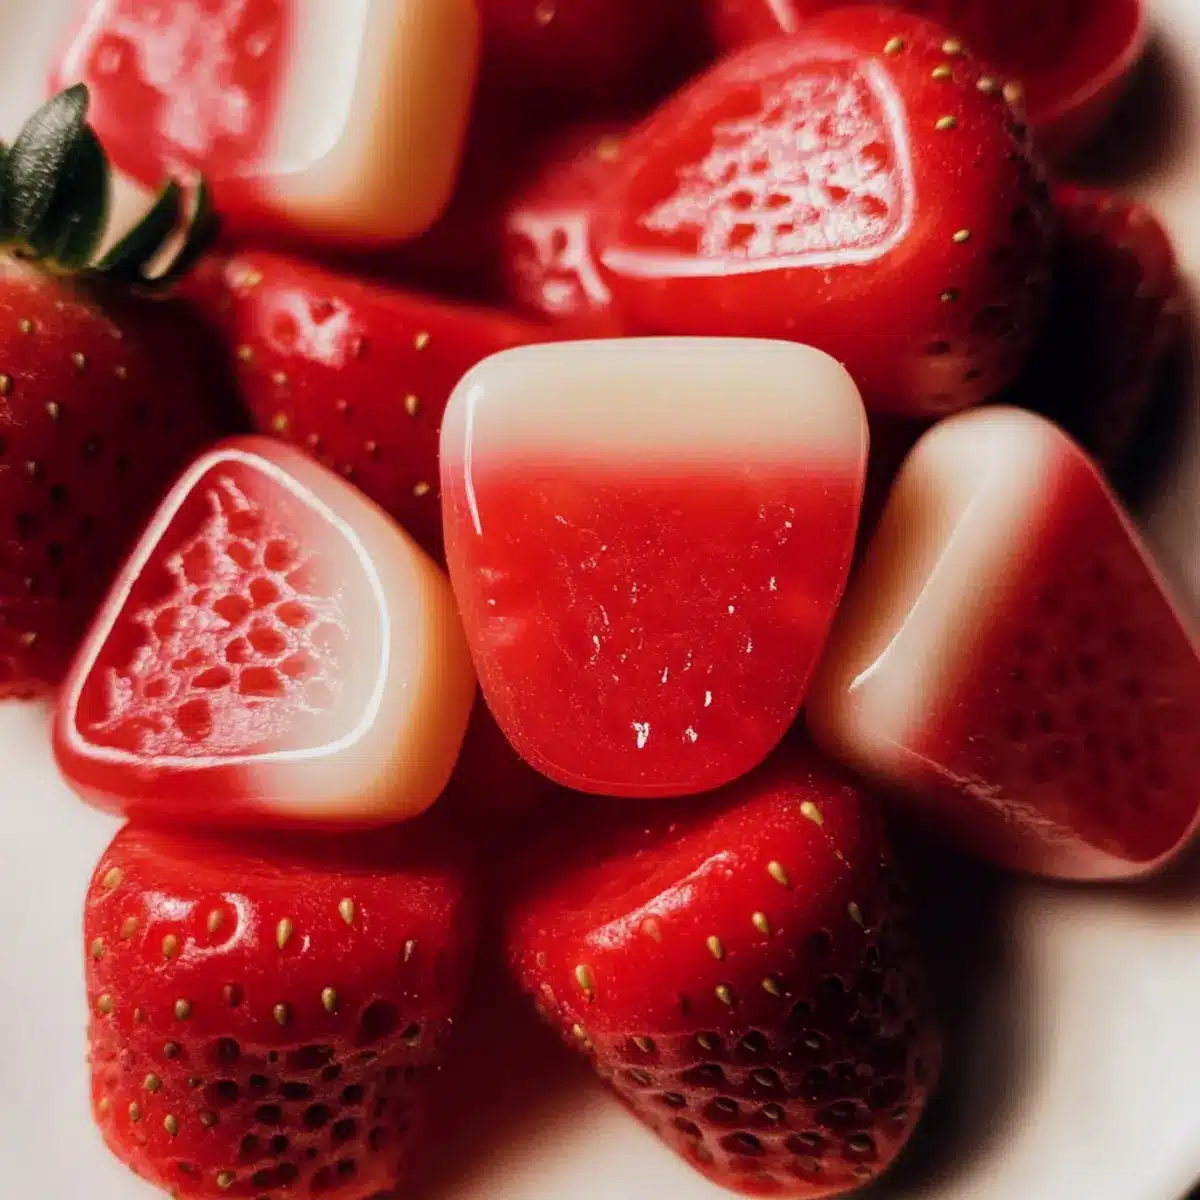
For the Cream Layer (optional)
- Coconut Cream – This adds a rich, creamy texture to your gummies; you can substitute with any non-dairy milk for a lighter, vegan option.
These homemade strawberry gummies are not only delicious but also simple to prepare, making them a great choice for a healthy snack!
Step‑by‑Step Instructions for Homemade Strawberry Gummies
Step 1: Prepare Strawberries
Begin by washing and hulling about two cups of fresh strawberries. Use a blender to puree the strawberries until completely smooth, about 1-2 minutes. If you prefer smoother gummies, strain the mixture through a fine mesh sieve to remove any seeds. Set the strained puree aside while you prepare the gelatin or agar agar.
Step 2: Make Strawberry Layer
In a medium saucepan, combine the prepared strawberry puree with your choice of sweetener and gelatin or agar agar. Heat the mixture over medium heat, stirring continuously for about 5-7 minutes or until the gelatin is completely dissolved. The liquid should be warm but not boiling, allowing the flavors to meld together for your Homemade Strawberry Gummies.
Step 3: Fill Molds
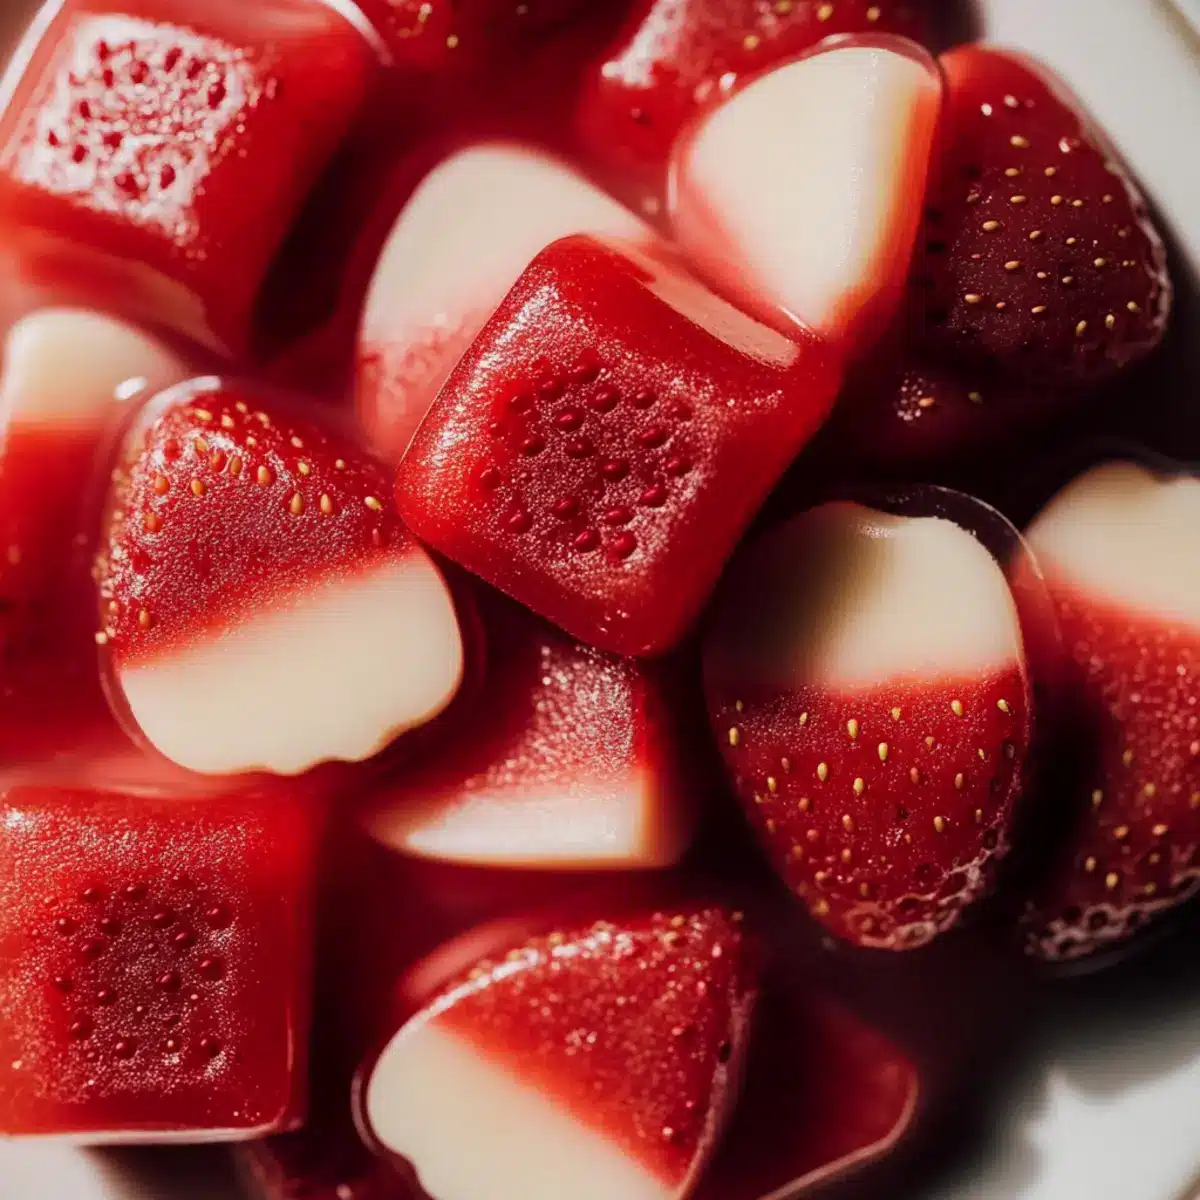
Grab your silicone molds and carefully pour the strawberry mixture into each cavity, filling them to about three-quarters full. Use a funnel if needed to avoid spills. Once filled, place the molds in the refrigerator and let the gummies set for at least 1-2 hours, or until firm to the touch, indicating they’re ready to be enjoyed.
Step 4: Prepare Cream Layer (optional)
If you want to add a cream layer, start by mixing your choice of coconut cream with gelatin or agar agar in a separate bowl. Heat this mixture gently on the stove until warm and well combined. Once the strawberry layer is fully set, pour the cream layer over it and return the molds to the refrigerator for an additional hour to set.
Step 5: Unmold Gummies
After the gummies are completely firm, gently flex the silicone molds to release them. Carefully pop out each Homemade Strawberry Gummy, taking care not to squeeze too hard. The gummies should come out easily, showcasing their vibrant layers of fruit and cream.
Step 6: Store
To keep your Homemade Strawberry Gummies fresh, transfer them to an airtight container and store them in the refrigerator. They will remain delicious for up to two weeks, making them a perfect grab-and-go snack or a fun addition to lunchboxes and gatherings.
What to Serve with Homemade Strawberry Gummies
Explore delightful accompaniments to elevate your homemade treats into a complete experience.
- Creamy Yogurt Parfait: The tangy notes of yogurt balance the sweetness, and layering in fresh fruits enhances the visual appeal.
- Nut Butter Sandwiches: Slather on almond or peanut butter between whole-grain bread for a satisfying contrast of flavors and textures.
- Fresh Fruit Salad: A medley of seasonal fruits adds a refreshing touch, making for a light and colorful side dish.
- Chocolate Dipping Sauce: Drizzling or dipping your gummies in rich chocolate creates a decadent twist, turning them into a gourmet dessert.
- Light Sparkling Beverage: Sip on a sparkling water infused with citrus—its effervescence complements the gummies’ chewy texture perfectly.
- Homemade Granola Bars: Pairing gummies with chewy granola bars provides a delicious contrast, perfect for on-the-go snacking.
With these pairings, your homemade strawberry gummies can shine at any gathering or snack time!
How to Store and Freeze Homemade Strawberry Gummies
Fridge: Store your Homemade Strawberry Gummies in an airtight container in the fridge for up to 2 weeks to keep them fresh and chewy.
Freezer: If you want to extend their shelf life, place the gummies in a single layer on a baking sheet, freeze until firm, then transfer to a freezer-safe bag. They can be stored this way for up to 3 months.
Thawing: When you’re ready to enjoy the frozen gummies, move them to the fridge to thaw for a few hours or let them sit at room temperature for about 30 minutes.
Reheating: There’s no need to reheat your gummies! Simply enjoy them straight from the fridge or freezer for a refreshing snack.
Make Ahead Options
These Homemade Strawberry Gummies are perfect for busy home cooks looking to save time during the week! You can easily prepare the strawberry layer up to 24 hours in advance; simply follow the initial steps and refrigerate the mixture in the molds. The cream layer can also be made ahead and layered once the strawberry layer has set. To maintain quality, ensure the gummies are stored in an airtight container in the fridge, where they’ll stay fresh for soft, chewy snacking for up to two weeks. When you’re ready to serve, just unmold the gummies, and you’ll have a delightful treat that’s just as delicious as if you made them fresh!
Expert Tips for Homemade Strawberry Gummies
-
Choose Ripe Strawberries: The sweetness and flavor of your Homemade Strawberry Gummies largely depend on the quality of your fruit. Opt for ripe, juicy strawberries for the best results.
-
Watch the Heat: When heating your mixture, keep it warm but not boiling. High temperatures can cause the gel to break, resulting in a less firm gummy.
-
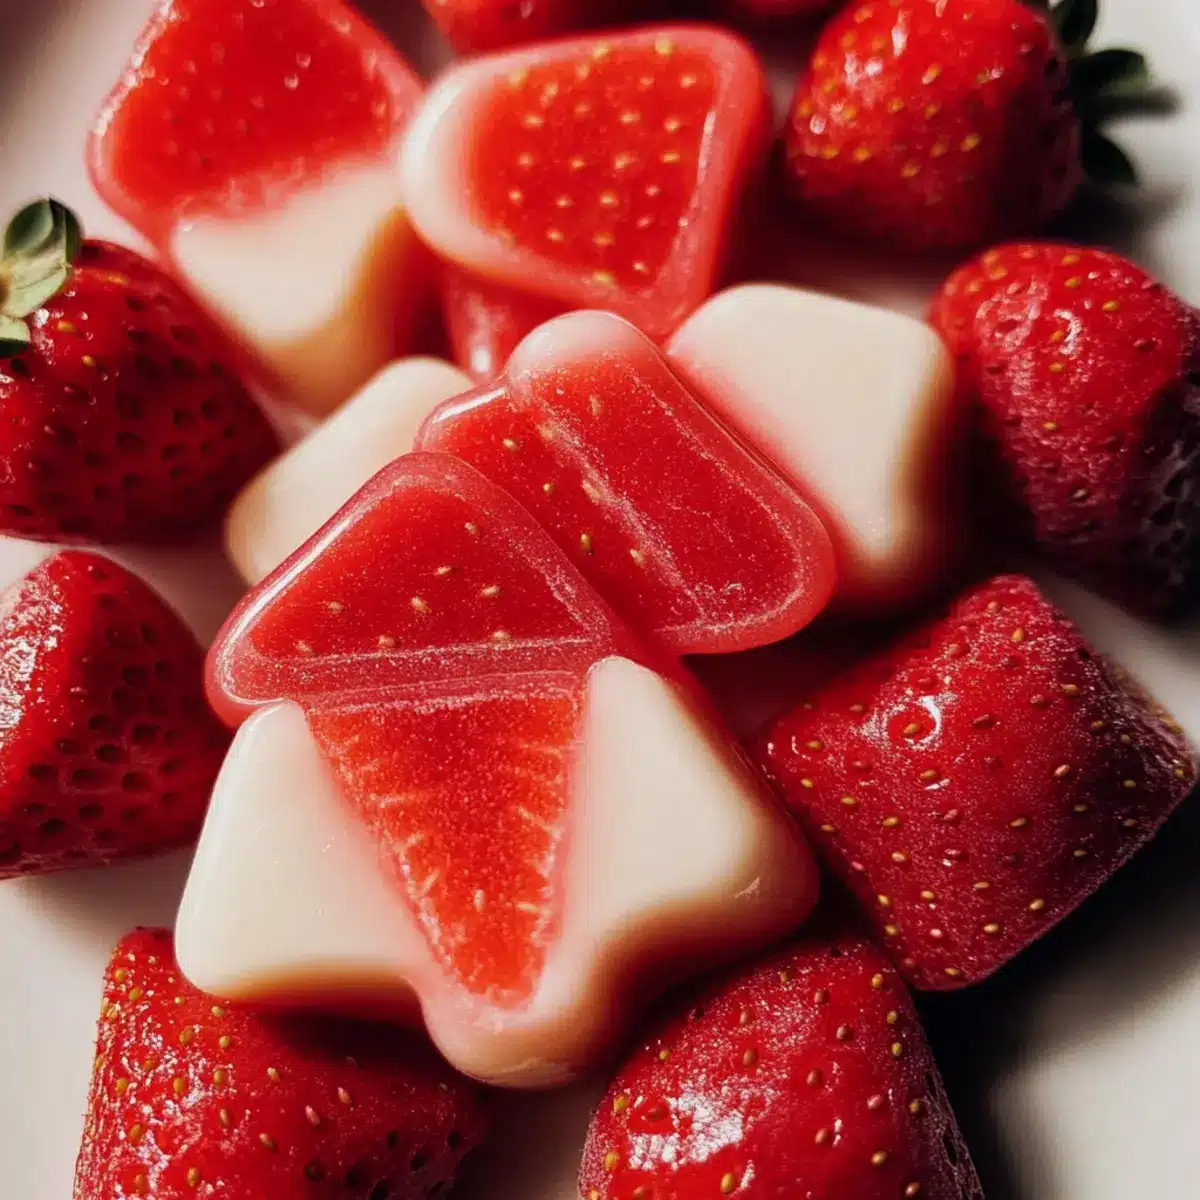
Layering Fun: For added texture and flavor, consider making multi-layered gummies. Pour the strawberry layer first, let it set, then add the cream layer.
-
Use Silicone Molds: These molds make it easier to remove the gummies without breakage. Ensure your molds are on a flat surface to prevent spills while filling.
-
Experiment with Sweeteners: Adjust the sweetness to your preference! Try different sweeteners like maple syrup or stevia to find out what works best for you.
-
Storage Tips: Always store your gummies in an airtight container in the fridge to keep them fresh and chewy for up to two weeks!
Homemade Strawberry Gummies Variations
Feel free to let your creativity shine by customizing these gummies to suit your taste buds!
-
Berry Mix: Replace strawberries with blueberries or raspberries for exciting flavor twists. Mixing different fruits can create fun and colorful gummies for everyone to enjoy!
-
Citrus Zing: Add a splash of fresh orange juice or lemon juice to enhance the fruity flavor profile. The citrus adds a bright, refreshing note that pairs beautifully with berries.
-
Creamy Coconut: Substitute the coconut cream with cashew cream for a nutty, rich taste. This creamy layer makes the gummies even more indulgent, giving you a taste of the tropics!
-
Sweetener Swap: Experiment with sweeteners like maple syrup or stevia for a sugar-free option. This way, you can tailor sweetness to your dietary needs without sacrificing flavor.
-
Tropical Twist: Consider mixing in some pineapple or mango puree for a tropical flair. Imagine the juicy sunshine in each bite, perfect for summer gatherings!
-
Layered Fun: Create triple-layered gummies using your favorite fruit combinations. Layering different fruits not only enhances flavor but also showcases a stunning visual appeal!
-
Chili Kick: For those craving a daring adventure, sprinkle in a pinch of cayenne pepper for a subtle heat. This unexpected combination can create a delightful contrast to the sweet strawberry flavor.
-
Serving Suggestions: These Homemade Strawberry Gummies pair beautifully with a light fruit salad or can be enjoyed alongside our scrumptious Olive Garden Breadsticks for a playful snack platter.
Homemade Strawberry Gummies Recipe FAQs
What should I look for when selecting strawberries?
Absolutely! When choosing strawberries, look for ripe ones that are bright red with no dark spots or mold. They should be firm but not too hard, indicating they’re fresh and sweet. The best strawberries will have a fragrant smell and vibrant green caps.
How long can I store my homemade strawberry gummies in the fridge?
You can store your Homemade Strawberry Gummies in an airtight container in the refrigerator for up to 2 weeks. Just be sure to keep them well-sealed to maintain their chewy texture!
Can I freeze homemade gummies, and how should I do it?
Very! To freeze your gummies, place them in a single layer on a baking sheet and freeze until firm. Then, transfer them to a freezer-safe bag or container. They can be stored this way for up to 3 months. When you’re ready to enjoy them, thaw them in the fridge for a few hours or let them sit at room temperature for about 30 minutes.
What can I do if my gummies are too soft?
If your Homemade Strawberry Gummies turn out too soft, it could be due to not using enough gelatin or agar agar, or not heating the mixture properly. To fix this, you can melt the batch down again, adding a little more gelatin (about ½ teaspoon for every cup of liquid). Heat and stir continuously until fully dissolved, then pour it back into the molds to set again.
Are these gummies suitable for people with allergies or dietary restrictions?
Absolutely! This recipe is vegan and gluten-free, making it suitable for various dietary needs. If you’re concerned about specific allergies, ensure to check the labels on your sweetener and gelatin or agar agar. You can also customize the recipe with substitutions to accommodate other allergens, like switching to coconut cream for dairy-free options.
Can I use other fruits for this recipe?
Yes! The beauty of these Homemade Strawberry Gummies is their versatility. You can easily substitute strawberries with other fruits like blueberries, raspberries, or even mango. Just be sure to adjust the sweetener according to the natural sweetness of the fruit you choose. Experimenting is key to discovering new flavors!
Delicious Homemade Strawberry Gummies: A Healthy Treat!
Ingredients
Equipment
Method
- Wash and hull the strawberries, then blend until smooth. Strain if desired.
- Heat strawberry puree with sweetener and gelatin in a saucepan, stirring until dissolved.
- Pour mixture into molds, filling three-quarters full, and refrigerate for 1-2 hours to set.
- For the cream layer, mix coconut cream with gelatin, heat, and pour over set strawberry layer. Refrigerate for another hour.
- Flex molds to release gummies after they are firm. Store in an airtight container.
- Store in the refrigerator for up to 2 weeks or freeze for up to 3 months.
Leave a Reply