
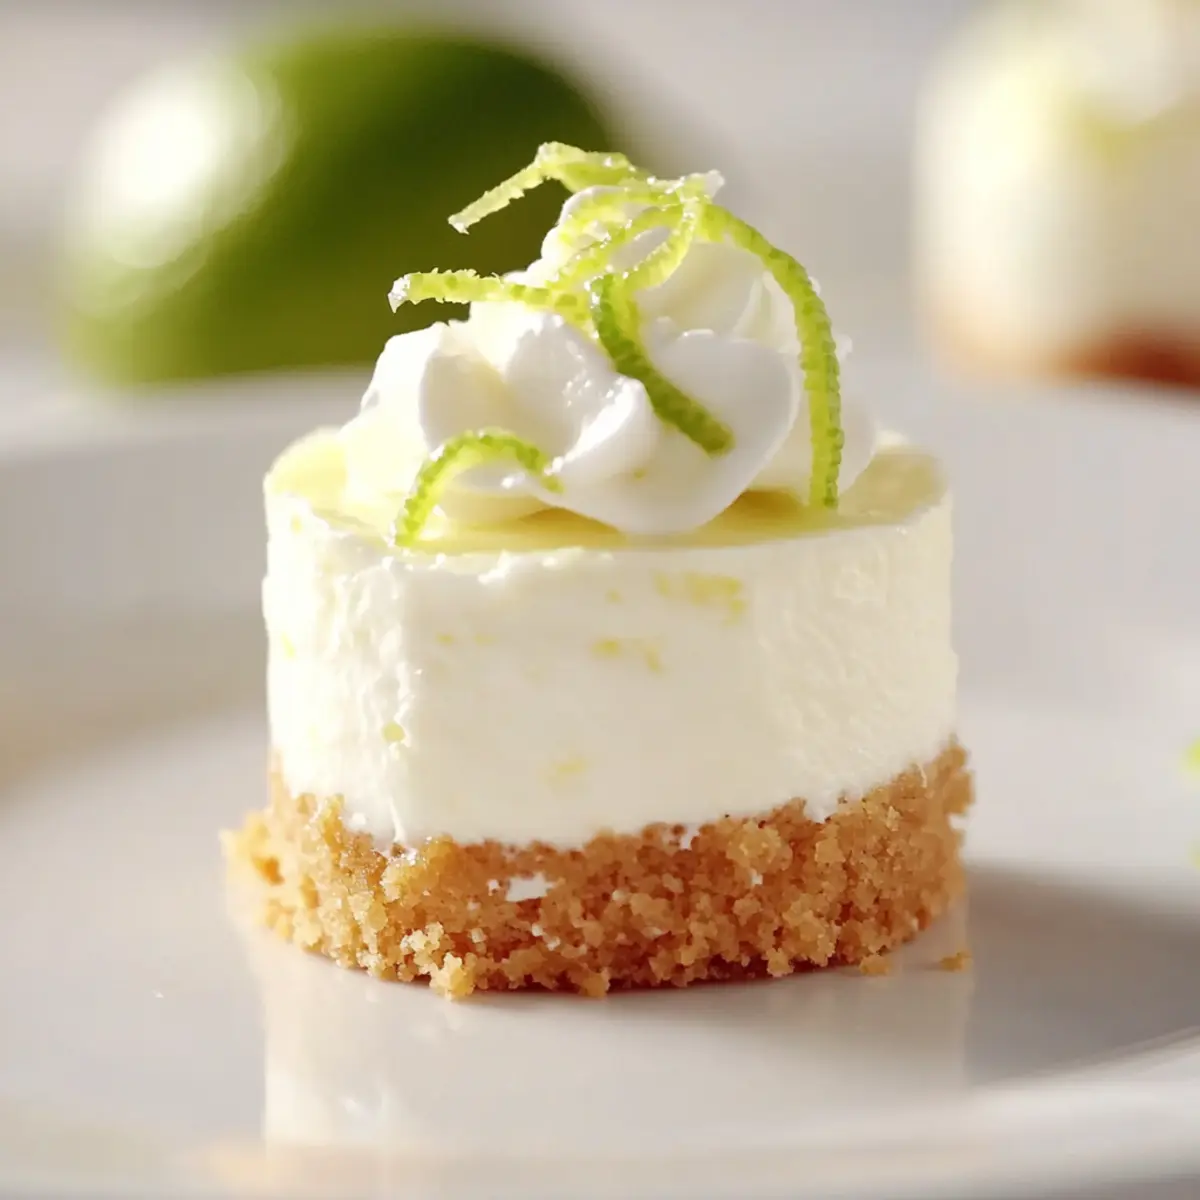
As I sat sipping a cool drink on my porch, the sweet, tart aroma of key limes filled my thoughts, whisking me away to sunny Florida. I couldn’t resist the urge to recreate that iconic taste in a fun, bite-sized form—enter my Mini Key Lime Cheesecakes! These little gems bring together the refreshing zing of classic key lime pie with the luscious creaminess of cheesecake, making them a perfect, easy-to-make dessert for summer gatherings. Not only are they simple to whip up, but they’re also perfect for serving a crowd—each guest gets their own delightful portion, assuring both satisfaction and smiles. Ready to impress friends and family while keeping your kitchen cool? Let’s dive into this refreshing recipe that will leave everyone craving another bite!
Why are Mini Key Lime Cheesecakes a Must-try?
Irresistible Appeal: These mini key lime cheesecakes not only look adorable but also pack a flavor punch that’s hard to resist. Easy to Make: With just a few simple ingredients, you’ll have a delectable treat ready in no time. Perfect for Entertaining: They’re great for summer gatherings, allowing everyone to enjoy their own individual dessert without fuss. Zesty Refreshment: The tangy key lime flavor is perfectly balanced with the creamy filling, making each bite refreshing and decadent. Versatile Treat: Feel free to experiment by adding a twist, like a raspberry swirl, for an extra burst of color and flavor.
Mini Key Lime Cheesecakes Ingredients
For the Crust
- Graham Crackers – finely crushed for the perfect crust structure.
- Granulated Sugar – sweetens and helps bind the crust; brown sugar can deepen the flavor.
- Melted Butter – binds the crust together; coconut oil can add a nutty twist.
For the Filling
- Full-Fat Cream Cheese – provides a smooth, decadent texture; use at room temperature to avoid lumps.
- Sour Cream – adds creaminess and a tangy flavor; Greek yogurt is a lighter substitute.
- Heavy Whipping Cream – ensures a light and fluffy filling; use cold for better whipping results.
- Key Lime Juice – delivers the signature zesty flavor, with fresh juice preferred for intensity.
- Lime Zest – enhances flavor and aroma; always use zest from fresh limes.
For the Topping
- Confectioners’ Sugar – sweetens the whipped topping; adjust to taste for added sweetness.
- Extra Heavy Cream – whipped for a luscious finish; ensure it’s cold for optimal texture.
Step‑by‑Step Instructions for Mini Key Lime Cheesecakes
Step 1: Prepare the Muffin Pan
Begin by lining a standard 12-count muffin pan with paper liners, ensuring they fit snugly. This will create a neat presentation for your Mini Key Lime Cheesecakes. If you don’t have liners, lightly grease the pan with cooking spray. Preheat your oven to 350°F (175°C) to ensure it’s ready for the crust as soon as it’s mixed.
Step 2: Make the Graham Crust
In a food processor, pulse graham crackers into fine crumbs, then transfer to a mixing bowl. Stir in the granulated sugar and melted butter until the mixture resembles wet sand. Pack about 1.5 tablespoons of this mixture firmly into the bottom of each muffin liner, creating a sturdy crust. Place the pan in the refrigerator to chill while you prepare the filling.
Step 3: Prepare the Cheesecake Filling
Using an electric mixer, whip the cold heavy cream in a large bowl until it reaches stiff peaks, then set it aside. In another bowl, beat the room-temperature cream cheese and granulated sugar together until smooth and creamy. Gradually incorporate sour cream, lime zest, key lime juice, and a pinch of salt, mixing until well combined. Gently fold the whipped cream into this mixture, preserving its airy texture.
Step 4: Fill the Crusts
Once the filling is ready, take the muffin pan from the refrigerator. Spoon or pipe the cheesecake mixture evenly into each prepared crust, filling them to just below the rim. Tap the pan gently on the counter to settle the filling and eliminate any air bubbles. The Mini Key Lime Cheesecakes should look perfectly layered with the crust at the bottom.
Step 5: Chill
Cover the muffin pan with plastic wrap and refrigerate for at least 3 hours, or until the cheesecakes are set and firm to the touch. This chilling step is crucial for achieving a smooth and creamy texture, allowing the flavors to meld beautifully. Make sure they are tightly covered to maintain freshness and prevent drying.
Step 6: Whip the Topping
In a clean bowl, combine extra heavy cream and confectioners’ sugar. Using an electric mixer, whip until you achieve stiff peaks, forming a luxuriously fluffy topping. The sugar will sweeten the cream, complementing the tangy Mini Key Lime Cheesecakes perfectly. Transfer the whipped topping to a piping bag for a beautiful finish.
Step 7: Garnish and Serve
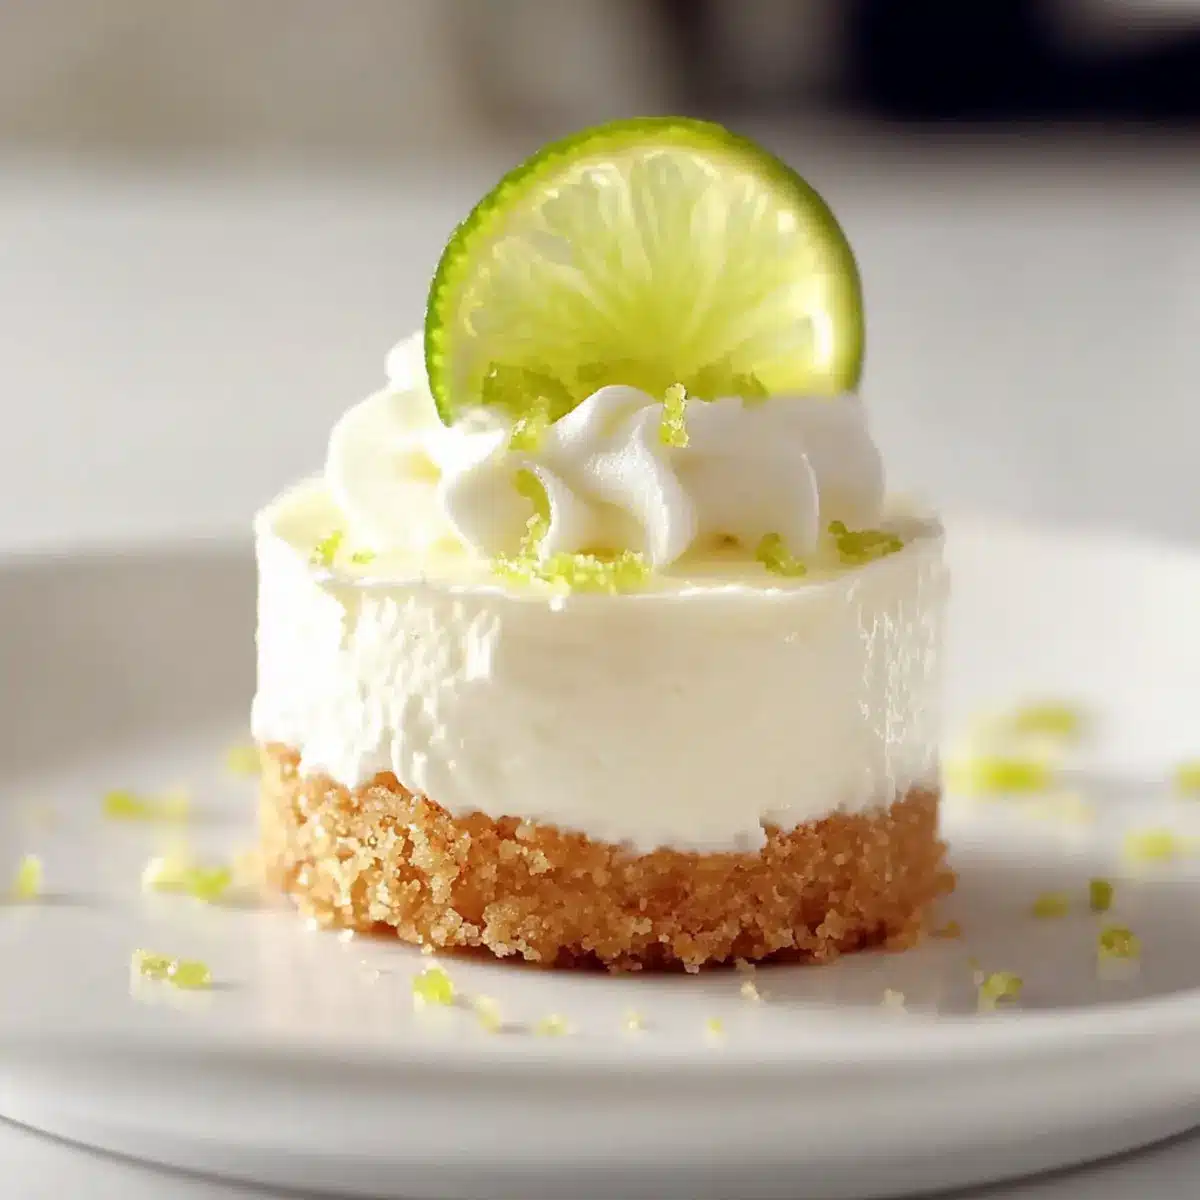
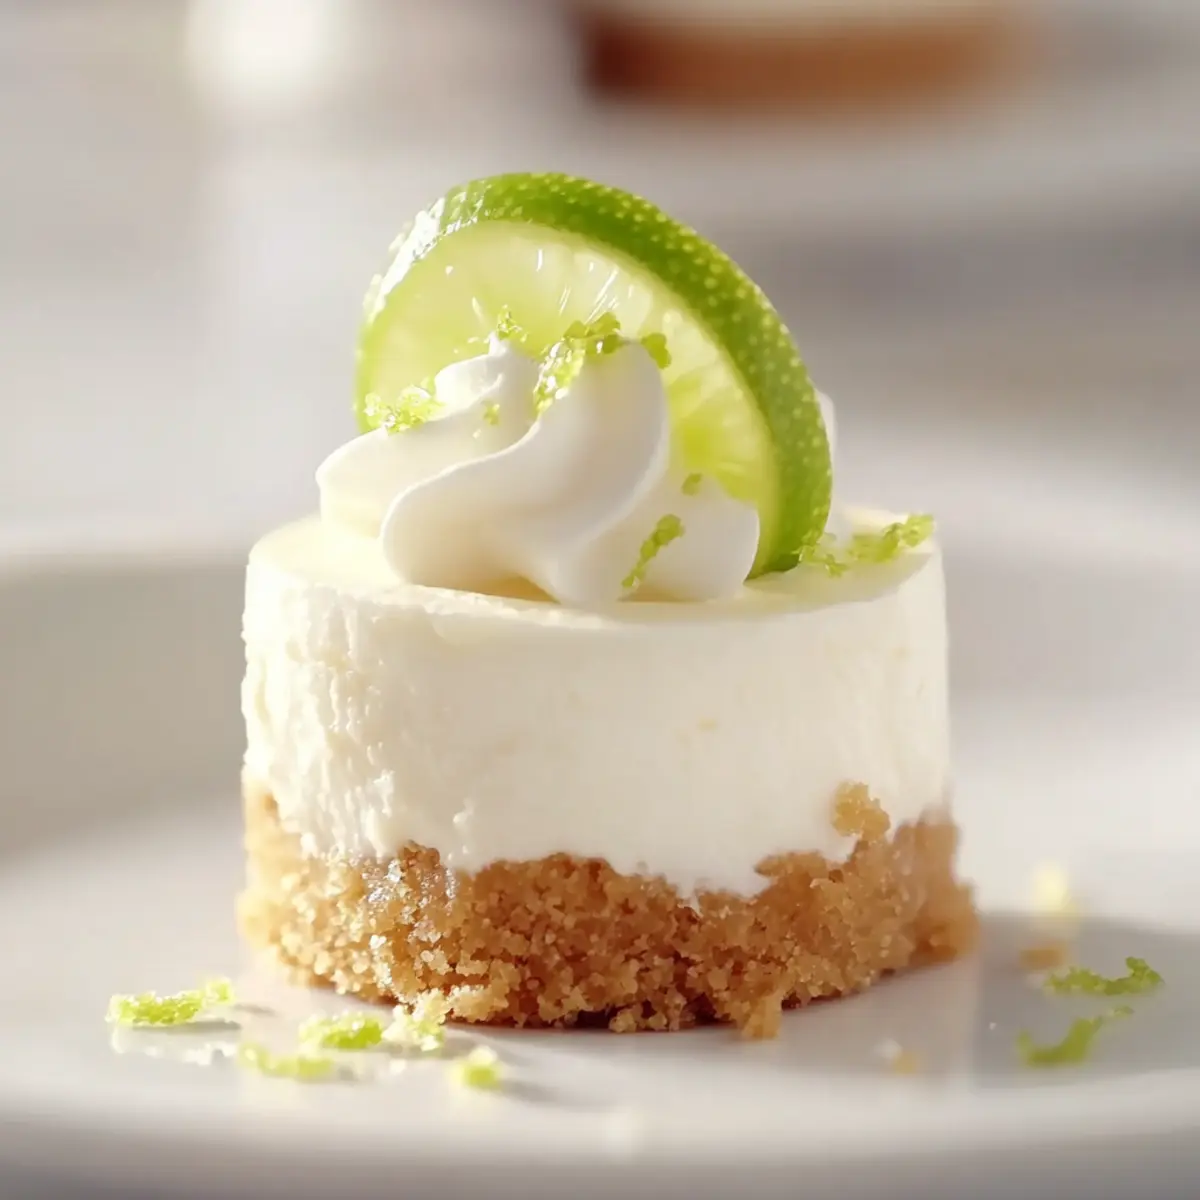
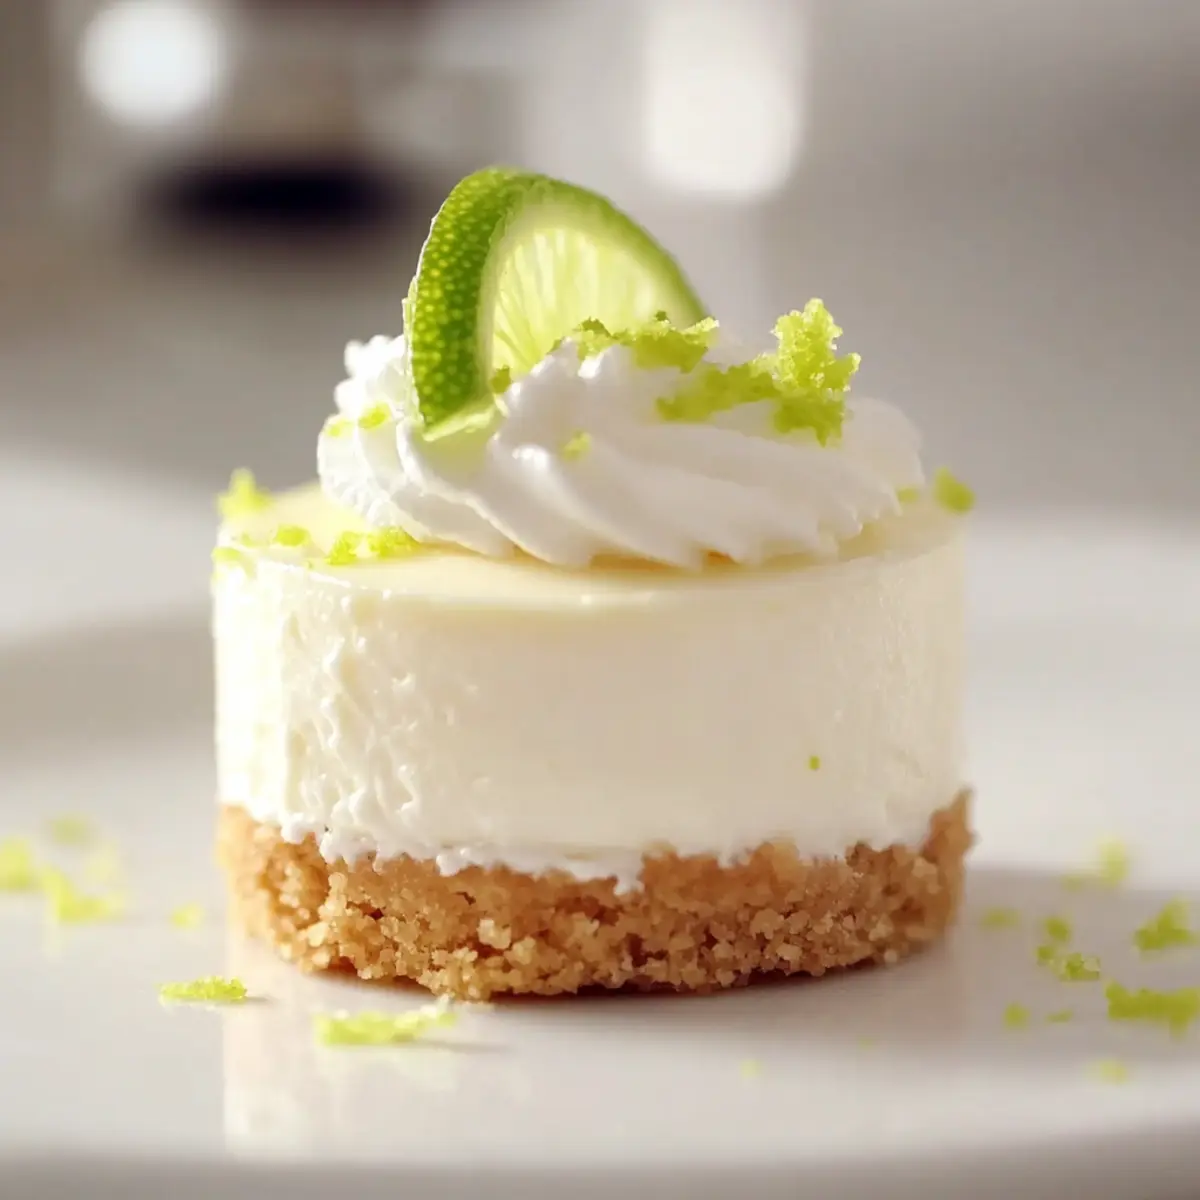
Once your cheesecakes have set, remove them from the refrigerator. Pipe the whipped topping onto each mini cheesecake for a delightful presentation. Consider adding a sprinkle of lime zest or a slice of lime on top for an extra pop of color. These delectable treats are now ready to be served and enjoyed by family and friends!
How to Store and Freeze Mini Key Lime Cheesecakes
Fridge: Store the mini key lime cheesecakes in an airtight container for up to 5 days. This keeps them fresh while allowing their flavors to develop further.
Freezer: For longer storage, these cheesecakes freeze beautifully! Wrap each cheesecake tightly in plastic wrap and place them in a freezer-safe container for up to 3 months.
Thawing: When ready to enjoy, thaw the mini cheesecakes overnight in the fridge for a smooth, creamy texture. Avoid thawing at room temperature to prevent condensation.
Reheating: These desserts are best served cold, so no need to reheat. Simply remove the desired amount from the freezer and let them chill in the fridge before serving.
Make Ahead Options
These Mini Key Lime Cheesecakes are a fantastic choice for meal prep, saving you time while still delivering that fresh, zesty flavor. You can prepare the crusts and filling up to 24 hours in advance—simply freeze the unfilled crusts and refrigerate the cheesecake filling separately. When you’re ready to serve, fill the chilled crusts with the cheesecake mixture and refrigerate for at least 3 hours to set. For the best quality, cover them tightly with plastic wrap to prevent drying out. Finish off with the whipped topping just before serving to keep it light and fluffy, ensuring your delightful treats are just as delicious as when they were freshly made!
Mini Key Lime Cheesecakes Variations
Feel free to get creative with these mini key lime cheesecakes and explore exciting twists and tasty alternatives!
-
Lemon Zing: Substitute regular key lime juice with fresh lemon juice for a delightful citrusy kick.
-
Fruity Swirls: Add a swirl of raspberry or mango puree into the filling before chilling for a pop of color and flavor.
-
Chocolate Kicks: Mix in a couple of tablespoons of cocoa powder for a rich chocolate variation that is simply divine.
-
Nutty Surprise: Replace graham cracker crust with finely crushed almond or hazelnut cookies for a richer, nutty flavor that pairs beautifully with the creamy filling.
-
Dairy-Free Delight: Use coconut cream instead of heavy cream and a dairy-free cream cheese alternative to make a sumptuous dairy-free version everyone can enjoy.
-
Spicy Touch: For those who enjoy heat, try adding a pinch of cayenne pepper to the filling for a subtle spicy surprise that will elevate the flavor profile.
-
Caramel Drizzle: Enhance these bites with a drizzle of caramel sauce just before serving, creating an irresistible sweet contrast.
-
Tropical Twist: Incorporate some crushed pineapple into the filling for a fruity, tropical flair that will transport you to a beachside paradise.
Explore these variations as a beautiful way to personalize your mini key lime cheesecakes, making each batch uniquely yours! And if you’re in the mood for more delightful desserts, check out my No-Bake Cheesecake or Lemon Meringue Bars for fresh inspiration!
What to Serve with Mini Key Lime Cheesecakes?
Elevate your dessert experience with these delightful pairings, creating a complete meal that dances on the palate.
-
Fresh Berries: Juicy strawberries and blueberries enhance the zesty notes of the cheesecakes with their sweetness, adding a refreshing contrast. The burst of flavor complements the creamy texture perfectly!
-
Tropical Fruit Salad: A mix of pineapple, mango, and kiwi brings a vibrant touch, contrasting the rich creaminess of the cheesecakes with tropical brightness. This adds color and a lightness to your dessert spread.
-
Coconut Whipped Cream: For an extra layer of creaminess, top with coconut whipped cream. It adds a hint of tropical flavor that pairs beautifully with key lime, whisking you further into paradise.
-
Dark Chocolate Drizzle: A drizzle of dark chocolate not only looks stunning but also introduces a touch of richness that balances the tangy flavor of the cheesecakes. The sweetness mingles delightfully with every bite.
-
Limeade or Arnold Palmer: A refreshing drink option, limeade brings out the key lime flavor while an Arnold Palmer—a mix of iced tea and lemonade—adds a delightful twist that’s both refreshing and thirst-quenching.
-
Graham Cracker Crumble: Sprinkle extra graham cracker crumbs on top of the cheesecakes for a pleasing crunch that elevates the dessert’s texture and keeps that familiar flavor at the forefront.
-
Chilled Prosecco: Serve alongside a glass of chilled Prosecco for a light, bubbly accompaniment that complements the zesty flavors and adds an air of celebration to your dessert table.
-
Chocolate-Dipped Strawberries: These decadent delights offer a sweet and slightly tangy pairing to the zesty cheesecakes, creating an indulgent experience that will leave your guests enchanted.
Tips for the Best Mini Key Lime Cheesecakes
-
Room Temperature Cream Cheese: Ensure your cream cheese is at room temperature to avoid lumps in your filling, which can ruin the smooth texture of your Mini Key Lime Cheesecakes.
-
Don’t Overmix: When combining the ingredients, mix just until combined; overmixing can add unnecessary air and lead to cracks in your cheesecakes.
-
Proper Chilling: Refrigerate the cheesecakes for at least 3 hours to allow them to set properly. This step is critical for achieving the ideal creamy texture.
-
Crust Consistency: Press the graham cracker crust mixture firmly into the liners, but be careful not to compress it too much—this helps avoid a dense crust that’s difficult to bite into.
-
Garnish Wisely: Thin slices of lime or a sprinkle of zest on top not only enhances the look but also adds bursts of fresh flavor, making your Mini Key Lime Cheesecakes visually appealing.
Mini Key Lime Cheesecakes Recipe FAQs
How do I choose ripe key limes?
Absolutely! When selecting key limes, look for those that are slightly soft and have a vibrant green color. Avoid any that have dark spots or are overly hard, as these can indicate dryness. Freshness is key for that zesty flavor!
How should I store Mini Key Lime Cheesecakes?
Very! Store your mini key lime cheesecakes in an airtight container in the refrigerator for up to 5 days. This will keep them fresh and delicious, allowing the flavors to meld beautifully. Just be sure they’re covered tightly to prevent drying out.
Can I freeze Mini Key Lime Cheesecakes?
Absolutely! These mini delights freeze wonderfully. Wrap each cheesecake individually in plastic wrap, then place them in a freezer-safe container. They will stay fresh for up to 3 months. When you’re ready to serve, thaw them overnight in the fridge for the best texture.
What should I do if my cheesecake filling is too lumpy?
Oh no! If you find your filling lumpy, it might be due to cold cream cheese. Ensure your cream cheese is at room temperature before mixing; this helps prevent lumps. If you’ve already mixed and it’s lumpy, you can strain the mixture through a fine mesh sieve to smooth it out before whipping in the heavy cream.
Can I make these mini cheesecakes dairy-free?
Definitely! To make dairy-free mini key lime cheesecakes, you can replace the cream cheese with a block of vegan cream cheese and substitute sour cream with coconut yogurt. For the heavy cream, consider using coconut cream or a dairy-free whipping cream alternative. Just ensure all substitutes maintain a similar texture for the best results!
Can I add a fruit topping to these cheesecakes?
The more the merrier! Adding a fruit topping, like fresh berries or a drizzle of homemade raspberry sauce, can elevate these mini key lime cheesecakes. It adds a splash of color and an extra layer of flavor that complements the zesty filling beautifully. Just remember to add the topping right before serving for the best texture!
Mini Key Lime Cheesecakes - Zesty Bites of Creamy Bliss
Ingredients
Equipment
Method
- Begin by lining a standard 12-count muffin pan with paper liners and preheat your oven to 350°F (175°C).
- In a food processor, pulse graham crackers into fine crumbs, then mix in sugar and melted butter. Pack about 1.5 tablespoons into each muffin liner. Chill in the refrigerator.
- Whip cold heavy cream until stiff peaks. In another bowl, beat cream cheese and sugar until smooth, and mix in sour cream, lime zest, juice, and salt. Fold in whipped cream.
- Spoon or pipe the cheesecake mixture into each crust, filling them just below the rim. Tap the pan to eliminate air bubbles.
- Cover with plastic wrap and refrigerate for at least 3 hours until set.
- Combine extra heavy cream and confectioners’ sugar. Whip until stiff peaks form. Transfer to a piping bag.
- Pipe whipped topping onto each cheesecake and garnish with lime zest or slices. Serve chilled.
Leave a Reply