
Walking through the vibrant streets of Thailand, I stumbled upon a tantalizing scent wafting from a bustling food stall—a symphony of sweet, savory, and tangy that pulled me in. That irresistible aroma? Authentic Pad Thai. Now, I know many of you might think making this beloved dish at home is daunting, but I’m here to show you just how quick and easy it can be! With its delightful blend of chewy rice noodles, crunchy peanuts, and a zesty squeeze of lime, this recipe transforms simple ingredients into a culinary masterpiece. Not only is my Pad Thai a reader favorite, but it’s also versatile enough to fit any dietary need, with gluten-free options and protein substitutions like chicken, prawns, or tofu. So, are you ready to whisk your taste buds off on a delicious adventure? Let’s dive into this charming dish together!
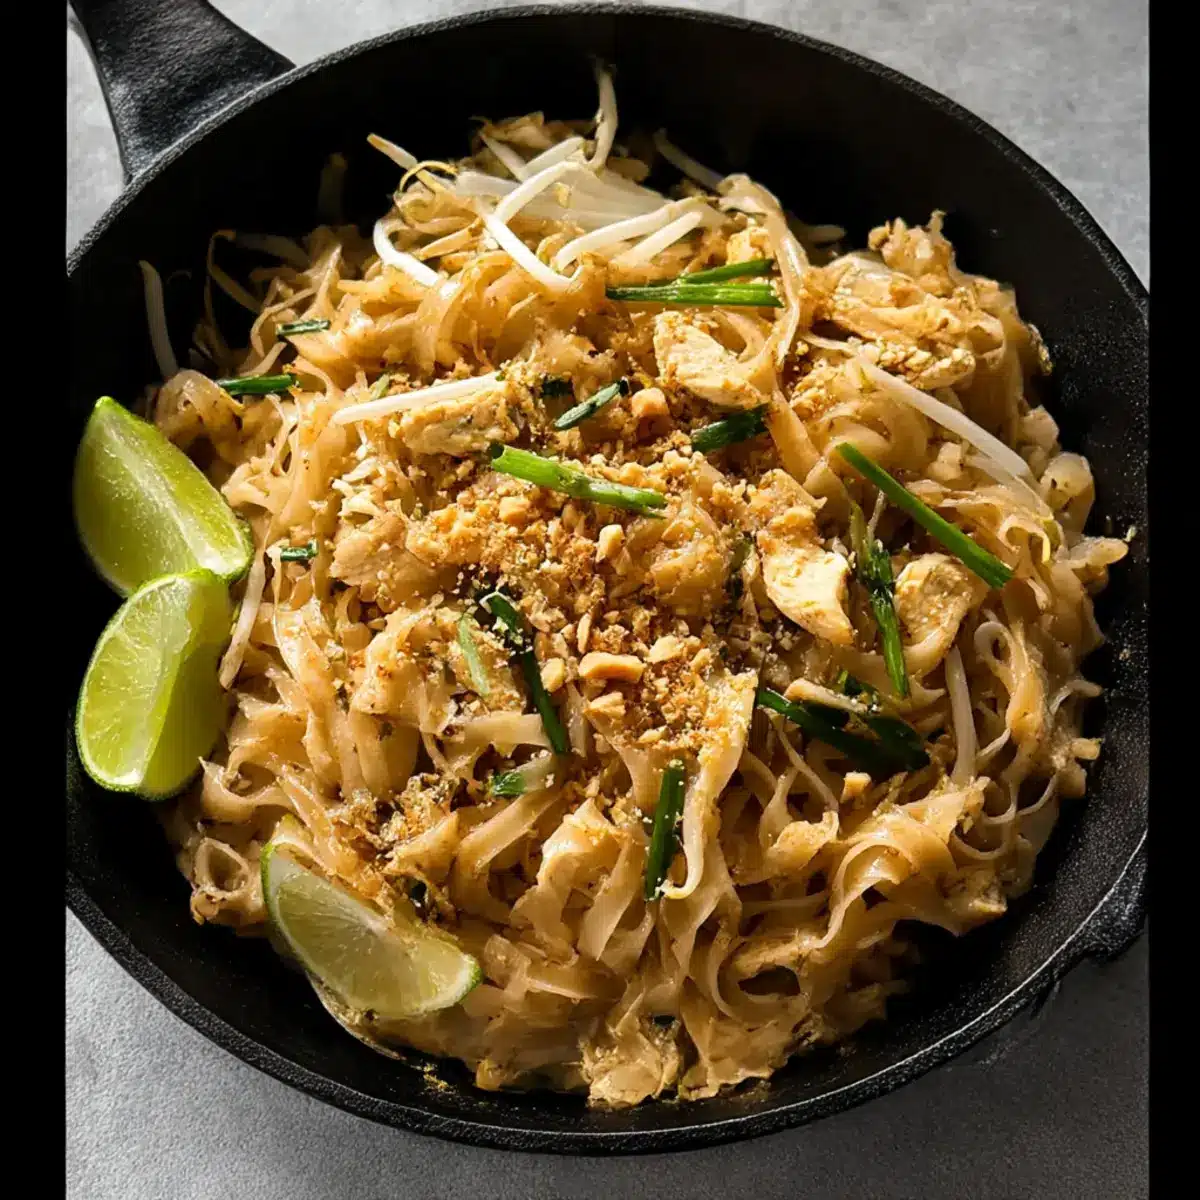
Why is Pad Thai a Must-Try?
Simplicity at Its Best: Preparing Pad Thai at home is a breeze, making it perfect for both novice cooks and seasoned chefs alike.
Rich, Authentic Flavors: Each bite delivers a delicious medley of sweet, savory, and tangy notes that pay homage to the original Thai street food.
Customizable Choices: Whether you crave chicken, prawns, or prefer a vegetarian twist with tofu, this recipe accommodates all dietary preferences seamlessly.
Quick and Easy: In under 30 minutes, you can whip up this flavorful dish, making it an ideal weeknight meal for busy schedules.
Crowd-Pleasing Appeal: Impress your family and friends with this restaurant-quality dish that’s sure to be the star of any gathering.
If you’re a fan of quick, flavorful meals, don’t miss out on my Thai Peanut Chicken for another delicious recipe that’s easy to make!
Pad Thai Ingredients
For the Noodles
• Rice Noodles – Use thin, flat dried rice noodles for optimal texture.
For the Sauce
• Tamarind Puree – Essential for the sour flavor of the sauce; ketchup can be used in a pinch but alters the taste.
• Brown Sugar – Ensure it’s packed for accurate sweetness that balances the flavors.
• Fish Sauce – Provides umami depth; light soy sauce can be a substitute but fish sauce contributes a unique flavor.
• Oyster Sauce – Enhances sweetness and gives body to the sauce; not traditional but improves this version dramatically.
For Stir-Frying
• Vegetable/Canola Oil – Use for stir-frying; ensure oil is hot enough before adding ingredients.
• Onion – Slice thinly to add sweetness and depth that cooks quickly.
• Garlic – Finely chopped for quick release of flavor and aroma.
For the Protein
• Chicken (or Tofu/Prawns) – Slice thinly for quick cooking and hearty satisfaction; can substitute with firm tofu or prawns.
• Eggs – Lightly whisk before adding to the pan for richness and texture.
For Freshness
• Bean Sprouts – Rinse thoroughly for that perfect crunch and freshness.
• Firm Tofu – Holds shape better than soft tofu, adding protein and texture.
• Garlic Chives – Add a distinct garlicky flavor; regular chives or green onions can be substituted if unavailable.
For Garnishing
• Peanuts – Finely chop for even distribution on the dish, adding that necessary crunch.
• Lime Wedges – Essential for squeezing over the dish for the authentic Pad Thai flavor; do not skip!
Step‑by‑Step Instructions for Pad Thai
Step 1: Soak the Noodles
Begin by bringing a pot of water to a rapid boil. Add the thin, flat rice noodles, allowing them to soak for 5 minutes until they are al dente but slightly firm. Once ready, drain the noodles and rinse them under cold water to halt the cooking process, ensuring they won’t turn mushy while you prepare the Pad Thai.
Step 2: Prepare the Sauce
In a small bowl, whisk together the tamarind puree, packed brown sugar, fish sauce, and oyster sauce. This mixture forms the heart of your Pad Thai, balancing sweet, savory, and tangy flavors perfectly. Set it aside so it’s ready to pour into the pan later on, making the cooking process smooth and efficient.
Step 3: Heat the Oil
In a large non-stick skillet or wok, heat about 2 tablespoons of vegetable or canola oil over high heat until it shimmers. This step is crucial as a hot pan ensures that your ingredients will sear beautifully, enhancing the flavors and textures in your Pad Thai. Get ready for the aromatic sautéing ahead!
Step 4: Sauté Aromatics
Add the thinly sliced onions and finely chopped garlic to the hot pan, stirring for about 30 seconds. As these ingredients sizzle, they will release a fragrant aroma, setting the stage for your Pad Thai. Keep stirring to prevent burning and to ensure a rich, savory base for the dish.
Step 5: Cook the Chicken
Next, toss in the sliced chicken, cooking for approximately 1.5 minutes until it’s nearly done. The chicken should turn white and opaque, indicating it’s almost fully cooked. This step infuses the dish with protein and flavor, making your Pad Thai heartier and more satisfying.
Step 6: Scramble the Eggs
Push the chicken mixture to one side of the pan. Pour the lightly whisked eggs into the empty space, allowing them to scramble for about 1 minute until just set but still soft. Once cooked, stir the eggs into the chicken and aromatics, creating a cohesive mixture filled with rich protein.
Step 7: Combine Everything
Add the drained bean sprouts and the soaked rice noodles to the skillet, followed by the prepared sauce. Toss everything together for about 1.5 minutes, ensuring the noodles thoroughly absorb the sauce and heat through. You’ll know it’s ready when the noodles are coated and the entire dish is steaming deliciously.
Step 8: Finish with Fresh Herbs
Finally, stir in the garlic chives and half of the chopped peanuts, mixing well to combine for an earthy crunch. Remove your Pad Thai from the heat and prepare to serve. The colors should be vibrant, and the aroma should make your mouth water in anticipation.
Step 9: Serve and Garnish
Immediately plate your delicious Pad Thai, garnishing with the remaining chopped peanuts and lime wedges on the side. Each bite should be a luscious blend of flavors and textures, bringing the authentic taste of Thailand right to your table. Enjoy your creation!
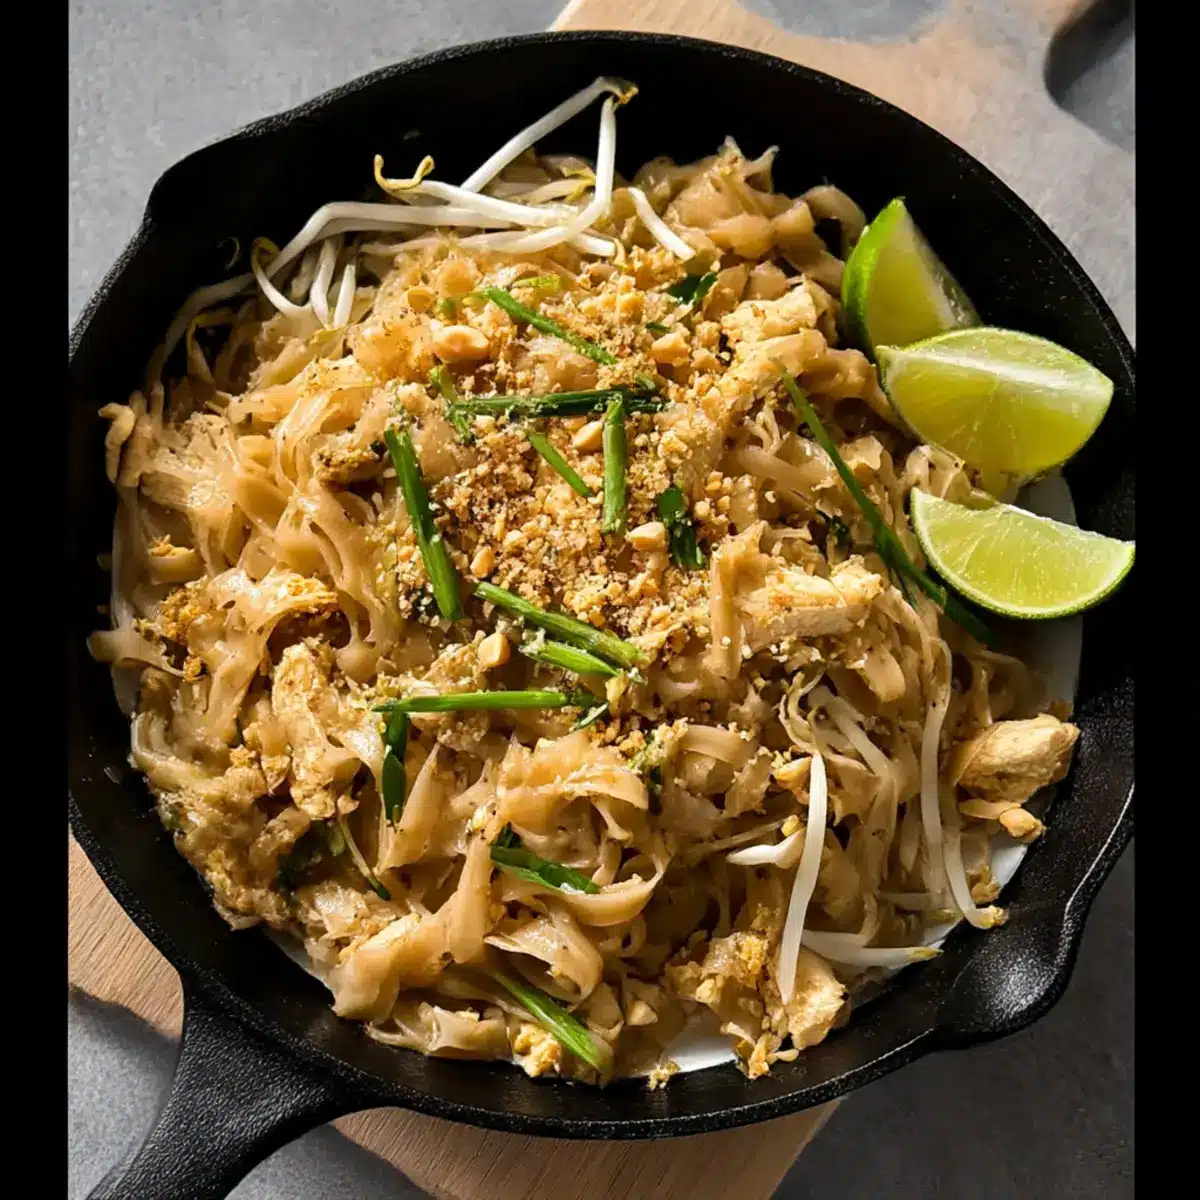
Pad Thai Variations & Substitutions
Get ready to elevate your Pad Thai experience with these delightful twists that cater to your taste and dietary needs!
-
Dairy-Free: Simply omit the eggs and use silken tofu for a creamy texture that still delivers on flavors.
This alternative ensures everyone can enjoy a rich dish without any dairy fuss! -
Gluten-Free: Pick gluten-free rice noodles and swap the soy sauce with tamari for a completely gluten-free version.
Enjoy every bite without worrying about any gluten-induced hiccups! -
Protein Boost: Try substituting chicken with prawns or firm tofu for an exciting divergence of flavors in your dish.
Each protein option brings a unique taste and texture, making it fun to experiment! -
Plant-Powered: For a completely vegetarian version, skip all meats and load up on your favorite veggies like bell peppers, carrots, and cabbage.
With colorful veggies, you not only enhance nutrition but also present a visually appealing dish! -
Nutty Twist: Swap out peanuts for cashews or almonds to add a different crunch that complements the authenticity of your Pad Thai.
Each nut brings its own flavor, allowing for a gourmet twist on every bite. -
Spicy Kick: Introduce some heat with sliced fresh chilies or a splash of Sriracha mixed into your sauce, perfect for spice lovers!
Add just the right amount to tantalize your taste buds without overwhelming your dish! -
Herb Infusion: Fresh Thai basil or mint can brighten your Pad Thai, adding freshness that elevates the entire dish experience.
A sprinkle of herbs right before serving truly makes your meal pop with flavor!
If you’re in the mood for more delicious recipes, don’t forget to try my Thai Peanut Chicken for an easy-to-make, mouthwatering treat!
Storage Tips for Pad Thai
Fridge: Store leftover Pad Thai in an airtight container for up to 2 days. This helps to maintain the flavor and texture of the dish.
Freezer: If you need to keep it longer, freeze Pad Thai in a freezer-safe container for up to 1 month. Tightly wrap it to prevent freezer burn.
Reheating: When ready to enjoy, thaw overnight in the fridge and reheat gently in a pan over medium heat. This ensures the noodles maintain their chewy texture.
Room Temperature: Avoid leaving Pad Thai out for more than 2 hours to ensure food safety. Enjoy this delicious Pad Thai within safe timeframes!
Expert Tips for Pad Thai
Prep Ingredients First: Ensure all ingredients are prepped beforehand, as stir-frying is a quick process that requires attention.
Proper Noodle Soaking: Avoid soaking noodles for too long; they should be slightly firm to prevent mushiness in your Pad Thai.
Tamarind Balance: Adjust the tamarind puree according to your taste preference, as it can be quite potent.
Cooking Sequence: If using prawns instead of chicken, add them before scrambling the eggs to ensure they cook through completely.
Hot Pan Importance: Preheat your pan well before adding oil; this will give your Pad Thai the perfect sear and prevent sticking.
What to Serve with Authentic Pad Thai
Creating a delicious meal doesn’t stop with the main dish; let’s explore the perfect pairings to elevate your dining experience.
-
Crispy Spring Rolls: These light and crunchy appetizers bring a delightful texture contrast, making them a perfect starter.
-
Fresh Thai Salad: A refreshing mix of vegetables and herbs, this salad adds a burst of freshness that complements the rich flavors of Pad Thai.
-
Steamed Jasmine Rice: Fluffy and aromatic, jasmine rice serves as a subtly fragrant side that balances the boldness of your Pad Thai.
-
Sweet Chili Sauce: For those who love a kick, a side of sweet chili sauce provides an extra layer of flavor and heat.
-
Thai Iced Tea: Chilled and creamy, this sweet tea pairs wonderfully with the spices in your Pad Thai, cooling the palate with each sip.
-
Mango Sticky Rice: For dessert, this sweet treat perfectly rounds off the meal, showcasing a delightful blend of flavors that resonate with Thai cuisine.
Feel free to mix and match these delightful pairings to create a feast that your family and friends will talk about long after the plates are cleared!
Make Ahead Options
These Pad Thai preparations are perfect for busy home cooks seeking to save time during the week! You can prep the sauce (mix tamarind puree, brown sugar, fish sauce, and oyster sauce) and store it in an airtight container in the refrigerator for up to 3 days. Additionally, slice your chicken (or tofu/shellfish) and veggies a day in advance, keeping them in separate containers to maintain freshness. When you’re ready to serve, simply soak the rice noodles and follow the cooking instructions. This way, you’ll have that delicious, restaurant-quality Pad Thai ready in no time, with minimal effort and maximum flavor!
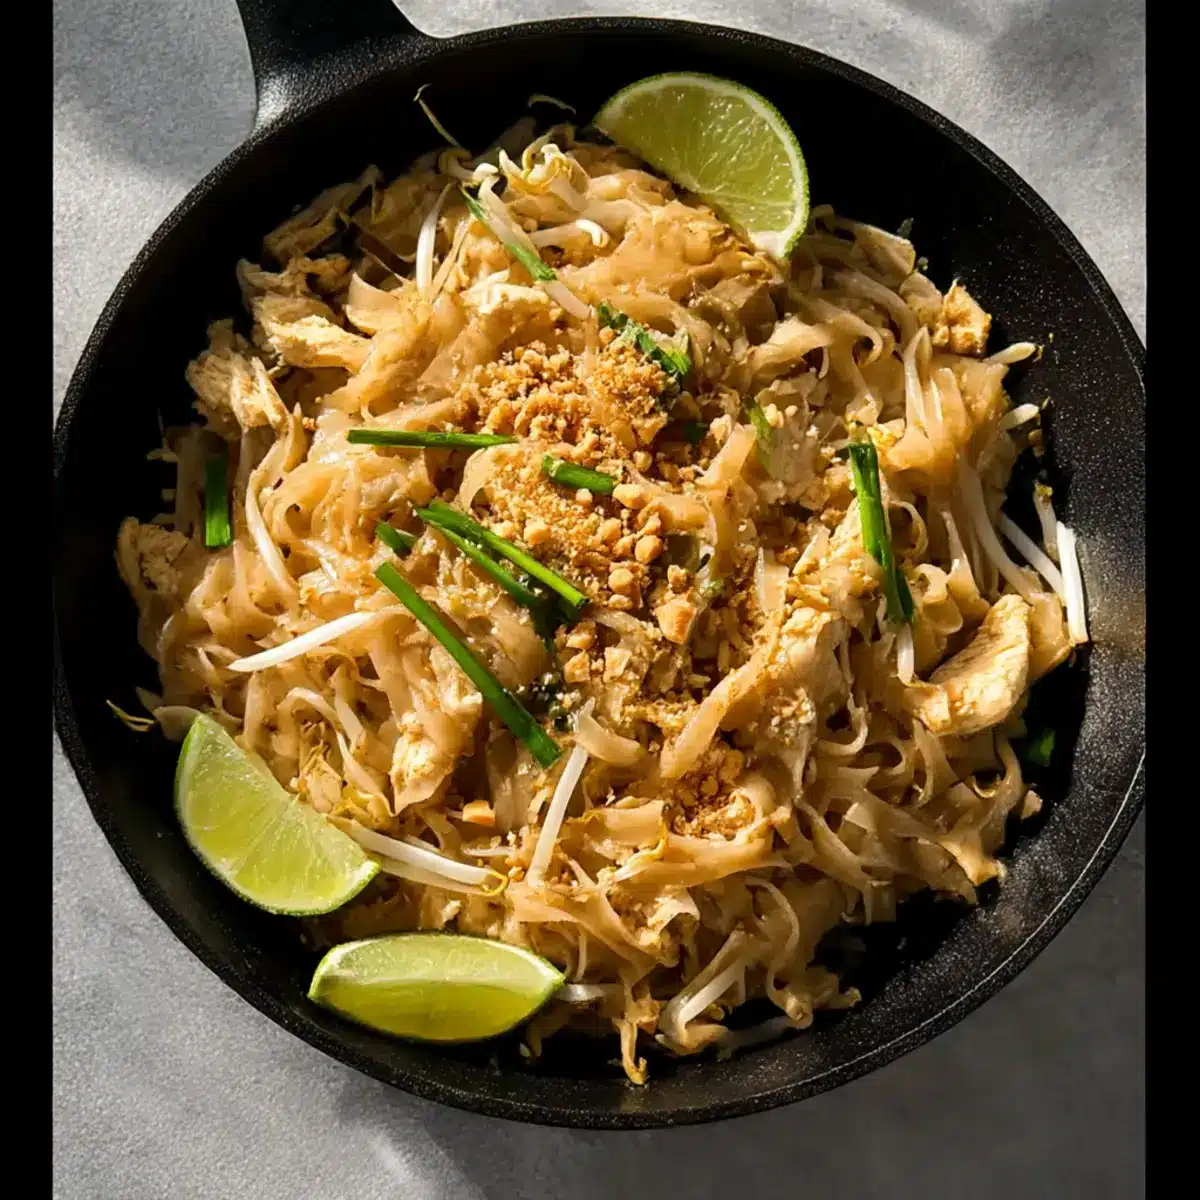
Pad Thai Recipe FAQs
How do I choose the right rice noodles for Pad Thai?
When selecting rice noodles, look for thin, flat dried rice noodles as they provide the best texture for your Pad Thai. Ensure they don’t have any dark spots or unusual odors; these can indicate they are stale. If you can, opt for brands that specifically label their noodles for Pad Thai, as they are crafted for this dish’s needs!
How should I store leftover Pad Thai?
Leftover Pad Thai should be stored in an airtight container in the fridge for up to 2 days. This keeps it fresh and prevents it from absorbing unwanted odors. Gently reheat in a pan over medium heat to restore some of the noodles’ chewy texture before enjoying your leftovers!
Can I freeze Pad Thai and how do I do it?
Absolutely! You can freeze Pad Thai for up to 1 month. Here’s how: fully cool your dish before transferring it to a freezer-safe container. It’s best to separate any protein and fresh ingredients, like bean sprouts, to maintain their texture. For reheating, thaw it in the fridge overnight and then warm it gently in a pan over medium heat, stirring to ensure even warming.
What can I do if my noodles become too soft?
If your noodles end up too soft, it likely means they were soaked for too long or overcooked. For future attempts, soak them for about 5 minutes and check their firmness before draining. Remember, they will continue to cook during stir-frying, so it’s better to err on the side of slightly under-soaked. Adding a bit of oil during stir-frying can help them maintain their shape!
Is Pad Thai suitable for those with dietary restrictions?
Yes, Pad Thai can accommodate various dietary needs! You can easily make it gluten-free by using tamari or gluten-free sauces. For protein, opt for firm tofu or prawns instead of chicken, or omit meat for a delightful vegetarian version packed with extra veggies like bell peppers or zucchini. Just keep an eye on any ingredient allergies, such as nuts from the peanuts!
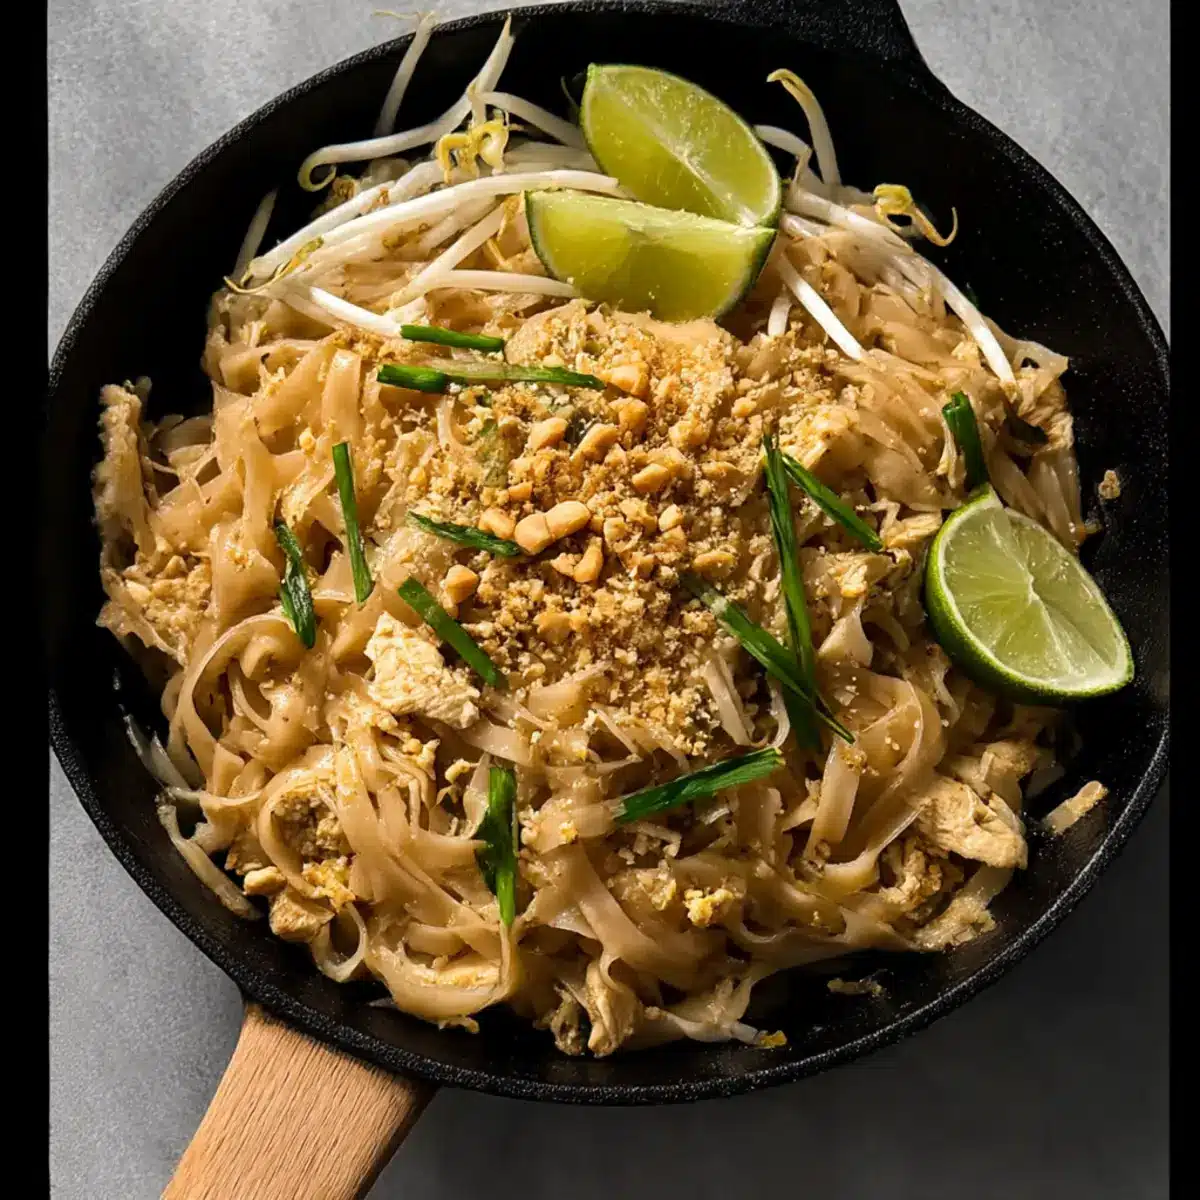
Delicious Pad Thai: Your Quick Fix for a Flavor Adventure
Ingredients
Equipment
Method
- Soak the Noodles: In a pot of boiling water, soak rice noodles for 5 minutes until al dente; drain and rinse with cold water.
- Prepare the Sauce: Whisk tamarind puree, brown sugar, fish sauce, and oyster sauce in a bowl.
- Heat the Oil: Heat vegetable oil in a large skillet over high heat until shimmering.
- Sauté Aromatics: Add sliced onions and garlic; stir for 30 seconds until fragrant.
- Cook the Chicken: Add sliced chicken and cook for 1.5 minutes until nearly done.
- Scramble the Eggs: Push the chicken to one side, pour in whisked eggs, scrambling for 1 minute.
- Combine Everything: Add bean sprouts, soaked noodles, and sauce; toss for 1.5 minutes.
- Finish with Fresh Herbs: Stir in garlic chives and half of the peanuts.
- Serve and Garnish: Plate the Pad Thai, garnishing with remaining peanuts and lime wedges.
Leave a Reply