
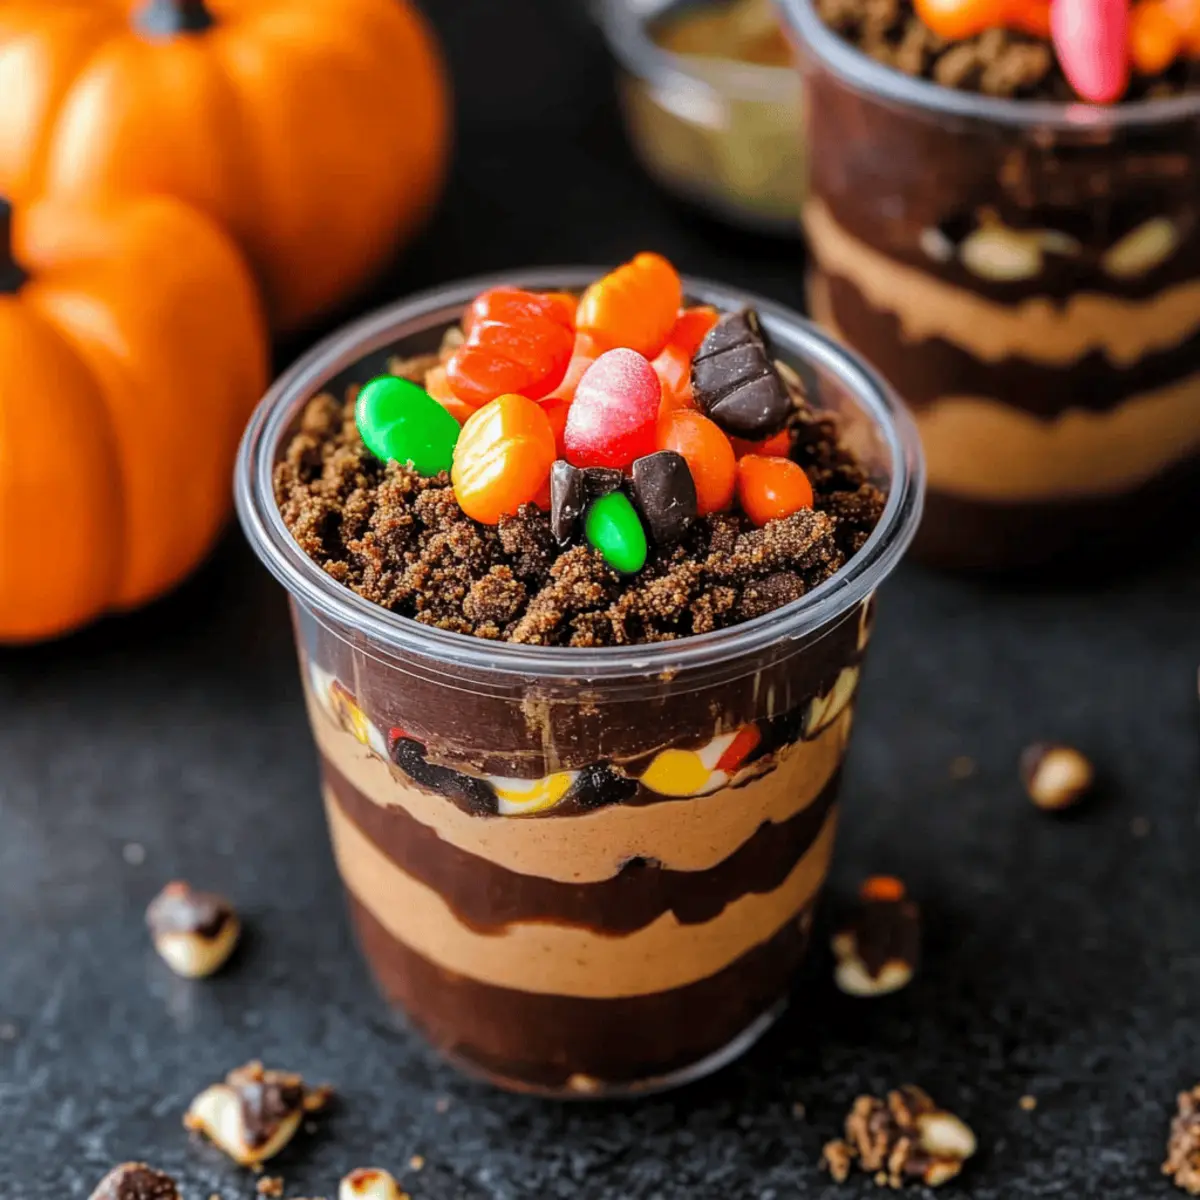
As the coolness of fall sets in, a little magic begins to unfold in the kitchen—welcome to the world of Pumpkin Patch Dirt Cups! This no-bake dessert combines creamy layers of chocolate pudding with crunchy crushed cookies, creating a delicious treat that delights both young and old. What makes this recipe truly special is the way it transforms simple ingredients into a whimsical autumn-themed spectacle, perfect for Halloween and other gatherings. It’s quick to prepare, making it an ideal choice for busy home chefs looking to whip up something delightful without spending hours in the kitchen. Plus, it’s kid-friendly, so why not invite your little ones to join in on the fun? Ready to dig into some deliciousness? Let’s bring the festive spirit to life with these delightful Pumpkin Patch Dirt Cups!
Why Are Pumpkin Patch Dirt Cups a Must-Try?
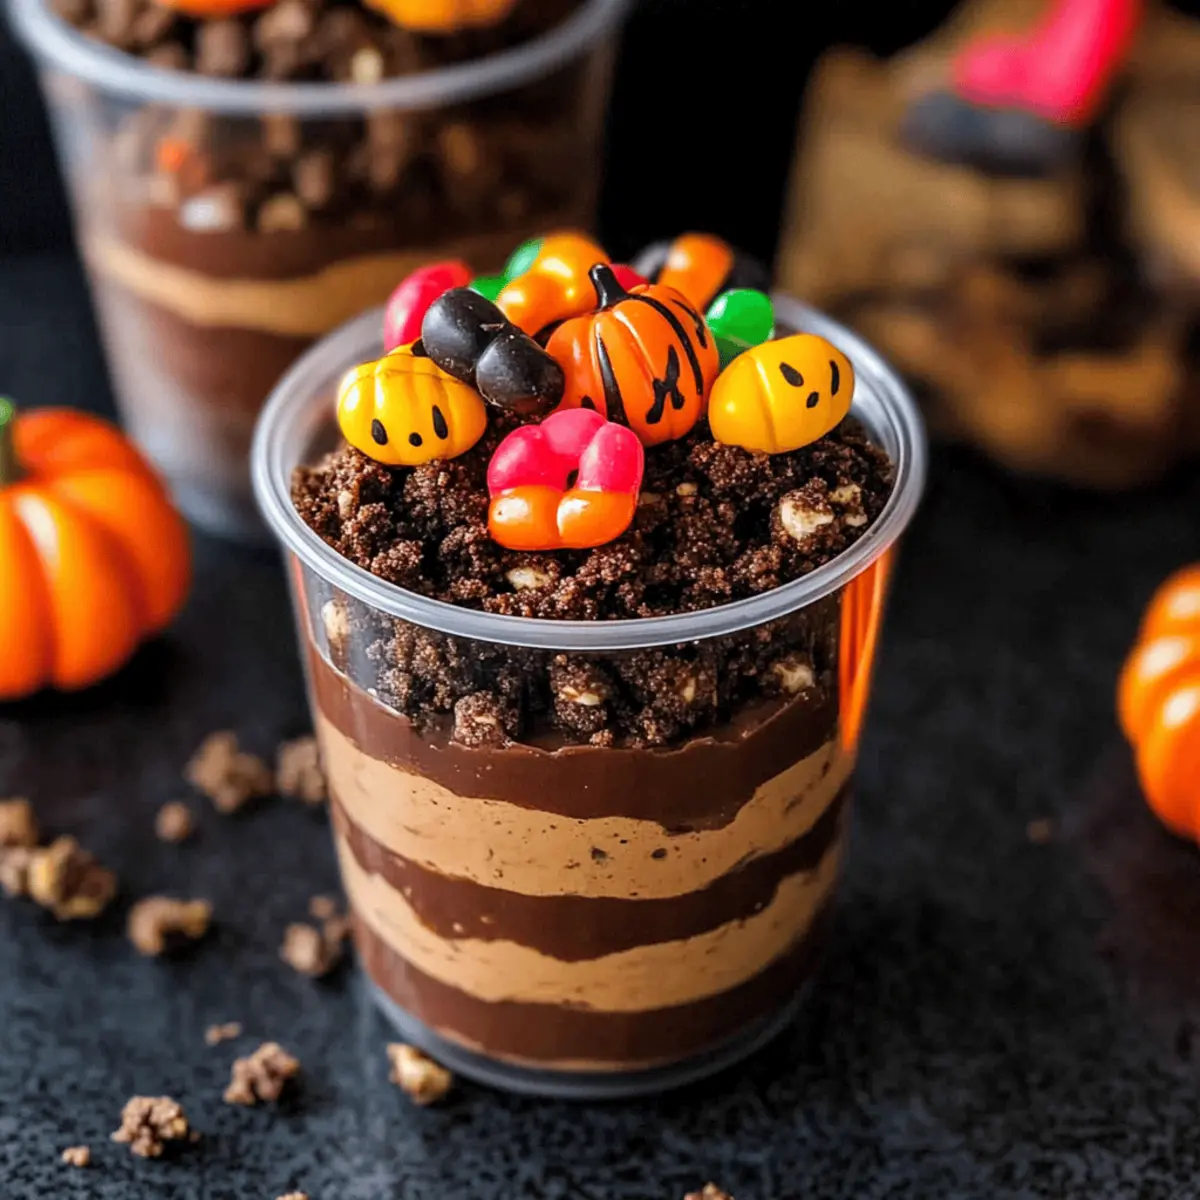
Whimsical Presentation: The adorable layers of chocolate pudding and cookie “dirt” topped with candy pumpkins create a fun visual feast that captivates every eye at the gathering.
No-Bake Ease: This recipe is a breeze to assemble—perfect for busy evenings or last-minute events without compromising on flavor or fun.
Kid-Friendly Fun: Involve the little ones! This dessert offers a delightful way to engage them in the kitchen and create lasting memories.
Versatile Variations: Whether you prefer to stick with classic chocolate or play with flavors, feel free to personalize your cups with different toppings or cookie bases, like a spin with Baked Apple Cups.
Seasonal Charm: Embrace the festive fall vibes with this Halloween-inspired treat that’s perfect for parties, school events, or cozy family gatherings—who doesn’t love a sweet seasonal surprise?
Pumpkin Patch Dirt Cups Ingredients
• Get ready to celebrate fall with this fun, no-bake dessert!
For the Pudding
- Cold Milk – Mix with the pudding mix to achieve a creamy base; almond milk works great for a dairy-free option.
- Instant Chocolate Pudding Mix – Offers the rich chocolate flavor; consider making your own pudding for an even more indulgent taste.
- Whipped Topping (like Cool Whip) – Gives a light texture to the pudding; homemade whipped cream can elevate the flavor even further.
For the Layers
- Chocolate Sandwich Cookies (like Oreos) – Crushed to create the “dirt” layer; gluten-free cookies are a suitable swap if needed.
- Candy Pumpkins – Decorative touches that bring the pumpkin patch to life; orange gumdrops or mini marshmallows are fun alternatives.
- Green Frosting or Green Sprinkles – Optional garnishes to mimic grass or foliage, adding another layer of whimsy.
Step‑by‑Step Instructions for Pumpkin Patch Dirt Cups
Step 1: Prepare the Pudding
In a large bowl, whisk together the instant chocolate pudding mix and 2 cups of cold milk for about 2 minutes. You should see the mixture thicken to a creamy consistency. This step is crucial for your Pumpkin Patch Dirt Cups, as a smooth pudding base enhances the overall flavor and texture.
Step 2: Fold in Whipped Topping
Gently fold 1 cup of whipped topping into the pudding mixture until fully combined. Be careful not to deflate the whipped topping; you want to maintain that light, airy texture. This fluffy layer will complement the creamy pudding perfectly, enhancing your delightful Pumpkin Patch Dirt Cups.
Step 3: Crush the Cookies
Using a rolling pin or a food processor, crush about 10 chocolate sandwich cookies into fine crumbs. Aim for a consistency that resembles gritty dirt, which will be the signature element of your dessert. This “dirt” adds both texture and a fun visual appeal to your Pumpkin Patch Dirt Cups.
Step 4: Layer the Cups
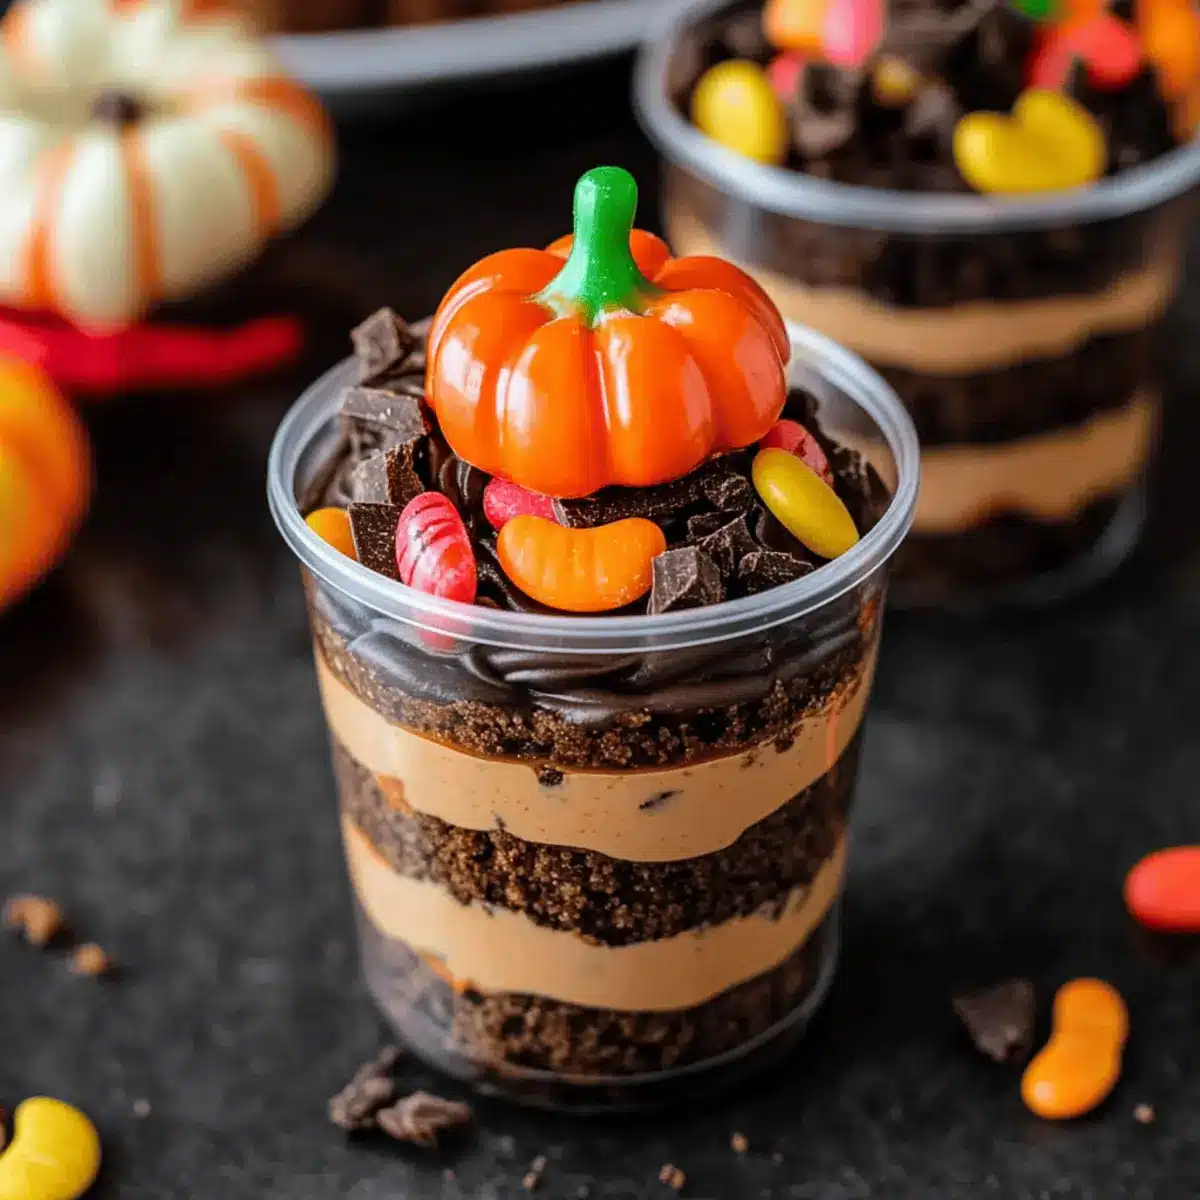
In clear plastic cups or small bowls, start layering by adding a generous spoonful of the pudding mixture at the bottom. Follow with a layer of cookie crumbs, then repeat this layering process until the cups are nearly full, finishing with a top layer of cookie crumbs to resemble the dirt of the patch.
Step 5: Decorate
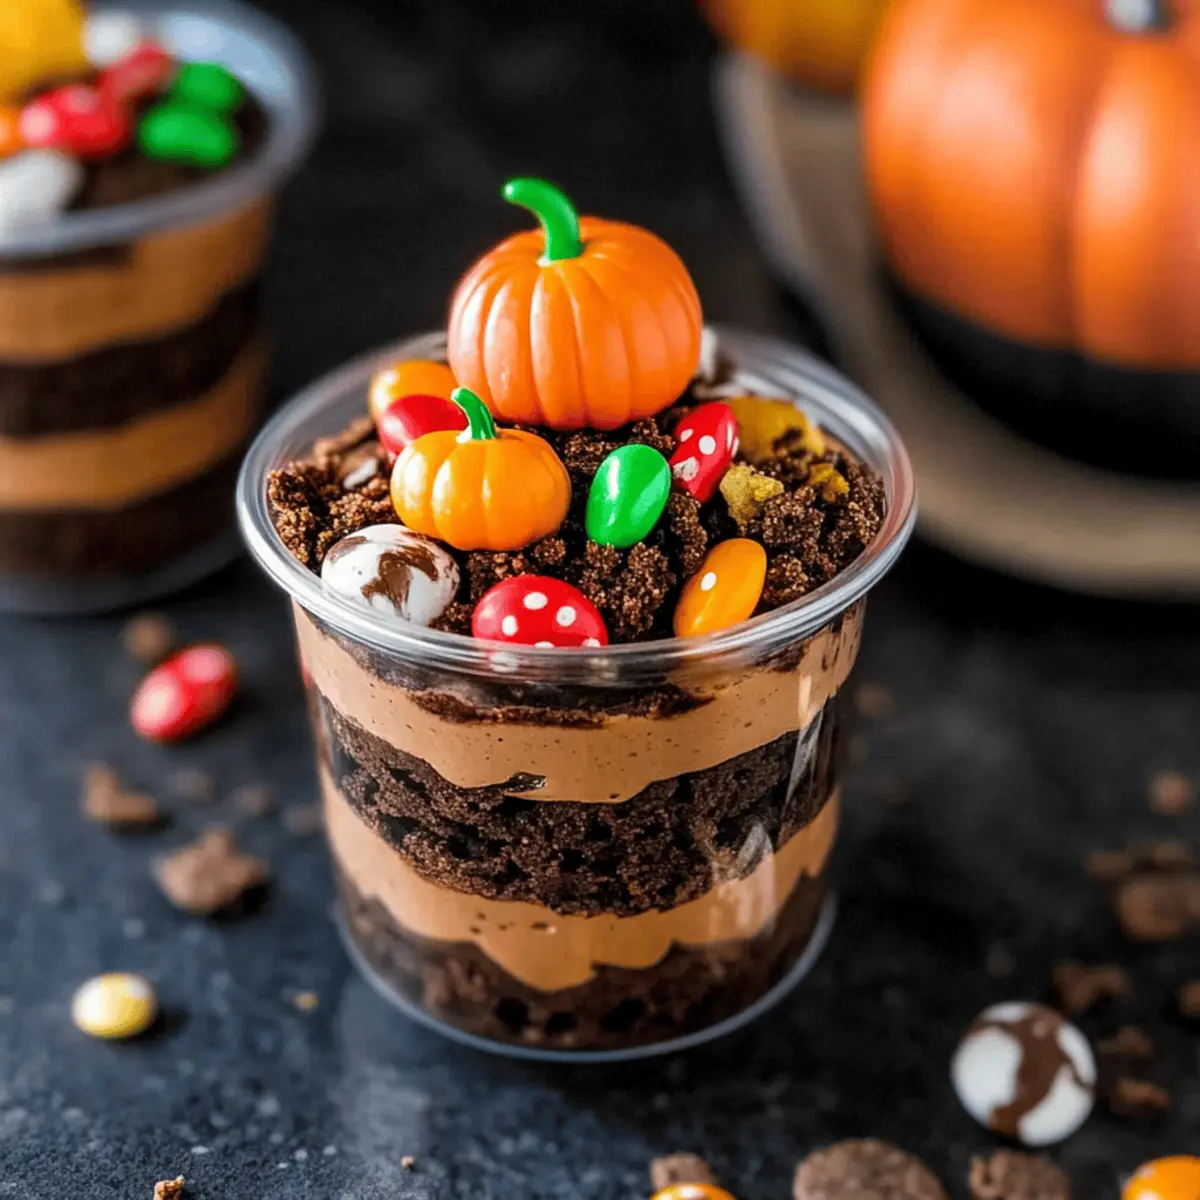
Top each of your Pumpkin Patch Dirt Cups with candy pumpkins, placing them strategically for a festive look. If desired, pipe a little green frosting around the edges or sprinkle green sprinkles to mimic grass or vines. This playful decoration adds charm to your already delightful dessert.
Step 6: Chill (Optional)
For a more cohesive flavor and texture, consider chilling your Pumpkin Patch Dirt Cups in the refrigerator for about 20 minutes before serving. This brief rest allows the layers to meld slightly, enhancing each bite. However, they can be served immediately if you’re pressed for time.
Tips for the Best Pumpkin Patch Dirt Cups
- Whisk with Care: Ensure your pudding mix is whisked thoroughly to avoid lumps; a smooth texture is key for the creamy Pumpkin Patch Dirt Cups.
- Perfect Layering: Carefully layer the pudding and cookie crumbs, pressing down slightly to create a well-defined “dirt” effect—this adds visual appeal.
- Top Last Minute: For maximum freshness, add your candy pumpkin decorations just before serving. This keeps them vibrant and appealing in your delightful dessert.
- Chill Wisely: While chilling is optional, a short time in the fridge can really enhance flavors; just don’t chill for too long, or the cookies may soften.
- Invite Little Helpers: Letting kids participate in assembling the layers not only makes for a fun experience but also creates cherished kitchen memories together!
How to Store and Freeze Pumpkin Patch Dirt Cups
Fridge: Store leftover Pumpkin Patch Dirt Cups in an airtight container for up to 3 days. This keeps the layers fresh and maintains the creamy texture.
Freezer: Freezing is not recommended for assembled cups, as the pudding can separate, and cookies may lose their crunch.
Make-Ahead: You can prepare the pudding and cookie layers separately up to a day in advance. Store each component in the fridge until you’re ready to assemble and decorate.
Reheating: There’s no need to reheat; serve the cups chilled directly from the fridge for the best experience!
Make Ahead Options
These Pumpkin Patch Dirt Cups are ideal for make-ahead meal prep, saving you time and hassle on busy days! You can prepare the pudding mixture and layer the cups up to 24 hours in advance. Simply whisk together the pudding mix and milk, then fold in the whipped topping. Layer the pudding and cookie crumbs in your cups but store the crushed cookies separately to maintain their crunch. Cover and refrigerate the assembled cups until you’re ready to serve. Just before serving, add the candy pumpkins and any optional decorations, ensuring they look fresh and vibrant, just as delicious as if made instantly!
What to Serve with Pumpkin Patch Dirt Cups
As you prepare your delightful Pumpkin Patch Dirt Cups, consider pairing these sweet treats with complementary dishes that will make your gathering even more festive and enjoyable.
- Crispy Apple Slices: The fresh crunch of apples balances the creamy pudding, adding a refreshing element that contrasts beautifully.
- Caramel Dip: Sweet and indulgent, a creamy caramel dip can elevate your apple slices, creating a delightful sweet-and-savory experience.
- Mini Pumpkin Muffins: These spiced, bite-sized treats echo the fall theme, offering a warm, cozy flavor that resonates with the season’s spirit.
- Hot Chocolate Bar: Invite your guests to customize their warm drinks with marshmallows, whipped cream, and chocolate shavings, making it a delightful experience.
- Autumn Salad: A mix of greens, nuts, and fall fruits like pears provides a contrasting texture to the rich cups, enriching the overall meal.
- Ginger Snap Cookies: Their spicy, crispy exterior pairs wonderfully with the smoothness of your Pumpkin Patch Dirt Cups, making for a perfect fall dessert duo.
Let these pairings bring your autumn gathering to life, enhancing your delightful Pumpkin Patch Dirt Cups with a charming blend of flavors!
Pumpkin Patch Dirt Cups Variations
Feel free to get creative and make these delightful Pumpkin Patch Dirt Cups your own with some fun twists!
- Dairy-Free: Substitute cold milk with almond or coconut milk for a creamy base that’s plant-based friendly.
- Homemade Pudding: Ditch the instant mix and make your own chocolate pudding for a richer, more decadent dessert experience.
- Whipped Cream: Use homemade whipped cream instead of store-bought topping to amplify the flavor and lightness.
- Different Cookies: Swap chocolate sandwich cookies for vanilla cream cookies to create a lighter, yet equally delightful, “dirt.”
- Gummy Worms: Add gummy worms beneath the cookie layer for a spooky surprise—perfect for Halloween lovers!
- Mini Marshmallows: Replace candy pumpkins with mini marshmallows for a soft, sweet addition that kids will adore.
- Nutty Crumble: Incorporate finely chopped nuts with cookie crumbs for an extra crunch factor and a nutty flavor boost.
- Spiced Chai Flavor: Mix a touch of chai spice into your pudding for a warm, aromatic flavor twist that embraces fall!
If you’re looking for even more ways to celebrate fall, try these fun decorations inspired by seasonal treats like Pumpkin French Toast or divine Pumpkin Smores Cookies. Each brings a different fall flavor to your kitchen!
Pumpkin Patch Dirt Cups Recipe FAQs
What’s the best way to choose ripe ingredients for this recipe?
Absolutely! For the freshest taste, choose cold milk that’s within the expiration date for a creamy texture. If using chocolate sandwich cookies, pick the freshest ones without dark spots or unusual odors. Candy pumpkins should be firm and vibrant. If they’re too soft or stale, look for a fresher batch or consider substituting with orange gumdrops!
How should I store leftover Pumpkin Patch Dirt Cups?
You can store any leftover Pumpkin Patch Dirt Cups in an airtight container in the refrigerator for up to 3 days. This will help keep the layers fresh and maintain that delightful creamy texture. Just remember—if they’re already decorated, it’s best to consume them quickly to retain their visual appeal!
Can I freeze Pumpkin Patch Dirt Cups and how?
Freezing assembled Pumpkin Patch Dirt Cups isn’t recommended, as the pudding can separate once thawed, and the cookies will lose their crunch. However, if you’d like to make components ahead of time, you can store the pudding in an airtight container and crushed cookies separately in the freezer for up to 3 months. Just thaw everything in the fridge overnight before assembling!
What if my pudding mix has lumps?
Very! To avoid lumps, whisk the pudding mix vigorously with cold milk for at least 2 minutes. If you still notice lumps, you can use a hand blender to smooth it out before folding in the whipped topping. Making sure the pudding is smooth is key to achieving a creamy Pumpkin Patch Dirt Cup!
Are these Pumpkin Patch Dirt Cups suitable for kids with allergies?
Yes, if you’re mindful of allergies! If you’re catering to kids with dairy allergies, substitute cold milk with almond milk or oat milk, and use dairy-free whipped topping. Make sure to check the ingredient labels for all items, especially the cookies and candy, to ensure they’re safe for children with specific allergies.
Can I make these cups ahead of time?
Absolutely! You can prepare the pudding and cookie layers separately a day in advance. Just keep the pudding covered in the fridge and store the crushed cookies in a sealed container at room temperature. When you’re ready to serve, simply layer them together and add decorations for a delightful fresh look!
Delightful Pumpkin Patch Dirt Cups for a Fun Fall Treat
Ingredients
Equipment
Method
- In a large bowl, whisk together the instant chocolate pudding mix and cold milk for about 2 minutes until thickened.
- Gently fold the whipped topping into the pudding mixture until fully combined.
- Crush the chocolate sandwich cookies into fine crumbs to resemble dirt.
- Layer the pudding mixture and cookie crumbs in clear cups, starting with pudding and finishing with cookie crumbs.
- Top each cup with candy pumpkins and optionally decorate with green frosting or sprinkles.
- Chill in the refrigerator for about 20 minutes before serving for best flavor.
Leave a Reply