
As I stood at a bustling street market in Osaka, the enticing aroma of sizzling batter and savory seafood drew me in. That’s when I first discovered Takoyaki, those delightful octopus balls that have since become a beloved staple in my kitchen. With just 15 minutes of prep, you can recreate this Japanese street food sensation at home, bringing a taste of adventure to your dining table. Not only are these fluffy balls packed with tender octopus and a symphony of flavors, but they also make for a fun, interactive cooking experience that’s perfect for gatherings. Imagine surprising your friends with a dish that’s both quick to make and oh-so-satisfying. Are you ready to dive into the world of homemade takoyaki? Let’s get started!
What Makes Takoyaki So Special?
Irresistible flavors: Each bite of these takoyaki bursts with tender octopus and a delightful balance of savory and tangy notes.
Quick and easy: With just 15 minutes of prep time, you’ll have an impressive dish ready for any occasion.
Fun to make: Get everyone involved in the cooking process for a memorable and interactive dining experience.
Versatile ingredients: Feel free to swap octopus for shrimp or chicken, making it adaptable to your taste preferences.
Crowd-pleaser: Perfect as an appetizer or snack at parties, your guests will rave about this unique twist on street food!
Add some variety by exploring different toppings, like spicy mayo or teriyaki sauce for a delightful twist!
Takoyaki Ingredients
Here’s everything you need to create your own delicious takoyaki at home!
For the Batter
- All-Purpose Flour – Provides structure for the batter; substitute with gluten-free flour for a gluten-free option.
- Cake Flour – Ensures lightness and fluffiness in the takoyaki; can be replaced with more all-purpose flour if unavailable.
- Eggs – Binds the mixture together and adds richness; a flax egg can be used for a vegan alternative.
- Dashi (Broth) – Essential for authentic umami flavor; instant dashi is a convenient choice.
- Soy Sauce – Adds depth and saltiness; tamari or coconut aminos are great gluten-free substitutes.
For the Filling
- Cooked Octopus – The star of takoyaki, delivering unique texture and flavor; swap in shrimp or chicken for different variations.
- Cabbage (optional) – Adds crunch and freshness; feel free to omit if you prefer a simpler bite.
- Scallions – Offers vibrant flavor and color; chives can be a milder substitute.
For Cooking & Topping
- Toasted Sesame Oil – Enhances overall flavor; vegetable oil can be used if sesame isn’t available.
- Takoyaki Sauce/Tonkatsu Sauce – Provides a savory-sweet topping; choose tonkatsu for a less sweet option.
- Aonori (Dried Laver Flakes) – Adds umami and a pop of color; seaweed flakes can replace them.
- Bonito Flakes – Provides a smoky flavor; can be omitted for a vegetarian-friendly version.
- Kewpie Mayonnaise – Creamier and sweeter than regular mayo; standard mayonnaise can be used in a pinch.
Gather these ingredients and let the adventure of making takoyaki begin!
Step‑by‑Step Instructions for Takoyaki
Step 1: Prepare the Batter
In a medium bowl, whisk together 1 cup of all-purpose flour, 1/2 cup of cake flour, 2 beaten eggs, 2 cups of dashi, and 2 tablespoons of soy sauce until the mixture is smooth and free of lumps. The batter should be slightly runny to achieve that fluffy texture we love in takoyaki. Set the batter aside as you preheat your takoyaki maker.
Step 2: Heat the Takoyaki Maker
Turn on your takoyaki maker and allow it to preheat for about 5 minutes. To prevent the batter from sticking, lightly brush the molds with toasted sesame oil using a silicone brush. You should see the oil shimmer, indicating it’s ready for the batter. This step ensures crisply cooked takoyaki balls.
Step 3: Fill Molds
Once the takoyaki maker is hot, pour the batter into each mold, filling them about three-quarters full. Don’t worry if some batter spills over; it will form delicious edges. Add small pieces of cooked octopus and a sprinkle of chopped scallions into each filled mold, then pour more batter on top until just full.
Step 4: Cook
Allow the takoyaki to cook for approximately 3 minutes, monitoring closely. You’ll notice the edges start to firm up and turn a lovely golden-brown color. This visual cue means they’re ready to be flipped, so resist the urge to disturb them too soon for the best texture.
Step 5: Flip the Takoyaki
Using a skewer or chopsticks, gently flip each takoyaki ball 90 degrees to cook the uncooked side. Cook for an additional 1 to 2 minutes until each ball is golden brown and crispy all around. Careful flipping will help them maintain their round shape as they cook.
Step 6: Serve
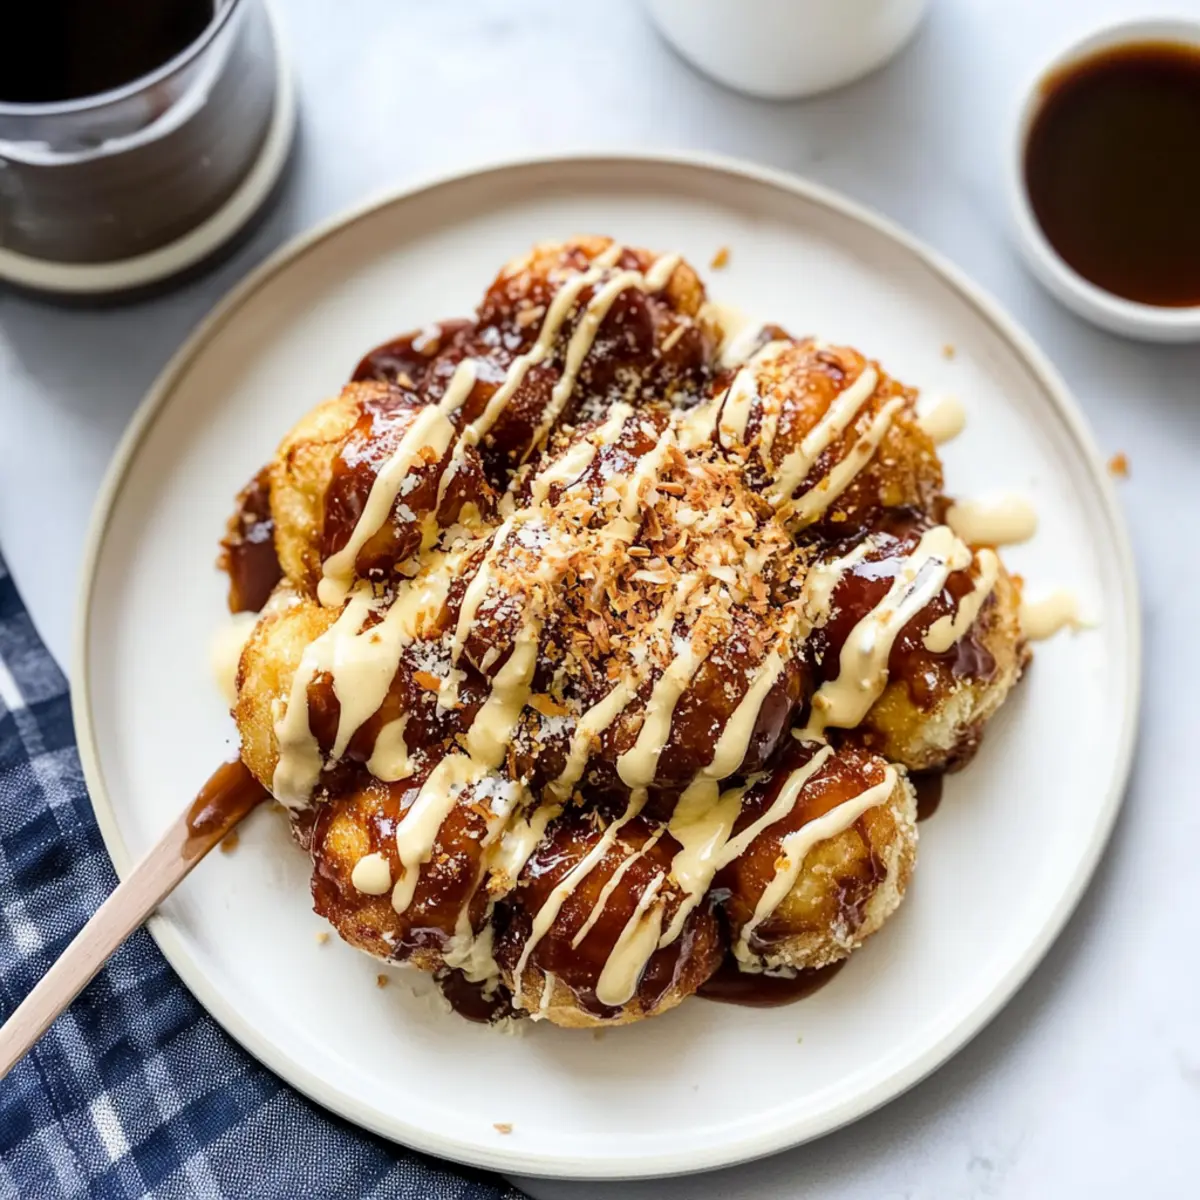
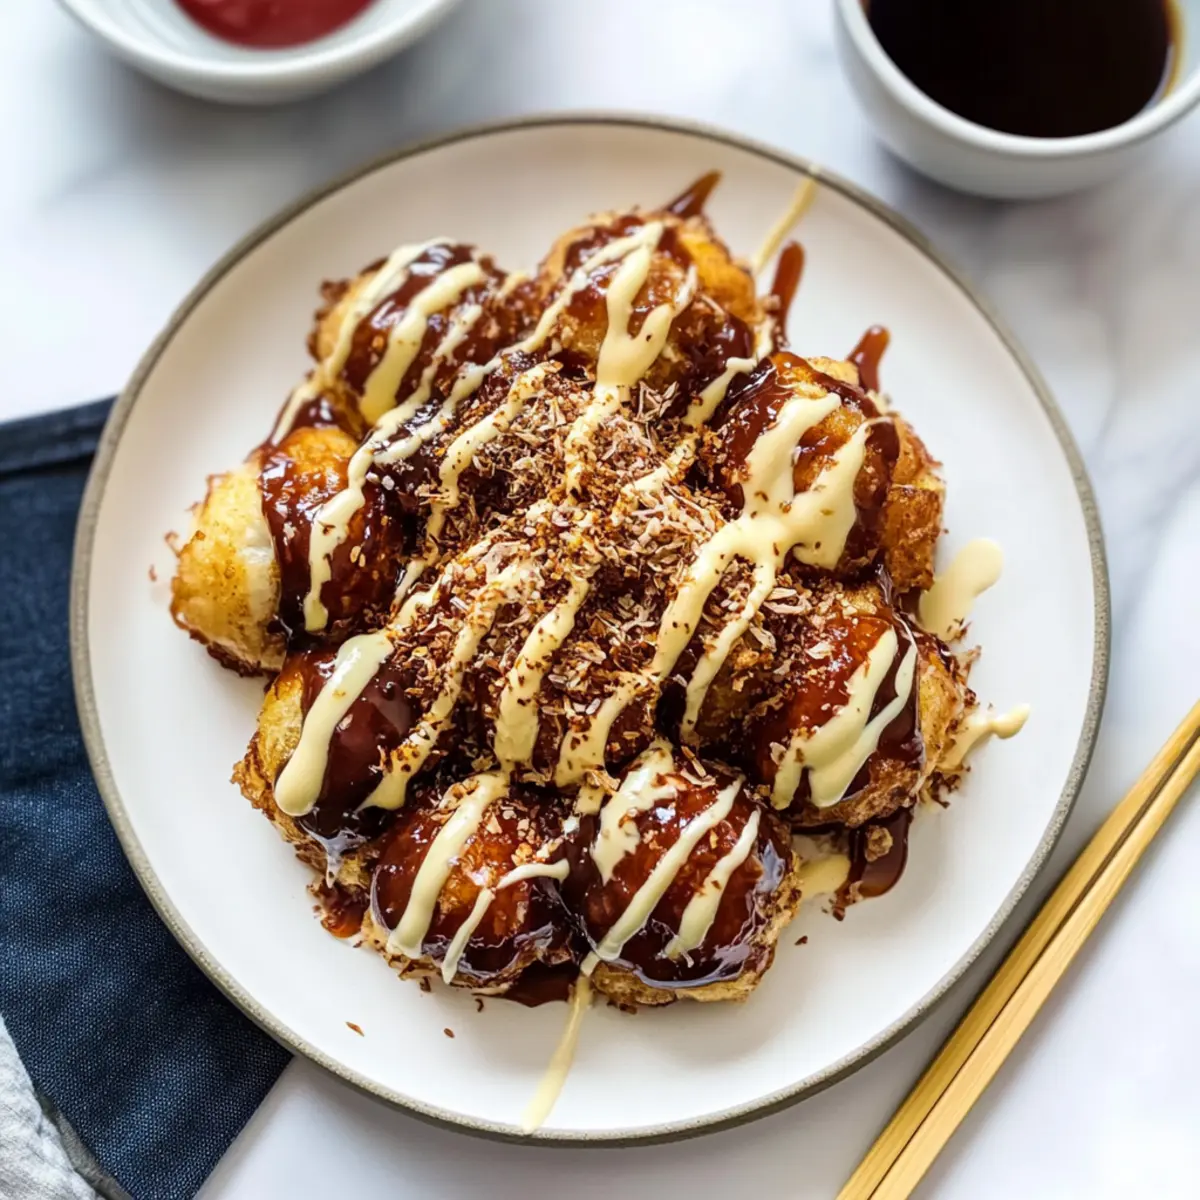
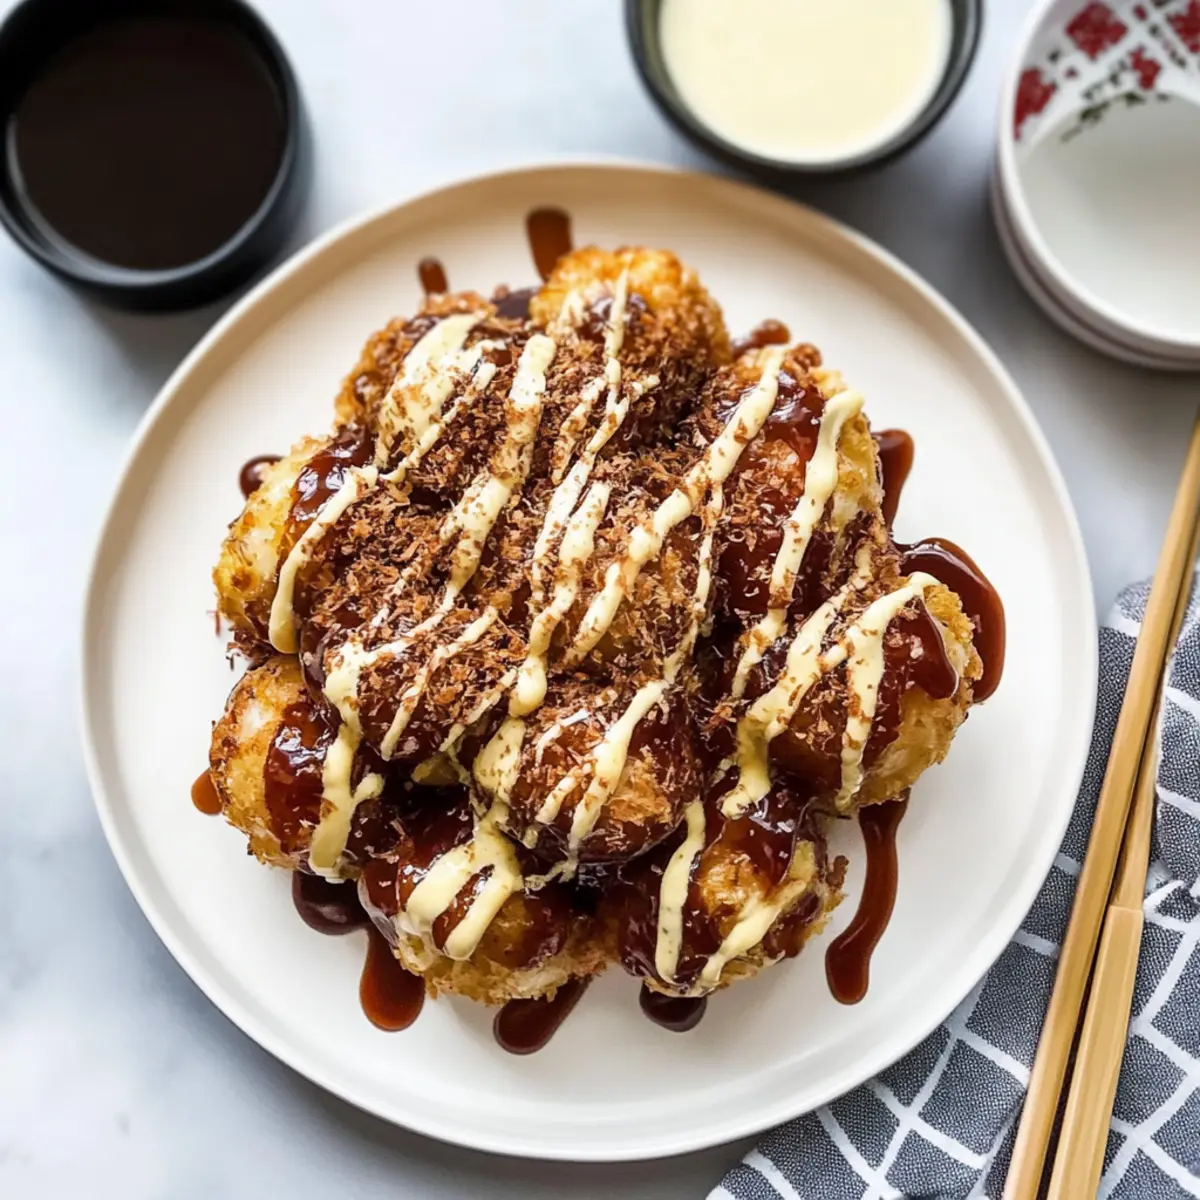
Once perfectly cooked, remove the takoyaki balls from the maker and transfer them to a plate. Drizzle with takoyaki sauce and a generous swirl of Kewpie mayonnaise. For a finishing touch, sprinkle bonito flakes and aonori over the top. Serve immediately for the best taste and texture of these irresistible takoyaki!
Expert Tips for Takoyaki
- Preheat Properly: Make sure your takoyaki maker is thoroughly preheated; this is crucial for achieving that crispy exterior.
- Avoid Overfilling: Don’t worry about a little spillage, but be careful not to overfill the molds, or the batter will overflow excessively.
- Let It Crust: Allow the batter to form a firm crust before flipping; this helps prevent the takoyaki from collapsing during cooking.
- Use the Right Tool: A skewer or chopsticks are best for flipping; they provide precision without squashing the balls.
- Serve Fresh: Enjoy your takoyaki immediately for the best texture and flavor; they lose their magic the longer they sit!
- Get Creative: Feel free to experiment with alternate fillings or toppings to make your takoyaki your own while maintaining the delightful essence of this Japanese classic.
How to Store and Freeze Takoyaki
- Room Temperature: Takoyaki is best enjoyed fresh and should not be left out for more than 2 hours at room temperature to maintain quality.
- Fridge: If you have leftovers, store unsauced takoyaki in an airtight container in the fridge for up to 2 days. Reheat them in the microwave for a couple of minutes until hot.
- Freezer: For longer storage, you can freeze cooked, unsauced takoyaki by placing them in a single layer on a baking sheet, then transferring to an airtight container after freezing solid. They’ll keep for up to 2 months.
- Reheating: To reheat frozen takoyaki, thaw in the refrigerator overnight, then warm them in the oven or microwave until heated through for the best texture.
Make Ahead Options
These Takoyaki are perfect for meal prep enthusiasts! You can prepare the batter by whisking together the all-purpose flour, cake flour, eggs, dashi, and soy sauce up to 24 hours in advance, storing it in an airtight container in the refrigerator to maintain freshness. Additionally, you can chop your octopus and scallions ahead of time and refrigerate them separately for up to 3 days. When you’re ready to cook, simply preheat your takoyaki maker, pour the batter into the molds, and add the prepared fillings. Finish cooking them as instructed, and you’ll have delicious takoyaki with minimal effort, ideal for busy weeknights!
What to Serve with Easy Homemade Takoyaki?
Imagine a vibrant Japanese feast that complements the delightful crunch and savory goodness of your takoyaki.
- Crispy Tempura Vegetables: Lightly battered and fried, these crispy delights add a satisfying texture that perfectly balances the softness of takoyaki.
- Miso Soup: A warm, umami-rich broth offers a comforting counterpart, enhancing the overall dining experience with its subtle flavors.
- Japanese Pickles (Tsukemono): These tangy, colorful pickles awaken your palate, providing a refreshing contrast to the rich sauces drizzled over your octopus balls.
- Fried Rice with Vegetables: A hearty side that brings a filling element to your meal, these flavorsome bites complement the fishiness without overpowering it.
For beverages, consider pairing with Sapporo Beer. The crisp, light taste cuts through the richness, creating a harmonious blend of flavors.
Alternatively, enjoy with Green Tea; its earthy notes elevate the meal, enhancing the overall ambiance of your Japanese-inspired feast.
Invite friends and family to savor these delicious combinations together!
Takoyaki Variations & Substitutions
Feel free to get creative and customize your takoyaki experience with these delightful twists!
- Seafood Swap: Replace octopus with cooked shrimp, scallops, or even crab for a fresh take on flavors.
- Vegan Option: Substitute with tofu or tempeh in place of octopus; don’t forget to use a flax egg for binding!
- Gluten-Free: Use a gluten-free flour blend instead of all-purpose and cake flour to enjoy this recipe without compromise.
- Cheesy Delight: Add a small amount of shredded cheese, like mozzarella or cheddar, for a creamy and indulgent surprise inside.
- Spice It Up: Mix in a pinch of chili flakes or drizzle with sriracha for a spicy kick after cooking.
- Veggie Boost: Incorporate finely chopped mushrooms, bell peppers, or spinach into the batter for an extra nutritious twist.
- Herbal Essence: Experiment by adding fresh herbs such as cilantro or basil for a fragrant touch.
- Flavorful Sauces: Instead of the classic takoyaki sauce, try hoisin or spicy mayo for a different flavor profile; it’s all about what tickles your taste buds.
When you’re in the mood for an adventurous culinary experience, you can also consider trying some of our other Asian-inspired dishes like Crispy Japanese Gyoza or a comforting bowl of Ramen Noodle Soup! Let your imagination run wild with these variations!

Takoyaki Recipe FAQs
What type of octopus should I use for takoyaki?
For the best results, I recommend using cooked octopus that’s tender and flaky. You can find pre-cooked octopus at many Asian grocery stores or even in the seafood section of your local market. If you’re feeling adventurous, you can also opt for other seafood like shrimp or crab for a delicious variation!
How should I store leftover takoyaki?
Absolutely! If you have any leftover takoyaki, it’s best to refrigerate them in an airtight container for up to 2 days. Make sure to store them unsauced to prevent them from getting soggy. When you’re ready to enjoy them again, just pop them in the microwave for a minute or two until heated through.
Can I freeze cooked takoyaki?
Yes, you can! To freeze, place the cooked, unsauced takoyaki in a single layer on a baking sheet. Freeze them until solid, then transfer the balls to an airtight container or freezer bag. They can be stored in the freezer for up to 2 months. When ready to eat, thaw them in the fridge overnight, and reheat them in the microwave or toaster oven until warm.
What should I do if my takoyaki doesn’t hold its shape?
Very! If you find your takoyaki balls are collapsing, it’s likely because they weren’t allowed to firm up before flipping. Make sure to let them cook undisturbed until the edges are golden brown before flipping them. Also, ensure your batter isn’t too thin; a thicker batter provides more structure for the balls.
Any dietary considerations for takoyaki?
Definitely! Takoyaki can be easily adjusted to meet dietary needs. For gluten-free options, substitute the all-purpose and cake flours with gluten-free alternatives. If you want a vegan version, use a flax egg instead of regular eggs and omit the bonito flakes, while still enjoying the umami flavor of dashi powder. And always check labels for potential allergens in sauces you use!
How ripe should the ingredients be for the best flavor?
Use fresh ingredients for optimal flavor! Ensure your scallions are vibrant, without any wilting, and check that your octopus is tender without dark spots, indicating freshness. Freshness guarantees that your takoyaki will have that delightful taste that’s reminiscent of the Japanese street food experience!
Irresistible Takoyaki: Fluffy Octopus Balls in 15 Minutes
Ingredients
Equipment
Method
- In a medium bowl, whisk together 1 cup of all-purpose flour, 1/2 cup of cake flour, 2 beaten eggs, 2 cups of dashi, and 2 tablespoons of soy sauce until the mixture is smooth and free of lumps. Set the batter aside.
- Turn on your takoyaki maker and allow it to preheat for about 5 minutes. Lightly brush the molds with toasted sesame oil.
- Pour the batter into each mold, filling them about three-quarters full. Add small pieces of cooked octopus and chopped scallions into each mold, then pour more batter on top until just full.
- Allow the takoyaki to cook for approximately 3 minutes, monitoring closely until the edges turn golden brown.
- Using a skewer or chopsticks, gently flip each takoyaki ball 90 degrees to cook the uncooked side for an additional 1 to 2 minutes.
- Remove the takoyaki balls from the maker and transfer them to a plate. Drizzle with takoyaki sauce and a generous swirl of Kewpie mayonnaise, then sprinkle bonito flakes and aonori over the top. Serve immediately.
Leave a Reply