Ingredients
Equipment
Method
Step‑by‑Step Instructions
- Begin by crushing 2 cups of vanilla wafers into fine crumbs using a food processor or a zip-top bag and rolling pin. In a mixing bowl, combine the crumbs with ½ cup of melted butter until well coated. Transfer this mixture to a springform pan and firmly press it into the bottom to create an even crust. Set aside to allow it to firm up.
- In a large mixing bowl, beat 8 ounces of cream cheese using an electric mixer until it's velvety smooth. Gradually mix in 1 can of sweetened condensed milk and whisk in 1 package of instant banana pudding mix. Once combined, gently fold in 1 cup of heavy whipping cream that has been whipped to soft peaks until the mixture is fluffy and well incorporated, achieving a creamy consistency for your No Bake Banana Pudding Cheesecake.
- Spread the prepared cheesecake filling evenly over the crust in your springform pan. Use a spatula to smooth the top, creating a lovely, even surface. To add depth to your dessert, you can layer slices of fresh bananas on top of the filling if desired. Ensure that it's well-distributed for a delightful burst of flavor with each slice.
- Cover your cheesecake with plastic wrap or aluminum foil, then place it in the refrigerator. Allow it to chill for a minimum of 6 hours, or preferably overnight, to let the flavors meld and the filling set properly. This crucial step ensures your No Bake Banana Pudding Cheesecake holds its shape when sliced.
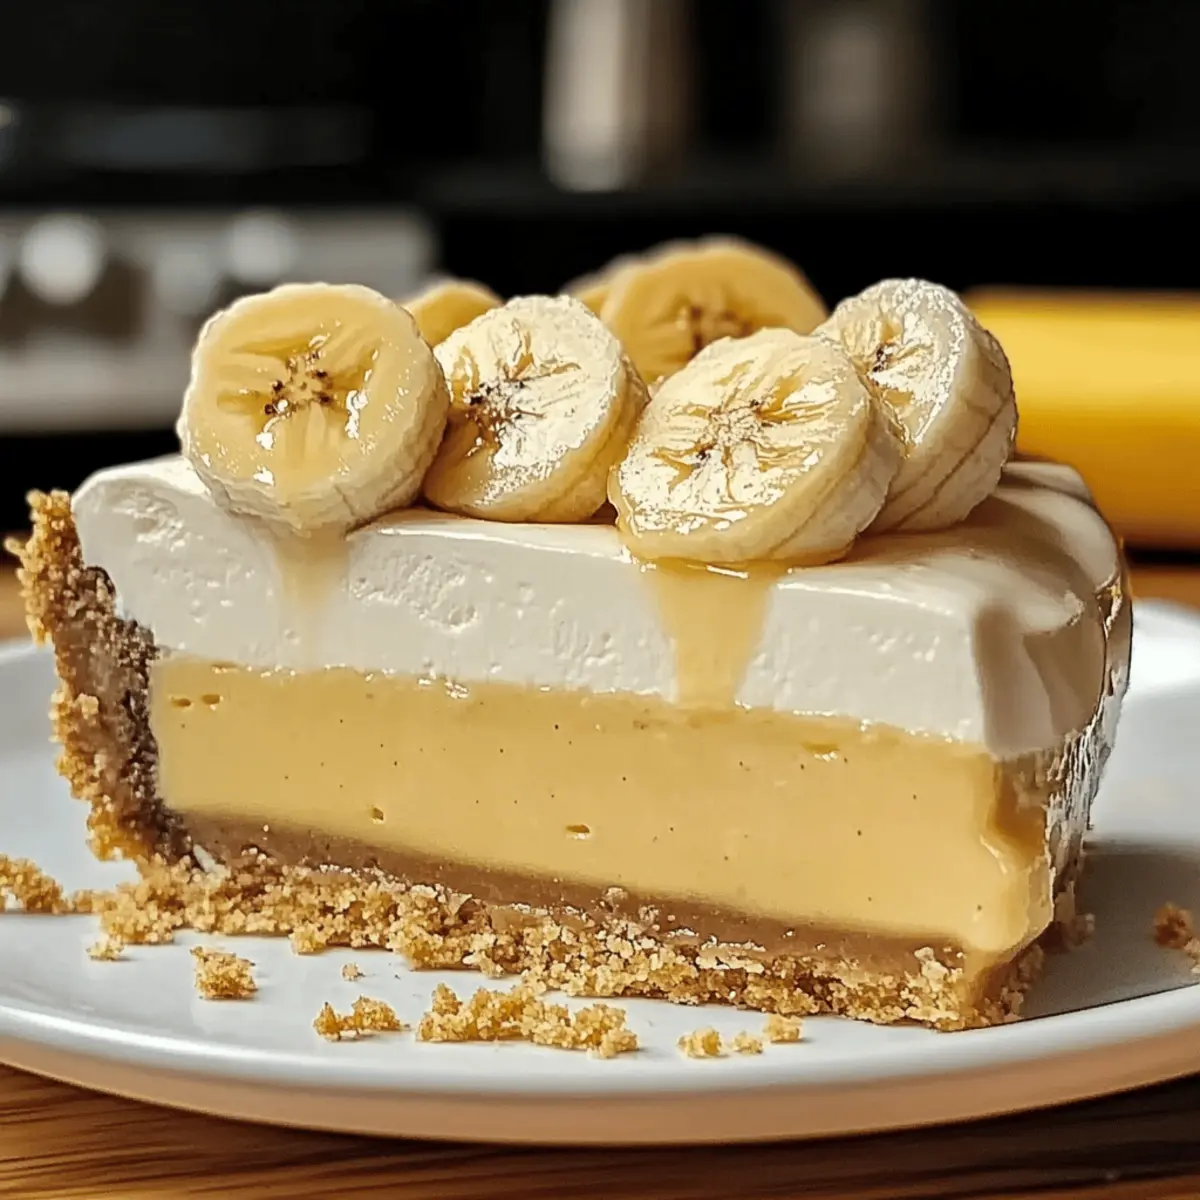
- Once the cheesecake is fully chilled and set, carefully remove the sides of the springform pan. Garnish the top with additional banana slices and a sprinkle of crushed vanilla wafers for an appealing presentation. Slice the cheesecake into wedges and serve immediately, allowing everyone to enjoy the creamy, dreamy texture and nostalgic banana flavor.
Nutrition
Notes
Ensure to refrigerate for at least 6 hours for best results. Use ripe bananas and full-fat dairy for optimal texture and flavor.