
As I scrolled through my busy week’s to-do list, the thought of dessert tugged at my sweet tooth. I mean, who can resist a creamy cheesecake? Luckily, I found a solution: Creamy Cheesecake Protein Balls! These delightful no-bake treats pack a protein punch while delivering the rich, satisfying taste we all crave. Perfect for anyone juggling a hectic lifestyle, these guilt-free snacks are not only quick to whip up but also customizable—dairy-free or gluten-free options mean everyone can join in on the fun. So, are you ready to satisfy those cravings without the need for an oven? Let’s dive into this easy recipe that’s sure to become a staple in your kitchen!
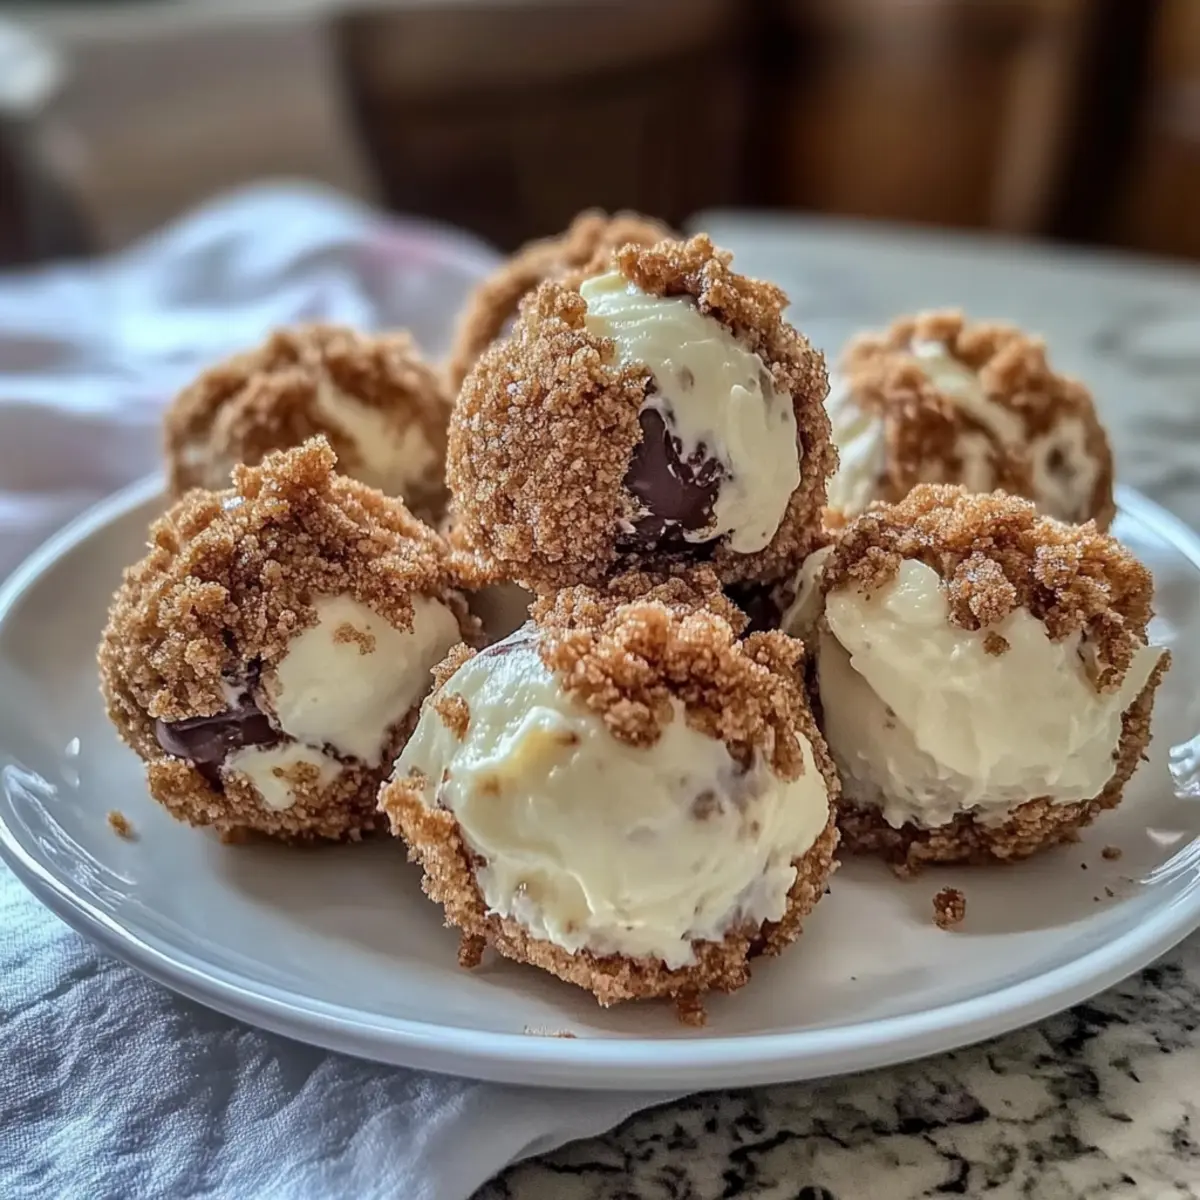
Why Are These Cheesecake Protein Balls Special?
Protein-Packed Goodness: Each bite of these Creamy Cheesecake Protein Balls is loaded with protein, making them the perfect snack for those looking to fuel up before or after a workout.
No Bake Required: There’s no need to turn on the oven, which means you can whip these up in minutes! Perfect for busy lifestyles that crave delicious treats without the fuss.
Versatile Variations: Whether you’re dairy-free or gluten-free, these delightful bites can easily be tailored to fit your dietary needs. Substitute with coconut-based products or gluten-free oats, and voila!
Crowd-Pleasing Flavor: The rich, creamy taste of cheesecake comes through beautifully in every ball, satisfying your sweet tooth without the guilt. Pair these with a refreshing smoothie for a perfect snack combo!
Convenient Indulgence: Ideal for lunchbox treats or post-workout fuel, they store well in the fridge or freezer, making it easy to grab a healthy snack any time you need a pick-me-up. For more quick, delicious snacks, check out these Beef Pasta Comforting and Strawberry Crunch Cheesecake recipes!
Creamy Cheesecake Protein Balls Ingredients
For the Base
- Cottage Cheese – Provides creaminess and protein; ensure it’s well-drained for the best texture.
- Cream Cheese – Adds richness and the classic cheesecake flavor; this is essential for achieving that creamy consistency.
For the Sweetness
- Protein Powder – Boosts protein content; feel free to use a plant-based version if you prefer a dairy-free option.
- Honey – A natural sweetener that beautifully balances the flavors without overpowering them.
For Texture and Flavor
- Oats – Acts as a binder while providing fiber; use certified gluten-free oats for a gluten-free option.
- Cinnamon – Infuses warmth and enhances flavor; adjust according to your taste preference.
- Lemon Zest – Brightens the entire flavor profile, contributing to that signature cheesecake essence.
Optional Add-Ins
- Chocolate Chips – Use these for an added touch of sweetness; sprinkle sparingly to elevate, but not overshadow, the creaminess.
Feel free to mix and match based on your preferences to create the perfect creamy cheesecake protein balls!
Step‑by‑Step Instructions for Creamy Cheesecake Protein Balls
Step 1: Blend the Cheeses
Begin by placing the well-drained cottage cheese and cream cheese in a food processor. Blend until you achieve a silky-smooth consistency, which should take about 1-2 minutes. You want to see no lumps for the best creamy texture in your Creamy Cheesecake Protein Balls.
Step 2: Add Dry Ingredients
Next, add the protein powder, honey, oats, cinnamon, and lemon zest to the creamy cheese mixture. Pulse the food processor for 30 seconds until all ingredients are fully combined and form a thick, dough-like consistency. If you’re including chocolate chips, fold them in gently with a spatula after blending.
Step 3: Adjust the Mixture
If your mixture feels too sticky to handle, dampen your hands with water or a bit of coconut oil. This small trick will help when you start rolling the mixture into balls, ensuring they don’t stick to your hands as you form the Creamy Cheesecake Protein Balls.
Step 4: Form the Balls
Take about a tablespoon-sized portion of the mixture and roll it between your palms to shape it into 1-inch balls. Place each formed ball on a baking tray or plate lined with parchment paper. Keep going until all the mixture is shaped, giving you a batch of delightful, protein-packed treats.
Step 5: Chill Out
Refrigerate the tray of protein balls for at least 30 minutes, allowing them to firm up. This chilling time is crucial to achieve the right texture, enhancing the creamy filling of your Creamy Cheesecake Protein Balls.
Step 6: Store for Enjoyment
Once chilled, transfer the balls to an airtight container for safe storage. You can enjoy them as snacks throughout the week; they stay fresh in the refrigerator for up to 5 days or can be frozen for a month. Thaw them in the fridge overnight when you’re ready to indulge!
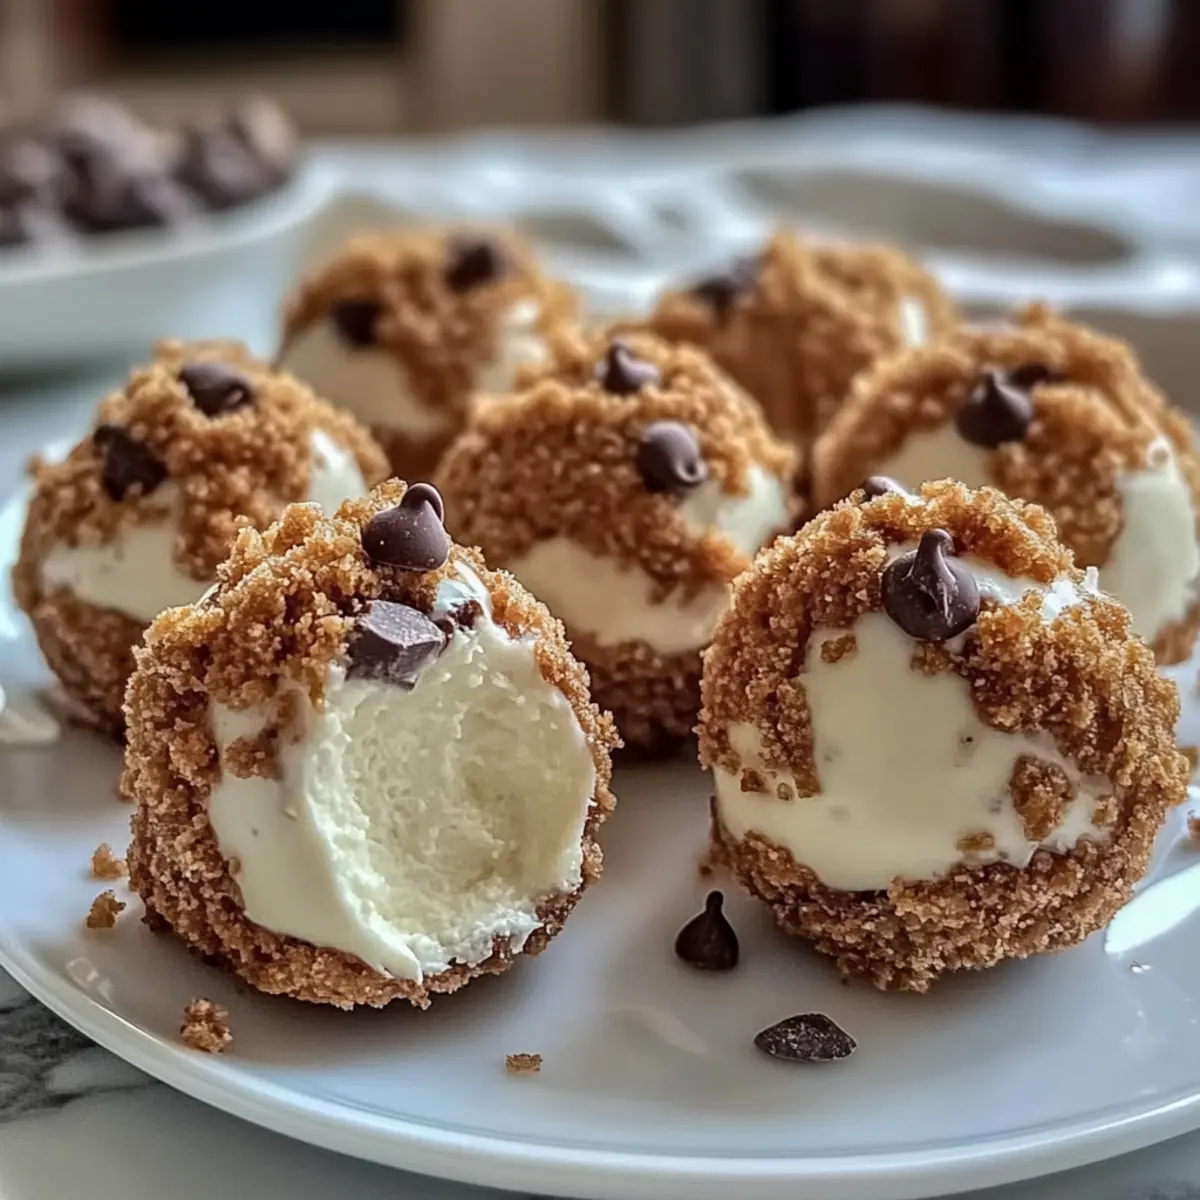
How to Store and Freeze Creamy Cheesecake Protein Balls
Fridge: Keep your protein balls in an airtight container in the refrigerator for up to 5 days, ensuring they remain fresh and creamy for snacking.
Freezer: For longer storage, freeze the balls in a freezer-safe container or bag for up to 1 month. Make sure they’re spaced apart until frozen to prevent sticking.
Thawing: When you’re ready to enjoy your frozen protein balls, thaw them in the fridge overnight or at room temperature for about 30 minutes before consuming. This keeps their delightful texture intact!
Reheating: No need to reheat these no-bake snacks! Enjoy them chilled or at room temperature for the best flavor and experience.
Tips for the Best Cheesecake Protein Balls
• Well-Drained Cheese: Ensure your cottage cheese is well-drained to prevent a watery mixture; this keeps your Creamy Cheesecake Protein Balls from falling apart.
• Creamy Consistency: Don’t rush the blending process! Aim for ultra-smooth cheese to achieve the desired texture in each protein ball.
• Damp Hands Trick: Keep your hands damp while rolling the balls to avoid sticking; it makes for a smoother rolling experience and beautiful, round shapes.
• Balance Sweetness: Adjust the honey based on your taste preference; remember, chocolate chips add sweetness too, so taste as you go!
• Chilling is Key: Don’t skip the chilling step—it’s essential for helping the balls firm up and makes them easier to store and enjoy later.
• Storage Savvy: Store in an airtight container in the fridge for up to 5 days, or freeze for a month. They’re a great make-ahead snack!
Creamy Cheesecake Protein Balls Variations
Feel free to unleash your creativity and customize these protein balls to suit your preferences and dietary needs!
-
Dairy-Free: Substitute cottage cheese and cream cheese with coconut yogurt or cashew cream for a creamy, vegan-friendly option.
-
Gluten-Free: Ensure you use certified gluten-free oats and omit any non-gluten-free add-ins for a safe delight.
-
Tropical Twist: Add shredded coconut and chopped pineapple for a fun, island-inspired flavor that’s sure to brighten your day.
-
Nutty Delight: Mix in finely chopped nuts, like almonds or walnuts, to enhance texture and nutrition.
-
Chocolate Peppermint: Swap in chocolate protein powder and add a drop of peppermint extract for a festive, indulgent twist.
-
Berry Bliss: Incorporate freeze-dried berries into the mix for refreshing bursts of fruity flavor in every bite.
-
Caramel Swirl: Drizzle sugar-free caramel sauce over your protein balls before chilling for a sweet, gooey treat.
-
Spicy Zing: Add a pinch of cayenne pepper or chili powder for those who enjoy a hint of spicy heat to balance the sweetness.
Feel inspired by these variations, and don’t hesitate to experiment further! If you’re in the mood for more quick snacks, give these Beef Pasta Comforting or Millionaires Cheesecake Indulge recipes a try!
Make Ahead Options
These Creamy Cheesecake Protein Balls are a fantastic choice for meal prep, offering delicious, guilt-free snacks that can be made ahead of time! You can prepare the mixture up to 24 hours in advance, simply blend all your ingredients and store the mixture in an airtight container in the refrigerator. This not only saves time but also allows the flavors to meld beautifully. Once you’re ready to enjoy, roll the mixture into balls and refrigerate for at least 30 minutes to firm up. For longer storage, freeze the protein balls for up to a month; just make sure to separate them with parchment paper to prevent sticking. Enjoy your healthier, homemade indulgence anytime!
What to Serve with Creamy Cheesecake Protein Balls
Indulging in a snack shouldn’t mean compromising on health, so let’s explore perfect pairings that elevate your treat experience!
-
Fresh Berries: The tartness of strawberries or blueberries contrasts beautifully with the creamy sweetness, adding a refreshing burst to every bite.
-
Nutty Granola: Crunchy granola brings texture and energy to your snack time. Enjoy it alongside for a wholesome breakfast or as a post-workout treat.
-
Smoothies: Pair your protein balls with a vibrant smoothie for a balanced snack! A green smoothie can complement them well, adding nutrients without overwhelming sweetness.
-
Coconut Yogurt: For an extra creamy indulgence, serve with coconut yogurt. Its tropical flavor pairs wonderfully and offers probiotics for a gut-friendly treat.
-
Chia Seed Pudding: Add some variety with a spoonful of chia seed pudding. The contrast in textures and flavors creates a delightful snacking experience everyone will love.
-
Herbal Tea: To enhance your snack time, enjoy a cup of herbal tea like chamomile or peppermint. It’s the perfect light drink to balance the rich flavors of your protein balls.

Creamy Cheesecake Protein Balls Recipe FAQs
What type of cottage cheese should I use?
Absolutely, for the best results, choose low-fat or full-fat cottage cheese that is well-drained. This ensures a creamy texture in your Creamy Cheesecake Protein Balls. Any lumps in the cottage cheese can disrupt the smooth consistency you want to achieve.
How should I store the Creamy Cheesecake Protein Balls?
Keep them in an airtight container in the refrigerator for up to 5 days. This will help maintain their delicious creamy texture. If you want to store them longer, you can freeze them in a freezer-safe container or bag for up to 1 month. Make sure to space them out on a baking sheet before freezing to prevent them from sticking together.
Can I freeze these protein balls? If so, how?
Yes! To freeze your Creamy Cheesecake Protein Balls, simply place them in a single layer on a baking sheet and freeze until solid. Then, transfer them to a freezer-safe bag or container for up to 1 month. When you’re ready to enjoy, thaw in the fridge overnight or at room temperature for about 30 minutes. This helps keep their texture intact while ensuring they’re ready to eat.
Why did my protein balls turn out crumbly?
If your Creamy Cheesecake Protein Balls are crumbling, it might be because your cottage cheese wasn’t well-drained or not blended enough. To rectify this, blend your mixture longer until it’s ultra-smooth. Also, ensure to add enough oats to bind the mixture; if it feels too dry, a little extra honey or a splash of milk can help. Rolling with damp hands can also help with sticky mixtures!
Are these protein balls safe for pets or people with allergies?
These Creamy Cheesecake Protein Balls are homemade and tailored to be nutritious, but keep in mind that they contain dairy and honey. If serving to anyone with allergies, particularly lactose intolerance or nut allergies, substitute with appropriate alternatives and ensure all ingredients used are safe for their dietary needs. Always consult with a healthcare provider when introducing new foods, especially to pets or those with known allergies.
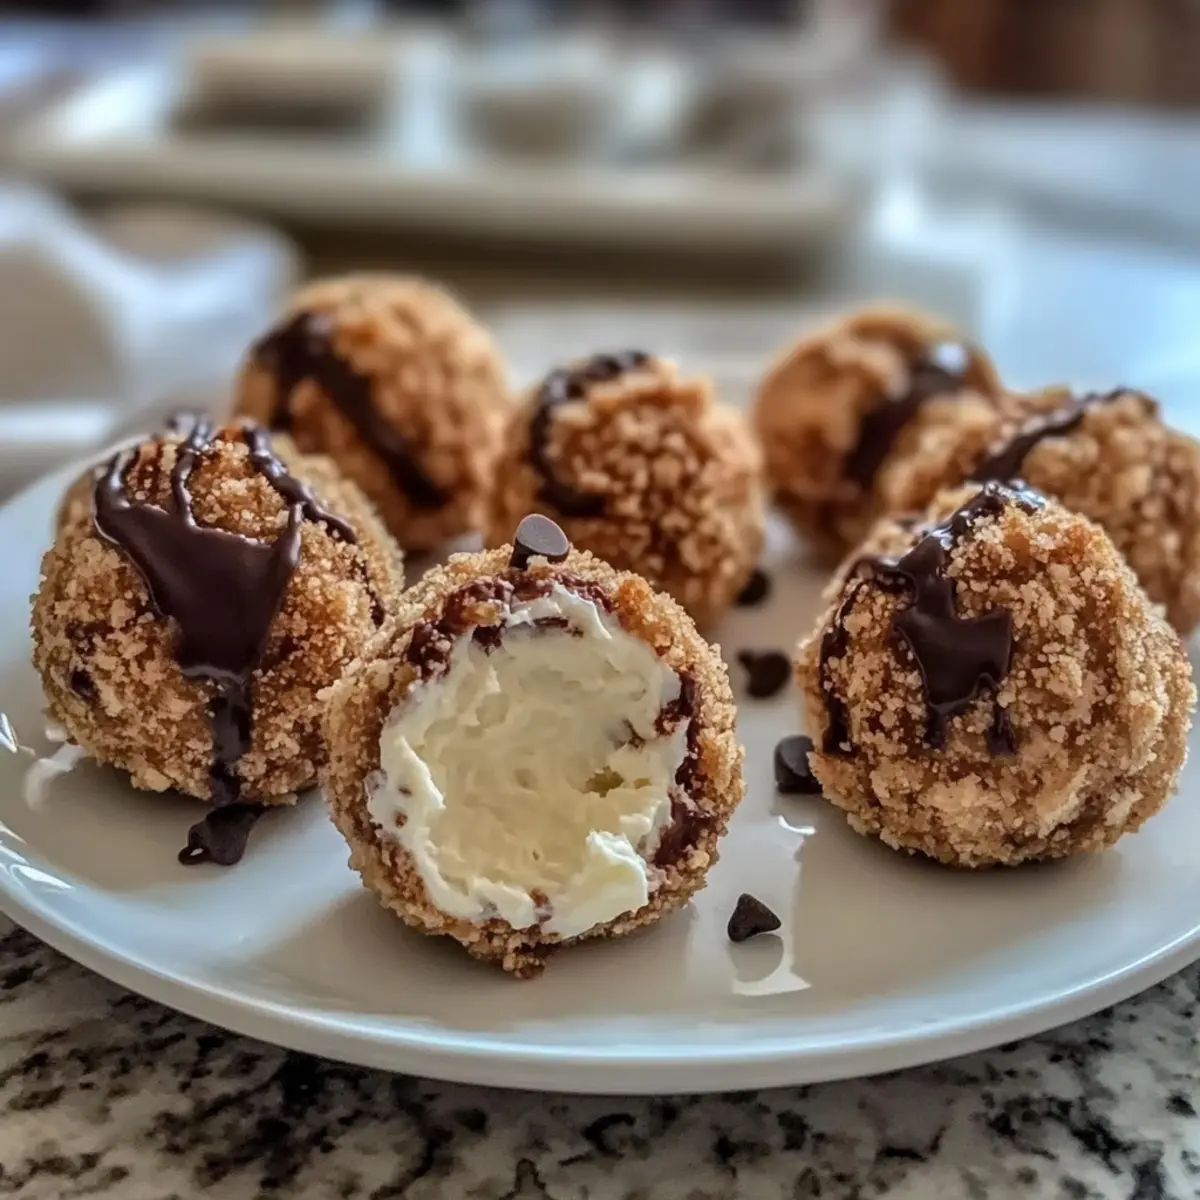
Creamy Cheesecake Protein Balls for a Guilt-Free Snack Attack
Ingredients
Equipment
Method
- Blend the well-drained cottage cheese and cream cheese in a food processor until silky smooth for about 1-2 minutes.
- Add protein powder, honey, oats, cinnamon, and lemon zest to the creamy mixture and pulse for 30 seconds until combined.
- If the mixture is sticky, dampen your hands with water or coconut oil to help shape the balls.
- Roll about a tablespoon of the mixture into 1-inch balls and place on a lined tray.
- Refrigerate the tray of protein balls for at least 30 minutes to firm up.
- Transfer chilled balls to an airtight container for storage.
Leave a Reply