
As I stood in my kitchen, the rich aroma of garlic wafted through the air, instantly transporting me back to my favorite Italian pizzeria. It was time to whip up a batch of my irresistible Gluten Free Garlic Pizza Breadsticks! These delightful sticks boast a satisfying crunch on the outside while the insides remain soft and cheesy, making them the ideal snack or appetizer for any occasion. The best part? They’re quick to prepare, allowing you to enjoy homemade comfort without the gluten. Whether paired with marinara for dipping or savored solo, these breadsticks promise to be a hit at your table. Are you ready to dive into a treat that will have everyone asking for more?
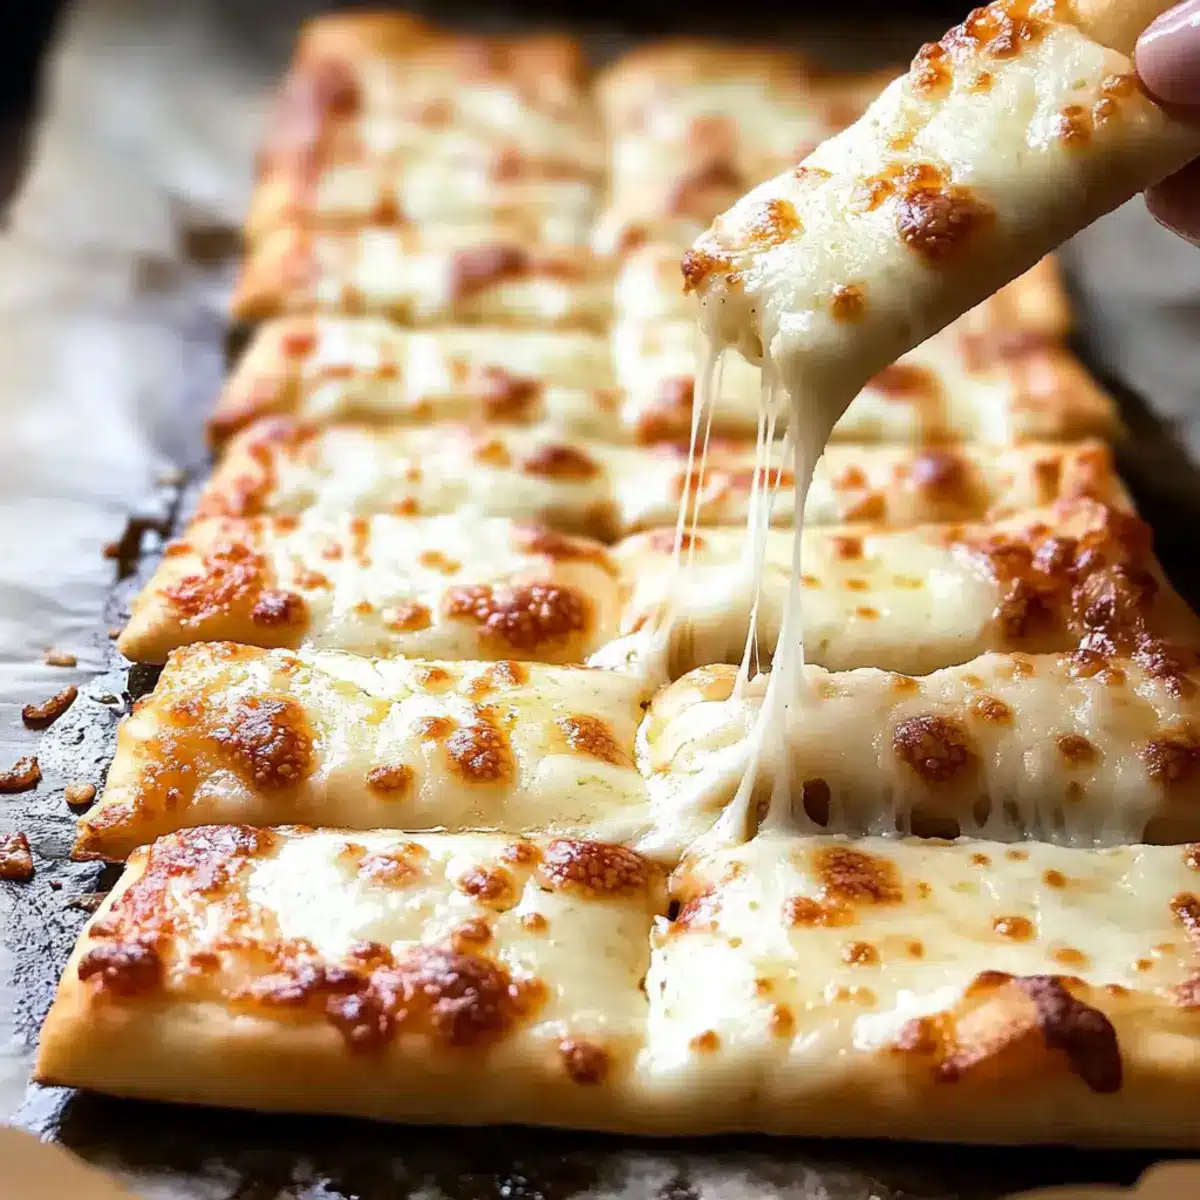
Why Are These Breadsticks So Irresistible?
Unforgettable Flavor: The rich garlic infusion combined with gooey cheese ensures each bite bursts with taste.
Chewy & Crispy Delight: Enjoy the perfect contrast of crunchy exteriors and soft interiors that satisfy every craving.
Quick & Easy: Ready in no time, these breadsticks are a fabulous last-minute addition to any meal!
Gluten-Free Joy: Everyone can indulge without worry, making them a hit for all diets.
Pair them with a delicious dipping sauce like marinara or enhance your meal with other Italian-inspired recipes, such as Olive Garden Breadsticks or Lemon Garlic Butter Cod. You’ll love how these Gluten Free Garlic Pizza Breadsticks elevate any gathering!
Gluten Free Garlic Pizza Breadsticks Ingredients
For the Dough
- Gluten Free Pizza Dough – This serves as the sturdy base for your breadsticks; use store-bought or make your own.
For the Garlic Mixture
- Garlic (4 cloves, minced) – Provides a robust, aromatic flavor; if in a pinch, garlic powder works well too.
- Kosher Salt (½ teaspoon) – Enhances the overall taste; regular salt can easily substitute.
- Unsalted Butter (4 tablespoons, melted) – Adds richness and moisture; margarine is a great dairy-free alternative.
For the Cheese Topping
- Parmigiano-Reggiano (1 ounce, finely grated) – Adds a deliciously savory note; Pecorino Romano or nutritional yeast can be used for vegan options.
- Part-Skim Mozzarella (8 ounces, grated) – Brings that gooey texture everyone loves; consider dairy-free cheese for a vegan twist.
These Gluten Free Garlic Pizza Breadsticks are truly a delight, packed with flavor and comfort in every bite! Enjoy shopping for these ingredients and get ready to make a snack that not only fills your belly but warms your heart.
Step‑by‑Step Instructions for Gluten Free Garlic Pizza Breadsticks
Step 1: Prepare Dough
Begin by making your gluten-free pizza dough according to your favorite recipe or package instructions. Ensure all the ingredients are measured accurately, and mix well until a cohesive dough forms. Once mixed, cover the dough with a clean kitchen towel and set it aside to rest while you preheat your oven.
Step 2: Let it Rise
After resting, place the dough in a sealed container in a warm area of your kitchen. Allow it to rise for 1 to 2 hours, or until it has noticeably puffed up. This process helps to create a light, airy texture in your Gluten Free Garlic Pizza Breadsticks, making every bite enjoyable.
Step 3: Chill Dough
Once risen, transfer the dough to the refrigerator and chill for about 30 minutes. This step firms it up, making it easier to handle as you shape it into your desired form for breadsticks. After chilling, remove the dough and let it sit for a few minutes to soften slightly before shaping.
Step 4: Preheat Oven
Preheat your oven to 400°F (200°C) and place a pizza stone or an overturned baking sheet inside to heat up. This ensures a crispy crust for your breadsticks when they bake. As the oven warms, prepare your workspace for shaping the dough.
Step 5: Shape Dough
On a floured surface, gently roll out the chilled dough into an oval shape measuring about 12 by 15 inches. Take care to maintain an even thickness, ensuring that the dough is not too thick or thin. The well-shaped dough will help create those delightful Gluten Free Garlic Pizza Breadsticks.
Step 6: Transfer Dough
Once shaped, carefully move the dough onto a sheet of parchment paper. This makes it easy to transfer to the hot pizza stone or sheet later without losing its shape. Make sure the parchment is large enough to slide easily into the oven.
Step 7: Make Garlic Paste
In a small bowl, mix the minced garlic with the kosher salt to create a flavorful paste. The salt will help to extract moisture from the garlic, intensifying its flavor. This garlic paste will be key to ensuring that every bite of your Gluten Free Garlic Pizza Breadsticks is bursting with rich taste.
Step 8: Brush Dough
Combine the garlic paste with the melted butter in a bowl. Once well mixed, use a pastry brush to generously brush this mixture over the shaped dough. Make sure to cover the entire surface, allowing the garlic flavor to infuse into the breadsticks and ensure a tasty, aromatic finish.
Step 9: Top with Cheese
Sprinkle the finely grated Parmigiano-Reggiano evenly over the dough, followed by a generous layer of grated mozzarella cheese. Be sure to cover the surface completely, allowing the cheese to melt and bubble up deliciously while baking, creating that irresistible cheesy texture in your Gluten Free Garlic Pizza Breadsticks.
Step 10: Bake
Carefully slide the parchment paper with the dough onto the preheated pizza stone or baking sheet. Bake for about 10 minutes or until the breadsticks are golden brown and the cheese is bubbly. Keep an eye on them to prevent burning; you want that perfect golden finish!
Step 11: Slice & Serve
Once baked, remove your Gluten Free Garlic Pizza Breadsticks from the oven and let them cool for a few minutes. Use a sharp knife or pizza cutter to slice them into 16 individual sticks. Serve warm, ideally with marinara sauce for dipping or simply enjoy them on their own.
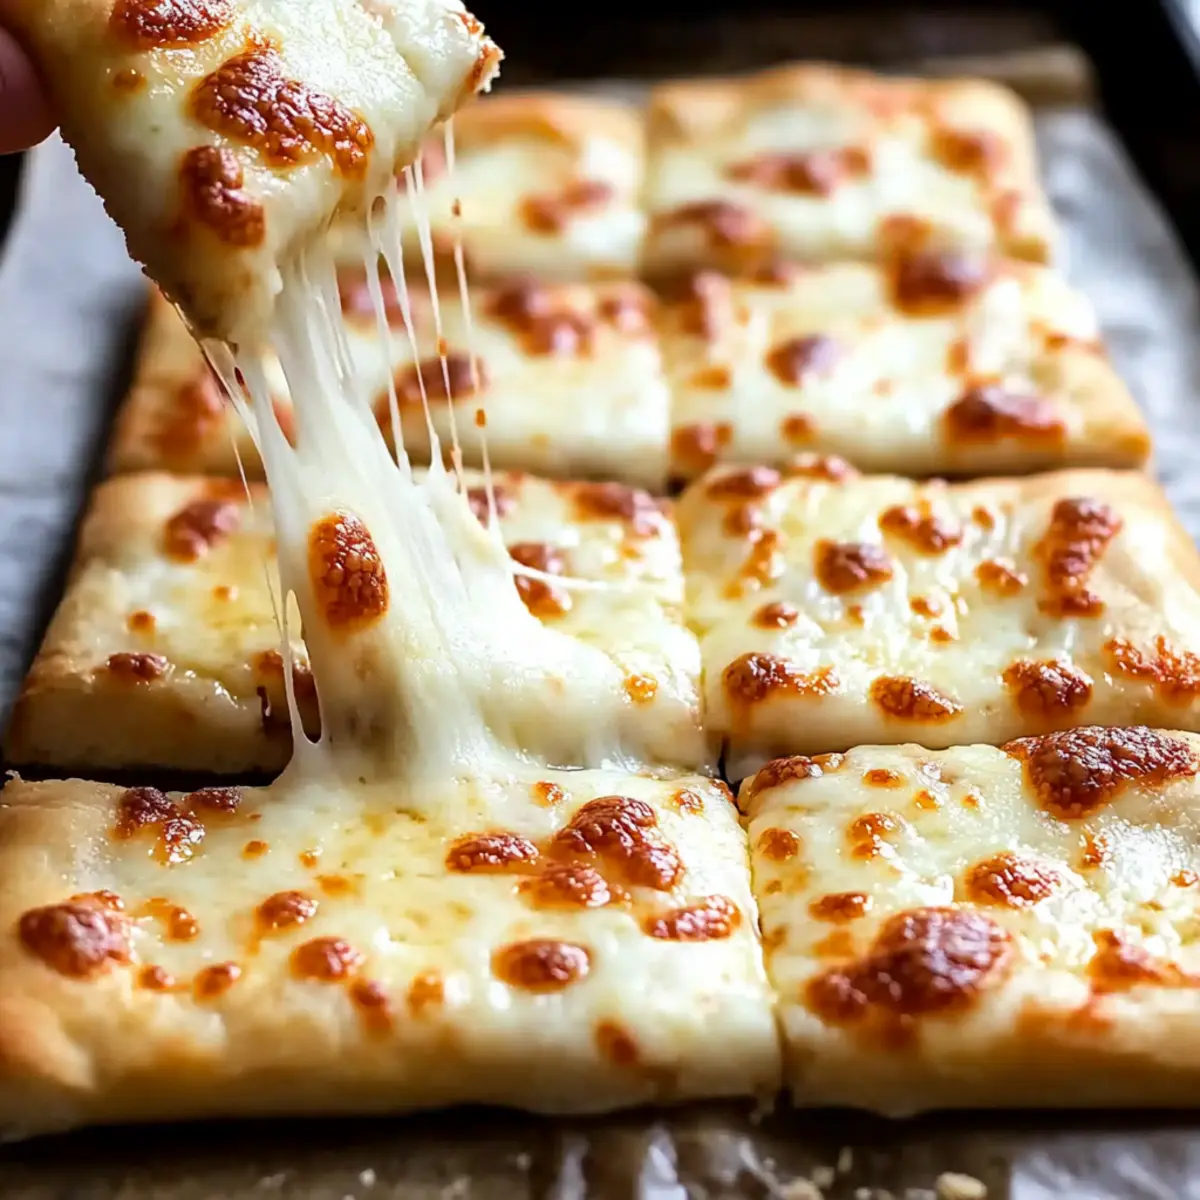
Make Ahead Options
These Gluten Free Garlic Pizza Breadsticks are perfect for busy home cooks looking to save time without sacrificing flavor! You can prepare the gluten-free pizza dough up to 24 hours in advance; simply store it in a sealed container in the refrigerator after it’s risen. Additionally, mix the garlic paste and refrigerate it for up to 3 days. When you’re ready to bake, allow the dough to come to room temperature, then proceed with shaping and topping it with the garlic butter and cheese before baking. This prep-ahead method ensures your breadsticks will be just as delicious with minimal effort on your busy weeknight!
What to Serve with Gluten Free Garlic Pizza Breadsticks
Savor the delightful moment as you prepare your table for a feast that complements the warmth and cheesiness of these irresistible breadsticks.
-
Marinara Sauce: A classic pairing that offers tangy contrast. Dip each stick into the rich sauce for a burst of flavor.
-
Garlic Butter Dip: Enhance the garlic experience with a buttery dip spiced with fresh herbs. It’s a dreamy addition for garlic lovers!
-
Italian Salad: A refreshing blend of veggies, olives, and feta adds a crunch that balances the soft, cheesy goodness of the breadsticks.
-
Cheesy Pasta Bake: Serve these alongside a bubbling, cheesy pasta dish. The combined textures create a comforting Italian meal everyone will crave.
-
Roasted Vegetables: Bright, caramelized veggies provide a beautiful color contrast and earthy flavors that complement the breadsticks’ richness.
-
Sangria: A fruity, refreshing drink with a hint of sweetness pairs beautifully, cutting through the richness of the cheese and garlic.
Indulge in this delightful medley, turning your mealtime into a heartwarming gathering everyone will cherish!
How to Store and Freeze Gluten Free Garlic Pizza Breadsticks
-
Room Temperature: Allow leftover breadsticks to cool completely before storing. Keep them in a sealed container at room temperature for up to 1 day for optimal freshness.
-
Fridge: Store any extras in an airtight container in the fridge for up to 3 days. To maintain their delicious flavor, reheat in the oven or microwave before serving.
-
Freezer: For longer storage, wrap individual breadsticks tightly in plastic wrap and place them in a resealable freezer bag. They can be frozen for up to 2 months.
-
Reheating: To reheat frozen breadsticks, place them directly on a baking sheet and bake at 350°F for about 10-12 minutes, until heated through and crisp again.
Gluten Free Garlic Pizza Breadsticks Variations
Feel free to get creative with these Gluten Free Garlic Pizza Breadsticks and tailor them to your taste!
-
Cheese Swap: Try using a blend of cheddar or provolone for a different flavor profile. Mixing cheeses can add a delightful depth to each bite.
-
Spicy Kick: Add red pepper flakes to the garlic butter before brushing it on the dough. This will impart a warm heat that spice lovers will adore.
-
Herb-Infused: Mix dried herbs, such as oregano or basil, into the garlic paste for an aromatic boost. This will enhance the breadsticks’ flavor with each heavenly bite.
-
Dairy-Free: Replace the butter with your favorite margarine and the cheeses with dairy-free alternatives. You can still enjoy delicious breadsticks without the dairy!
-
Savory Add-Ins: Incorporate finely chopped sun-dried tomatoes or olives into the dough for an extra burst of flavor. These additions can transform your breadsticks into Mediterranean delights.
-
Garlic Lover’s Dream: Boost the garlic by using roasted garlic instead of raw. Roasting adds a sweetness to the flavor, creating a creamy, rich taste experience.
-
Pesto Topping: Spread some basil pesto over the dough before adding the cheese. This unique twist infuses a lovely herbal flavor that pairs perfectly with garlic.
-
Gluten-Free Cauliflower Version: For a lower-carb option, use a cauliflower crust as the base. This will lead to lighter breadsticks with all the familiar flavors you love!
Pair these variations with a warm bowl of marinara for dipping or enjoy them alongside a savory dish like Ranch Garlic Parmesan Chicken Skewers for an irresistible meal!
Expert Tips for Gluten Free Garlic Pizza Breadsticks
-
Preheat the Stone: Properly preheating your pizza stone is crucial; it ensures a crispy exterior. Don’t skip this step for the best results!
-
Monitor Dough Stickiness: If your gluten-free dough is too sticky to handle, add a little more flour. A well-balanced dough is easier to shape into perfect breadsticks.
-
Garlic Paste Precision: When making the garlic paste, don’t rush. Allowing the garlic to mingle with the salt enhances the flavor. Ensure even coverage for maximum taste in each bite.
-
Serve Fresh: For the best texture, always serve these Gluten Free Garlic Pizza Breadsticks immediately after baking. They are at their prime, warm and cheesy!
-
Experiment with Cheese: Don’t hesitate to mix cheeses for a delightful twist! Combining different types can bring new flavors to your gluten-free breadsticks.
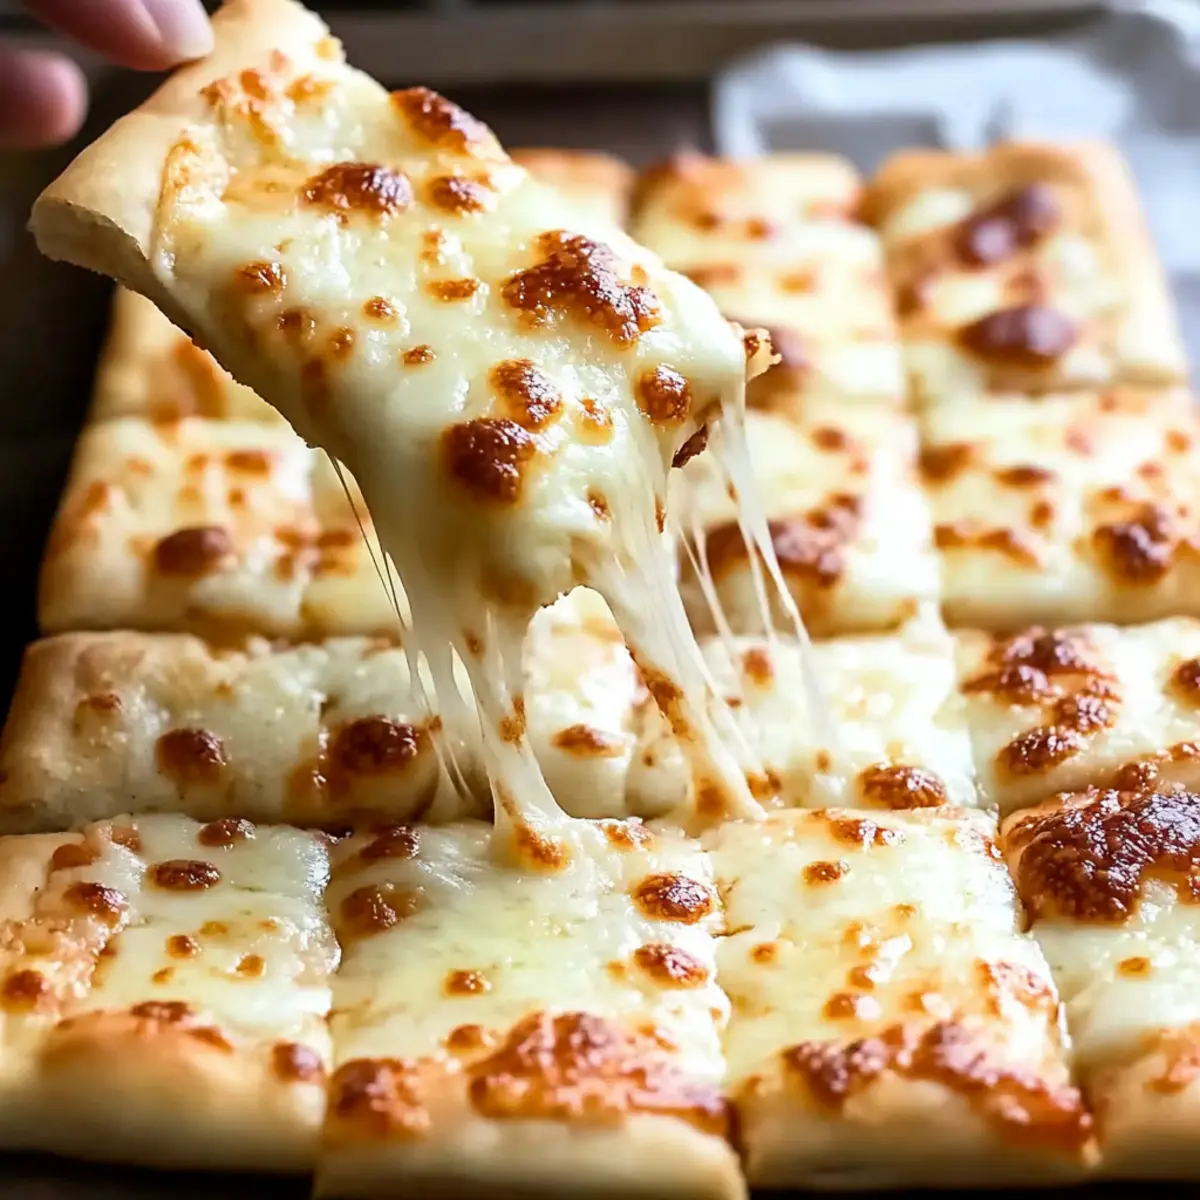
Gluten Free Garlic Pizza Breadsticks Recipe FAQs
How do I choose the right gluten-free pizza dough?
Absolutely! When selecting gluten-free pizza dough, look for mixes specifically designed to imitate traditional dough. Check for a texture that’s slightly elastic, which helps achieve that beloved chewy quality. If you’re making it from scratch, ensure you combine various gluten-free flours, such as almond flour or rice flour, for the best flavor and consistency.
How should I store leftover breadsticks?
Very easily! Allow your Gluten Free Garlic Pizza Breadsticks to cool completely before placing them in an airtight container. They can safely sit in the fridge for up to 3 days. To reheat, pop them in the oven at 350°F for about 5-7 minutes, bringing back that delightful crisp and cheesy goodness.
Can I freeze these breadsticks?
Of course! For freezing, wrap each breadstick individually in plastic wrap, then place them in a resealable freezer bag. They will maintain their quality for up to 2 months. When you’re ready to enjoy them, simply bake from frozen at 350°F for approximately 10-12 minutes until heated through. This way, you can always have delicious, homemade breadsticks on hand!
What should I do if my dough is too sticky?
Sometimes that happens! If your gluten-free dough is overly sticky, add a tablespoon of flour at a time until it reaches a manageable consistency. It’s a balance; too much flour can affect the texture, so proceed cautiously and knead gently until it’s just right.
Are these breadsticks pet-friendly?
While these Gluten Free Garlic Pizza Breadsticks are a delicious treat for humans, keep them away from pets. Garlic can be toxic to dogs and cats; even small amounts can cause health issues. Always be cautious about what treats you share with your furry friends!
What if I have a dairy allergy?
Not a problem at all! You can easily swap out the butter for a dairy-free margarine and use plant-based cheese alternatives in place of Parmigiano-Reggiano and mozzarella. Nutritional yeast can add a cheesy flavor without dairy, making your breadsticks just as satisfying!
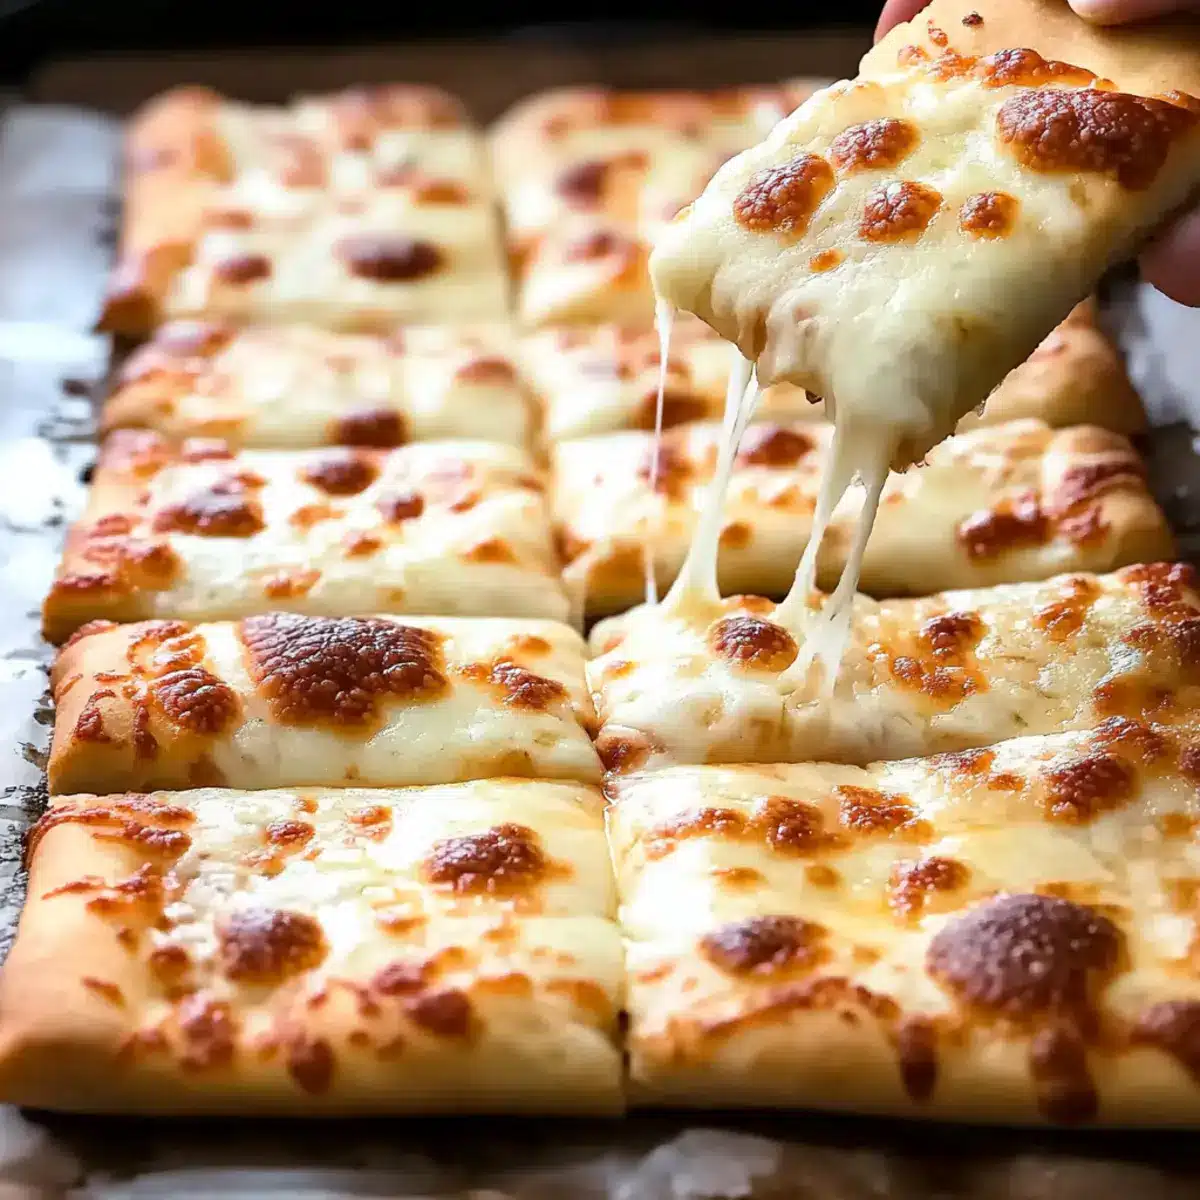
Gluten Free Garlic Pizza Breadsticks You'll Crave Every Time
Ingredients
Equipment
Method
- Prepare Dough: Make your gluten-free pizza dough according to your recipe or package instructions. Cover and let it rest.
- Let it Rise: Place the dough in a sealed container in a warm area. Allow it to rise for 1 to 2 hours, until puffed up.
- Chill Dough: Refrigerate the risen dough for about 30 minutes to firm it up.
- Preheat Oven: Preheat your oven to 400°F (200°C) with a pizza stone or baking sheet inside.
- Shape Dough: Roll out the chilled dough on a floured surface into an oval shape about 12 by 15 inches.
- Transfer Dough: Move the shaped dough onto a parchment paper for easy transfer to the oven.
- Make Garlic Paste: Mix minced garlic with kosher salt to create a paste.
- Brush Dough: Combine the garlic paste with melted butter and brush it over the dough.
- Top with Cheese: Sprinkle Parmigiano-Reggiano and mozzarella cheese over the dough evenly.
- Bake: Slide the dough onto the pizza stone or baking sheet. Bake for about 10 minutes until golden brown.
- Slice & Serve: Once baked, let the breadsticks cool slightly and then slice them into 16 individual sticks.
Leave a Reply