
As I stood in my kitchen, the sweet scent of golden syrup bubbling on the stove brought back memories of my childhood. Today, I’m excited to share my No-Churn Homemade Honeycomb Ice Cream, a delightful treat that combines creamy richness with crunchy honeycomb goodness. What I love most about this recipe is its simplicity: just five ingredients and no ice cream machine needed! Not only is it a crowd-pleaser, but it’s also customizable for dietary needs—including a potential vegan twist. With every spoonful, you’ll taste the difference of homemade over store-bought. Are you ready to elevate your dessert game and impress your friends and family? Let’s dive into this sweet adventure together!
Why Try Homemade Honeycomb Ice Cream?
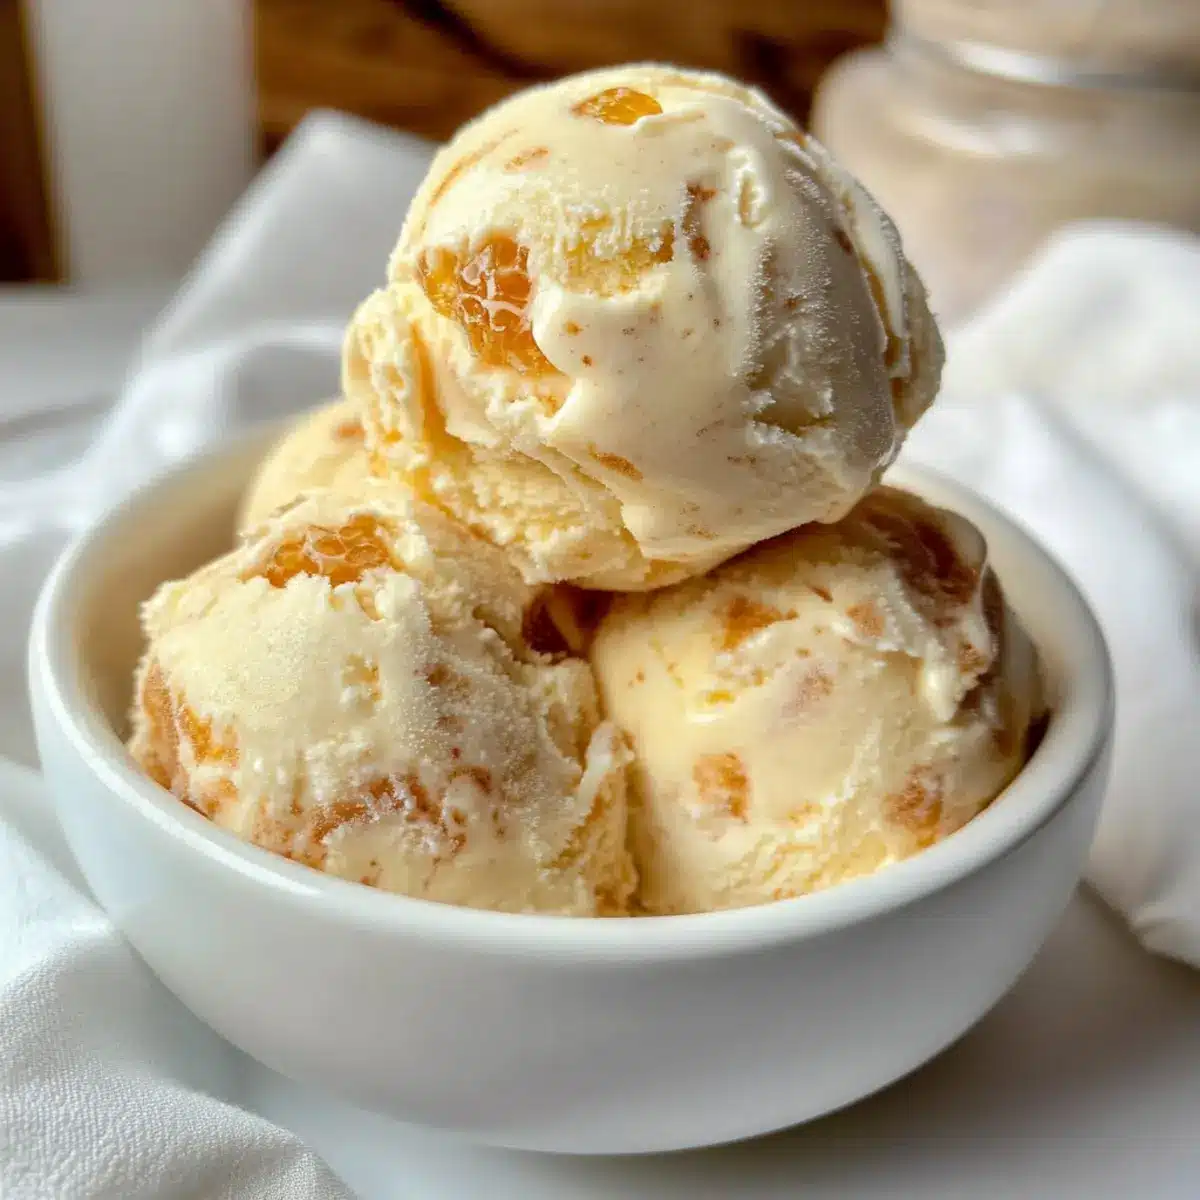
Indulgence at its finest: This creamy delight pairs smooth ice cream with crunchy honeycomb, creating a dessert experience that’s simply unforgettable.
Easy preparation: With just five ingredients and no need for an ice cream maker, you can whip this up in no time!
Customizable options: Whether you want to add nuts, chocolate, or even try a vegan version, this recipe adapts to your taste.
Crowd-pleaser: Serve it at gatherings, and watch it disappear! Its unique flavor and texture will surely impress your friends and family. For a delicious side, don’t forget to check out our Creamy Garlic Shrimp over Mashed Potatoes recipe as well!
Honeycomb Ice Cream Ingredients
• Dive into this delightful recipe with just five simple ingredients!
For the Honeycomb
- Golden Syrup – Adds sweetness and flavor, creating that irresistible honeycomb taste; try runny honey for a different twist.
- Caster Sugar – Essential for structuring the honeycomb; avoid brown sugar to maintain the desired texture.
- Bicarbonate of Soda – Helps achieve the light, airy, bubbly texture of the honeycomb; no substitutes are recommended.
For the Ice Cream Base
- Double Cream (Heavy Cream) – Provides a rich, creamy base that elevates the ice cream; single cream won’t whip properly.
- Condensed Milk – Acts as a sweetener and creates creaminess without an ice cream machine; sweetened evaporated milk is a potential substitute.
Get ready to create your own honeycomb ice cream masterpiece that will make your taste buds dance!
Step‑by‑Step Instructions for Honeycomb Ice Cream
Step 1: Prepare Honeycomb
In a medium saucepan, gently heat 200g of golden syrup over low heat until it starts to bubble. Stir in 100g of caster sugar, then bring the mixture to a boil. Allow it to bubble for exactly 3 minutes, swirling the pan occasionally to prevent burning. You’ll know it’s ready when it has a golden color.
Step 2: Create Honeycomb Texture
Remove the saucepan from heat, and quickly stir in 1 teaspoon of bicarbonate soda until the mixture froths up and expands. Be careful as it will bubble vigorously! Immediately pour the frothy mixture into a lined tin, spreading it evenly. Let it cool for about 1 hour, until set, creating that delightful crispy honeycomb.
Step 3: Whip Cream
While the honeycomb is cooling, grab a large mixing bowl and add 600ml of double cream. Using an electric mixer, whip the cream until it reaches soft peaks. The cream should be thick enough to hold its shape yet still smooth and airy, which will give the honeycomb ice cream its rich texture.
Step 4: Combine with Condensed Milk
Fold in one 397g can of condensed milk into the whipped cream. Gently mix until fully combined, ensuring you maintain the airy texture. This mixture will form the base of your honeycomb ice cream, adding creaminess and sweetness that perfectly complements the crunchy bits of honeycomb.
Step 5: Add Honeycomb Pieces
Once the cream and condensed milk are well blended, chop the cooled honeycomb into bite-sized chunks. Gently fold these chunks into the creamy mixture, distributing them evenly. This step brings that crunchy surprise to your honeycomb ice cream, making each scoop a delightful treat.
Step 6: Freeze the Mixture
Pour the combined mixture into a lined loaf tin, smoothing the top with a spatula. Cover the tin with a lid or plastic wrap and place it in the freezer. Allow it to freeze for at least 6 hours, or until firm. The result will be a wonderfully smooth and creamy honeycomb ice cream that’s perfect for serving.
Step 7: Serve and Enjoy
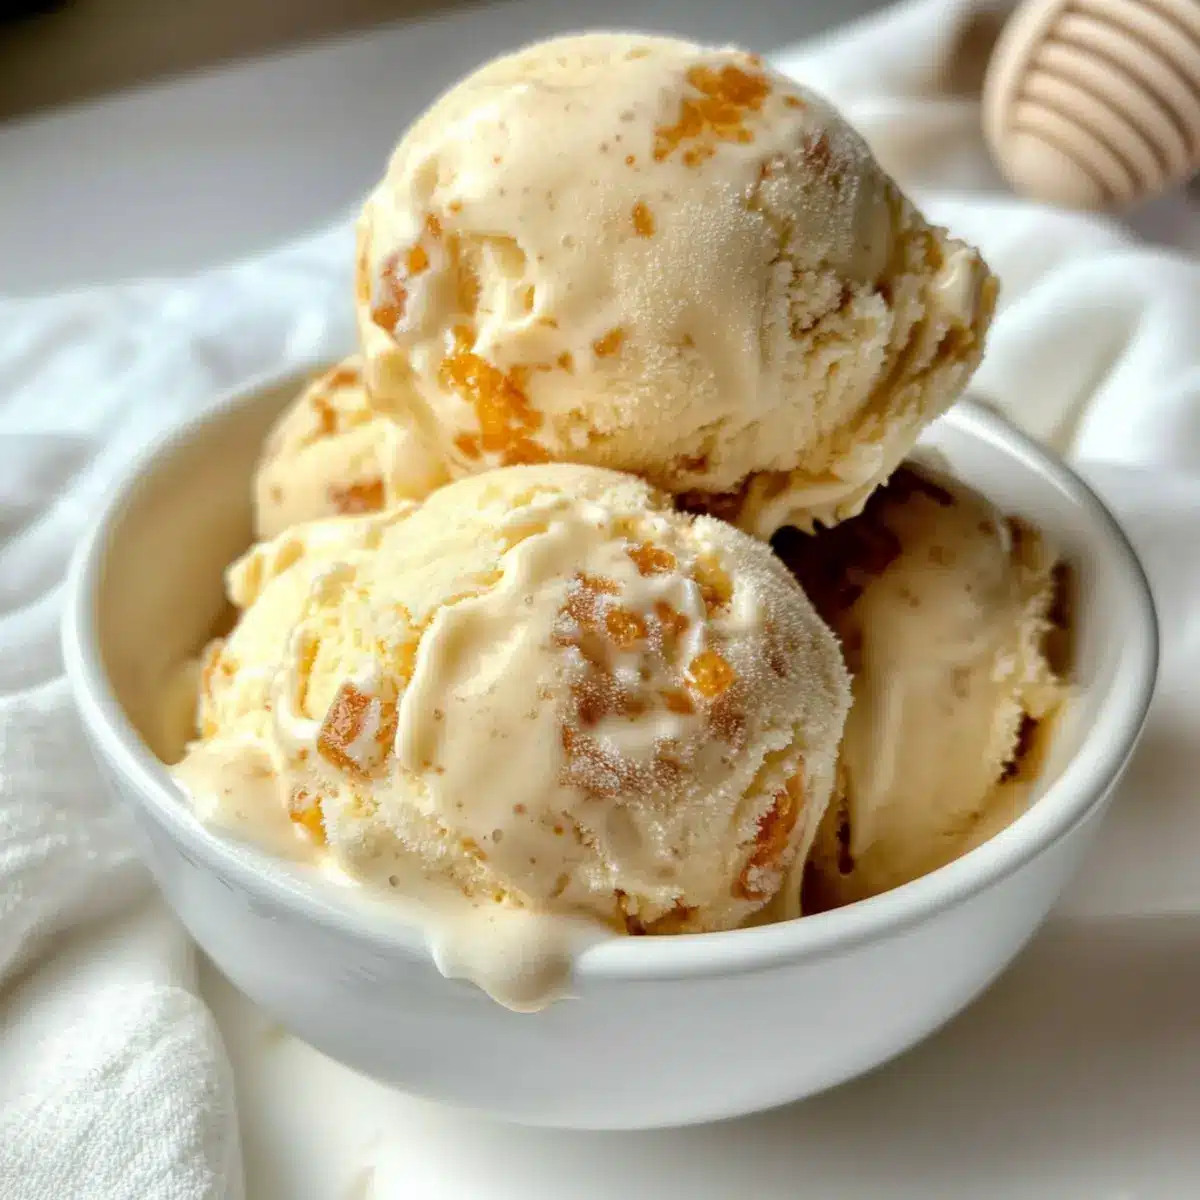
When you’re ready to serve your homemade honeycomb ice cream, remove it from the freezer a few minutes in advance. This will soften it slightly for easier scooping. Dish it out into bowls or cones and enjoy every mouthful of this delectable treat, perfect for sharing with family and friends!
Expert Tips for Honeycomb Ice Cream
- Precise Timing: Ensure the honeycomb mixture is boiled for exactly 3 minutes to achieve that perfect texture; using a timer helps avoid overcooking.
- Soak the Pan: Clean the saucepan immediately after use by soaking it in warm soapy water to prevent the hardened honeycomb from sticking and becoming a hassle to clean.
- Vegan Options: For a plant-based version, experiment with vegan whippable cream and vegan condensed milk for a delightful twist on classic honeycomb ice cream.
- Honeycomb Crunch: Allow the honeycomb to cool completely before chopping; this ensures the pieces retain their crunchy texture when mixed into the ice cream.
- Smooth Scoops: For easy scooping, remove the honeycomb ice cream from the freezer a few minutes before serving, allowing it to soften slightly while still maintaining that creamy consistency.
Storage Tips for Honeycomb Ice Cream
- Fridge: Store any leftover honeycomb ice cream in an airtight container in the fridge for up to 3 days. However, it’s best enjoyed fresh for optimal texture.
- Freezer: For longer storage, keep the ice cream in the freezer for up to 2 months. Ensure it’s tightly covered to prevent freezer burn and maintain creaminess.
- Reheating (if needed): If the ice cream becomes too hard, let it sit at room temperature for about 5 minutes before serving for easier scooping.
- Portioning: Consider dividing the honeycomb ice cream into smaller containers before freezing, making it easy to enjoy a scoop whenever the craving strikes!
What to Serve with No-Churn Homemade Honeycomb Ice Cream
Dive into a delightful experience by pairing this creamy, sweet treat with flavors and textures that elevate your dessert game.
-
Warm Chocolate Brownies: The rich, fudgy goodness of brownies contrasts beautifully with the creamy ice cream, creating a heavenly combination. Just imagine a scoop of honeycomb ice cream melting atop a warm brownie—pure bliss!
-
Fresh Berries: Juicy strawberries, raspberries, or blueberries add a burst of freshness. Their tartness perfectly balances the sweetness of the honeycomb ice cream, offering a refreshing bite.
-
Shortbread Cookies: Buttery, crumbly shortbread cookies provide a delightful crunch. Crumble them over the top of your ice cream for an irresistible texture.
-
Crushed Nutter Butters: These peanut butter-flavored cookies infuse a creamy, nutty flavor, making every bite unforgettable. They add depth and a surprise twist to the classic flavor of honeycomb ice cream.
-
Toasted Almonds: Slice almonds add a nutty crunch that complements the creamy smoothness of the ice cream. Lightly toasting them enhances their flavor, making them a crunchy garnish worth trying.
-
Caramel Sauce: Drizzle warm, buttery caramel over your honeycomb ice cream to intensify the sweetness. The gooey texture combined with creamy ice cream will send your taste buds into overdrive.
-
Vintage Lemonade: A light, refreshing beverage like homemade lemonade gives a zesty contrast that cuts the richness of the ice cream. Perfect for outdoor summer gatherings!
-
Chocolate Sauce: A rich and velvety chocolate sauce takes this dessert to a whole new level. Serve it warm over honeycomb ice cream for an indulgent treat.
-
Coffee: A cup of strong black coffee brings out the sweetness of the honeycomb and enhances the flavors in the ice cream, creating a delightful after-dinner pairing.
Honeycomb Ice Cream Variations
You’re just one step away from customizing your honeycomb ice cream into something truly unique and delightful!
- Vegan Delight: Swap double cream and condensed milk with coconut cream and vegan condensed milk for a creamy, plant-based treat.
- Nutty Crunch: Add in toasted almonds or hazelnuts for a delightful crunch. Their nutty flavor pairs beautifully with the honeycomb.
- Chocolate Swirls: Incorporate a swirl of melted chocolate into the mixture before freezing for an indulgent twist that chocolate lovers will adore.
- Fruit Infusion: Fold in diced fruits like strawberries or raspberries for a fruity burst. These little additions add a fresh, zesty kick to the creamy delight.
- Spicy Heat: For those who love a little kick, sprinkle in some finely chopped chili or a dash of cayenne pepper to elevate your ice cream with a surprising heat.
- Caramel Swirl: Drizzle in some caramel sauce for a rich flavor contrast. The sweet, gooey addition will make each scoop a decadent experience.
- Crunchie Bar Shortcut: If you’re in a hurry, substitute homemade honeycomb with roughly chopped Crunchie bars for an easy, quick alternative that still delivers on flavor.
- Minty Freshness: Add in a few drops of peppermint extract for a refreshing mint chocolate honeycomb ice cream that’ll have everyone asking for seconds.
Pair your honeycomb ice cream with a lovely pie or brownie for a treat that will remind you of childhood happiness. Don’t forget to check out our delicious Creamy Garlic Shrimp over Mashed Potatoes recipe for a flavorful meal that complements your sweet dessert perfectly!
Make Ahead Options
These Homemade Honeycomb Ice Cream treats are perfect for busy cooks looking to save time! You can prepare the honeycomb up to 24 hours in advance and store it in an airtight container at room temperature to maintain its crunch. Additionally, the ice cream base can be made and stored in the freezer for up to 3 days before serving. Simply whip the cream and fold in the condensed milk before adding the honeycomb pieces. When you’re ready to serve, scoop the frozen mixture into bowls, letting it soften for a few minutes at room temperature for easier scooping. With these prep-ahead steps, you’ll enjoy a homemade dessert that’s just as delicious as freshly made!
Honeycomb Ice Cream Recipe FAQs
Which type of golden syrup should I use?
Absolutely! For the best flavor, I recommend using a light golden syrup, as it provides the perfect sweetness without overpowering the other ingredients. If you want a different flavor profile, runny honey or maple syrup can be fantastic substitutes!
How long can I store honeycomb ice cream in the freezer?
You can store your honeycomb ice cream in an airtight container in the freezer for up to 2 months. Just make sure it’s tightly sealed to avoid freezer burn, ensuring every scoop remains creamy and delicious!
Can I freeze honeycomb pieces separately?
Yes, you can freeze honeycomb pieces separately! To freeze them, simply place the chopped honeycomb in a single layer on a baking sheet lined with parchment paper. Freeze for about 1-2 hours until solid, then transfer them to an airtight container or zip-top bag. They can be stored this way for up to 3 months. Just remember to let them thaw slightly before mixing into the ice cream!
What should I do if my honeycomb doesn’t set properly?
If your honeycomb is not setting, it’s likely due to not boiling the mixture long enough, which can affect its structure. Next time, ensure you boil it for exactly 3 minutes and swirl gently to avoid burning. If it does set improperly and remains too gooey even after cooling, you may need to try re-cooking it while monitoring the time closely for a better result.
Is this recipe suitable for people with nut allergies?
Yes, this honeycomb ice cream recipe is nut-free, making it a safe option for those with nut allergies. Just ensure that any added ingredients or toppings, like chocolate chips or nuts (if you choose to include them later), are sourced from a nut-free facility to avoid cross-contamination.
Can I make a vegan version of honeycomb ice cream?
Very! For a vegan-friendly version, you can substitute the double cream with a vegan whipping cream and the condensed milk with a coconut-based condensed milk or another suitable alternative. Just ensure that the golden syrup used is also vegan-friendly. This will allow you to enjoy the delightful flavors of honeycomb ice cream while sticking to a plant-based diet!
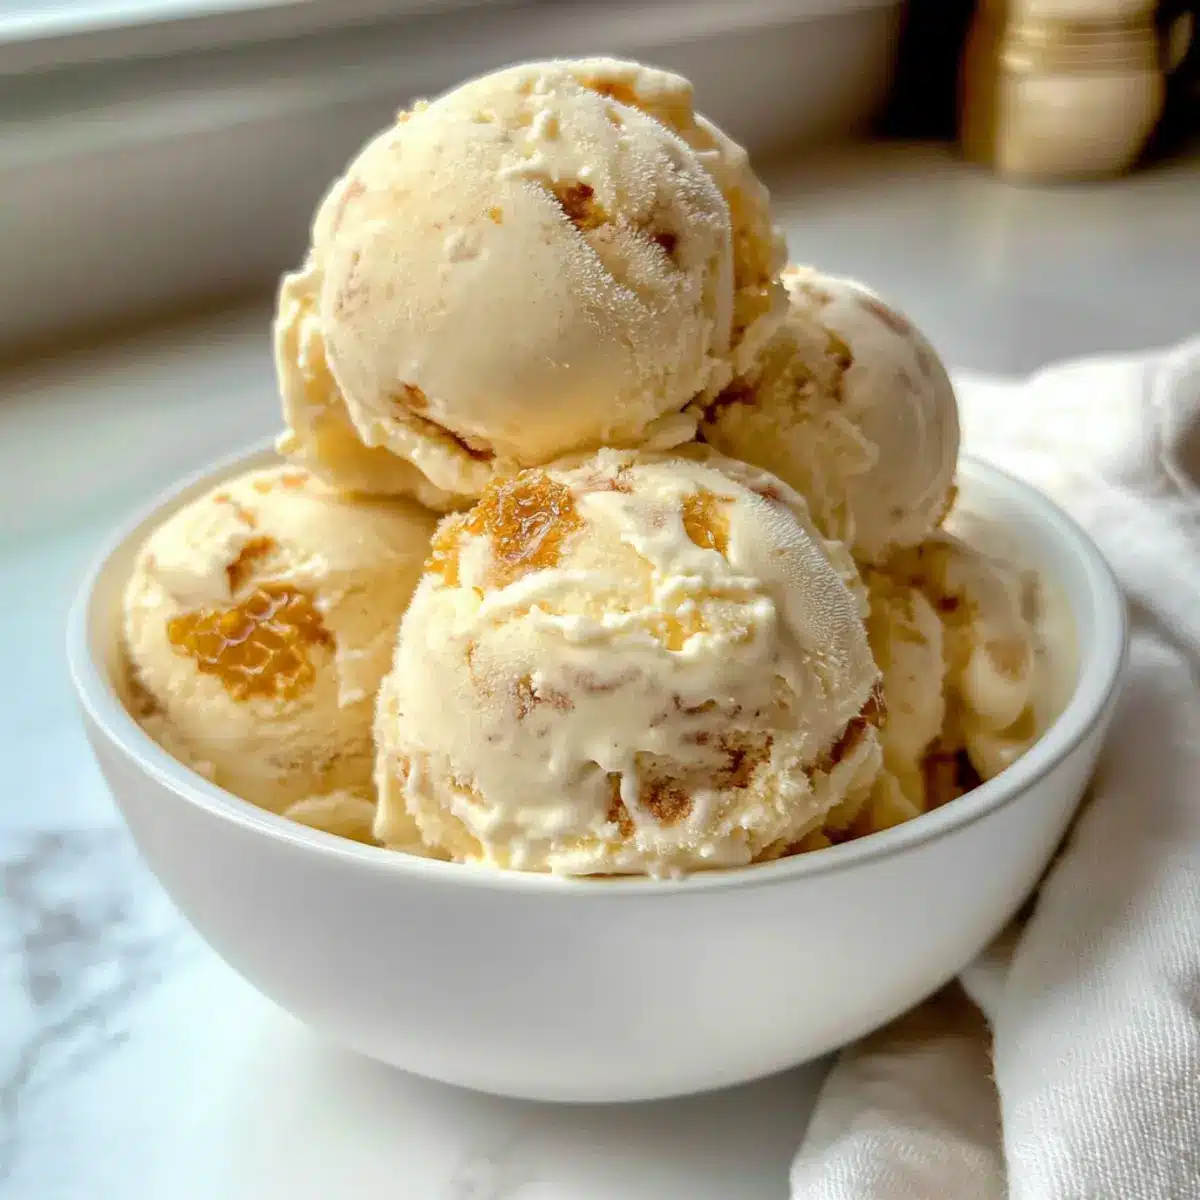
Creamy Honeycomb Ice Cream with Crunchy Sweet Surprise
Ingredients
Equipment
Method
- Gently heat 200g of golden syrup in a medium saucepan over low heat until bubbling.
- Stir in 100g of caster sugar and bring the mixture to a boil. Bubble for exactly 3 minutes.
- Remove from heat, quickly stir in 1 teaspoon of bicarbonate soda, pour into a lined tin, and cool for 1 hour.
- Whip 600ml of double cream in a large bowl until soft peaks form.
- Fold in 397g of condensed milk into whipped cream until combined.
- Chop cooled honeycomb into bite-sized chunks and fold into the cream mixture.
- Pour the mixture into a lined loaf tin, smooth the top, cover, and freeze for at least 6 hours.
- Remove from the freezer a few minutes before serving for easier scooping.
Leave a Reply