
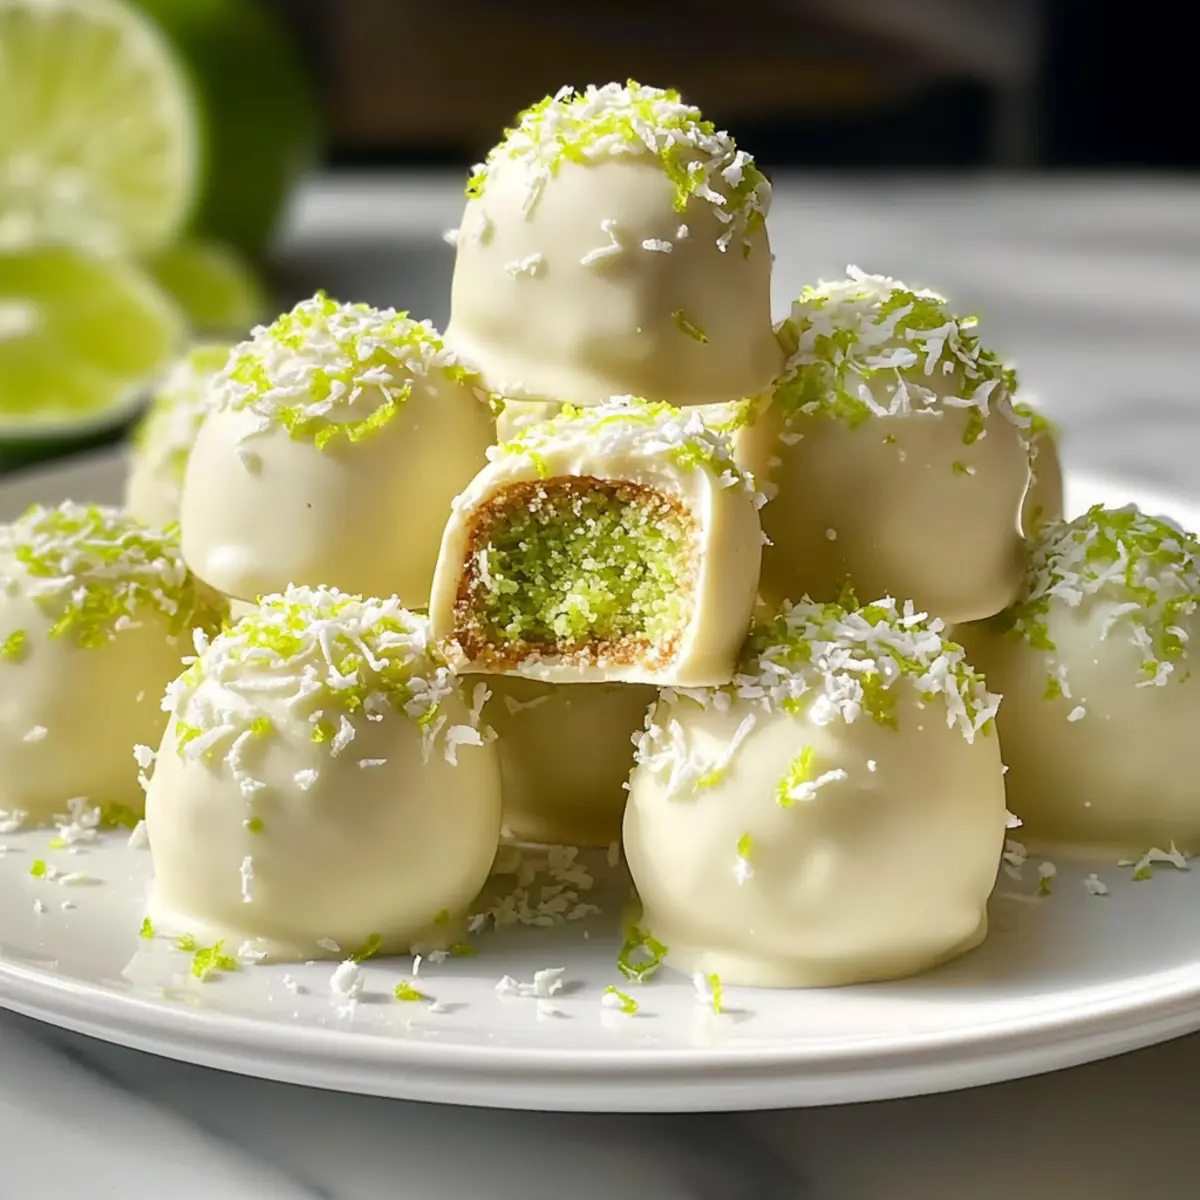
As I stood in my kitchen, the aroma of sweet citrus danced around me, and a wave of nostalgia washed over my senses. Today, I’m excited to share my take on Key Lime Truffles—delightful no-bake bites that pack in the tropical sunshine! These creamy truffles are a breeze to whip up, making them perfect for busy weeknights or last-minute gatherings. Not only do they capture the playful essence of classic key lime pie, but they also cater to various dietary preferences with easy swaps, like using vegan cream cheese. Whether you’re entertaining guests or treating yourself to a well-deserved indulgence, these truffles are sure to impress and satisfy a sweet tooth without the fuss. Ready to add a pop of tropical flavor to your dessert repertoire?
Why are Key Lime Truffles a Must-Try?
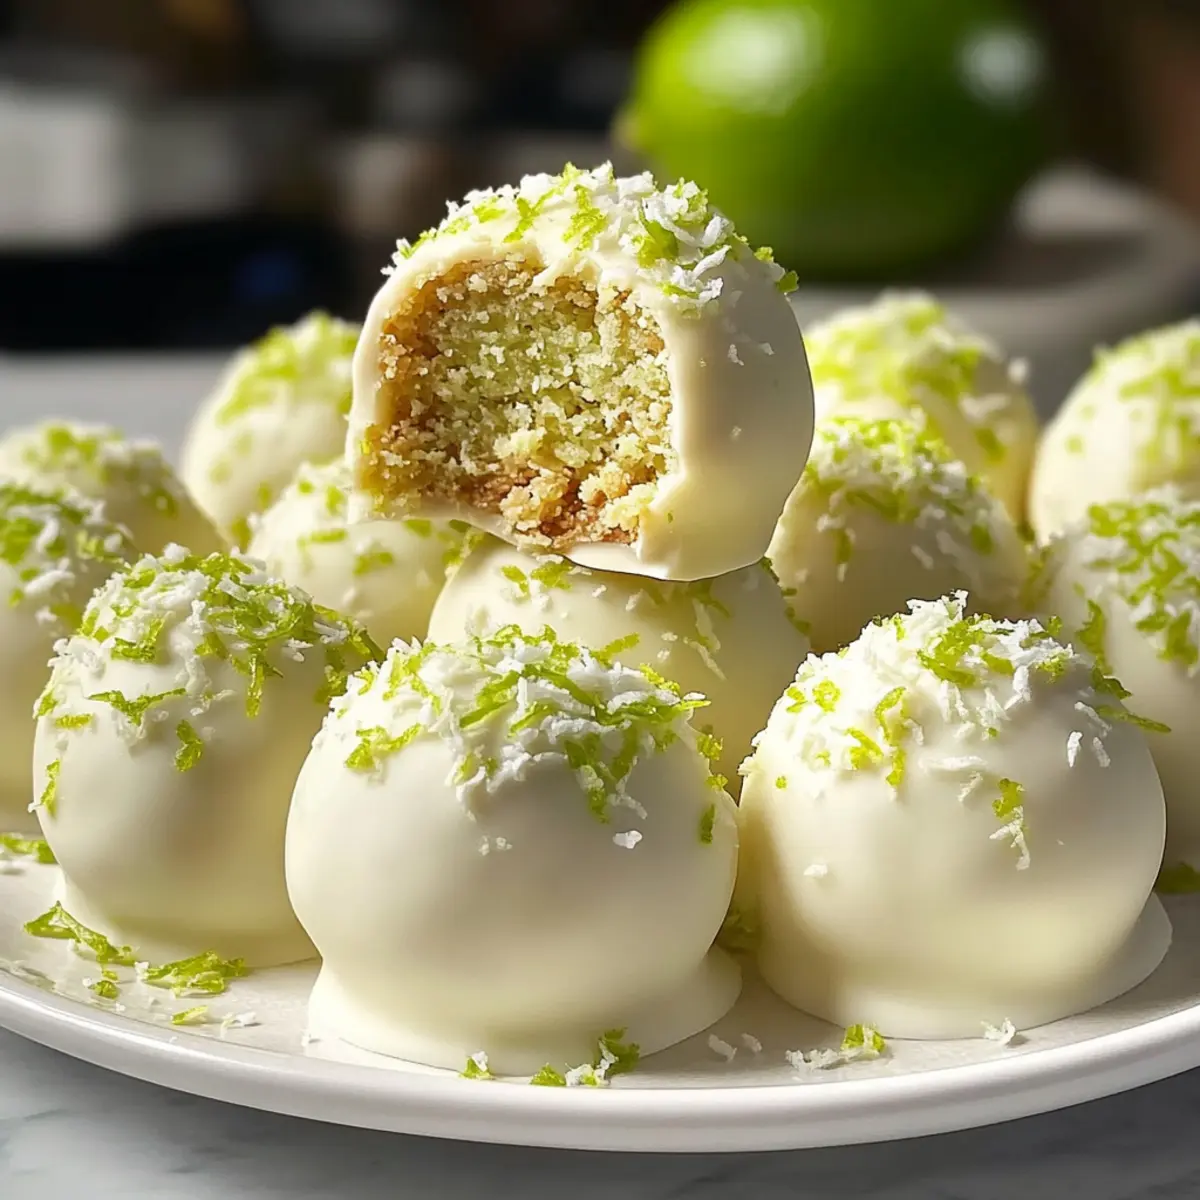
Creamy Delight: Each bite of these truffles offers a melt-in-your-mouth experience, with a perfect balance of rich creaminess and vibrant citrus.
No-Bake Ease: No need to fire up the oven—these truffles come together quickly, making them a go-to option for those busy evenings or unexpected guests.
Versatile Variations: Feel free to mix things up! Whether you want to go vegan with cream cheese or sprinkle in coconut, these truffles adapt to your cravings.
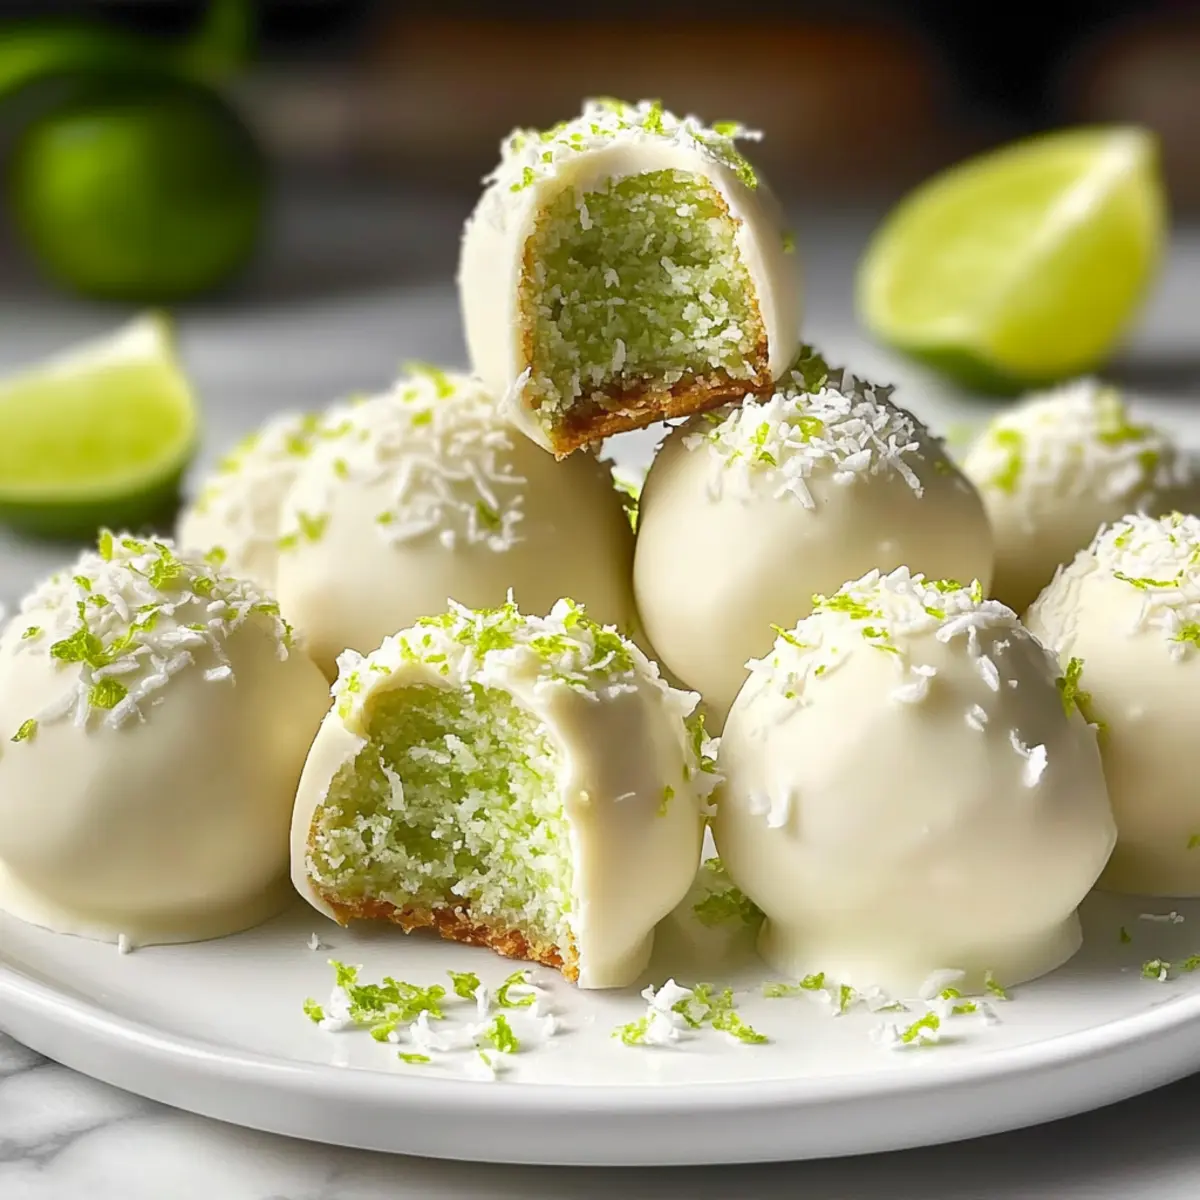
Fresh Tropical Flavor: The combination of key lime and creamy layers delivers a refreshing burst that will transport you straight to a sunny beach.
Crowd-Pleasing Treat: Perfect for parties, these truffles are a showstopper that will impress friends and family alike—everyone loves a sweet indulgence!
Key Lime Truffles Ingredients
• Get ready to make these delightful bites with essential ingredients!
For the Filling
- Cream Cheese – Creates a creamy filling; use vegan cream cheese for a dairy-free option.
- Powdered Sugar – Sweetens the truffles; you can replace it with stevia or monk fruit for a lighter treat.
- Key Lime Juice – Provides tangy flavor; if you’re in a pinch, regular lime juice works as a substitute.
- Lime Zest – Enhances the citrus aroma, adding a fresh pop to each truffle.
- Graham Cracker Crumbs – Gives texture and mimics the classic key lime pie crust.
For the Coating
- White Chocolate Chips – Coats the truffles for sweetness and smoothness; consider dark chocolate for a twist.
- Coconut Oil – Ensures a smooth melt for the chocolate coating, enhancing texture as well.
Now you’re all set with the perfect ingredients to whip up your Key Lime Truffles! Let’s dive into the fun of creating these delicious tropical treats.
Step‑by‑Step Instructions for Key Lime Truffles
Step 1: Prepare Mixture
In a mixing bowl, combine 8 ounces of softened cream cheese, 1 cup of powdered sugar, ¼ cup of key lime juice, the zest of one lime, and 1 cup of graham cracker crumbs. Mix well with a handheld mixer until the ingredients are fully blended, appearing smooth and creamy. The mixture should be thick enough to hold its shape, resembling a cake batter.
Step 2: Chill
Cover the mixing bowl with plastic wrap and refrigerate the truffle mixture for about 30 minutes. This chilling step is crucial as it firms up the filling, making it easier to handle. After chilling, your mixture should be slightly firmer yet still workable, ensuring that the key lime truffles can hold their shape when formed.
Step 3: Form Truffles
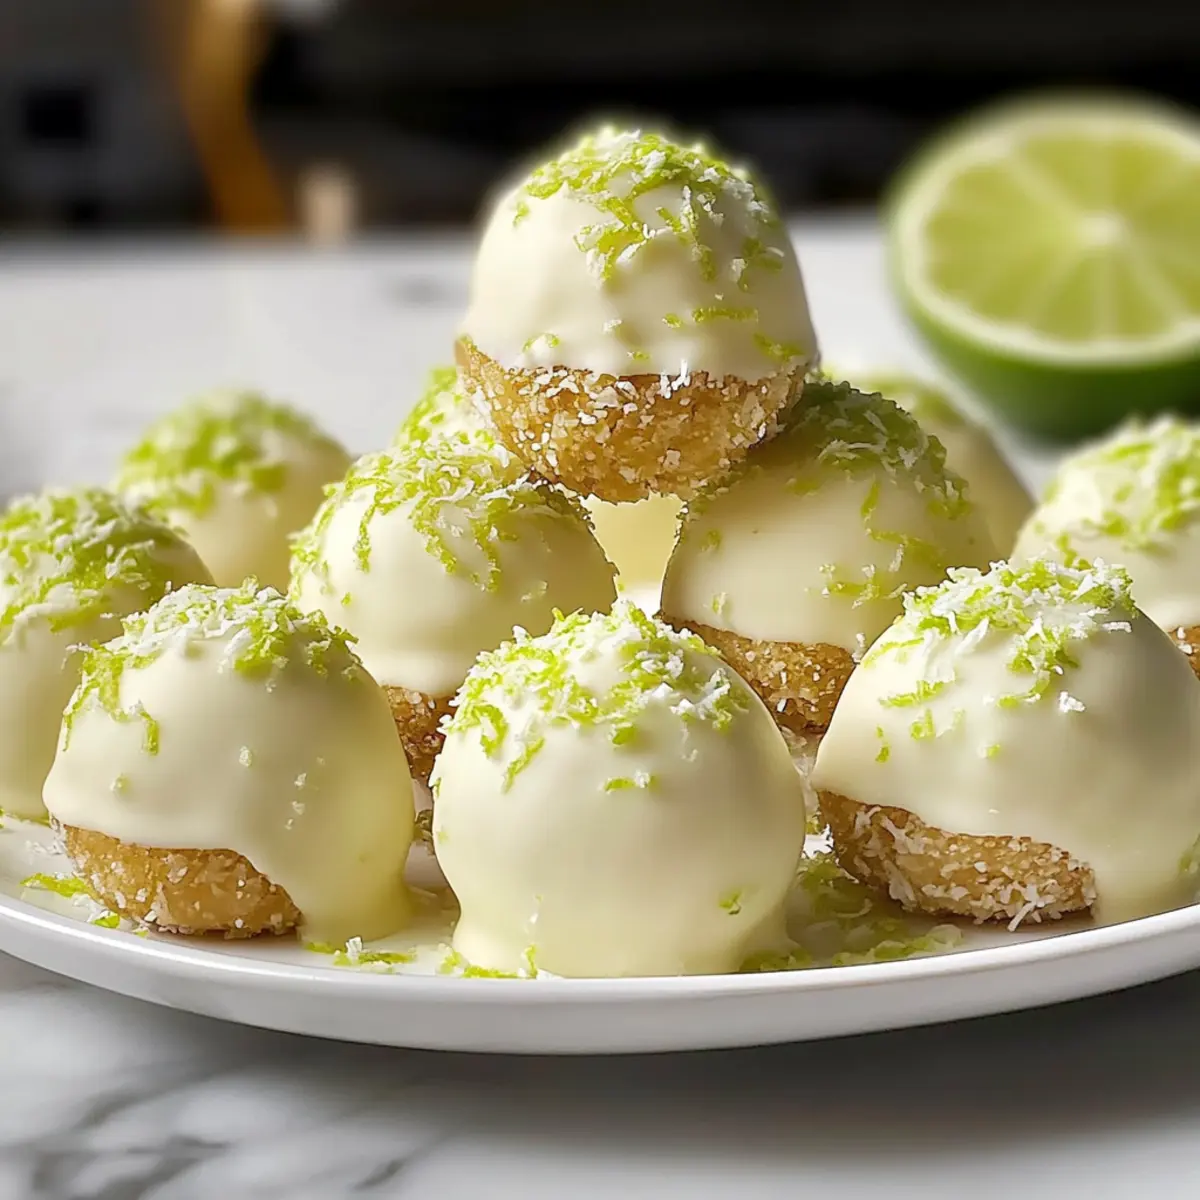
Using a small cookie scoop or your hands, portion out small balls of the chilled mixture, roughly one inch in diameter. Place each ball on a parchment-lined tray, ensuring they are spaced apart to prevent sticking. Aim for a smooth surface by rolling the mixture between your palms, which will enhance the final presentation of your Key Lime Truffles.
Step 4: Melt Chocolate
In a microwave-safe bowl, combine 1 cup of white chocolate chips with 1 tablespoon of coconut oil. Microwave in 30-second intervals, stirring in between until the mixture is completely melted and smooth. The chocolate should be glossy without any lumps, which will create a beautiful coating for the Key Lime Truffles.
Step 5: Coat Truffles
Carefully dip each truffle into the melted chocolate, using a fork to roll it fully and allow any excess chocolate to drip off. Return the coated truffles to the parchment-lined tray, ensuring they are evenly coated and placed apart. If desired, sprinkle some extra graham cracker crumbs on top for texture before the chocolate sets.
Step 6: Set
Once all truffles are coated, refrigerate them for at least 15 minutes or until the chocolate hardens. You’ll know they are ready when the chocolate coating appears firm and glossy. This final step ensures that each Key Lime Truffle is perfectly set, making for a delightful bite that is both visually appealing and delicious.
Key Lime Truffles Variations & Substitutions
Get ready to make these creamy Key Lime Truffles even more delightful with these fun twists and swaps!
-
Vegan Option: Substitute cream cheese with vegan cream cheese for a dairy-free treat that’s just as luscious. You’ll hardly notice the difference!
-
Sugar-Free: Use sugar alternatives like monk fruit or stevia instead of powdered sugar, creating a guilt-free indulgence without losing flavor. Just adjust according to your taste!
-
Coconut Kick: Mix in shredded coconut for added texture and a tropical flair. This will give your truffles an exciting chew that complements the zesty key lime.
-
Zesty Upgrade: If you like a bit more tartness, add extra key lime juice or zest to the mixture. This little burst of flavor will awaken your taste buds.
-
Chocolate Swap: Experiment with dark chocolate or even a dairy-free chocolate for the coating. The rich cocoa will add depth and is a fantastic contrast to the sweet filling.
-
Nutty Texture: Fold in crushed nuts like macadamia or walnuts for a delightful crunch. Not only does this add flavor, but it also elevates the overall texture.
-
Rum Infusion: For an adults-only twist, add a splash of coconut rum to the filling. This will take your Key Lime Truffles to a whole new level of tropical fun!
-
Garnish Greatness: Finish your truffles with a sprinkle of graham cracker crumbs or lime zest on top. It adds visual appeal and enhancing that nostalgic key lime pie feel.
Try mixing and matching these ideas to create your unique batch of Key Lime Truffles! And for more delightful dessert ideas, check out our posts on no-bake desserts, or explore tips for hosting a tropical-themed gathering that captures the spirit of summer.
Storage Tips for Key Lime Truffles
Fridge: Store your Key Lime Truffles in an airtight container for up to one week to ensure they remain fresh and flavorful.
Freezer: For longer storage, place truffles in a freezer-safe container separated by parchment paper, where they can last for up to three months.
Reheating: There’s no need to reheat these truffles, as they are best enjoyed chilled. Simply thaw in the fridge if frozen before serving.
Wrapping: If you’re gifting them, wrap individual truffles in plastic wrap and place them in a decorated box for a delightful presentation.
Expert Tips for Key Lime Truffles
Keep It Creamy: Use softened cream cheese in your mixture to achieve a light, fluffy texture; too cold and it won’t blend smoothly.
Watch Your Sweetness: Adjust the powdered sugar according to your taste preferences, especially if using sugar alternatives to avoid overly sweet truffles.
Chill Properly: Don’t rush the chilling step, as it’s crucial for the mixture to firm up; this ensures your Key Lime Truffles hold their shape beautifully.
Melt with Care: When melting chocolate, do it in intervals to prevent burning; stirring frequently helps create a smooth coating consistency.
Roll Smoothly: When forming truffles, roll them between your palms for a polished look; a smooth surface enhances the presentation.
Store Right: Keep your Key Lime Truffles in an airtight container in the fridge to maintain freshness, ideally consuming them within a week.
What to Serve with Creamy Key Lime Truffles?
Elevate your dessert experience with these delightful pairings that complement the vibrant, zesty truffles!
- Fresh Fruit Salad: Adds a refreshing touch, balancing the sweetness of truffles with juicy textures and a medley of tropical flavors.
- Coconut Whipped Cream: Light and fluffy, this non-dairy topping enhances the tropical vibes and adds a luscious creaminess to each bite.
- Mint Garnish: A sprinkle of fresh mint leaves brightens up the dessert and offers a cool, fragrant note that pairs beautifully with key lime.
- Iced Tea: A glass of iced herbal or green tea brings a subtle sweetness and cooling effect, making it a perfect beverage companion.
- Dark Chocolate Dipping Sauce: A rich contrast to the creamy truffles, this sauce adds depth of flavor and a touch of indulgence to each bite.
- Key Lime Pie: For a truly themed dessert spread, serve alongside mini key lime pies to reinforce those tropical layers of flavor in a fun presentation!
Pairing these delightful accompaniments with your Key Lime Truffles will ensure a surprising and refreshing dessert experience everyone will love!
Make Ahead Options
These Key Lime Truffles are perfect for those who love to meal prep! You can prepare the truffle filling up to 24 hours in advance by mixing together the softened cream cheese, powdered sugar, key lime juice, lime zest, and graham cracker crumbs. After mixing, cover the bowl with plastic wrap and refrigerate it to maintain the creamy texture. Form the truffles and coat them in chocolate one day before serving for the best results. Simply allow them to set in the fridge for about 15 minutes after coating, and they’ll be just as delicious when you’re ready to indulge. This time-saving strategy ensures you have a delightful dessert ready to impress your guests without the last-minute stress!
Key Lime Truffles Recipe FAQs
How do I choose ripe key limes for the truffles?
Absolutely! Look for key limes that feel slightly soft when gently squeezed and have a vibrant color. Avoid any that have dark spots or wrinkles. If they’re not in season, regular limes are a suitable substitute, although they may alter the flavor slightly.
How should I store Key Lime Truffles?
To keep your Key Lime Truffles fresh, store them in an airtight container in the fridge for up to one week. Make sure they are tucked away from any strong-smelling ingredients to maintain their delicate flavor.
Can I freeze Key Lime Truffles?
Yes! For longer storage, freeze your Key Lime Truffles by placing them in a single layer in a freezer-safe container, separated by sheets of parchment paper. They can last for up to three months. To enjoy, simply thaw them in the refrigerator for a few hours before serving.
What if my mixture is too runny?
If you find your truffle mixture is too runny, that sometimes means not enough graham cracker crumbs were added or your cream cheese was too soft. You can fix this by gradually adding more graham cracker crumbs until it thickens. Remember to refrigerate it longer to help the truffles hold their shape better.
Are Key Lime Truffles suitable for people with allergies?
Indeed! If you’re catering to dietary needs, you can easily adjust this recipe. Use vegan cream cheese for a dairy-free version and consider coconut oil for added texture. If you have nut allergies or are unsure about other ingredients, always double-check labels on the products you use.
Can I use low-calorie sweeteners in my Key Lime Truffles?
Very! You can replace the powdered sugar with alternatives like stevia or monk fruit to create a lighter, healthier version. Just remember to adjust the quantity according to the specific sweetener you choose, as they often vary in sweetness.
Creamy Key Lime Truffles for a Refreshing Tropical Treat
Ingredients
Equipment
Method
- In a mixing bowl, combine cream cheese, powdered sugar, key lime juice, lime zest, and graham cracker crumbs. Mix until smooth and creamy.
- Cover the bowl with plastic wrap and refrigerate for 30 minutes.
- Using a small cookie scoop or your hands, form small balls of the mixture and place on a parchment-lined tray.
- In a microwave-safe bowl, combine white chocolate chips and coconut oil. Melt in 30-second intervals until smooth.
- Dip each truffle into the melted chocolate, allowing excess chocolate to drip off.
- Refrigerate coated truffles for at least 15 minutes or until the chocolate hardens.
Leave a Reply