
As I sifted through my pantry, a vision of wholesome energy snacks danced in my mind, urging me to whip up a batch of No-Bake Protein Balls. These delightful bites not only pack a protein punch but are also quick to prepare, making them perfect for those busy mornings or anytime cravings. With the nutty goodness of oats and the sweetness of honey, each ball provides a satisfying, guilt-free treat that leaves you feeling energized. The best part? They’re incredibly versatile, allowing you to customize them with your favorite nuts or dried fruits. Whether you’re a seasoned home chef or just looking to ditch fast food, these protein balls are a delicious and nutritious addition to your snack repertoire. Ready to discover how easy it is to make these tempting treats?
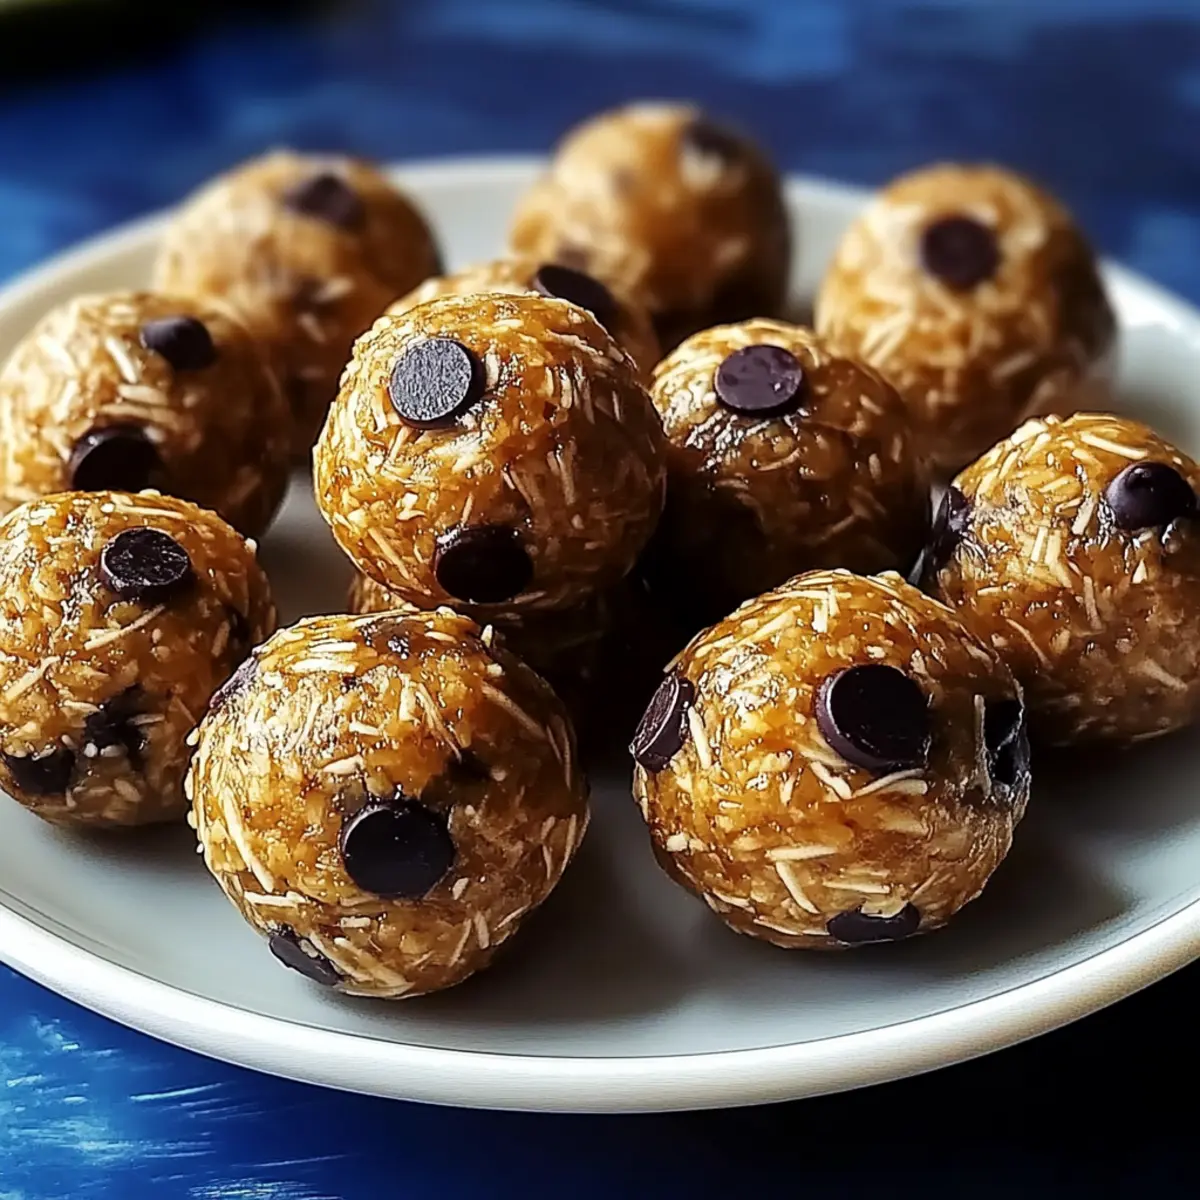
Why are No-Bake Protein Balls a Must-Try?
Quick Preparation: You’ll have these delightful protein balls ready in no time, perfect for busy schedules.
Nutritious Fuel: Packed with protein and healthy ingredients, they provide a guilt-free energy boost.
Endless Customization: Mix and match your favorite nuts or dried fruits to suit your taste. Try adding variations like Salisbury Meatballs and Mashed Potatoes for a different twist on healthy snacking!
Wholesome Alternative: These bites are far better than fast food, keeping you satisfied without the extra calories.
Family-Friendly: Great for kids and adults alike, making snack time enjoyable for everyone!
Embrace the simplicity of No-Bake Protein Balls to transform your snacking game!
No-Bake Protein Balls Ingredients
Unlock the secrets to making your own protein-packed energy bites!
For the Base
- Old-Fashioned Oats – Provide structure and a chewy texture; be sure to use gluten-free oats if needed.
- Peanut Butter – Adds creaminess and protein; almond or sunflower butter can be good substitutes.
- Honey – Sweetens and binds the ingredients; for a vegan option, use maple syrup instead.
- Vanilla Extract – Offers a warm depth of flavor; opt for pure vanilla for the best taste.
For Added Flavor and Texture
- Chocolate Chips – Enhance sweetness with a delightful chocolate flavor; dark chocolate gives a richer taste.
- Chia Seeds – Incorporate fiber and omega-3 fats; feel free to substitute with flax seeds for a similar benefit.
These ingredients will help you create the most delicious No-Bake Protein Balls that are not only quick but also guilt-free!
Step‑by‑Step Instructions for No-Bake Protein Balls
Step 1: Combine Ingredients
In a large mixing bowl, combine 2 cups of old-fashioned oats, 1 cup of peanut butter, 1/2 cup of honey, and 1 teaspoon of vanilla extract. Use a sturdy spatula to stir the mixture until it becomes sticky and fully blended. The oats should be evenly coated in peanut butter and honey. This process takes about 3–5 minutes, so don’t rush!
Step 2: Mix Add-Ins
Next, gently fold in 1/2 cup of chocolate chips and 2 tablespoons of chia seeds into the doughy mixture. Ensure these ingredients are evenly distributed throughout the base, as they add wonderful flavor and texture to the No-Bake Protein Balls. This should take another 2 minutes, and the mixture should start to resemble a thick cookie dough.
Step 3: Chill Mixture
Once thoroughly mixed, cover the bowl with plastic wrap or a lid and refrigerate for 30 minutes. This chilling step is crucial as it allows the mixture to firm up, making it easier to shape into balls later. You’ll notice the mixture will become slightly more cohesive—ideal for rolling!
Step 4: Shape Balls
After chilling, remove the mixture from the refrigerator. Using your hands, scoop about 1 tablespoon of the mixture and roll it into a ball, approximately 1 inch in diameter. Repeat this process, placing each ball onto a parchment-lined baking sheet. You should yield around 15-20 No-Bake Protein Balls, ensuring they are round and nicely compact.
Step 5: Store
Finally, transfer the rolled protein balls into an airtight container. Store them in the refrigerator for up to a week or, for longer storage, freeze them for up to three months. Enjoy grabbing a protein-packed snack on the go, knowing they’re a wholesome alternative when hunger strikes!
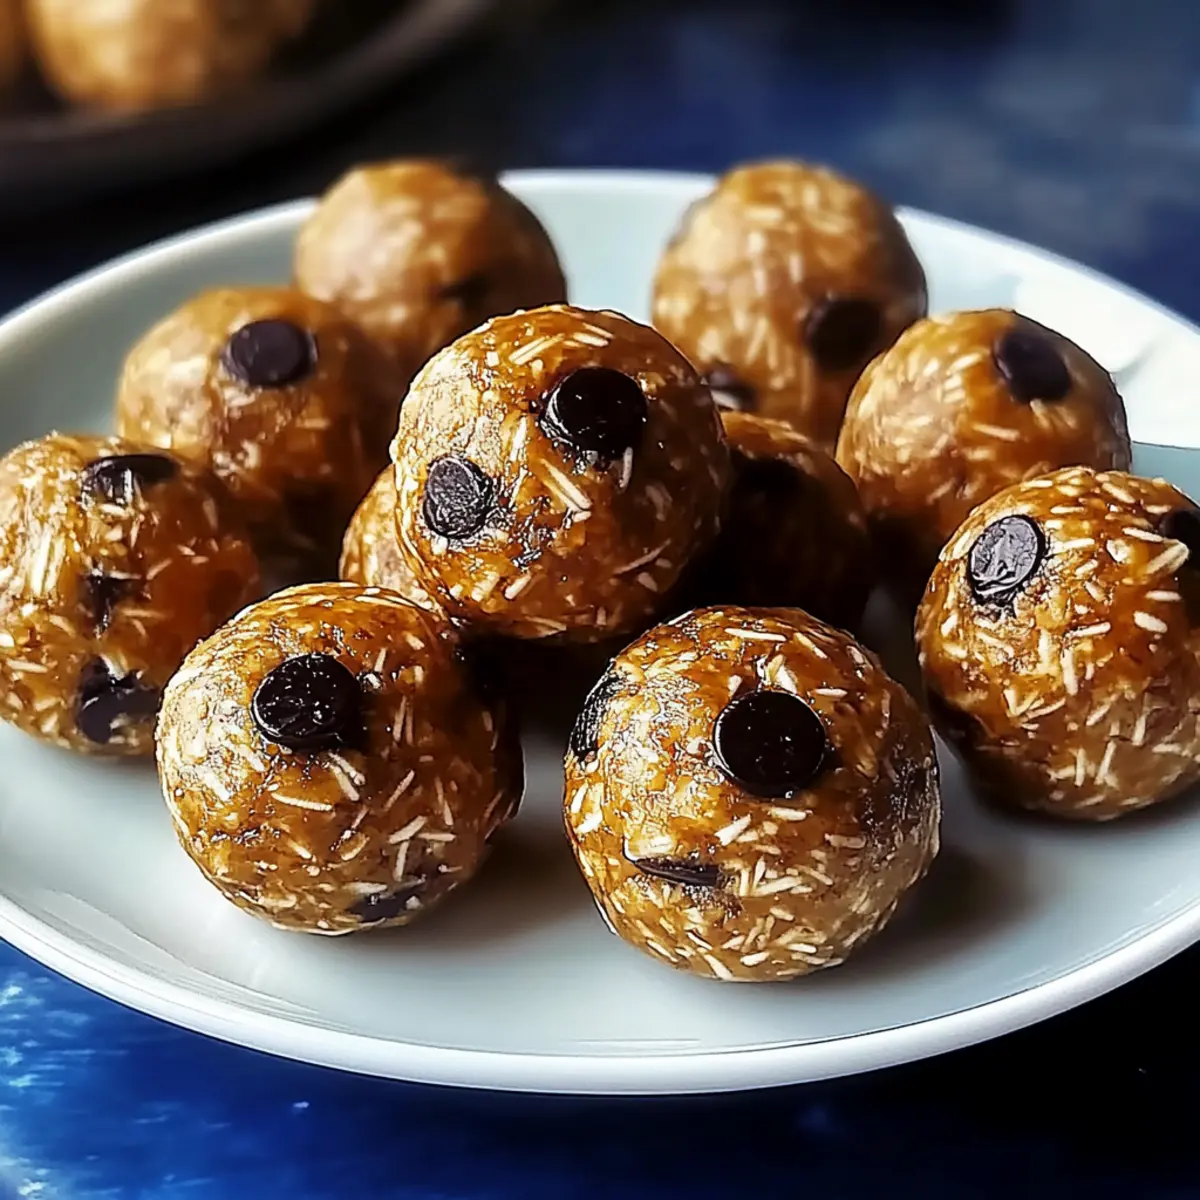
No-Bake Protein Balls Variations
Feel free to let your creativity shine and customize these delightful No-Bake Protein Balls to suit your taste!
- Nut-Free: Swap peanut butter for sunflower seed butter and ensure all add-ins are nut-free for a safe option.
- Dried Fruit Delight: Toss in chopped dried apricots or cranberries for a chewy, fruity twist that’ll brighten each bite.
- Chocolate Lovers: Use dark chocolate or white chocolate chips for an indulgent flavor. The richness will make your snack even more satisfying.
- Crunchy Texture: Fold in a mix of chopped nuts like almonds or walnuts to add delightful crunch and extra protein to your protein balls.
- Flavor Boost: Add spices like cinnamon or nutmeg for a warm, aromatic touch that enhances the overall flavor profile beautifully.
- Coconut Twist: Mix in shredded coconut for a tropical flair that brings a chewy texture and hints at sunny days gone by.
- Protein Punch: Incorporate your favorite protein powder for an extra boost, making each ball a powerhouse of nourishment.
- Energy Kick: Add a splash of espresso powder or finely ground coffee to wake up your taste buds and energize your snack, perfect for a mid-afternoon pick-me-up!
These variations will not only keep your snacks exciting but also ensure that there’s something for everyone. If you want to pair these with some heartier recipes, check out the savory goodness of Salisbury Meatballs Mashed or enjoy a delightful combo with Salmon Balls Avocado. Happy snacking!
Make Ahead Options
These No-Bake Protein Balls are an ideal choice for busy home cooks looking to save time while keeping snacks healthy! You can prepare the base mixture up to 24 hours in advance by following the first three steps: combine the ingredients, mix in the add-ins, and chill the mixture until firm. Once you’re ready to finish, scoop the chilled mixture and roll it into balls. Store the pre-rolled balls in an airtight container in the refrigerator for up to a week or freeze them for up to three months. This way, you’ll always have a nutritious snack ready to go, maintaining their delicious taste and texture! Just remember to allow them to come to room temperature for the best flavor before serving.
What to Serve with No-Bake Protein Balls
These delightful, nutritious bites are not just a snack; they serve as a perfect centerpiece to a wholesome meal.
- Fresh Fruit Salad: A vibrant mix of seasonal fruits adds freshness and pairs beautifully with the nutty flavors of the protein balls.
- Greek Yogurt Dip: Creamy and tangy, a yogurt dip enhances the protein content while providing a delightful contrast in texture.
- Nut Butter Toast: Whole grain or gluten-free toast smeared with almond or cashew butter makes for a satisfying and crunchy side.
- Veggie Sticks: Crisp carrots, celery, and peppers offer a refreshing crunch to balance the chewiness of the protein balls.
- Homemade Trail Mix: Combine nuts, seeds, and dried fruit for a filling snack that complements the protein-packed bites perfectly.
- Smoothie: A luscious green smoothie made with spinach, banana, and almond milk provides a nutrient boost that pairs well with any snack.
- Herbal Tea or Infused Water: A lightly flavored beverage like chamomile tea or refreshing cucumber water can enhance the overall experience, making it feel like a refreshing treat.
- Oatmeal: A warm bowl of oatmeal topped with fruit and honey mirrors the ingredients in your protein balls and enriches the whole meal.
How to Store and Freeze No-Bake Protein Balls
Fridge: Store your No-Bake Protein Balls in an airtight container for up to 7 days. This keeps them fresh and chewy, ready for a quick snack anytime!
Freezer: For longer storage, freeze the protein balls in a single layer on a parchment-lined baking sheet for 2 hours, then transfer them to a freezer-safe container. They can last up to 3 months!
Room Temperature: If you’re on the go, these protein balls can stay at room temperature for up to 2 hours. Just make sure they’re not in direct sunlight to maintain their texture.
Defrosting: To enjoy frozen No-Bake Protein Balls, simply let them thaw in the fridge overnight or at room temperature for about an hour before serving.
Expert Tips for No-Bake Protein Balls
• Use Fresh Ingredients: Ensure your oats and nut butters are fresh for the best flavor and texture in your No-Bake Protein Balls.
• Proper Chilling: Don’t skip the chilling step! It helps the mixture firm up, making it easier to roll into balls without falling apart.
• Portion Control: Use a small cookie scoop for uniform balls, ensuring consistent size and texture in your No-Bake Protein Balls.
• Ingredient Flexibility: Feel free to experiment with add-ins like hemp seeds or dried cranberries; just maintain the base ratios for the best results.
• Avoid Overmixing: Mix until ingredients are just combined. Overmixing may lead to a tough texture instead of the intended chewy bliss.
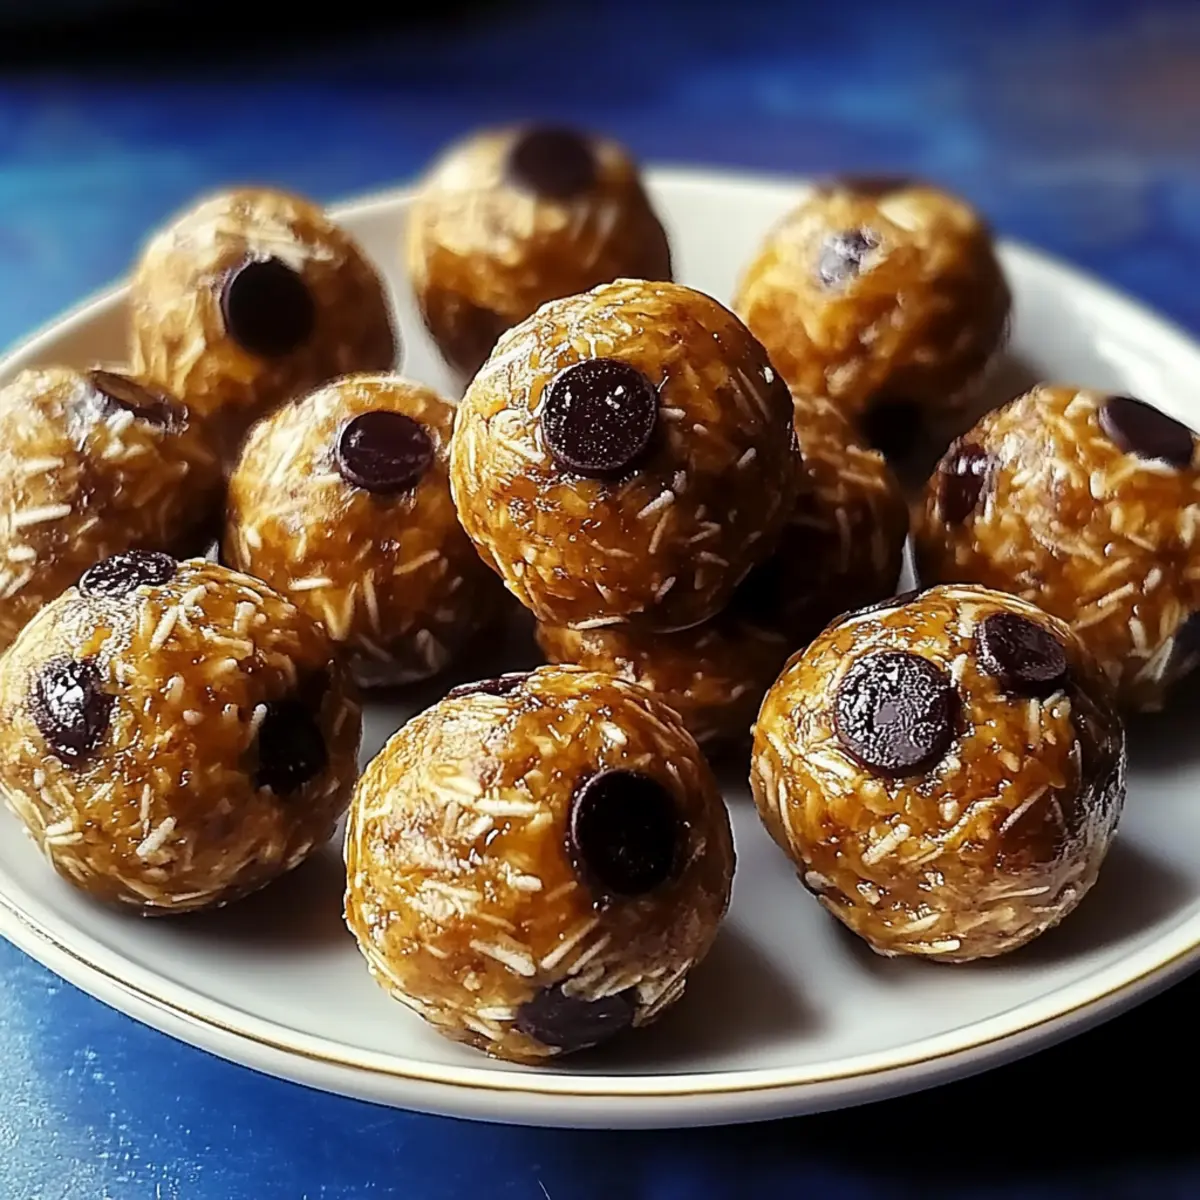
No-Bake Protein Balls Recipe FAQs
How do I choose the best oats for No-Bake Protein Balls?
Absolutely! For No-Bake Protein Balls, I recommend using old-fashioned oats as they provide the best chewy texture. Quick oats may become too mushy, affecting the final result. If you need a gluten-free option, ensure your oats are certified gluten-free.
What’s the best way to store No-Bake Protein Balls?
Very simple! Store your No-Bake Protein Balls in an airtight container in the refrigerator for up to 7 days. This keeps them fresh and chewy, making them perfect for a quick snack! If you’re planning to make a larger batch, freeze them for longer-lasting enjoyment.
Can I freeze No-Bake Protein Balls?
Definitely! To freeze, place the rolled protein balls on a parchment-lined baking sheet in a single layer and freeze for about 2 hours. Once firm, transfer them to a freezer-safe container or bag, ensuring to label them. They can stay fresh for up to 3 months! When you’re ready to enjoy, let them thaw overnight in the fridge or at room temperature for an hour.
What can I do if my No-Bake Protein Balls are too sticky?
Great question! If your mixture is too sticky and not forming well into balls, consider adding a bit more oats to absorb the extra moisture, or chill the mixture for a little longer. This helps the ingredients firm up and makes shaping easier.
Are there any dietary considerations I should keep in mind?
Absolutely! If you’re making No-Bake Protein Balls for kids, be cautious of allergies—like using nut butters. You can easily substitute peanut butter with sunflower seed butter or almond butter. For a vegan option, substitute honey with maple syrup! These swaps ensure everyone can enjoy this delicious and energizing snack without worry.
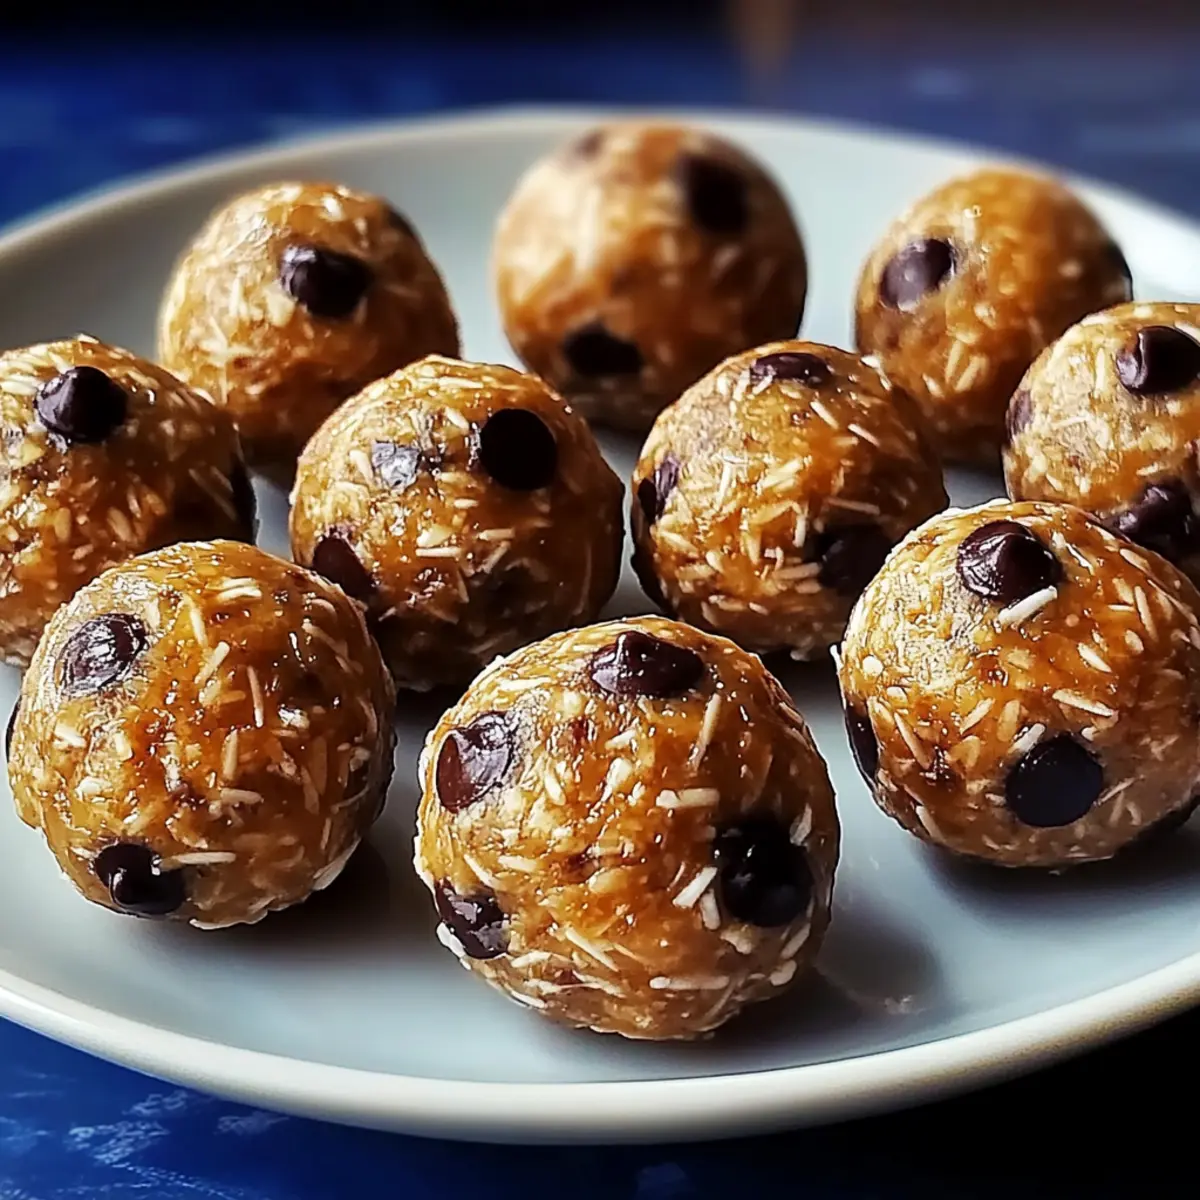
Easy No-Bake Protein Balls for a Healthy Snack Boost
Ingredients
Equipment
Method
- In a large mixing bowl, combine 2 cups of old-fashioned oats, 1 cup of peanut butter, 1/2 cup of honey, and 1 teaspoon of vanilla extract. Mix until sticky and fully blended.
- Gently fold in 1/2 cup of chocolate chips and 2 tablespoons of chia seeds into the mixture until evenly distributed.
- Cover the bowl with plastic wrap or a lid and refrigerate for 30 minutes to firm up the mixture.
- Scoop about 1 tablespoon of the mixture and roll it into a ball, placing each on a parchment-lined baking sheet.
- Transfer the rolled protein balls into an airtight container. Store them in the refrigerator for up to a week or freeze for up to three months.
Leave a Reply