
“You won’t believe how quickly these Crispy Chicken Parmesan Sliders come together—just 35 minutes! As soon as that first golden-brown slider reaches your plate, you’ll understand why they’re a go-to for busy weeknights and game nights alike. Packed with a satisfying crunch, savory marinara, and ooey-gooey mozzarella, this dish is sure to impress anyone at your table. Plus, they’re gluten-free, making them a perfect option for a variety of dietary needs. Whether it’s a cozy family dinner or an exciting gathering with friends, these sliders are the crowd-pleaser you’ve been searching for. Curious about the secret to achieving that crispy perfection? Let’s jump into the_recipe!”

What makes these sliders irresistible?
Crispy Texture: The golden-brown exterior provides that satisfying crunch that everyone loves!
Quick Preparation: Ready in just 35 minutes, these sliders fit perfectly into busy schedules.
Flavor-Packed: Layer upon layer of savory marinara and melty mozzarella creates a mouthwatering experience.
Gluten-Free Option: Easily swap in gluten-free buns to cater to every guest’s needs, making them a versatile choice.
Ideal for Gatherings: Perfect for parties or game nights, these sliders will impress and leave guests craving more!
For another crowd-pleasing favorite, try out my Garlic Parmesan Chicken—it’s just as quick and delicious!
Crispy Chicken Parmesan Sliders Ingredients
• Dive into the delicious world of crispy chicken with these essential ingredients!
For the Chicken
- Chicken Breast – The main protein source; feel free to substitute chicken thighs for extra juiciness.
- Salt & Pepper – Essential for seasoning; don’t skip this step for maximum flavor!
For the Coating
- Breadcrumbs – Offers that irresistible crispy texture; Italian-seasoned breadcrumbs can elevate the taste.
- Parmesan Cheese – Brings a nutty flavor to the mix; fresh grated is best for a vibrant taste.
- Olive Oil – Used for frying to achieve a golden crust; avocado oil is a great alternative if needed.
For Assembling
- Slider Buns – The sturdy base for your sliders; consider gluten-free buns for dietary needs.
- Marinara Sauce – Adds moisture and flavor; opt for homemade or store-bought, and a sprinkle of fresh basil is a lovely touch!
- Mozzarella Cheese – Melts beautifully for that creamy finish; fresh mozzarella works wonders for enhanced flavor.
Now you’re ready to create those Crispy Chicken Parmesan Sliders everyone will adore!
Step‑by‑Step Instructions for Crispy Chicken Parmesan Sliders
Step 1: Preheat the Oven
Begin by preheating your oven to 400°F (200°C) to ensure even cooking and perfect browning for the Crispy Chicken Parmesan Sliders. This will create a warm environment that melts the mozzarella beautifully while allowing the sliders to crisp up.
Step 2: Prepare the Coating Mix
In a large mixing bowl, combine your breadcrumbs, grated Parmesan cheese, salt, and pepper until thoroughly mixed. For added flavor, feel free to stir in a pinch of Italian herbs. This mixture will provide the necessary crispy coating that gives the chicken its delightful crunch.
Step 3: Coat the Chicken
Take your chicken breasts and slice them into slider-sized pieces. Then, coat each piece in the breadcrumb mixture, pressing firmly to ensure it adheres well. This step is crucial for achieving that golden crispiness in your Crispy Chicken Parmesan Sliders, so make sure each piece is well-coated.
Step 4: Cook the Chicken
Heat a few tablespoons of olive oil in a skillet over medium heat. Once the oil is shimmering, carefully place the coated chicken pieces in the skillet. Cook for about 3-4 minutes on each side, or until they turn a rich golden brown and are cooked through—about 165°F internally for safety.
Step 5: Assemble the Sliders
After the chicken is cooked, grab your slider buns and lay the golden-brown chicken on the bottom half. Next, generously drizzle marinara sauce over each piece, then add a slice of mozzarella cheese on top, creating a layering effect that is sure to impress.
Step 6: Bake the Sliders
Transfer the assembled sliders to a baking dish, placing them snugly together. Slide them into your preheated oven and bake for about 10 minutes. This will melt the mozzarella cheese and meld all the delicious flavors together, creating irresistibly crispy Chicken Parmesan Sliders.
Step 7: Serve and Enjoy
Once the sliders are melty and bubbly, carefully remove them from the oven. Let them cool slightly before serving to avoid burning your fingers. Serve warm, with extra marinara sauce on the side for dipping and enjoy the crowd-pleasing deliciousness of your Crispy Chicken Parmesan Sliders!
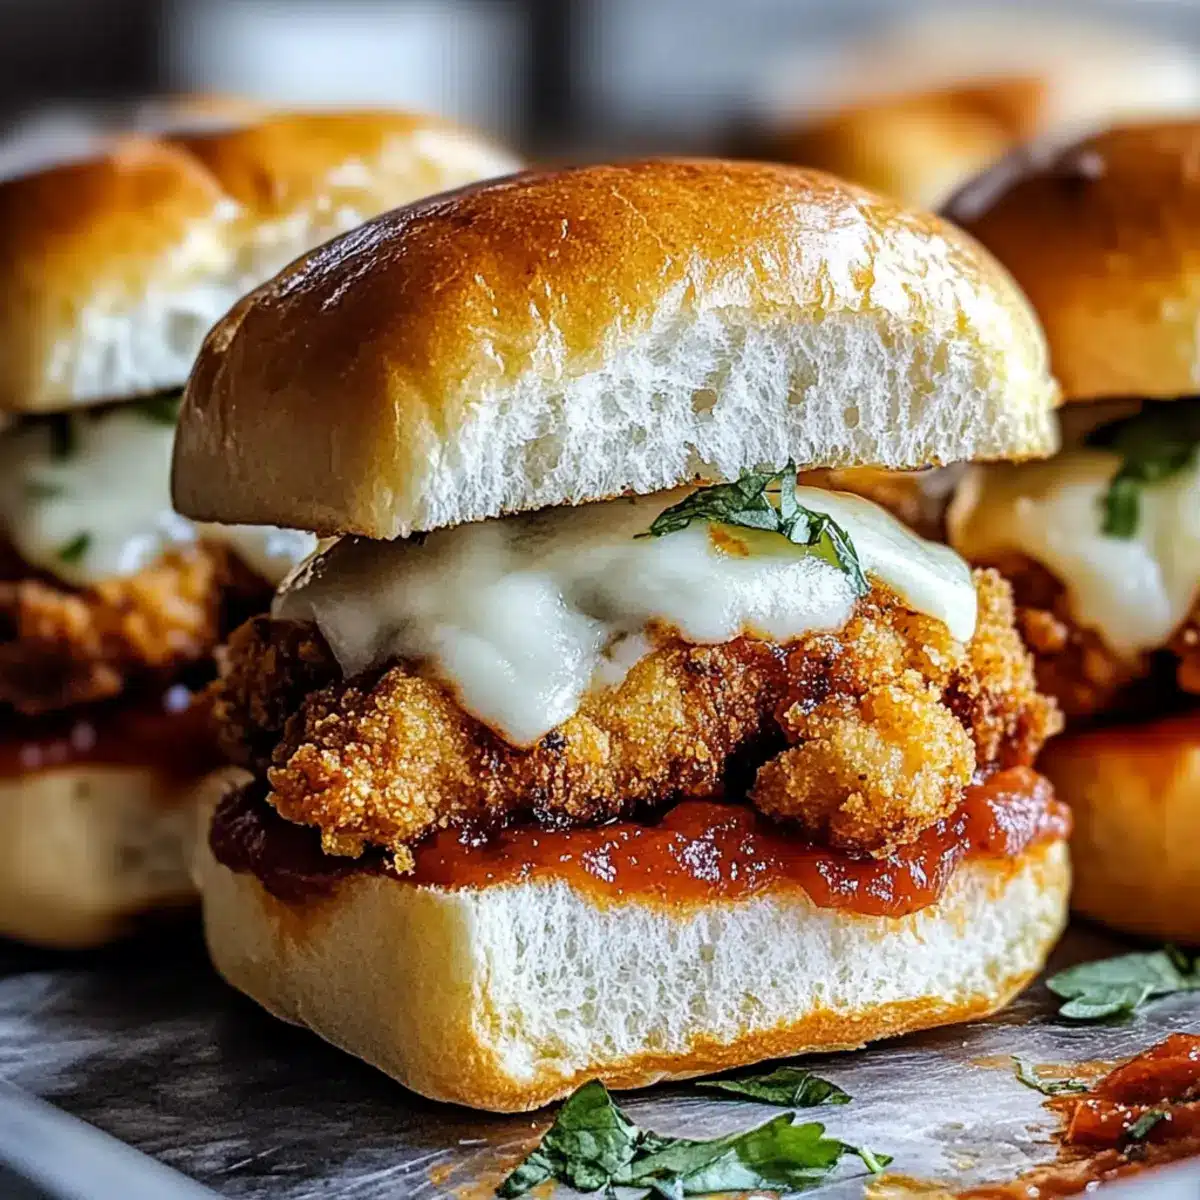
What to Serve with Crispy Chicken Parmesan Sliders
Elevate your meal with delightful pairings that balance flavors and textures beautifully.
- Fresh Garden Salad: A mix of crisp greens and vibrant veggies adds a refreshing crunch, cutting through the richness of the sliders.
- Sweet Potato Fries: These offer a sweet and savory contrast that complements the savory chicken perfectly, creating comfort food bliss.
- Garlic Bread: Toasty, buttery slices with a hint of garlic enhance the Italian vibe and add an irresistible crunch.
- Roasted Vegetables: Seasoned and caramelized, roasted vegetables provide a healthy and flavorful side that pairs wonderfully with the sliders.
- Pasta Salad: A chilled pasta salad with tangy dressing and fresh herbs creates a lovely contrast in temperature and flavor.
- Extra Marinara Sauce: Serve with a side of warm marinara for dipping, enhancing the flavors in each bite and keeping things saucy!
- Sparkling Water or Lemonade: A bubbly drink adds a refreshing zest, keeping your meal light and vibrant.
- Chocolate Chip Cookies: For dessert, these classic cookies bring sweetness and warmth, leaving everyone with a satisfied smile.
Crispy Chicken Parmesan Sliders Variations
Feel free to get creative and customize these Crispy Chicken Parmesan Sliders to suit your taste buds and dietary needs!
-
Chicken Thighs: Opt for juicy chicken thighs instead of breasts for a richer flavor and tender texture.
-
Gluten-Free Buns: Use gluten-free slider buns to ensure everyone can enjoy these delicious bites without worry.
-
Pesto Swap: Substitute marinara sauce with pesto for a fresh, herbaceous twist that adds vibrant flavor.
-
Spicy Kick: Spice things up by adding red pepper flakes to the breadcrumb mixture or tossing in jalapeños with the marinara.
-
Italian Herb Blend: Boost flavor by mixing dried oregano and basil into the breadcrumb coating, bringing a lovely Italian flair.
-
Cheese Variations: Try using provolone or a blend of Italian cheeses for a unique melting experience full of flavor.
-
Veggie Option: Create a vegetarian version by using eggplant slices instead of chicken, breading and frying them to crispy perfection.
-
Mini Sliders: For parties, cut smaller pieces of chicken and use cocktail buns for adorable, bite-sized sliders everyone will love.
For an additional flavor-packed inspiration, don’t miss out on my Garlic Parmesan Chicken—another surefire crowd-pleaser!
Storage Tips for Crispy Chicken Parmesan Sliders
Fridge: Store leftovers in an airtight container for up to 3 days. This keeps your Crispy Chicken Parmesan Sliders fresh while maintaining flavor.
Freezer: For longer storage, wrap individual sliders tightly in plastic wrap and then foil, freezing for up to 3 months. This is a great way to have a quick meal on hand!
Reheating: When ready to enjoy, reheat in the oven at 350°F (175°C) for about 10-15 minutes to restore the crispy texture. Avoid microwaving, as it can make the sliders soggy.
Make-Ahead: Assemble the sliders a day in advance and refrigerate them, then bake just before serving for easy entertaining!
Make Ahead Options
These Crispy Chicken Parmesan Sliders are fantastic for meal prep, allowing you to save time on busy weeknights! You can prep the chicken by coating it in the breadcrumb mixture and refrigerating it for up to 24 hours before cooking. Assemble the sliders with marinara sauce and mozzarella, then wrap them tightly in the fridge for maximum freshness, maintaining their deliciousness. When you’re ready to enjoy them, simply bake at 400°F (200°C) for about 10 minutes until the cheese is melty and bubbly. This way, you can serve warm, flavorful sliders with minimal effort—perfect for impressing guests or satisfying your family!
Expert Tips for Crispy Chicken Parmesan Sliders
- Coating Technique: Ensure the breadcrumb mixture is pressed firmly onto the chicken for optimal crispiness—this helps create that sought-after crunch.
- Check Doneness: Use a meat thermometer to ensure chicken reaches an internal temperature of 165°F for safe consumption and perfect juiciness.
- Make-Ahead Convenience: Prep the chicken and assemble sliders ahead of time, storing them in the refrigerator. Bake right before serving for an easy, stress-free experience.
- Heat Control: Cook the chicken on medium heat to avoid burning the breadcrumbs while ensuring the chicken cooks through completely.
- Ingredient Quality: Opt for freshly grated Parmesan and good-quality mozzarella for richer flavors in your Crispy Chicken Parmesan Sliders.
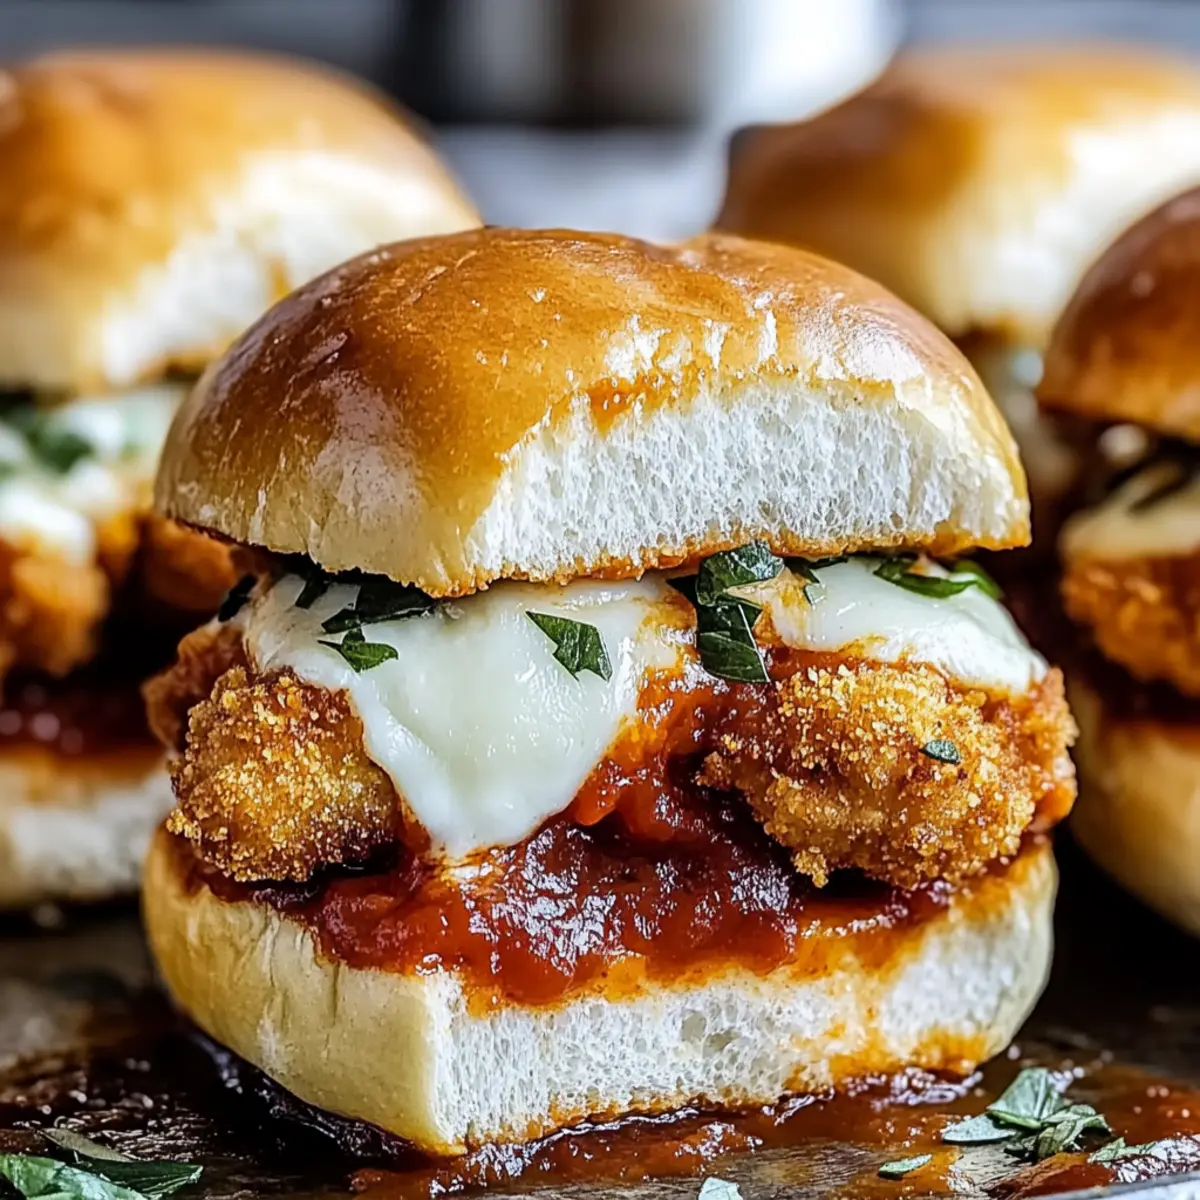
Crispy Chicken Parmesan Sliders Recipe FAQs
How do I choose the best chicken for my sliders?
Absolutely! For these Crispy Chicken Parmesan Sliders, I recommend using chicken breasts for a lean source of protein. However, substituting chicken thighs can add extra juiciness, creating a more flavorful slider. Aim for chicken pieces that are plump and firm, without any dark spots or unusual odor to ensure freshness.
What is the best way to store leftover sliders?
Very! To store your leftover Crispy Chicken Parmesan Sliders, place them in an airtight container in the refrigerator for up to 3 days. This will keep them fresh and flavorful! When ready to enjoy, simply reheat them in the oven at 350°F (175°C) for about 10-15 minutes until they’re warmed through and stay crispy.
Can I freeze these sliders, and how do I do it?
Of course! Freezing is a great way to save these sliders for later. Individually wrap each slider tightly in plastic wrap and then in aluminum foil to avoid freezer burn. They can be stored in the freezer for up to 3 months. When you’re ready to enjoy, just remove them from the freezer, unwrap, and reheat in the oven at 350°F (175°C) for 20-25 minutes until they’re heated through.
What should I do if my coating isn’t crispy?
If your coating isn’t achieving that perfect crunch, there are a couple of steps to check. First, ensure you’re pressing the breadcrumb mixture firmly onto the chicken. This adhesion is key to creating a crispy exterior. Secondly, cook the chicken in hot oil—around 350°F (175°C)—for 3-4 minutes per side to ensure a golden brown finish. Lastly, make sure the chicken isn’t crowded in the skillet, as this can lower the oil temperature and affect crispiness.
Are these sliders suitable for gluten-free diets?
Absolutely! You can easily make these Crispy Chicken Parmesan Sliders gluten-free by using gluten-free slider buns and gluten-free breadcrumbs. Just check the labels to ensure they meet your dietary needs. They’re delicious enough that everyone will enjoy them, regardless of dietary restrictions!
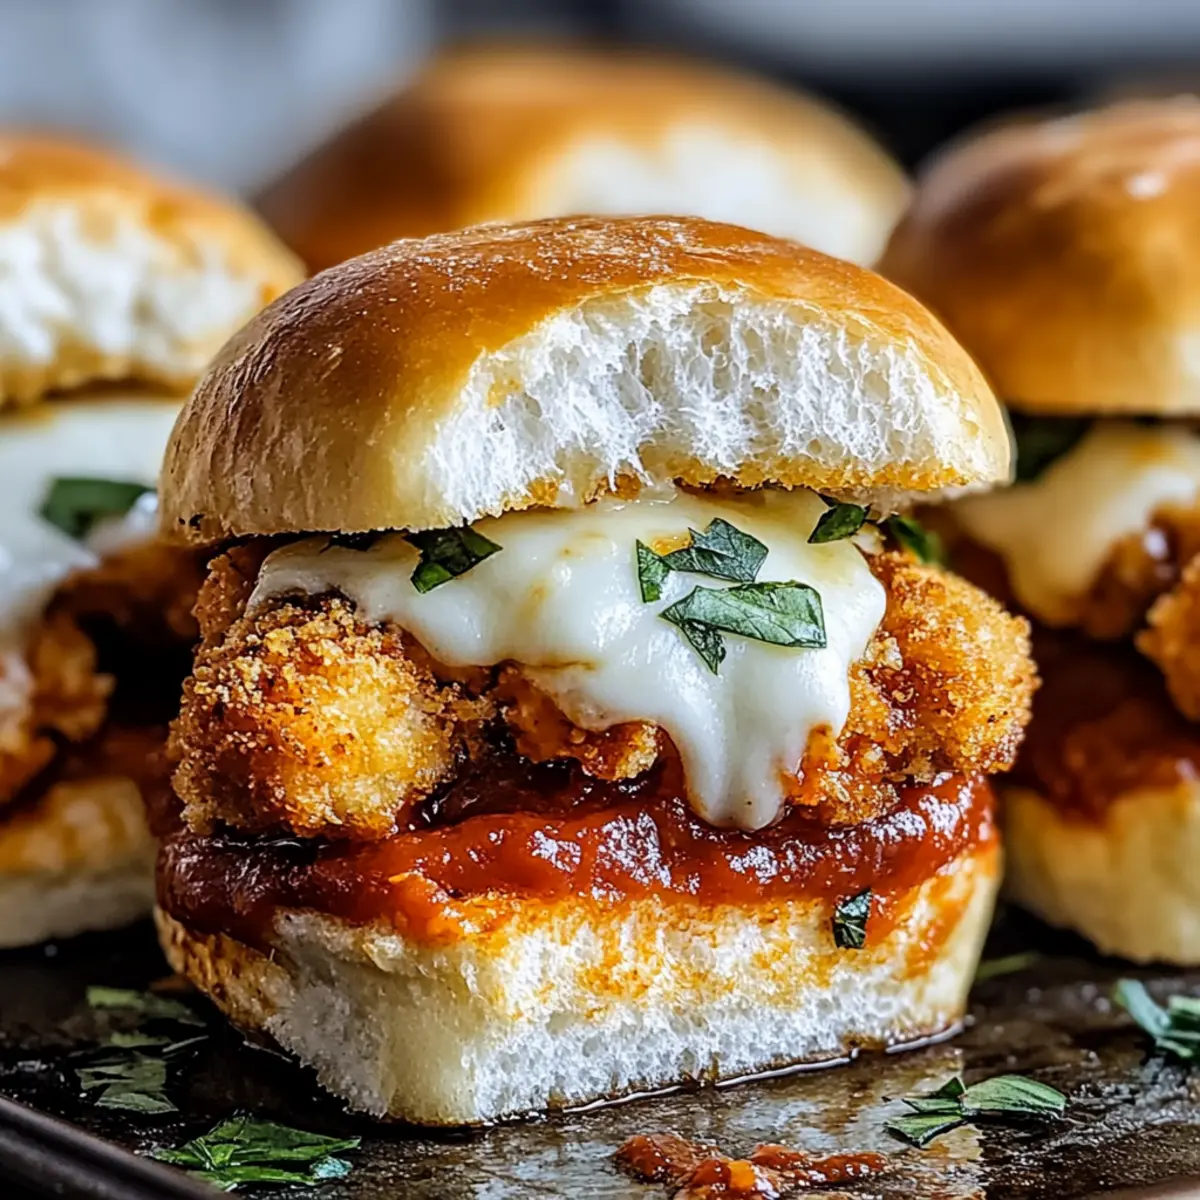
Crispy Chicken Parmesan Sliders for Effortless Entertaining
Ingredients
Equipment
Method
- Preheat your oven to 400°F (200°C).
- Combine breadcrumbs, grated Parmesan cheese, salt, and pepper in a large mixing bowl.
- Slice chicken breasts into slider-sized pieces and coat them in the breadcrumb mixture.
- Heat olive oil in a skillet over medium heat and cook coated chicken for about 3-4 minutes on each side until golden brown.
- Assemble sliders by laying chicken on the bottom half of the slider buns, drizzling marinara sauce over, and adding a slice of mozzarella on top.
- Bake assembled sliders in the preheated oven for about 10 minutes.
- Remove from oven, let cool slightly, serve warm with extra marinara sauce on the side.
Leave a Reply