
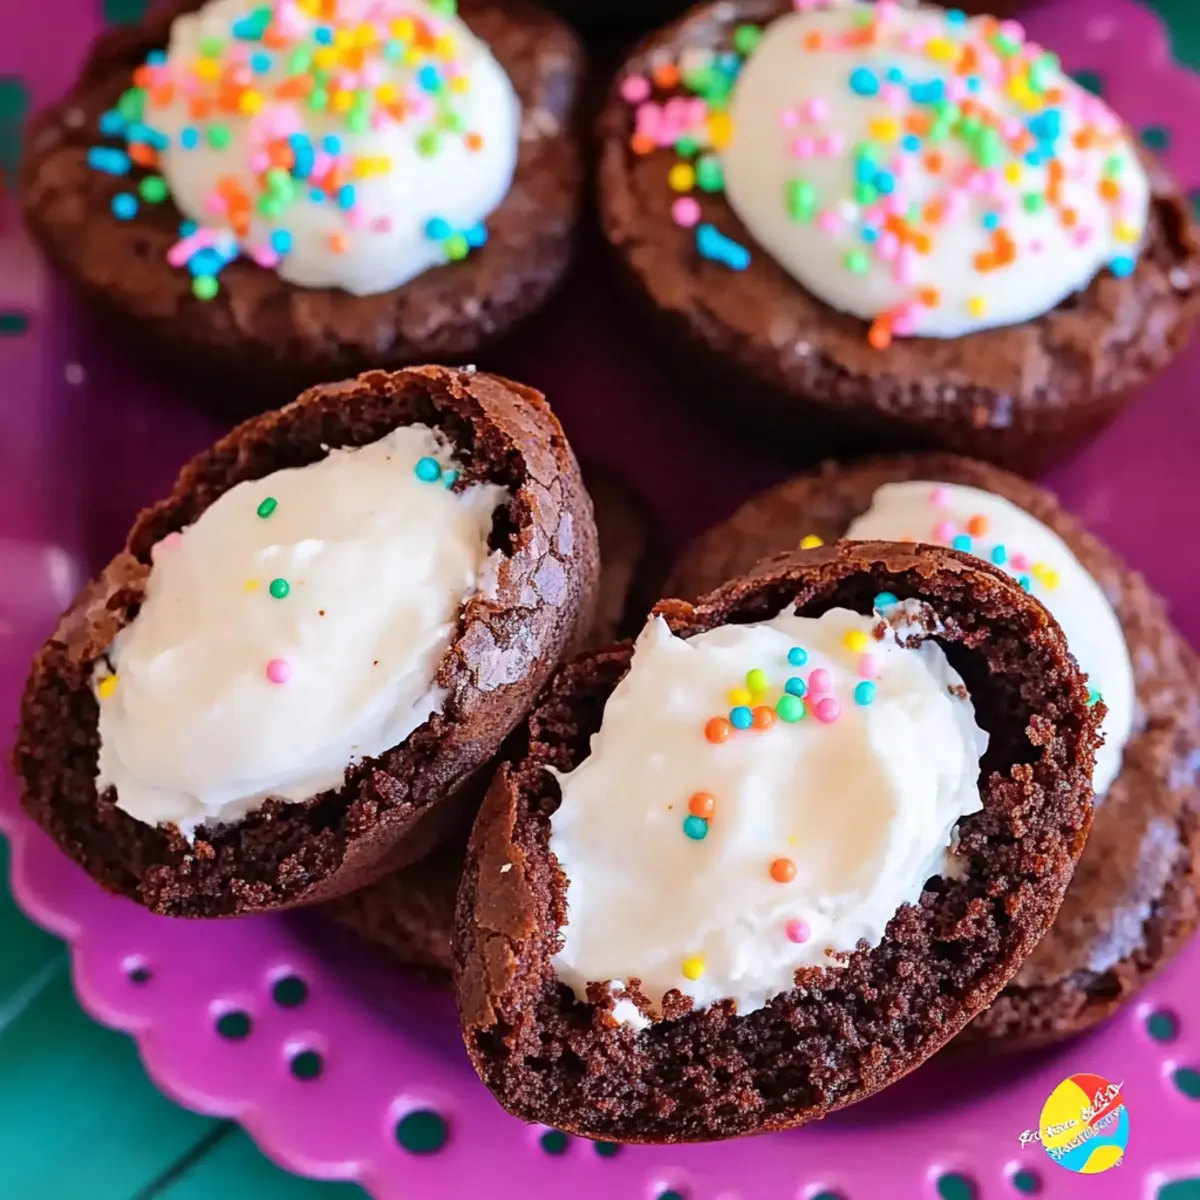
As I brought the vibrant shades of spring into my kitchen, I couldn’t help but feel joy at the thought of creating something special. Enter my Deviled Brownies: Easy Easter Egg-Shaped Treats with Cream Cheese Filling! With their delightful chocolate base and a unique, tangy filling, these brownies capture the essence of festive celebrations, making them perfect for Easter gatherings. The beauty of this recipe lies in its simplicity—using a box brownie mix means you can whip up these treats without the hassle, allowing you more time to enjoy the moments that matter. Plus, with a creamy, sweet marshmallow center, they strike the perfect balance between rich and refreshing. Are you ready to delight your taste buds and impress your loved ones with these whimsical creations? Let’s dive in and make some memories!
Why are Deviled Brownies a Must-Try?
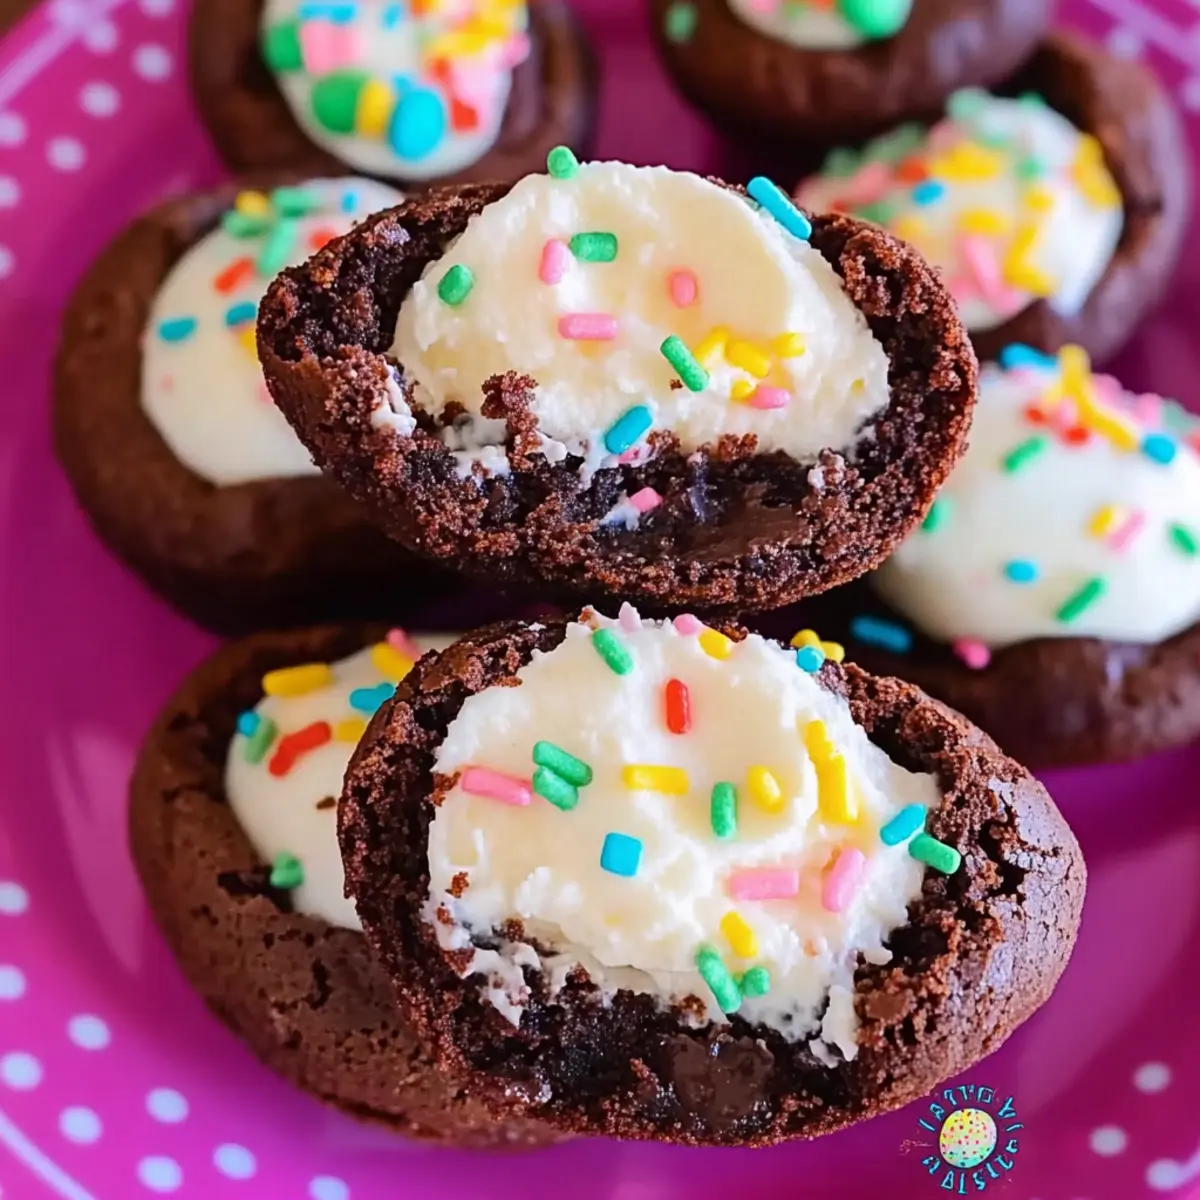
Irresistible Flavor: The combination of rich chocolate and tangy cream cheese filling creates a taste sensation that’s hard to resist.
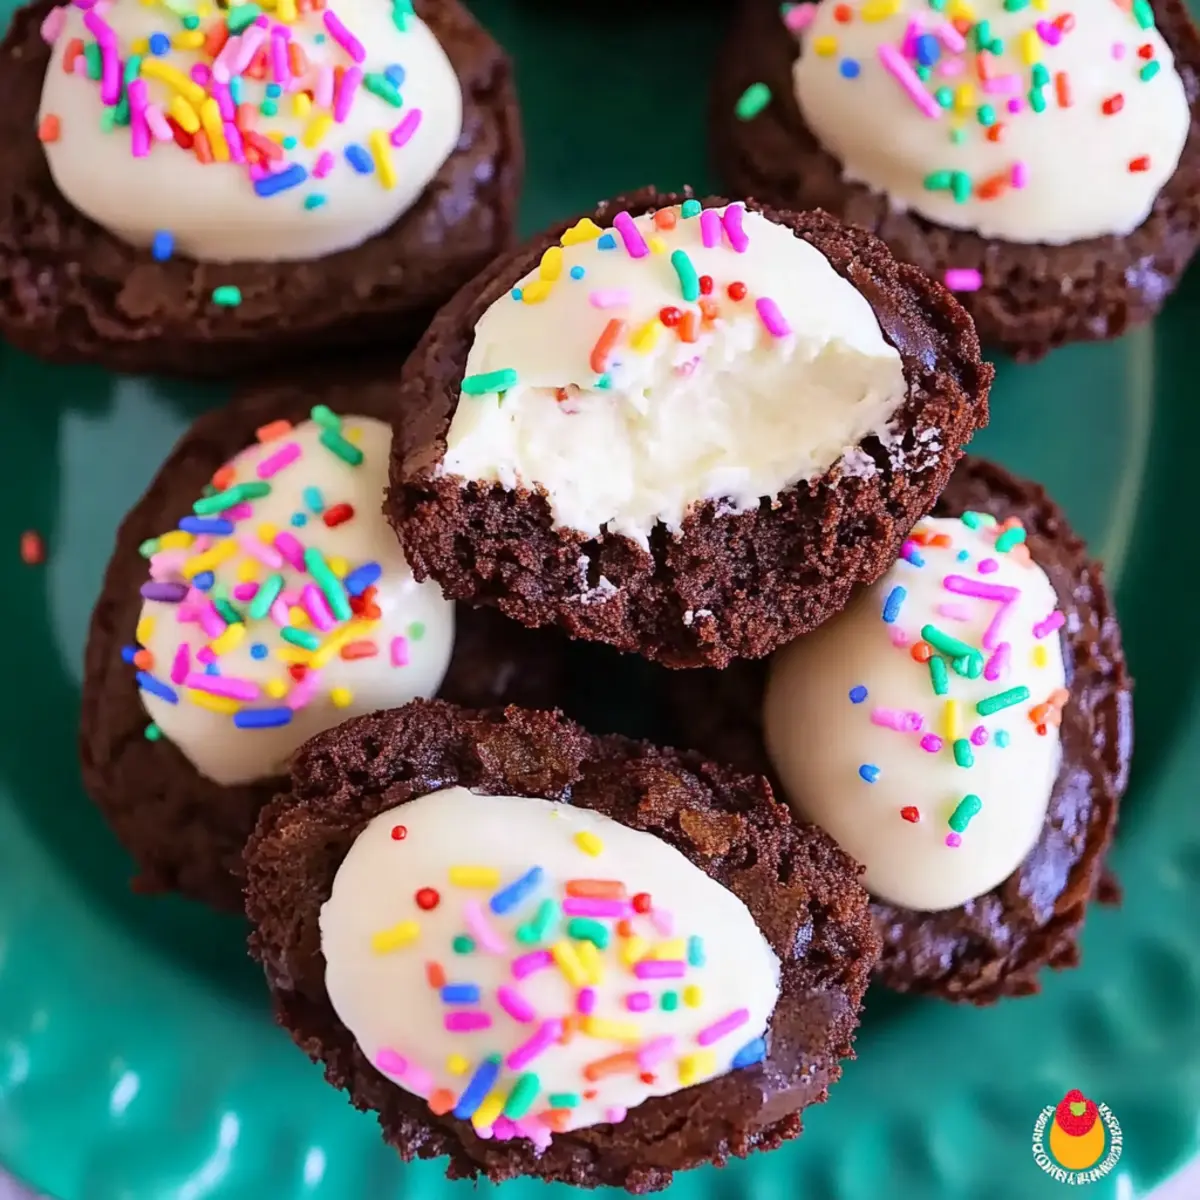
Festive Presentation: Shaped like adorable eggs, these treats are delightful for Easter celebrations. They’ll brighten any dessert table!
Quick and Easy: Made with a box brownie mix, you can have these delicious treats ready in no time.
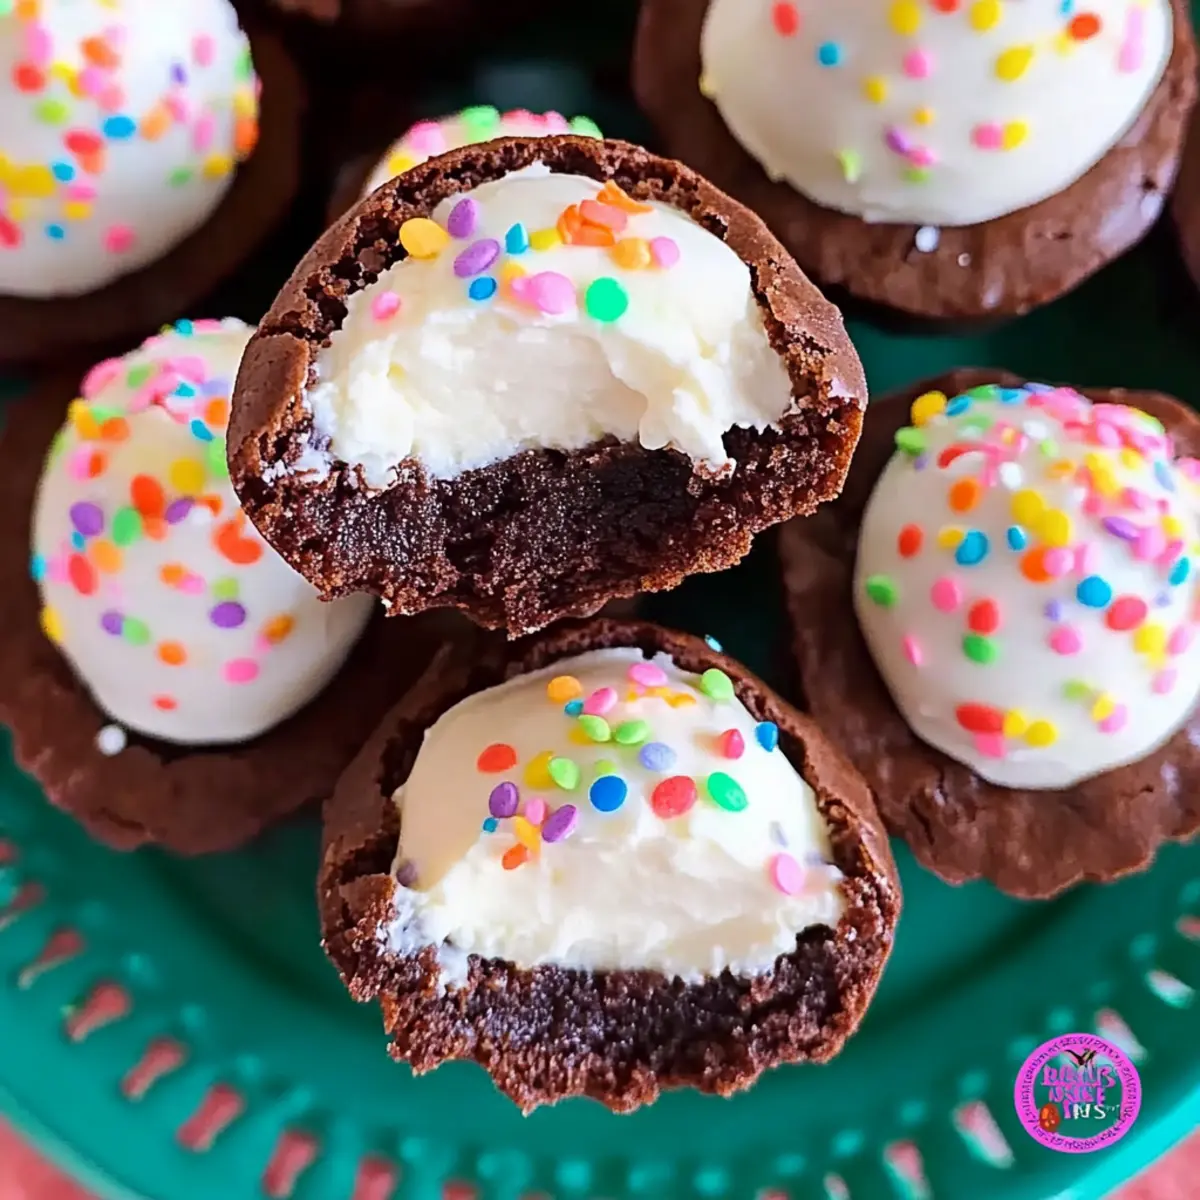
Crowd-Pleaser: Friends and family will love the surprising flavors and soft, gooey center—perfect for sharing at parties!
Versatile Options: Want to mix it up? Add in peanut butter or colorful food dye for unique variations that cater to everyone’s taste.
Deviled Brownies Ingredients
• For the Brownie Base
- Brownie Mix (18.3 oz) – Easy to use and forms the foundation of your deviled brownies.
- Eggs – Essential for binding the ingredients and achieving a fudgy texture.
- Water – Helps hydrate the brownie mix for a smooth batter.
- Oil – Adds moisture and richness to the brownies; vegetable oil is a great choice.
• For the Filling
- Cream Cheese (8 oz, softened) – Provides a creamy, tangy contrast to the chocolate; Greek yogurt is a light substitution.
- Marshmallow Cream (7 oz) – Adds sweetness and fluffiness to the filling, creating a delightful surprise inside.
• For Decoration
- Sprinkles (optional) – Adds a festive touch; wait to add them until just before serving to prevent bleeding.
These deviled brownies are sure to impress with their mouthwatering flavors and eye-catching presentation!
Step‑by‑Step Instructions for Deviled Brownies
Step 1: Preheat Oven
Start by preheating your oven to 350°F (175°C). This initial step ensures your oven is at the perfect temperature for baking when you’re ready to pop in the deviled brownies, so they cook evenly.
Step 2: Prepare Brownie Batter
In a mixing bowl, combine the brownie mix with the required water, oil, and eggs according to the package instructions. Use a whisk or spatula to blend these ingredients until smooth and well combined, which should take about 2-3 minutes. The batter should be thick and glossy.
Step 3: Fill Molds
Grease your egg-shaped silicone molds with cooking spray or a light layer of oil to prevent sticking. Using a spoon or a cookie scoop, carefully fill each cavity with about 2 tablespoons of brownie batter, leaving a little space at the top to allow for rising while baking.
Step 4: Bake
Carefully place the filled molds in the preheated oven and bake for 24-26 minutes. To check for doneness, insert a toothpick into the center of a brownie; it should come out clean or with a few moist crumbs. Keep an eye on them as they bake to avoid overcooking.
Step 5: Shape Brownies
After removing the molds from the oven, let them cool for about 10 minutes. While they’re still warm, gently press a half teaspoon into the center of each brownie to create a small divot. This will hold the cream cheese filling beautifully once cooled completely.
Step 6: Prepare Filling
In a separate mixing bowl, beat the softened cream cheese and marshmallow cream together with a hand mixer until the mixture is smooth and creamy, about 2-3 minutes. This will create a luscious filling for your deviled brownies that contrasts perfectly with the chocolate.
Step 7: Pipe Filling
Once the brownies have completely cooled, transfer the cream cheese mixture into a piping bag or a zip-top bag with a corner snipped off. Pipe the creamy filling into each divot carefully, filling them until they overflow slightly for a delightful presentation.
Step 8: Chill and Serve
To maintain the firmness of the filling, refrigerate the deviled brownies for at least 30 minutes before serving. This chilling step helps the filling set nicely, making them easier to serve and enjoy at gatherings.
Make Ahead Options
These Deviled Brownies are a fantastic choice for meal prep, perfect for those busy weeknights or festive occasions! You can prepare the brownie base up to 24 hours in advance—just bake, cool, and store them in an airtight container in the refrigerator. The cream cheese filling can also be prepped ahead and stored in the fridge for up to 3 days; simply beat the cream cheese and marshmallow cream together, then keep it sealed until you’re ready to pipe it into the brownies. When it’s time to serve, fill each divot with the chilled mixture and add sprinkles right before enjoying for a pop of color and sweetness. This way, you’ll have delicious, homemade desserts with minimal effort!
Expert Tips for Deviled Brownies
-
Cool Completely: Let the brownies cool fully in their molds before removing. This prevents breaks and keeps their shape intact.
-
Scoop Smart: Use a cookie scoop for consistent brownie sizes. This helps ensure even baking and a professional look to your deviled brownies.
-
Create Depth: When pressing the divot for filling, don’t be afraid to go deep—just be careful not to break through the bottom.
-
Don’t Skip Chilling: Refrigerate the filled brownies for at least 30 minutes before serving. This helps the filling set and enhances the flavor.
-
Sprinkle Wisely: Add sprinkles just before serving to maintain their vibrant color and crunch. Otherwise, they may bleed into the filling!
-
Storage Solution: Keep the brownies covered in the refrigerator to maintain freshness and keep that delicious cream cheese filling firm.
What to Serve with Deviled Brownies?
As you indulge in these decadent treats, consider complementing them with delightful pairings that enhance the experience.
-
Vanilla Ice Cream: The creamy, cool texture marries beautifully with the rich chocolate, creating a sublime contrast. A scoop alongside the brownies adds a classic dessert touch.
-
Fresh Berries: Strawberries or raspberries provide a refreshing burst of tartness that balances the sweetness. Their vibrant colors make your dessert table pop with spring flair!
-
Chocolate Ganache: Drizzling warm ganache over the brownies amplifies the chocolate flavor, adding another layer of richness. It’s an indulgence that chocolate lovers will adore!
-
Mint Chocolate Chip Cookies: This playful pairing introduces a complementary minty freshness that complements the brownie’s richness while adding crunchy texture.
-
Chilled Lemonade: A glass of tart and refreshing lemonade cuts through the sweetness of the brownies, leaving your palate delighted and refreshed!
-
Fruit Salad: A light and zesty fruit salad introduces a variety of colors and flavors, providing a refreshing contrast that brings a lightness to your dessert table.
-
Milk or Coffee: Classic drink options! The creaminess of milk or the bold flavors of coffee elevate the taste of the brownies, creating a comforting duo.
-
Pistachio Pudding: Serve this nutty pudding for a creamy and slightly salty contrast that plays nicely against the brownies’ sweetness. It’s a unique twist guests will love.
-
Chocolate-Covered Strawberries: For a luxurious touch, these treats mirror the rich chocolate of the brownies while adding a fresh bite—it’s a showstopper at any gathering!
Deviled Brownies Variations & Substitutions
Feel free to get creative with these delightful treats and tailor them to your taste preferences or dietary needs!
- Nut-Free: Swap out the cream cheese with a nut-free frosting or vegan cream cheese to ensure everyone can enjoy without worry.
- Gluten-Free: Use a gluten-free brownie mix instead of the standard mix for a gluten-free version that doesn’t skimp on flavor.
- Marshmallow-Free: Replace the marshmallow cream with whipped coconut cream for a lighter, dairy-free filling that still delivers sweetness.
- Flavorful Filling: Add a teaspoon of vanilla extract or almond extract to the cream cheese filling to enhance the luscious flavor.
- Chocolate Lovers: Mix in some chocolate chips or chunks into the brownie batter for extra decadence; the more chocolate, the merrier!
- Colorful Surprise: Enhance the cream cheese mixture with food coloring to create vibrant pastel shades perfect for Easter celebrations.
- Add Some Spice: Sprinkle in a dash of cinnamon or espresso powder to the brownie mix for a subtle flavor boost that makes each bite even more memorable, truly elevating your brownies!
Exploring these options can make the Deviled Brownies even more enticing and personal. And don’t forget, if you enjoy experimenting with fillings, why not try a lighter alternative with Greek yogurt instead of cream cheese? The realm of possibilities is vast!
Storage Tips for Deviled Brownies
Fridge: Keep deviled brownies covered in the refrigerator for up to 4 days. This helps maintain their freshness and keeps the creamy filling firm and delicious.
Freezer: For longer storage, place the brownies in an airtight container and freeze for up to 3 months. Thaw them in the fridge before serving for the best texture.
Reheating: If you prefer your brownies warm, gently reheat them in the microwave for about 10-15 seconds. Make sure not to overheat, so the filling stays creamy.
Presentation: If storing for a gathering, consider adding sprinkles just before serving to keep them vibrant and visually appealing!
Deviled Brownies Recipe FAQs
What type of brownie mix should I use?
Absolutely! You can use any standard box brownie mix for these deviled brownies. I recommend an 18.3 oz size for optimal results, but feel free to choose your favorite brand, as they all yield delicious chocolates.
How do I store leftover deviled brownies?
For the best freshness, keep your deviled brownies covered in the refrigerator for 3-4 days. This helps keep the creamy filling firm while maintaining the overall texture of the brownies. If you notice any dark spots or a change in smell, it’s best to discard them to ensure optimal taste.
Can I freeze deviled brownies?
Very! These brownies freeze beautifully. Simply place them in an airtight container or wrap them tightly in plastic wrap, then store them in the freezer for up to 3 months. When you’re ready to enjoy, thaw in the refrigerator for a few hours, and they’ll be just as delightful!
What if my brownies get stuck in the mold?
If your brownies are stuck, don’t panic! After baking, let them cool for about 10 minutes. Then, use a butter knife to gently run around the edges to loosen them. If they’re still resilient, place them in the freezer for about 15 minutes, and they should pop right out!
Are deviled brownies suitable for people with allergies?
It’s essential to check for possible allergens, as this recipe contains eggs and dairy. For a gluten-free option, try using a gluten-free brownie mix. If someone has a dairy allergy, consider substituting the cream cheese with vegan cream cheese or a whipped coconut cream for a similar flavor and texture.
Can I make these brownies in advance for a party?
Certainly! You can prepare these deviled brownies a day beforehand. After filling them, just keep them refrigerated. To keep them looking festive, add the sprinkles just before serving to maintain their color and crunch. Enjoy the extra time you’ll have before the big day!
Deviled Brownies: Irresistibly Creamy Easter Treats to Share
Ingredients
Equipment
Method
- Preheat your oven to 350°F (175°C) to ensure even baking.
- Combine brownie mix, water, oil, and eggs in a mixing bowl until smooth.
- Grease the egg-shaped silicone molds and fill each mold with about 2 tablespoons of brownie batter.
- Bake for 24-26 minutes, checking for doneness with a toothpick.
- Let them cool for 10 minutes, then create a divot in each brownie.
- Beat together cream cheese and marshmallow cream until smooth.
- Pipe the creamy filling into the divots of the brownies until they overflow slightly.
- Refrigerate for at least 30 minutes before serving to set the filling.
Leave a Reply