
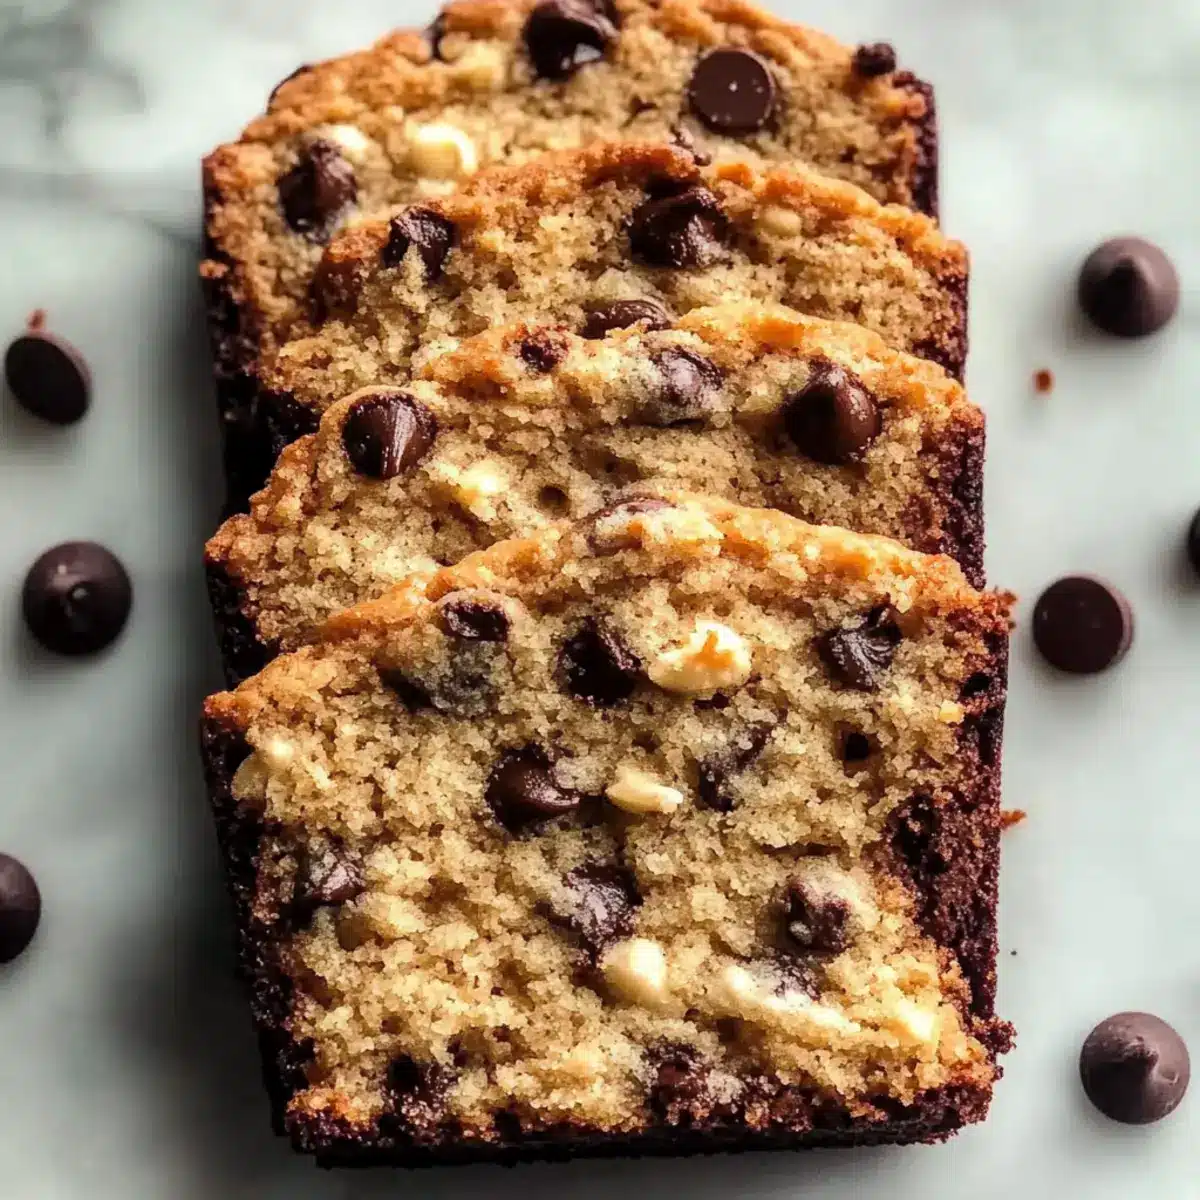
As I stood in my kitchen, the comforting aroma of warm cookies wrapped around me like a cozy blanket. That’s when I decided to whip up a batch of my 4-Ingredient Gluten-Free Chocolate Oat Cookies. Made with simple ingredients, these delightful treats take just half an hour from mixing bowl to plate! You won’t just savor their chewy texture and rich chocolate flavor; you’ll also revel in the satisfaction of enjoying a snack that’s not only gluten-free but customizable to your taste. Whether it’s a quick post-work treat or a sweet addition to your weekend brunch, these cookies will surely become a favorite in your household. What flavors will you choose to inspire your cookie creation today?
Why You’ll Love These Cookies
Simplicity at Its Best: With only four ingredients, these cookies come together in no time, making them perfect even for busy weeknights.
Chewy Delight: The combination of rolled oats and nut butter results in a luscious, chewy texture that’s incredibly satisfying.
Customizable Options: Feel free to experiment! Swap chocolate chips for dried fruits or nuts, or add a sprinkle of cinnamon for a unique twist.
Family-Friendly Fun: Everyone can join in! Kids will love shaping the cookies, while adults will appreciate their health-conscious ingredients.
Perfect Snack Moments: Whether paired with a cup of tea or enjoyed on their own, these cookies are ideal for any occasion!
Take a moment to consider pairing these with a refreshing glass of milk, just like you would with Banana Split Dump Cake for a classic treat you won’t forget!
Chocolate Oat Cookie Ingredients
For the Dough
- Rolled Oats – Add gluten-free certified oats to ensure these cookies remain gluten-free.
- Nut Butter (Peanut, Almond, or Cashew) – Use smooth nut butter for a creamy consistency that binds the dough together.
- Maple Syrup – This natural sweetener brings moisture and sweetness; honey can serve as a vegan alternative.
- Chocolate Chips – Choose dark chocolate chips for a rich flavor or swap for white chocolate for a sweeter treat.
Feel free to mix and match ingredients to suit your taste preferences, creating a customizable experience!
Step‑by‑Step Instructions for 4-Ingredient Gluten-Free Chocolate Oat Cookies
Step 1: Preheat and Prepare
Begin by preheating your oven to 350°F (175°C). While it warms up, line a baking sheet with parchment paper, ensuring an easy release for your cookies. The aroma of baking will soon fill your kitchen, creating cozy anticipation as you prepare to whip up these delightful 4-Ingredient Gluten-Free Chocolate Oat Cookies.
Step 2: Mix Wet Ingredients
In a mixing bowl, start by combining your chosen nut butter—peanut, almond, or cashew—with pure maple syrup. Stir them together until the mixture is smooth and creamy, taking about 1-2 minutes. This step creates a luscious base that binds your cookies together, ensuring each bite is satisfying and flavorful.
Step 3: Incorporate Oats
Now, add in the rolled oats, mixing them into the wet ingredients until fully combined. Use a sturdy spatula or spoon to ensure every oat is coated, which should take about another minute. This mixture will form the chewy foundation of your 4-Ingredient Gluten-Free Chocolate Oat Cookies, providing a hearty texture that you and your family will love.
Step 4: Fold in Chocolate Chips
Gently fold in the chocolate chips, distributing them evenly throughout the dough. This process allows the rich chocolatey goodness to be present in each cookie, adding to the overall indulgence. Take a moment to admire the lovely mixture of oats and chocolate before moving on to the next step.
Step 5: Shape the Cookies
Using a tablespoon or cookie scoop, scoop out portions of dough and place them on the prepared baking sheet, keeping about two inches of space between each mound. This spacing will ensure your cookies have room to spread as they bake. You’ll notice the dough is a bit sticky, but that’s exactly what you want for delightful, chewy cookies!
Step 6: Bake to Perfection
Place the baking sheet in the preheated oven and bake for 10-12 minutes. Keep an eye on them; you want the edges to turn golden brown while the centers look set. Once done, your kitchen will be enveloped in a warm, chocolatey scent, making your mouth water with anticipation for these 4-Ingredient Gluten-Free Chocolate Oat Cookies.
Step 7: Cool and Enjoy
After baking, allow the cookies to cool on the baking sheet for about 5 minutes. This resting period lets them firm up slightly, making them easier to transfer. Once cooled, move the cookies to a wire rack to cool completely. Now, they’re ready for a perfect pairing with a cup of tea or milk!
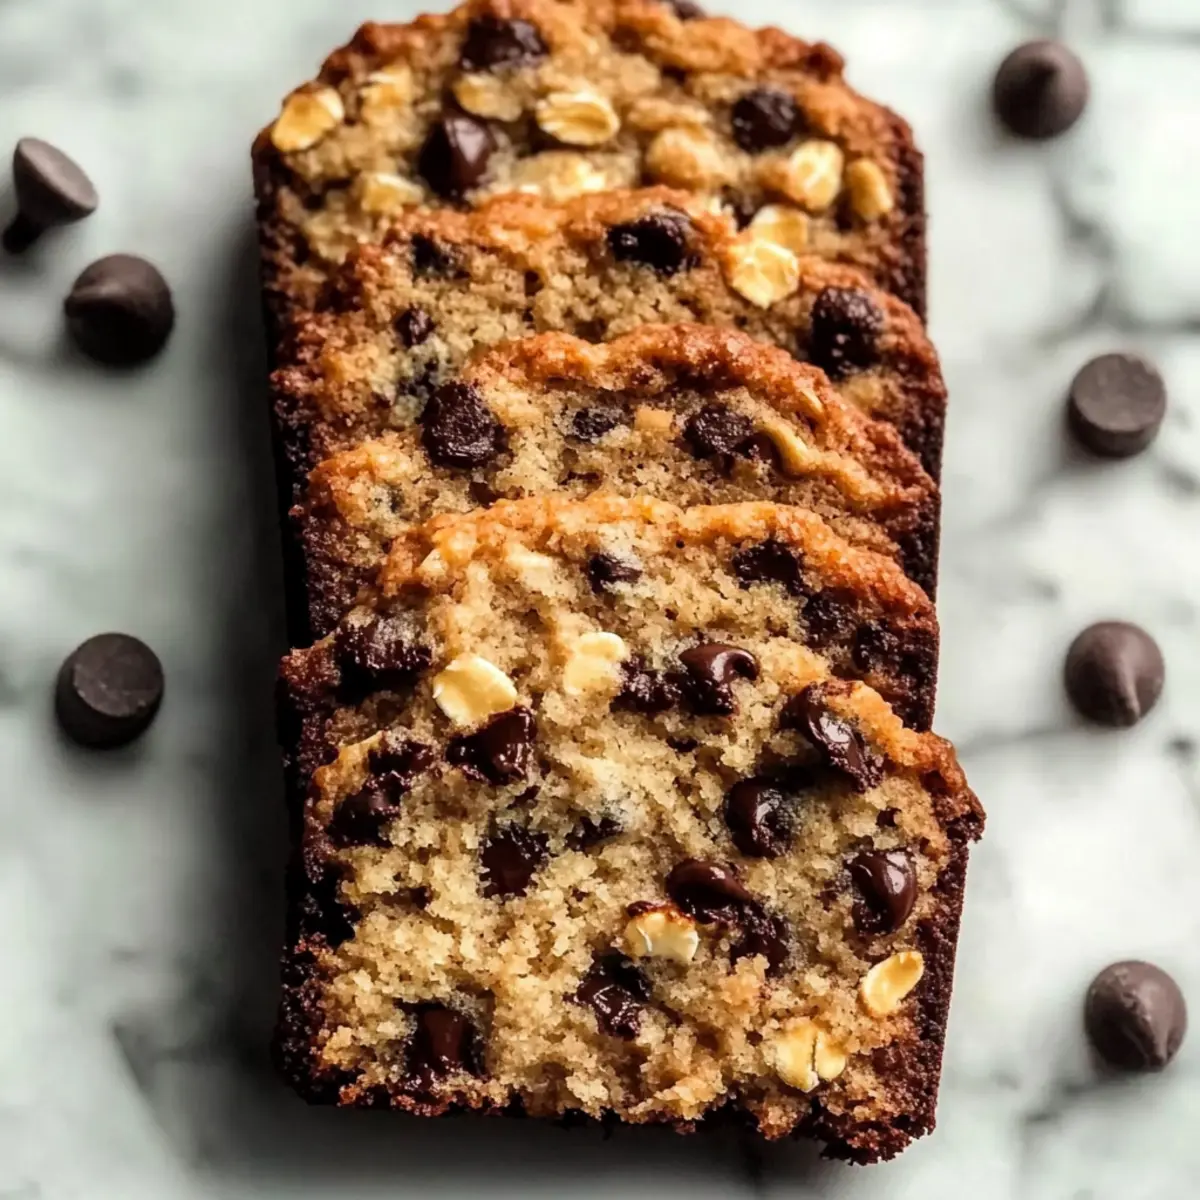
What to Serve with 4-Ingredient Gluten-Free Chocolate Oat Cookies
These delectable cookies are a lovely treat that can elevate any occasion, enticing both kids and adults alike.
-
Creamy Milk: Pair with a glass of cold almond or dairy milk that beautifully complements the cookie’s rich chocolate flavor and chewy texture.
-
Fresh Fruit Medley: Serve alongside a colorful assortment of sliced strawberries, bananas, or apples for a refreshing balance that enhances the sweetness of the cookies.
-
Nutty Granola: Crumble some nutty granola on top of yogurt as a delicious side. It adds a delightful crunch that contrasts with the soft, chewy cookies.
-
Coconut Whipped Cream: For a dessert twist, dollop light and airy coconut whipped cream atop each cookie. Its tropical essence pairs well, creating a mini treat.
-
Iced Coffee: Enjoy with a chilled cup of iced coffee or a mocha for a delightful pick-me-up, marrying rich chocolate flavors with coffee’s robust notes.
-
Chocolate Drizzle: Elevate your cookie experience by drizzling melted dark chocolate over the baked goods; it adds an extra layer of indulgence that’s hard to resist!
Encouraging everyone to gather around, these pairings not only complement but create cherished moments over delicious snacks that awaken smiles and joy.
How to Store and Freeze Chocolate Oat Cookies
Room Temperature: Store cookies in an airtight container at room temperature for up to 5 days to keep them fresh and chewy.
Fridge: For extended freshness, you can keep the cookies in the fridge for up to a week, but this may change their texture slightly.
Freezer: Freeze cookies in a single layer in a resealable bag or airtight container for up to 3 months. Ensure they are completely cool before freezing for the best texture.
Reheating: To enjoy your frozen chocolate oat cookies, simply reheat them in the microwave for 10-15 seconds or warm them in the oven at 350°F (175°C) for 5-7 minutes.
Make Ahead Options
These 4-Ingredient Gluten-Free Chocolate Oat Cookies are perfect for meal prep enthusiasts! You can mix the dough and scoop the cookies onto a baking sheet up to 24 hours in advance; simply cover the baking sheet with plastic wrap and refrigerate. This keeps the cookie dough fresh and makes your baking day a breeze! For longer storage, the cookie dough can be frozen for up to 3 months—just place the scooped dough in an airtight container or freezer bag. When you’re ready to bake, simply transfer the frozen cookies directly to a preheated oven without thawing, adding an extra minute or two to the baking time. Enjoy delicious cookies with minimal effort on busy days!
Variations for Chocolate Oat Cookies
Feel free to let your creativity shine as you customize these delightful cookies for your taste buds!
-
Nut-Free: Substitute nut butter with sunflower seed butter for a delicious, allergy-friendly alternative.
-
Vegan Delight: Use agave syrup instead of maple syrup to keep these cookies fully vegan without sacrificing flavor.
-
Fruit-Filled: Swap chocolate chips for dried fruits like cranberries or raisins for a chewier, fruity experience. Each bite will surprise you with a burst of sweetness!
-
Spiced Up: Add a teaspoon of cinnamon or nutmeg to the dough for warmth and a cozy aroma that fills your kitchen while baking.
-
Crunchy Twist: Incorporate chopped nuts like almonds or walnuts for added crunch and texture, inviting a nice contrast with the chewy oats.
-
Coconut Lover: Mix in shredded coconut for a tropical twist that adds chewiness and enhances the cookie’s flavor profile. It’ll feel like a beach getaway in every bite!
-
Chocolate Lovers: Use dark chocolate chunks instead of chips for a richer cocoa experience, bringing a deeper chocolate flavor that will leave you wanting more.
If you’re feeling adventurous, consider enjoying these cookies with a scoop of ice cream, just like with a slice of White German Chocolate or crumble them over your favorite yogurt as a crunchy topping!
Expert Tips for 4-Ingredient Gluten-Free Chocolate Oat Cookies
Smooth Nut Butter: Ensure the nut butter you use is creamy and smooth, avoiding chunky varieties for an even dough consistency.
Watch the Bake Time: Do not overbake your cookies; they’re perfect when the edges are golden and centers slightly soft, as they will firm up while cooling.
Pinch of Flavor: For an extra depth of flavor, consider adding a pinch of salt or a splash of vanilla extract to the dough before folding in the chocolate chips.
Customize Wisely: Feel free to swap chocolate chips with your favorite mix-ins, such as dried fruits, ensuring you maintain a balanced texture.
Chilling the Dough: If the dough seems a bit sticky, chilling it for about 10-15 minutes before shaping can make it easier to handle without losing chewiness.
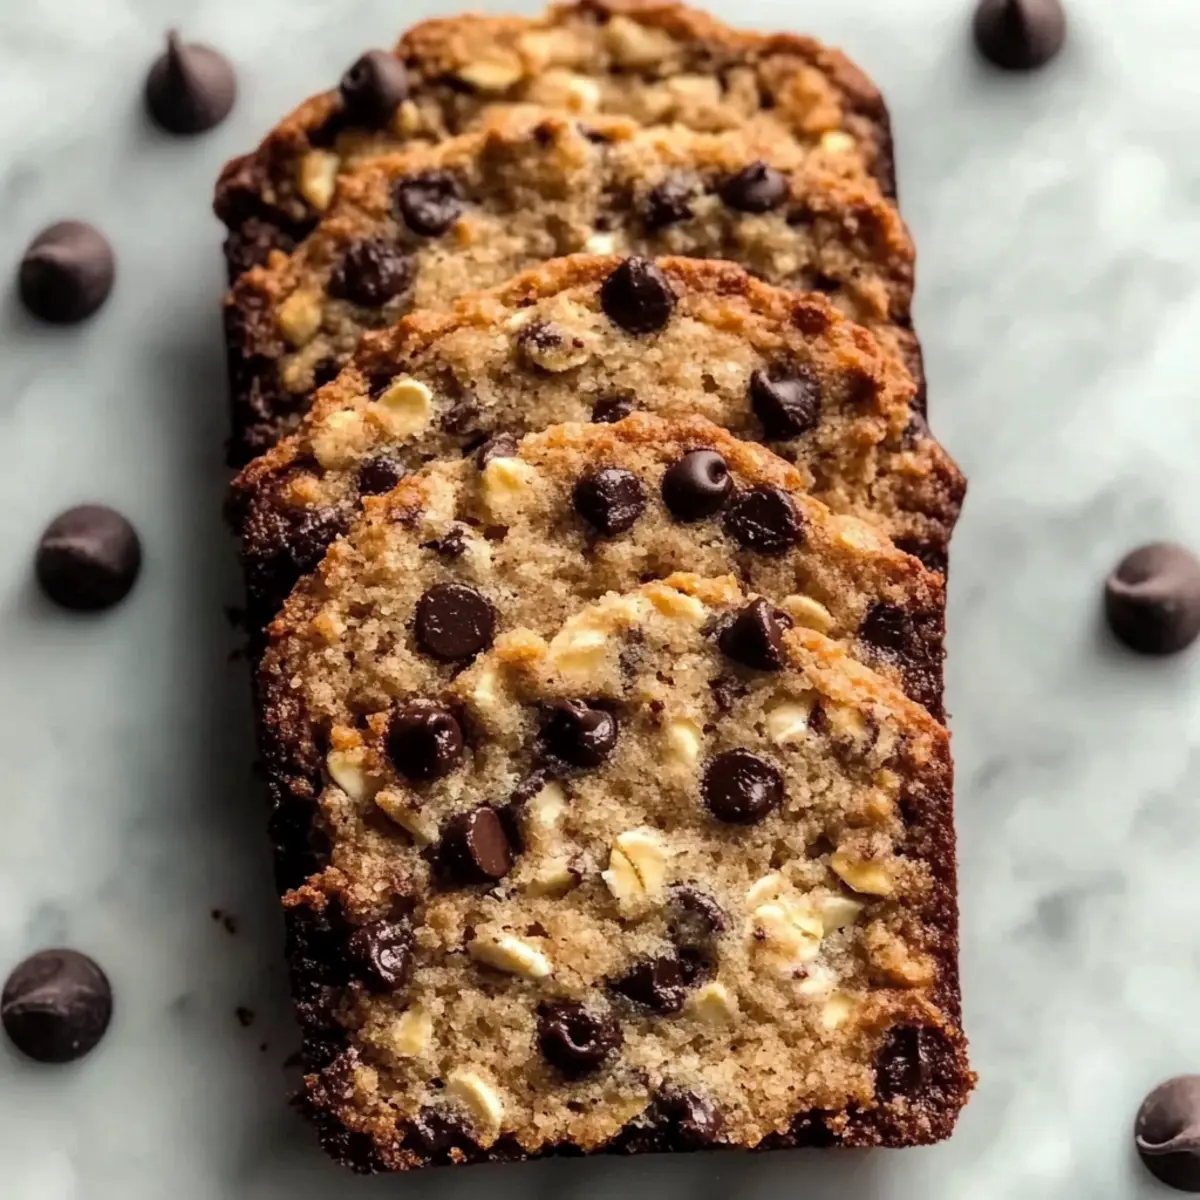
Chocolate Oat Cookies Recipe FAQs
How do I choose the right oats for this recipe?
Absolutely! For gluten-free chocolate oat cookies, make sure to select gluten-free certified rolled oats. This ensures that no gluten cross-contamination occurs, making your cookies safe for those with gluten sensitivities. If you can’t find certified oats, regular rolled oats will work for those without gluten concerns.
What’s the best way to store leftover cookies?
Very! To keep your cookies fresh for up to 5 days, store them in an airtight container at room temperature. If you want to maintain their chewy texture, avoid refrigeration. For longer storage, simply place your cookies in the fridge for up to a week, though this might slightly alter their delightful chewiness.
Can I freeze my chocolate oat cookies?
Absolutely! Freezing is an excellent way to preserve your cookies. Allow them to cool completely, then arrange the cookies in a single layer on a baking sheet. Freeze for about 1 hour until solid, then transfer them to a resealable bag or airtight container. They can last up to 3 months in the freezer. When you’re ready to enjoy, just reheat in the microwave for 10-15 seconds or warm them in the oven at 350°F (175°C) for 5-7 minutes.
What if I don’t have nut butter? Can I use something else?
Very! If you don’t have nut butter available, you can substitute it with sunbutter or tahini for a nut-free option. Just keep in mind that this will alter the flavor profile slightly, but it will still yield a delicious cookie! You can also use a thick cream cheese or yogurt, which provides moisture and flavor as well.
Are there any allergens I should be aware of with this recipe?
Definitely! Besides potential nut allergies from the nut butter, this recipe is generally safe. However, when using chocolate chips, check for dairy content if you’re making these cookies vegan. Opt for dairy-free chocolate chips to maintain a vegan chocolate chip banana bread experience. Always check labels for allergens if serving to others.
Can I customize the flavors in my cookies?
Absolutely! Feel free to get creative—add in your favorite mix-ins like dried fruits, seeds, or nuts. You can also add a splash of vanilla extract or a pinch of cinnamon for extra warmth. The beauty of this recipe lies in its versatility, allowing you to create a cookie that’s uniquely yours every time!
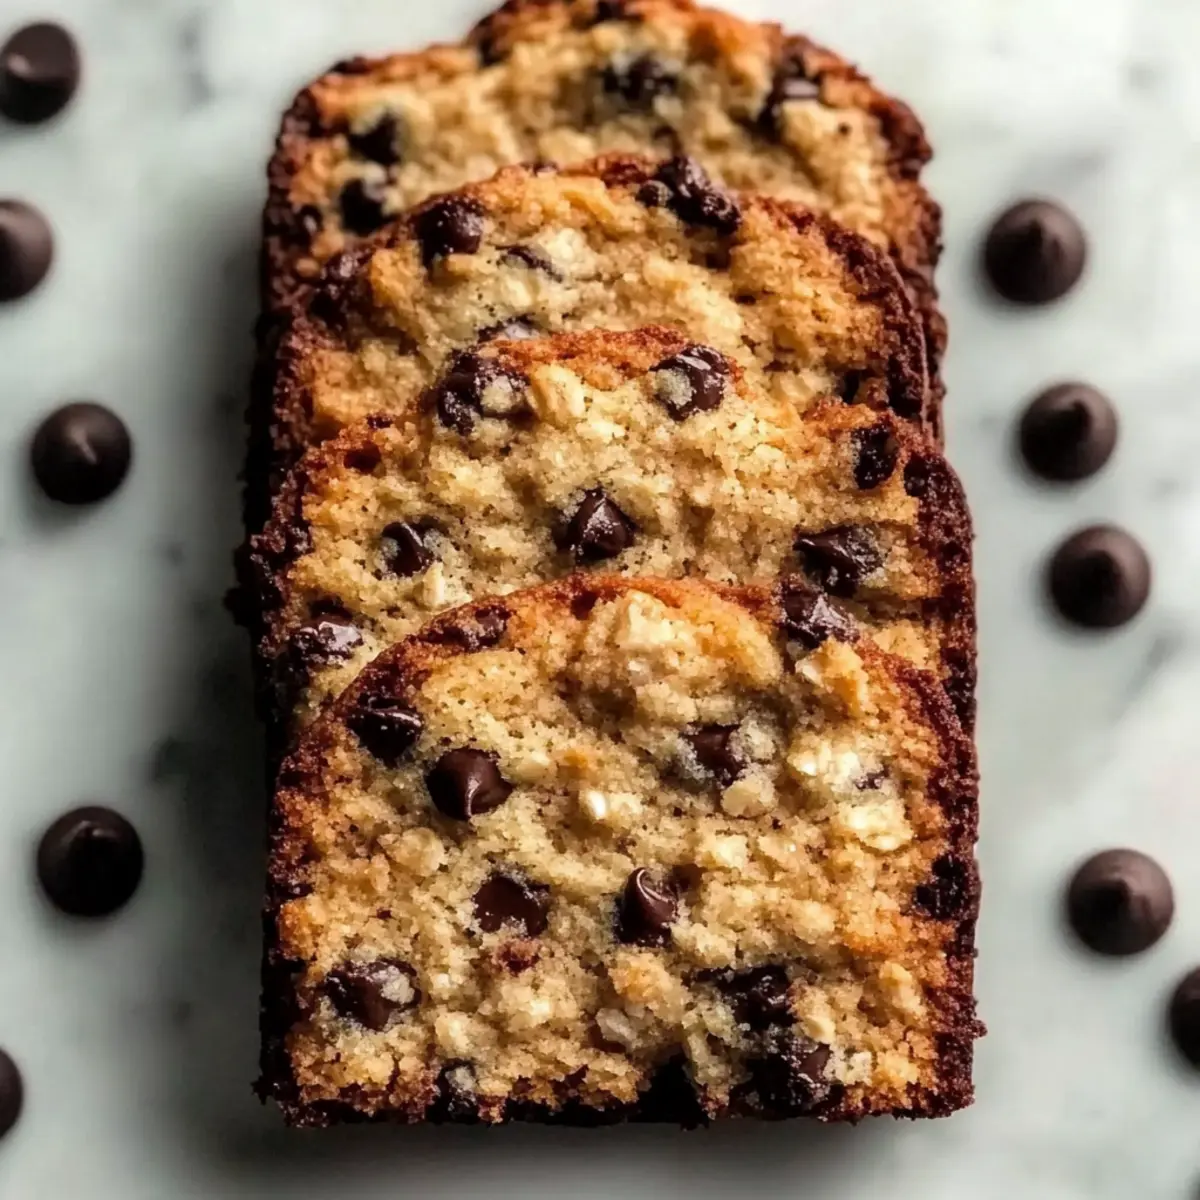
Vegan Chocolate Chip Banana Bread That Will Delight You
Ingredients
Equipment
Method
- Preheat your oven to 350°F (175°C) and line a baking sheet with parchment paper.
- Mix nut butter with maple syrup until smooth and creamy, about 1-2 minutes.
- Add rolled oats and mix until fully incorporated, using a spatula.
- Gently fold in chocolate chips until evenly distributed in the dough.
- Scoop portions of dough onto the baking sheet, spaced about two inches apart.
- Bake for 10-12 minutes, until edges are golden brown and centers are set.
- Cool on the baking sheet for 5 minutes before transferring to a wire rack.
Leave a Reply