
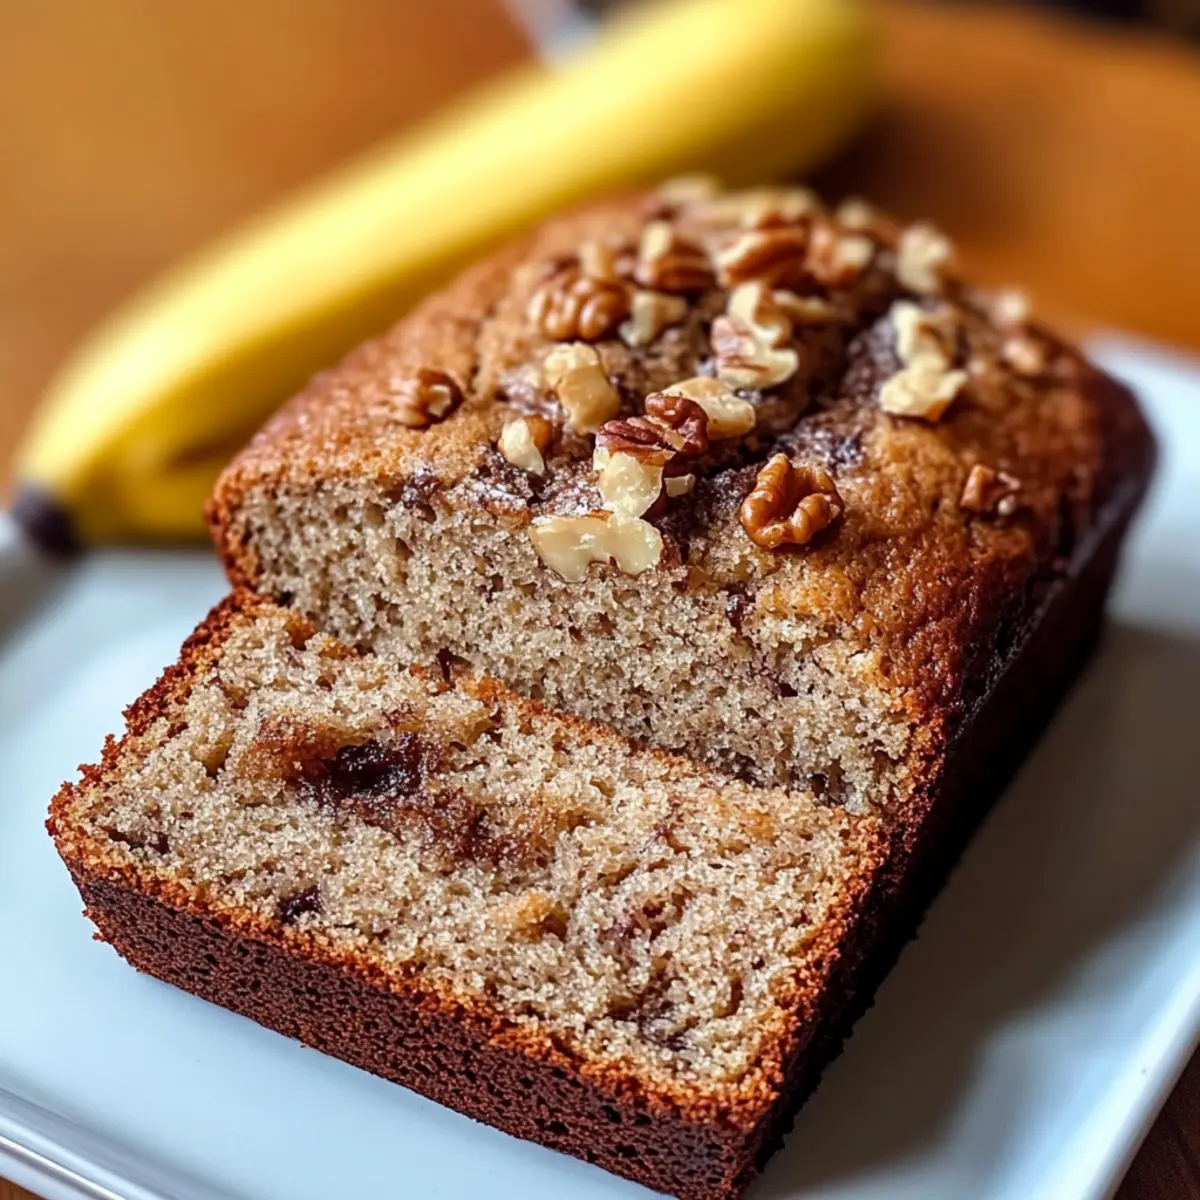
As I stood in my kitchen, the heavenly scent of freshly baked bread enveloped me, taking me back to my grandmother’s cozy home. This Simple Homemade Banana Nut Bread recipe brings together the rich sweetness of ripe bananas with the delightful crunch of nuts, creating a comforting loaf that’s perfect for any time of day. What I love most is its versatility—whether you enjoy it fresh from the oven as a breakfast treat or as an afternoon snack, this recipe is quick, easy, and made with simple pantry ingredients. Plus, if you’re feeling adventurous, you can easily adapt it by swapping nuts or adding a dash of chocolate chips for an irresistible twist. Curious to create this warm hug of a bread? Let’s get started!
Why is This Banana Nut Bread Special?
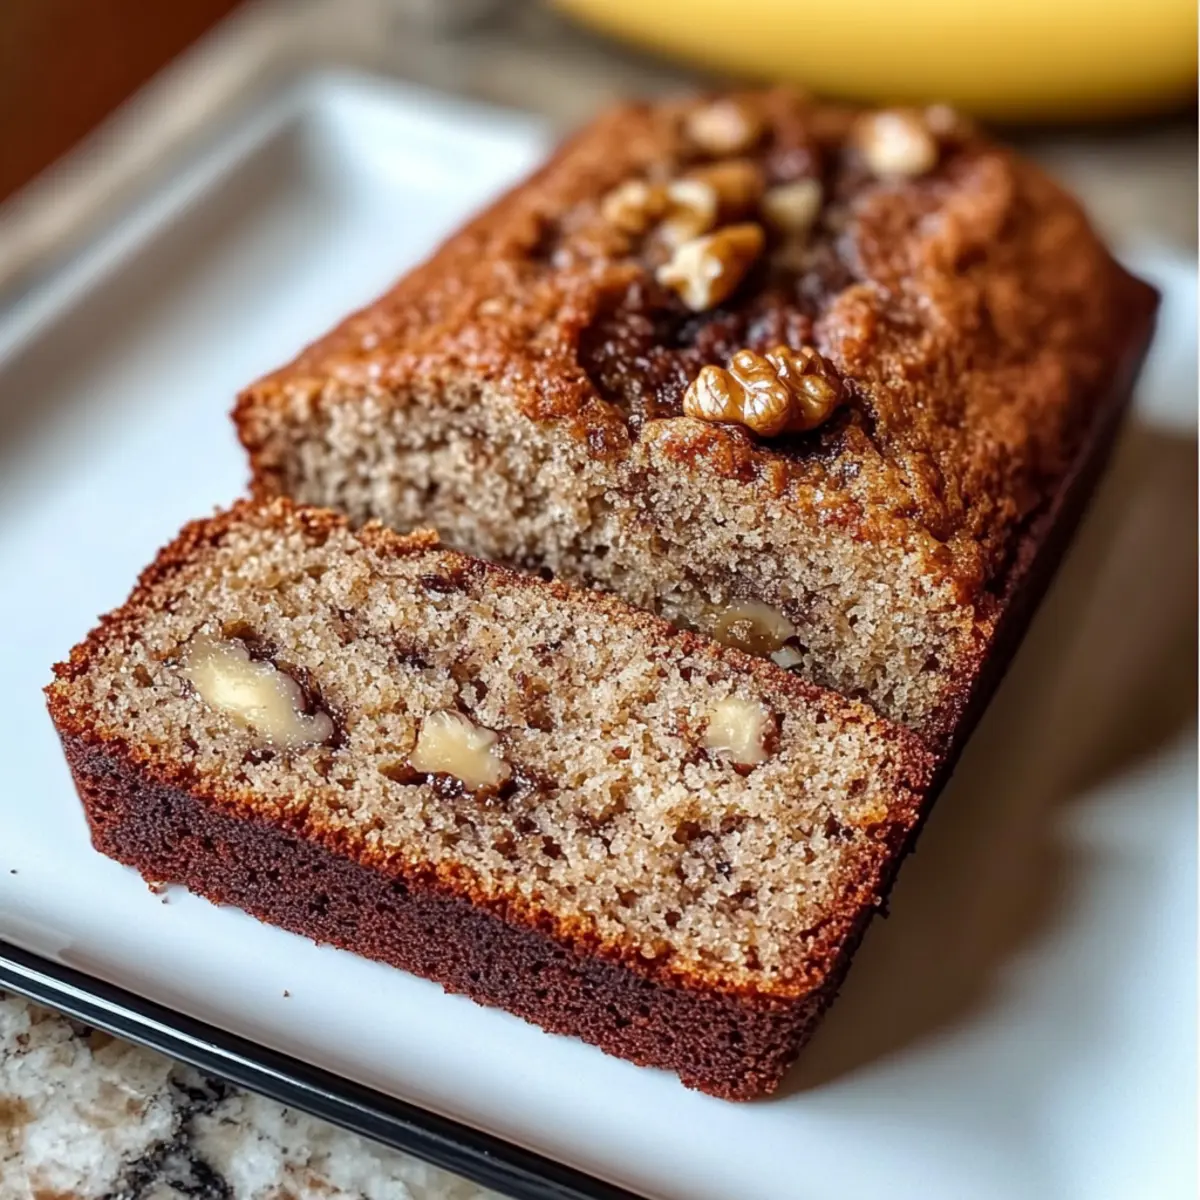
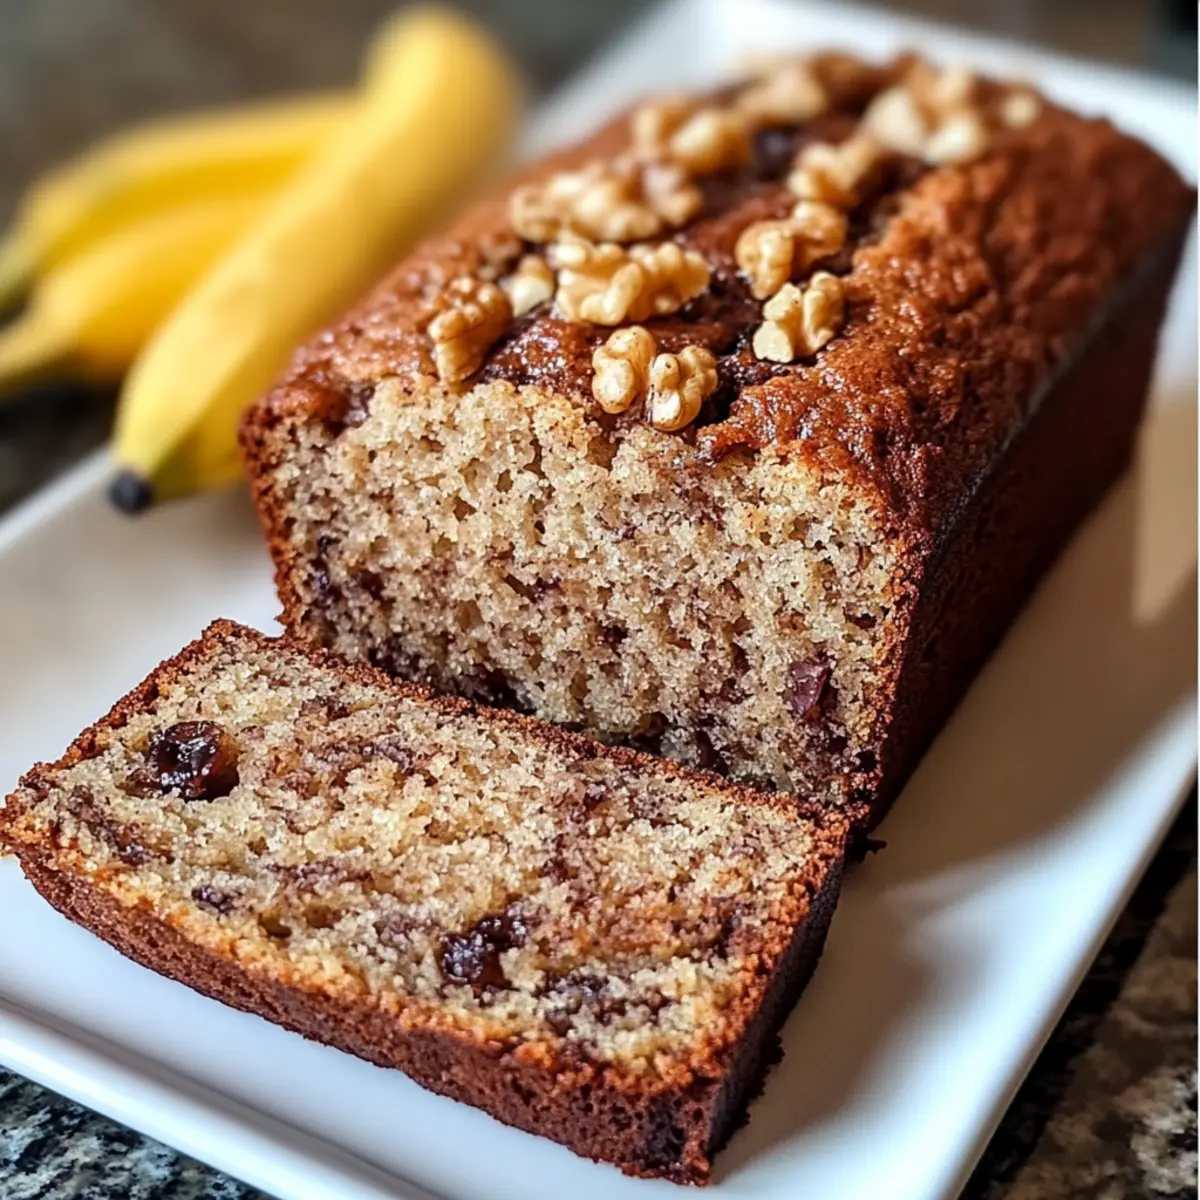
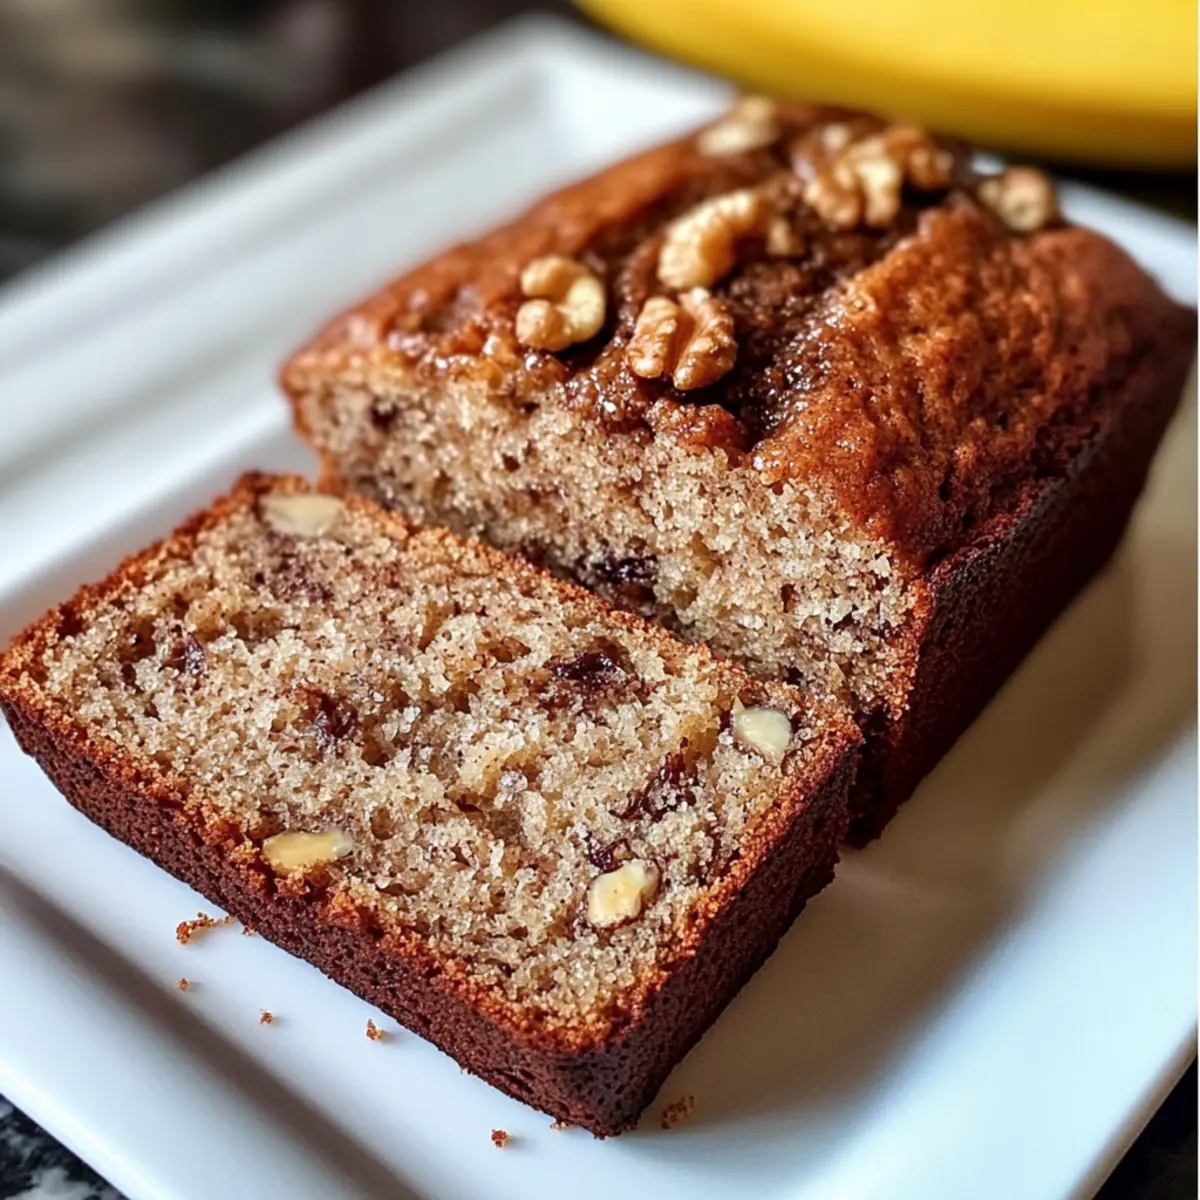
Moist, Fluffy Delight: Every bite of this Simple Homemade Banana Nut Bread is a melt-in-your-mouth experience that signifies comfort food at its best.
Quick and Easy: With common pantry staples, this recipe can be whipped up in no time—perfect for those busy mornings or spontaneous snack cravings.
Versatile Options: Feel free to customize your loaf by adding chocolate chips, or if you prefer a nut-free version, simply omit the nuts for a deliciously smooth texture.
Crowd-Pleasing Flavor: Whether served warm at breakfast or as a cozy afternoon treat, it’s a guaranteed favorite among family and friends.
Budget-Friendly: This banana bread is not only delicious but also budget-conscious, allowing you to enjoy homemade goodness without breaking the bank.
For more ideas on comforting and delightful breads, check out our Tortilla Garlic Bread and Sugar Donut Bread. Enjoy baking!
Simple Homemade Banana Nut Bread Ingredients
For the Batter
- Ripe Bananas – Provides natural sweetness and moisture; use overripe bananas for best flavor.
- Granulated Sugar – Adds sweetness; adjust based on preference and use less for a less sweet loaf.
- Brown Sugar – Contributes to the moisture and a deeper flavor profile; use light or dark based on your taste.
- Egg – Binds ingredients, adding richness; can substitute with a flax egg for a vegan option.
- All-Purpose Flour – Provides structure to the bread; whole wheat flour can be used for a denser texture.
- Baking Soda – Essential for leavening; ensure it’s fresh for proper effectiveness.
- Salt – Enhances overall flavor; important for balancing the sweetness.
For the Nuts
- Chopped Nuts (Walnuts or Pecans) – Adds crunch and flavor; toast lightly for depth; can be omitted for a nut-free version.
For the Fat
- Unsalted Butter – Adds richness and moisture; melted coconut oil can be used for a dairy-free option.
Step‑by‑Step Instructions for Simple Homemade Banana Nut Bread
Step 1: Preheat the Oven and Prepare the Pan
Begin by preheating your oven to 350°F (175°C) to ensure even cooking for your Simple Homemade Banana Nut Bread. While the oven heats, grease a 9×5-inch loaf pan with butter or cooking spray to prevent sticking. Set aside, ready to receive your delicious batter.
Step 2: Mash the Bananas
In a large mixing bowl, take your ripe bananas and mash them using a fork until smooth. Aim for a creamy consistency to provide the best moisture and flavor in your banana bread. This will be the heart of your batter, so don’t hesitate to get those bananas nice and mushy!
Step 3: Combine Sugars with Bananas
Add both granulated and brown sugars to the mashed bananas, mixing well until fully combined. The sugars will dissolve slightly in the warmth of the bananas, creating a sweet and sticky mixture. This is crucial for that rich flavor that makes your Simple Homemade Banana Nut Bread so delightful.
Step 4: Incorporate Melted Butter
Stir in the melted unsalted butter to your banana and sugar mixture until fully combined. The butter adds moisture and richness, enhancing the overall texture of your bread. This step creates a lovely blend of flavors that will truly make your banana bread shine.
Step 5: Add the Egg
Next, whisk in one large egg until the mixture is uniform. This ingredient binds everything together, adding a lovely richness to your batter. Make sure it’s well mixed; this consistency will help elevate the texture of your Simple Homemade Banana Nut Bread.
Step 6: Sift the Dry Ingredients
In a separate bowl, sift together the all-purpose flour, baking soda, and salt. This step not only combines the dry ingredients but also ensures there are no lumps and promotes better rising during baking. The fluffy blend will work its magic in your banana bread.
Step 7: Combine Wet and Dry Ingredients
Gradually fold the dry ingredients into the banana mixture until just combined. Be gentle and avoid overmixing to maintain a light and fluffy loaf. You want the batter slightly lumpy; this will keep your Simple Homemade Banana Nut Bread from becoming dense.
Step 8: Add Chopped Nuts
Gently fold in the chopped walnuts or pecans at this stage. If you’re opting for a nut-free bread, you can skip this step. Make sure the nuts are well distributed in the batter, adding a delightful crunch to every slice of your finished banana bread.
Step 9: Pour and Smooth the Batter
Pour your banana bread batter into the prepared loaf pan, ensuring it fills evenly. Use a spatula to smooth the top, creating a nice, even surface. This will help the loaf bake evenly and develop that beautiful golden-brown crust.
Step 10: Bake the Bread
Place the loaf pan in the preheated oven and bake for 50-60 minutes. Check for doneness by inserting a toothpick into the center; it should come out clean or with a few moist crumbs attached. Your kitchen will smell heavenly as the bread rises!
Step 11: Cool in the Pan
Once baked, remove the banana nut bread from the oven and let it cool in the pan for about 10 minutes. This will make it easier to remove from the pan without breaking. Enjoy the delicious aroma enveloping your kitchen as it cools, creating anticipation for the first bite.
Step 12: Transfer to a Rack
Carefully transfer the bread to a wire rack to cool completely before slicing. This helps to prevent it from becoming soggy and allows for perfect sliceability. Once cooled, slice into thick pieces and enjoy your fresh, homemade Simple Homemade Banana Nut Bread!
How to Store and Freeze Simple Homemade Banana Nut Bread
-
Room Temperature: Store your banana nut bread wrapped tightly in plastic wrap or in an airtight container for up to 3 days. This keeps it moist and delicious for snacking or breakfast.
-
Fridge: If you want to extend the shelf life, you can refrigerate it for up to a week. Just be sure to cover it well, as refrigeration can dry it out.
-
Freezer: For long-term storage, freeze your banana bread for up to 3 months. Wrap it tightly in plastic wrap and then in aluminum foil to prevent freezer burn.
-
Reheating: To enjoy your frozen bread, thaw it in the fridge overnight or leave it at room temperature for a few hours. Reheat slices in the toaster or microwave for a warm treat!
What to Serve with Simple Homemade Banana Nut Bread
Imagine a warm slice of banana nut bread, a delightful treat that opens the door to a world of delicious pairings for a complete meal experience.
-
Creamy Yogurt: A dollop of yogurt adds a tangy balance to the sweetness of the bread, making for a refreshing breakfast or snack.
-
Fresh Berries: Bright, juicy strawberries or raspberries offer a burst of freshness that complements the rich flavors of the banana nut bread.
-
Spiced Tea: A warm cup of spiced chai or cinnamon tea beautifully enhances the cozy, comforting aura of the baked loaf.
-
Nutty Granola: Serve with a sprinkle of crunchy granola on top for texture and an extra nutty flavor that harmonizes with the bread.
-
Honey Drizzle: A light drizzle of honey adds a touch of floral sweetness, perfect for breakfast or an afternoon indulgence.
-
Chocolate Chips: For a sweeter twist, serve slices with chocolate chips melted atop each warm piece, elevating the comfort food experience.
-
Cream Cheese Spread: Smooth cream cheese spread blends perfectly, adding richness and tang to each bite of the soft, tender bread.
-
Milkshake: Pair it with a classic vanilla or chocolate milkshake for a nostalgic, indulgent treat that’s perfect for dessert.
-
Ice Cream: A scoop of vanilla bean ice cream melting over a warm slice creates a delightful contrast of temperatures and flavors—definitely a classic!
Enjoy the versatility that comes with this beloved recipe and create lasting memories around your table!
Make Ahead Options
Preparing this Simple Homemade Banana Nut Bread ahead of time is a fantastic way to save precious minutes on busy mornings! You can mash the ripe bananas and mix them with the sugars and melted butter up to 24 hours before baking, storing the mixture in an airtight container in the refrigerator. The dry ingredients can also be pre-measured and combined, sitting ready and waiting. Just lift everything out, combine the mixtures, fold in the nuts, and pour the batter into the pan when you’re ready to bake. This makes your bread just as delicious, with no compromise on flavor or texture—perfect for meal prep and ensuring you have a delightful homemade treat at hand!
Simple Homemade Banana Nut Bread Variations
Feel free to let your creativity shine and customize this banana nut bread to suit your taste buds!
-
Nut-Free: Omit the walnuts or pecans for a smooth, nut-free version that still packs flavor and moisture.
-
Chocolate Chip Delight: Stir in half a cup of chocolate chips for a decadent twist that will satisfy your sweet tooth. Imagine each bite bursting with gooey goodness!
-
Spiced Up: Add a sprinkle of cinnamon or nutmeg for warmth and depth, elevating the comforting flavor of your banana bread.
-
Tropical Touch: Fold in shredded coconut for a hint of the tropics in your loaf. The chewy texture perfectly complements the bananas.
-
Fruit Fusion: Toss in some blueberries or strawberries for a fruity punch that brightens every slice. The fresh burst of berries will delight your senses!
-
Maple Syrup Enhancer: Replace some of the granulated sugar with maple syrup for a subtle, earthy sweetness. This will give your banana bread a lovely depth.
-
Whole Grain Upgrade: Swap half of the all-purpose flour for whole wheat for an extra nutritious boost and a heartier texture.
For even more delicious variations, don’t miss our recipe for Cottage Cheese Bread or treat yourself to our Olive Garden Breadsticks as a side! Your baking adventure awaits!
Expert Tips for Simple Homemade Banana Nut Bread
-
Use Overripe Bananas: The key to the best flavor is using very ripe bananas that are brown and speckled to maximize sweetness and moisture.
-
Don’t Overmix: Mix the batter just until combined to avoid a dense loaf. A few lumps are okay; this will ensure a fluffy texture for your banana nut bread.
-
Check for Doneness: Use the toothpick method to test if it’s done; it should come out clean or with a few moist crumbs attached. This prevents overbaking.
-
Cool Properly: Allow the bread to cool in the pan for about 10 minutes before transferring to a rack, ensuring the right texture and preventing sogginess.
-
Storage Tips: Keep your leftovers stored in an airtight container at room temperature for up to 3 days, or freeze for up to 3 months for future enjoyment.
-
Nut-Free Option: For a simple homemade banana nut bread without nuts, just skip the nuts for a smooth, delicious loaf that everyone can enjoy.
Simple Homemade Banana Nut Bread Recipe FAQs
What ripe bananas are best for this recipe?
Absolutely! For the best flavor, use very ripe bananas that are speckled with brown spots. They will be sweeter and provide optimal moisture for your Simple Homemade Banana Nut Bread. Overripe bananas are key!
How should I store the banana nut bread?
To keep your banana nut bread fresh, wrap it tightly in plastic wrap or store it in an airtight container at room temperature for up to 3 days. For longer storage, you can refrigerate it for a week or keep it in the freezer for up to 3 months. Just remember to wrap it well to prevent it from drying out!
Can I freeze this banana nut bread? How?
Absolutely! To freeze your Simple Homemade Banana Nut Bread, first cool it completely. Then, wrap the loaf tightly in plastic wrap and aluminum foil to keep out moisture and prevent freezer burn. For added freshness, you can slice it before freezing, allowing you to enjoy just one piece at a time!
What should I do if my banana bread is too dense?
If you find your banana bread is too dense, it may be due to overmixing the batter. Always mix until just combined for a light texture, and use very ripe bananas to add moisture. Remember to check for doneness with a toothpick; if it’s coming out clean, you’re good to go!
Is this banana nut bread safe for people with nut allergies?
Yes! If anyone in your family has nut allergies, you can easily make a nut-free version of this Simple Homemade Banana Nut Bread by omitting the nuts. The bread will still be deliciously moist and flavorful without them. Alternatively, feel free to add in chocolate chips for a fun twist!
How long does the banana nut bread last in the fridge?
In the fridge, your delicious banana nut bread can last up to a week if stored properly. Just make sure to wrap it well or place it in an airtight container, as refrigeration can sometimes dry out baked goods. Enjoy it while it’s fresh!
Simple Homemade Banana Nut Bread That Melts in Your Mouth
Ingredients
Equipment
Method
- Preheat your oven to 350°F (175°C) and grease a 9x5-inch loaf pan.
- Mash the ripe bananas in a large mixing bowl until smooth.
- Combine granulated and brown sugars with the mashed bananas.
- Stir in the melted unsalted butter until fully combined.
- Whisk in one large egg until the mixture is uniform.
- Sift together the all-purpose flour, baking soda, and salt in a separate bowl.
- Gradually fold the dry ingredients into the banana mixture until just combined.
- Gently fold in the chopped nuts.
- Pour the batter into the prepared loaf pan and smooth the top.
- Bake for 50-60 minutes, checking for doneness with a toothpick.
- Allow to cool in the pan for about 10 minutes before transferring to a wire rack.
- Slice and enjoy your fresh, homemade banana nut bread!
Leave a Reply